Redstone Logic gate/Project Red wire Guide
I promised this quite a while ago, but quite a few things go in the way. But it is time I fulfilled my promise.
Over time I saw a need for and was asked for a guide explaining the basics of the Redstone circuitry and wires supplied formerly by RP2 and now by Project Red. I think one of these are found in all FTB packs and most of the third party packs, so I think it is a good idea that people know how to use the basics. I will be basing it on Project Red, but since it is based on RP2 many things will be the same.
The Wires
The first important thing to know about in PR is the wires and cables.
I am not going to write a complete detailed guide on these as Project Red already supplies an excellent one:
http://projectredwiki.com/wiki/Wire
But I will point out a few highlights and important points:
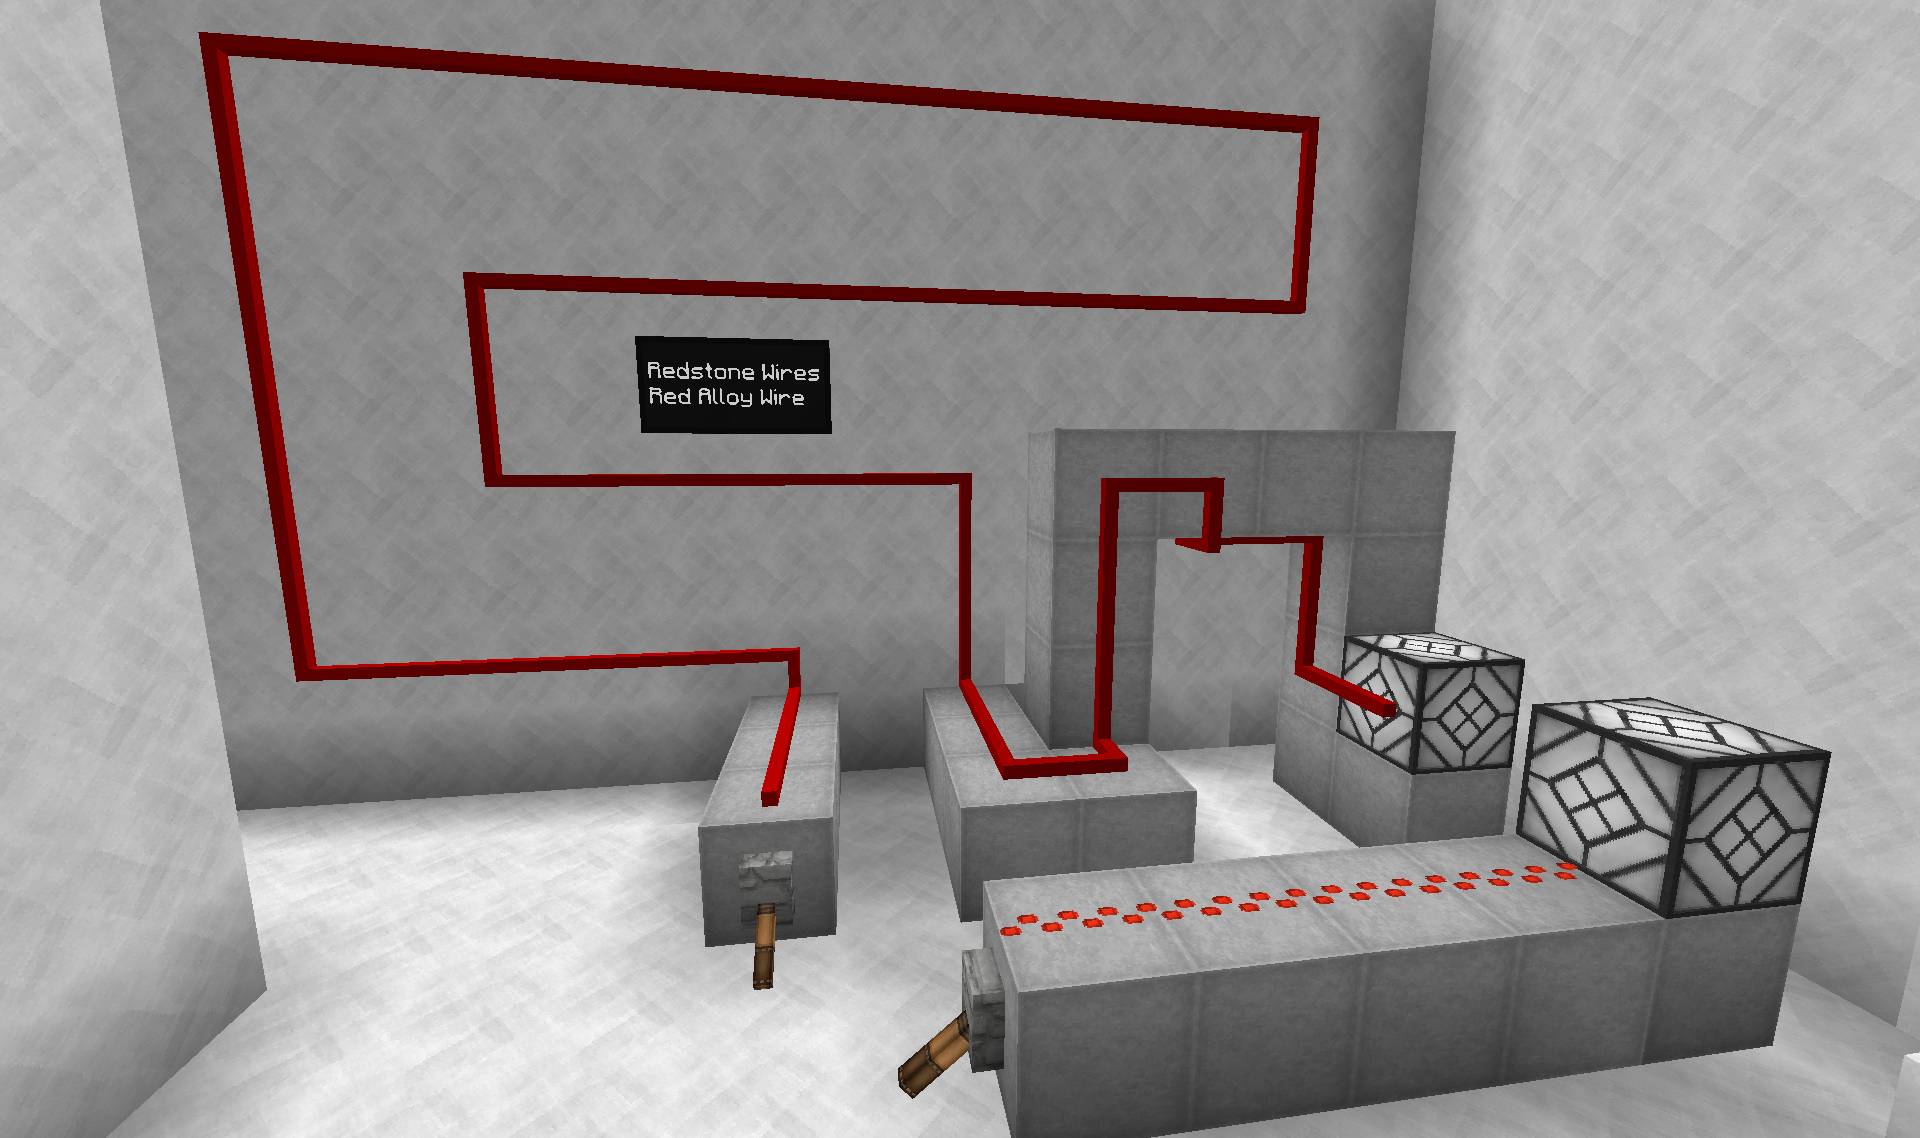
The default wire make a world of difference to vanilla Redstone wires:
The Red Alloy Wire is the "backbone" wire that is equivalent to the vanilla Redstone wire. But as you can see it is not quite the same. First it can be placed on all six sides of blocks, making it possible to reach all kind of places. Second the signal does not degrade over distance like in vanilla wires. Third it is Forge multiblock compatible so it can coexist with other wires, microblocks, torches etc. in the same block. Microblocks can for example be used to keep Wires apart by placing them where they would otherwise connect.
The problem with Red Alloy Wire however is that it powers everything adjacent to it and strongly powers the block it is placed on(strongly means the block is able to power certain other things adjacent/on to it). So running yards of wire around your base like the above picture is really not advised. Cue the Insulated wires:
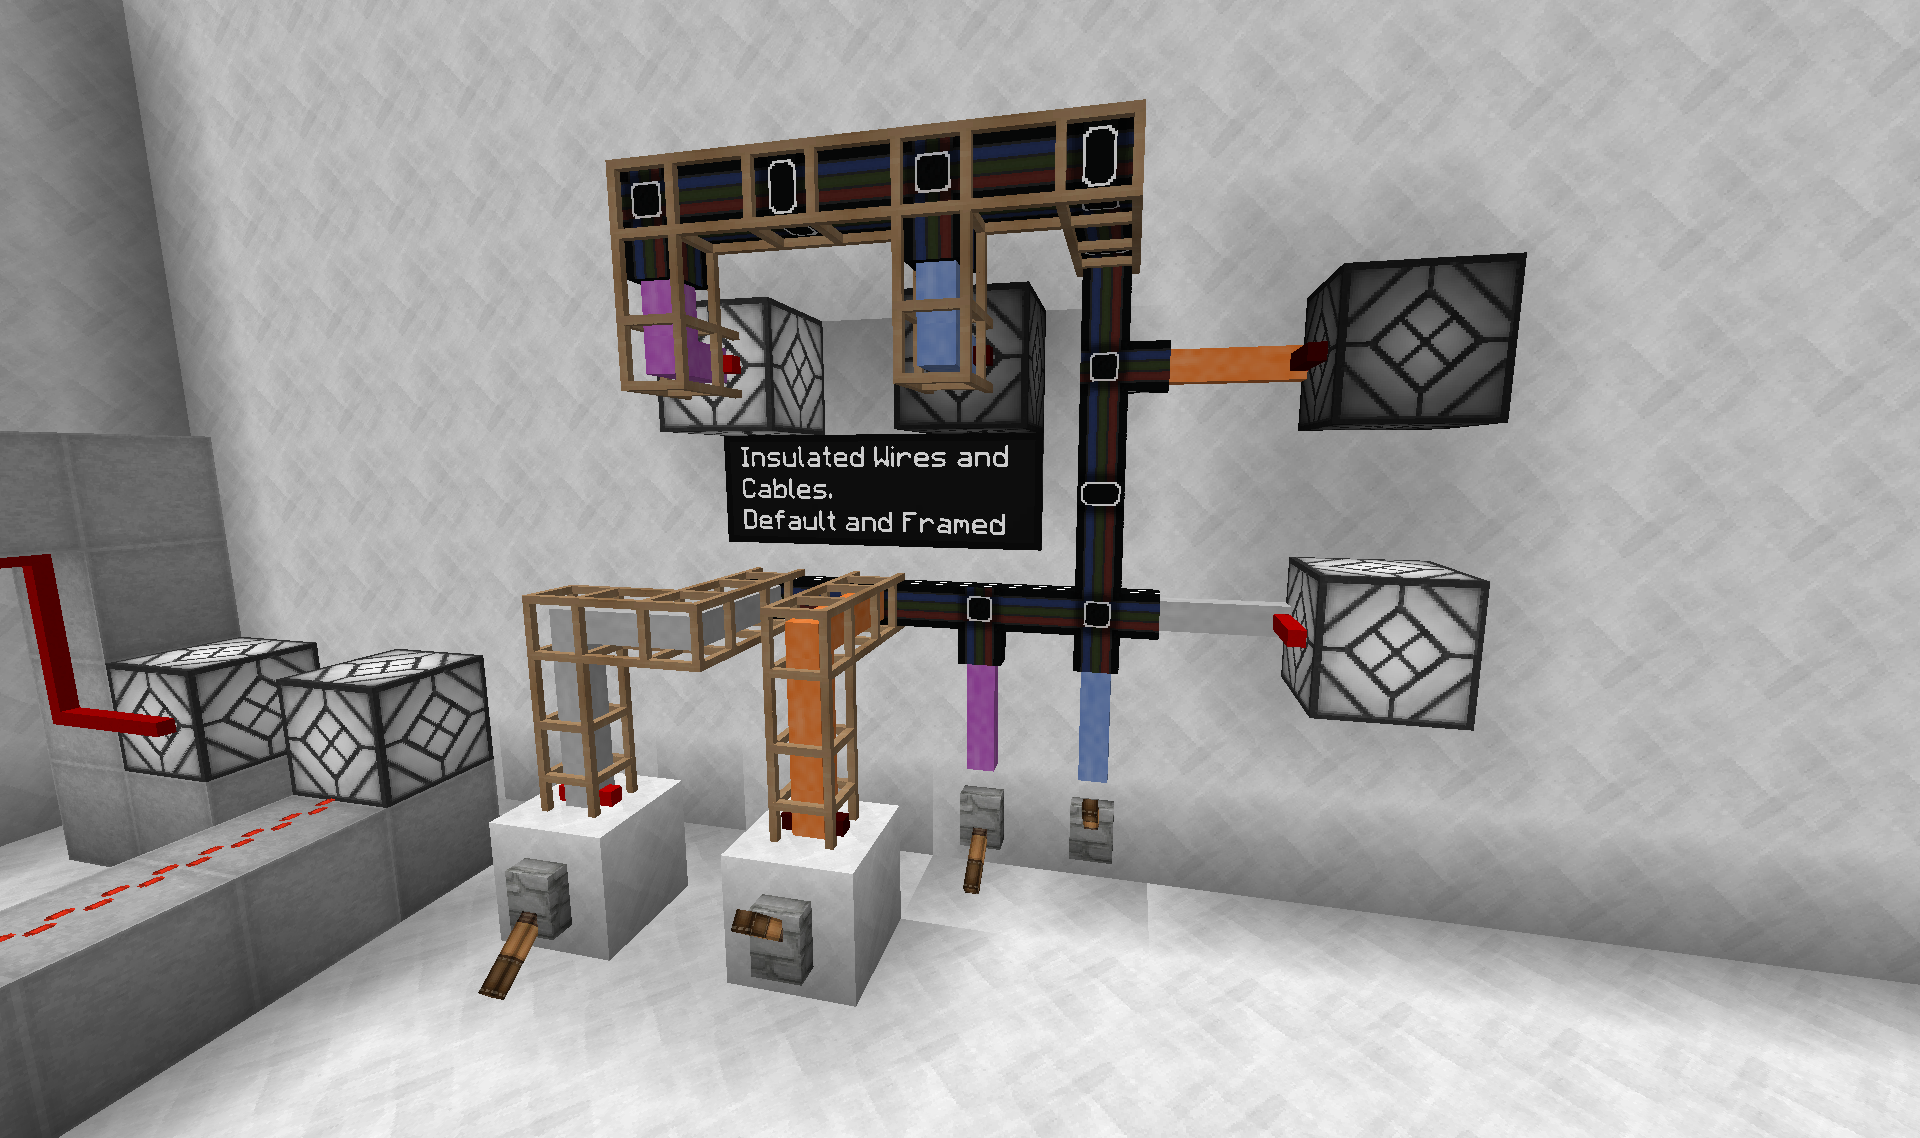
Insulated wires are Red Alloy Wires wrapped up in different coloured wool to allow it to transport Redstone signals but not emit it to the surroundings. Most cases the Insulated wires will connect directly to devices, but some times you need to/can use Red Alloy Wire to get the signal "in" and "out"(see examples above).
The deal with the 16 unique colours of insulation is that they function as "channels" that will not connect to each other and are therefore unique signals. This can be really handy if you have two or more Redstone signals in the same place which you do not want to interact. If you have a lot of these different coloured channels the mod offers you an option to "streamline" your cabling by "bundling them up" into a single cable: Bundled Cable. This will by default carry all 16 colours and you can at any point in/output a colour simply by attaching the corresponding Insulated Wire.
Lastly all three versions of the wires/cables (Red Alloy Wire, Insulated Wire, Bundled Cable) have a Framed version. This version allows the wires to be "standalone" entities that are not dependant on being placed on blocks. This is immensely helpful in so many situations, and remember that they are Microblock compatible so they can easily be hidden inside walls: See previous Microblock guide:
http://forum.feed-the-beast.com/thr...ide-collection-etc.42664/page-37#post-1017129
The simplest yet useful build
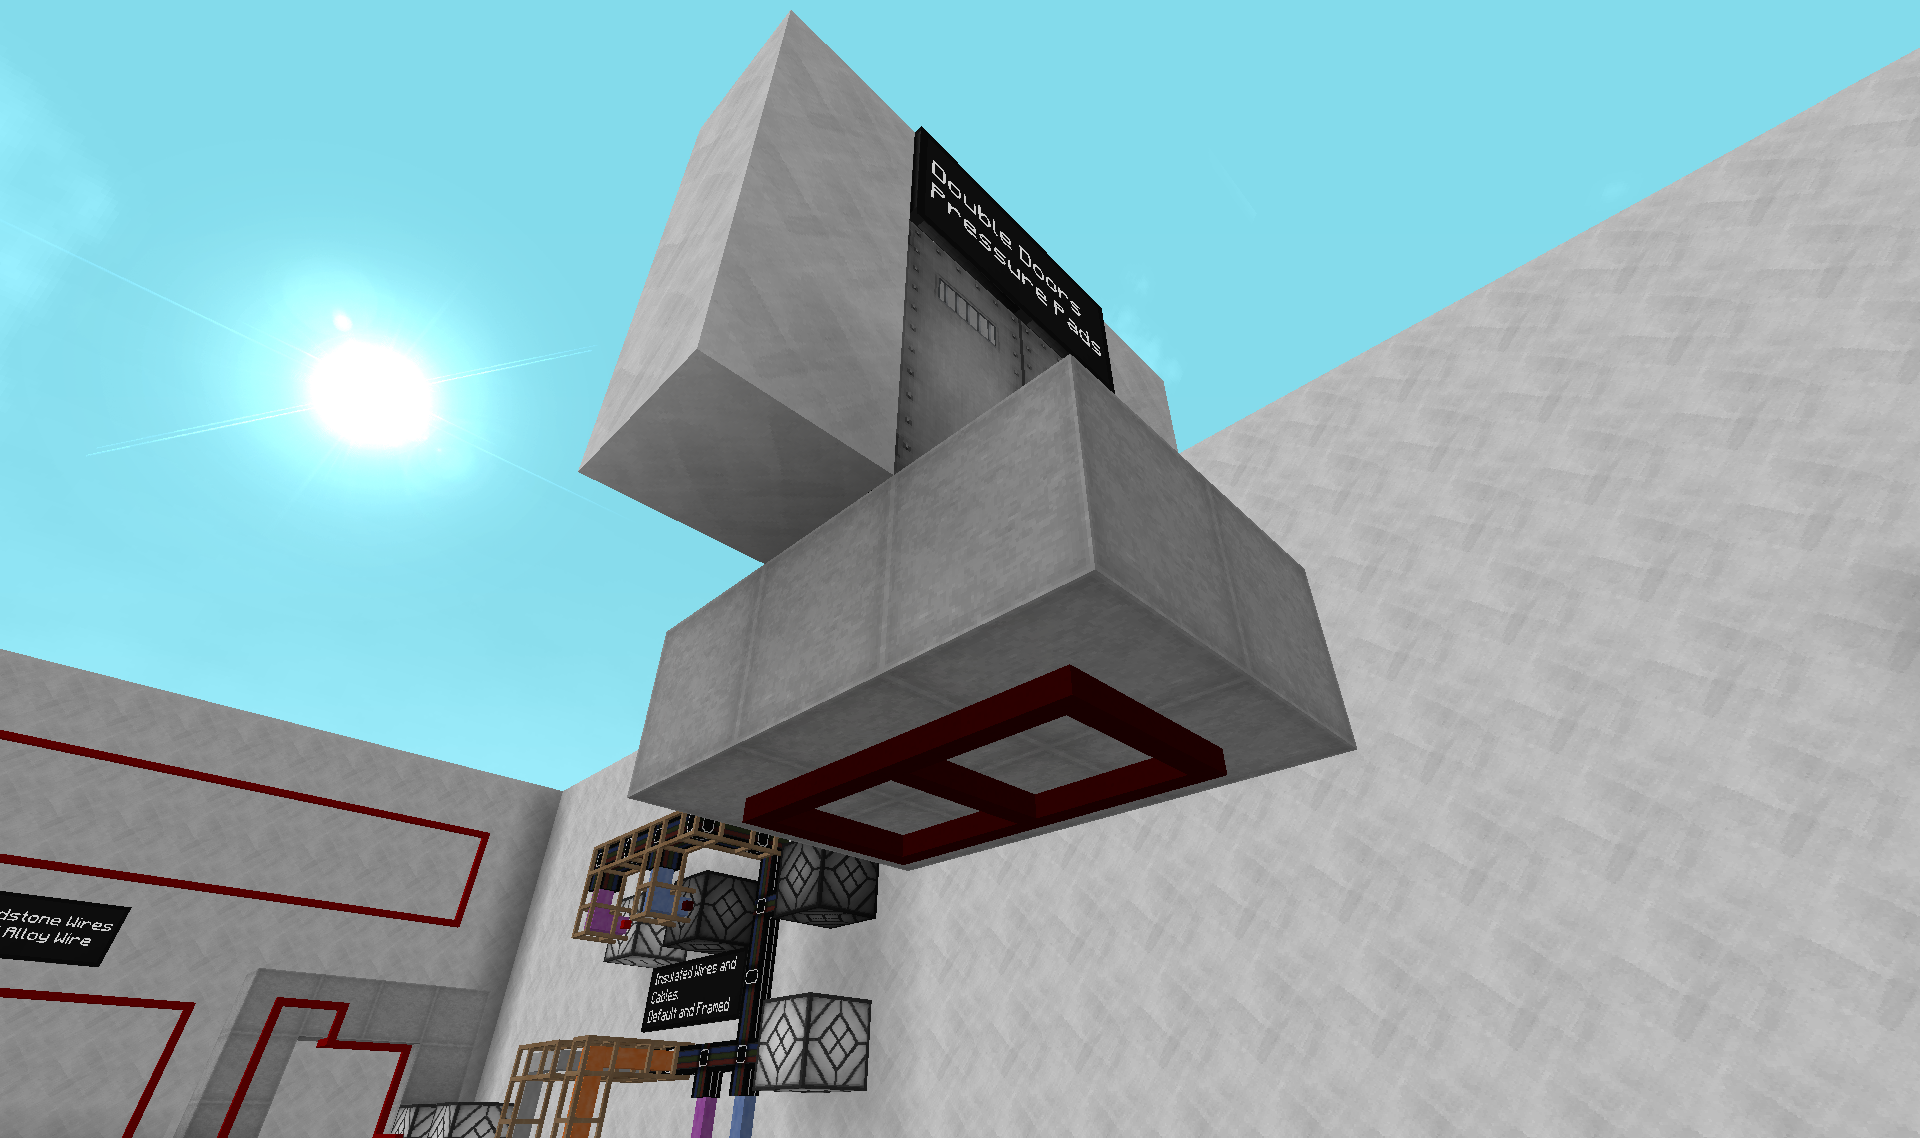
Before we move on I thought I would point out how these wire can be very useful on their own. Take this very simple situation that I think most can recognise:
A pair of Iron Doors(cause symmetry), Pressure Plates to open them up. Simple yet efficient and stylish early game solution. But OMG can it be a frustrating one! When going through it I often only hit one Pressure Plate which results in only one door opening. This results in me slamming against this door. I then go into this pattern of one door opening and one door slamming shut in my face several times before I manage to position myself to one side or till I actually manage to open both at the same time... ARGHH!
But fret not, there is a very simple fix!
Six lengths of Red Alloy Wire placed directly under the Pressure Plates and Iron Doors. Now both doors open together despite only hitting one Pressure Plate. In terms of shear functionality this is probably the most satisfying use of the wires that I have ever made.
Logic Gates
Project Red supplies a lot of Logic Gates(small blocks that operates after certain logical functions when given Redstone signals). This might sound complex(some of it is), but some of it is quite simple and really useful. I will try and give a introduction to the ones that I think are the most useful basic Logic Gates. But I suggest to anyone that they also visit Project Reds excellent Wiki site on this subject:
http://projectredwiki.com/wiki/Logic_Gate
NOT Gate
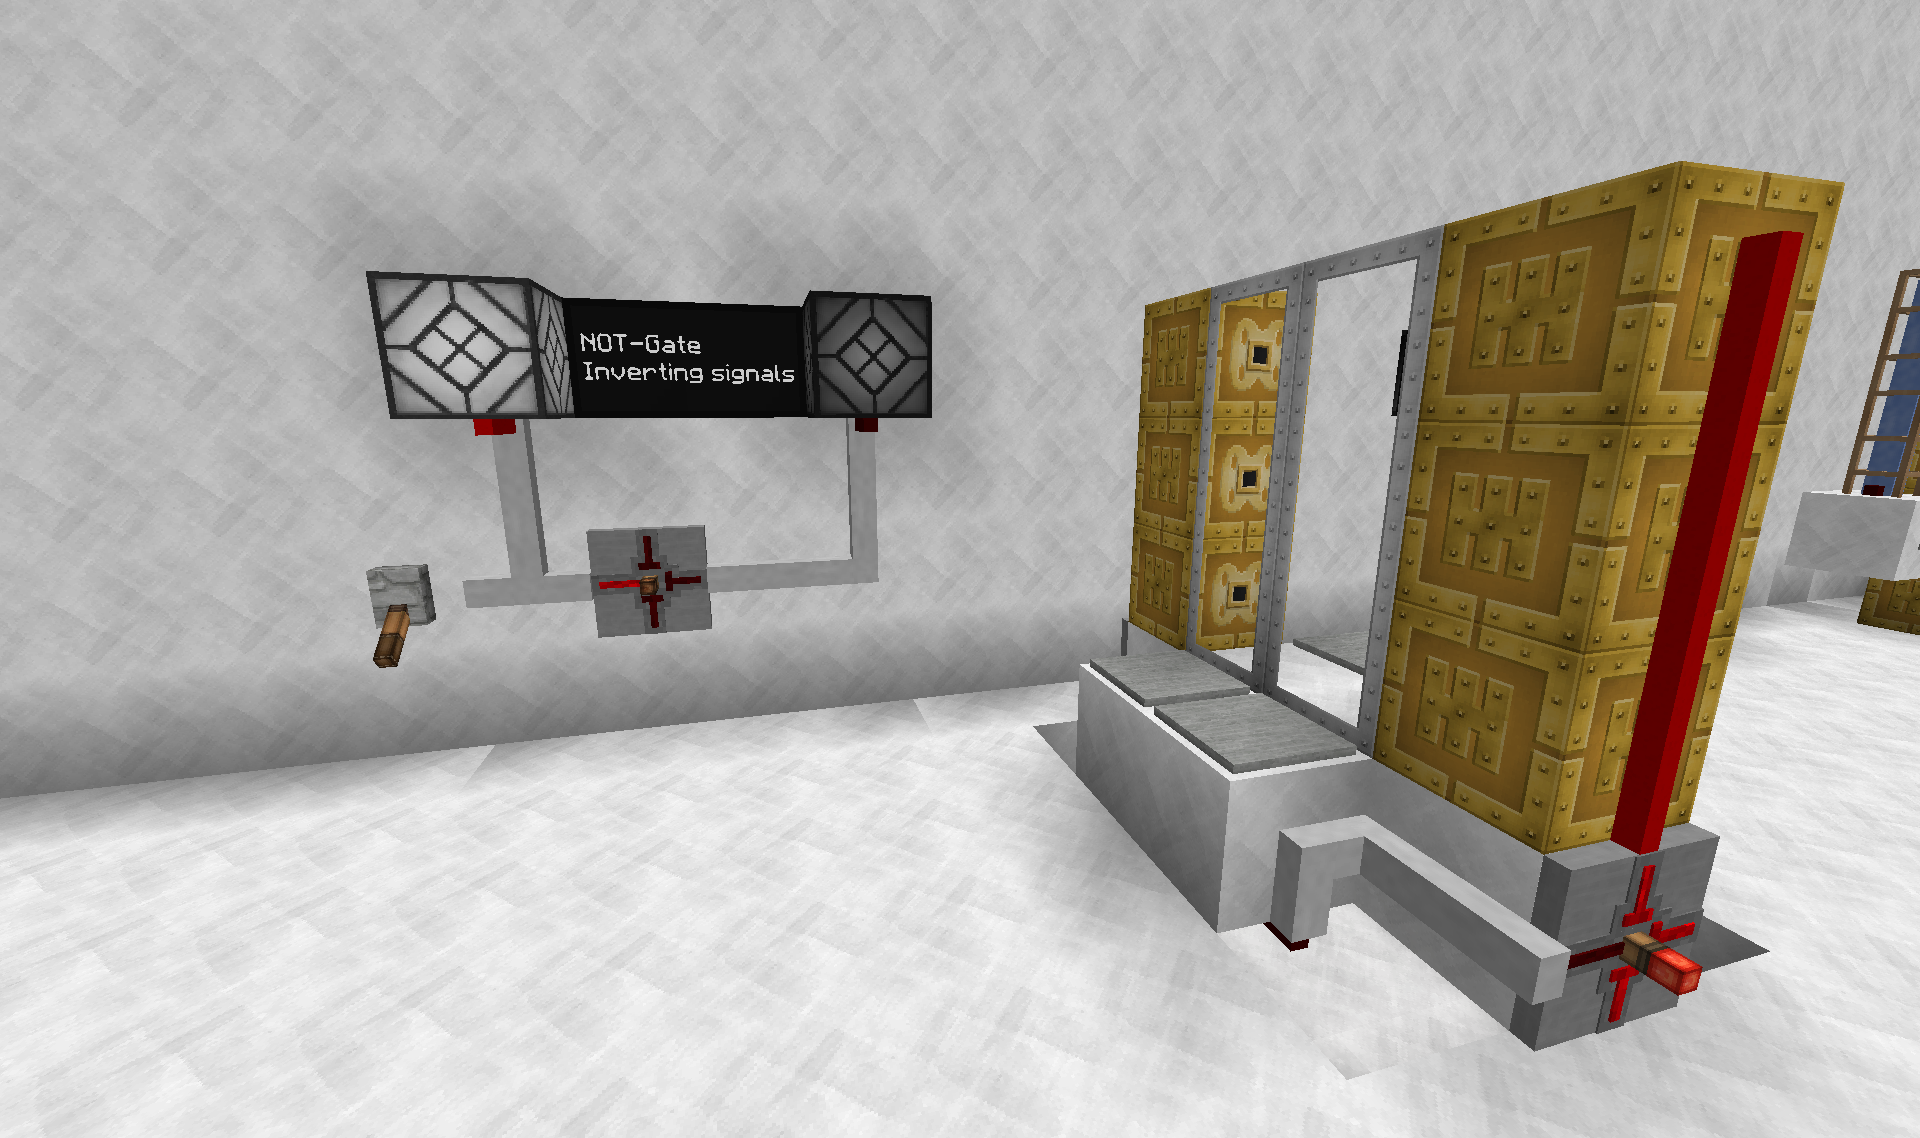
Starting off with the simplest of the simplest is the NOT Gate:
All it does is change the signal it receives to the opposite. So if you give it ON it outputs OFF and reverse. This is useful for things that give you opposite of the desired signal or things that require the opposite of the signal you have. A common example is Drawbridge doors: They need an ON signal to close and OFF signal to open. This is the reverse of what you get from sensors like Pressure Plates.
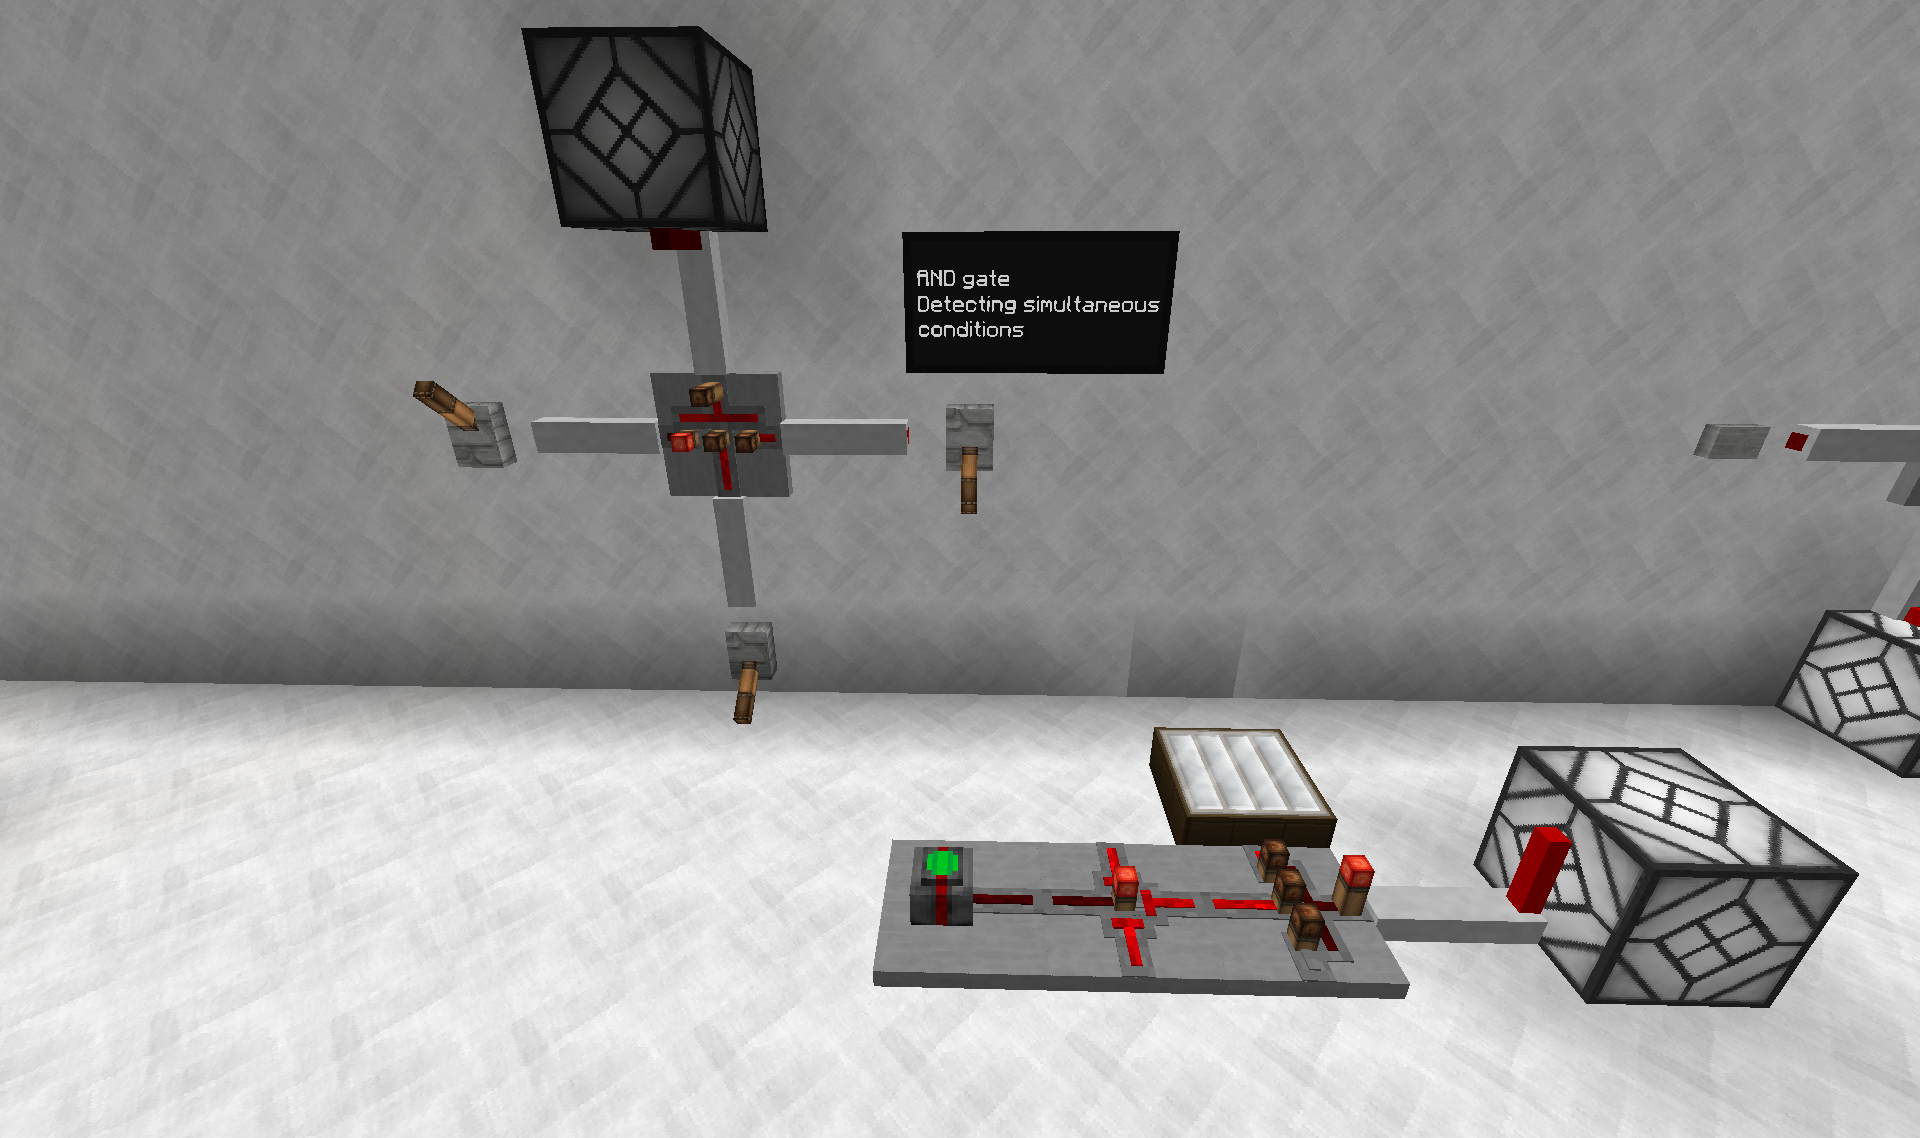
AND Gate
This gate is also relatively simple. It takes up to three inputs and only output once all inputs are powered:
One Lever is not powered(Left) so the lamp is not on.
On the floor I set up a small example of how it can be used: Here the AND Gate is detecting when a Daylight Sensor is ON and when a Rain Sensor is not ON(using a NOT Gate) to detect when it is day and not raining. This could potentially be used as a control circuit for solar power generation.
Toggle Latch
The Toggle Latch is moving moving up a step in functionality and complexity. This gate is capable of translating Redstone pulses into toggling its output ON and OFF like a Lever(but with the added bonus of having two alternating outputs):
I hate the looks of Levers personally, so this is perfect for using Buttons and then translating it into "Lever action" behind the scenes. Like shown in the video it can be used to toggle doors, but also machines and whatever you can imagine and traditionally use levers for. It is also perfect for applications where you want to be able to toggle the same device ON/OFF from multiple locations, since the input signal is just a Redstone Pulse that can be send on the same wire from multiple locations.
RS Latch
The RS Latch is very much like the Toggle Latch. Redstone signals can make it change between two states. Difference is however that each input side is linked to a output side. So multiple inputs to the same side will not make it change state multiple times. It will change to that sides corresponding output and then only change again if you activate the other input:
This makes it very useful for applications where you want to use one signal to turn something ON, and then another signal to turn in OFF(Like the Elevator Track example in the video). It doesn't matter if multiple ON or OFF signals arrive(like Minecarts from one direction in the video example), it will stay in sync. Compared the Toggle Latch would easily get out of sync if used in this way.
Other gates
This list could go on for a long time, but I think the above are the most important gates to know and those that might require a bit of extra explanation. I suggest you study some of the other Logic Gates available. Specifically I suggest you investigate these:
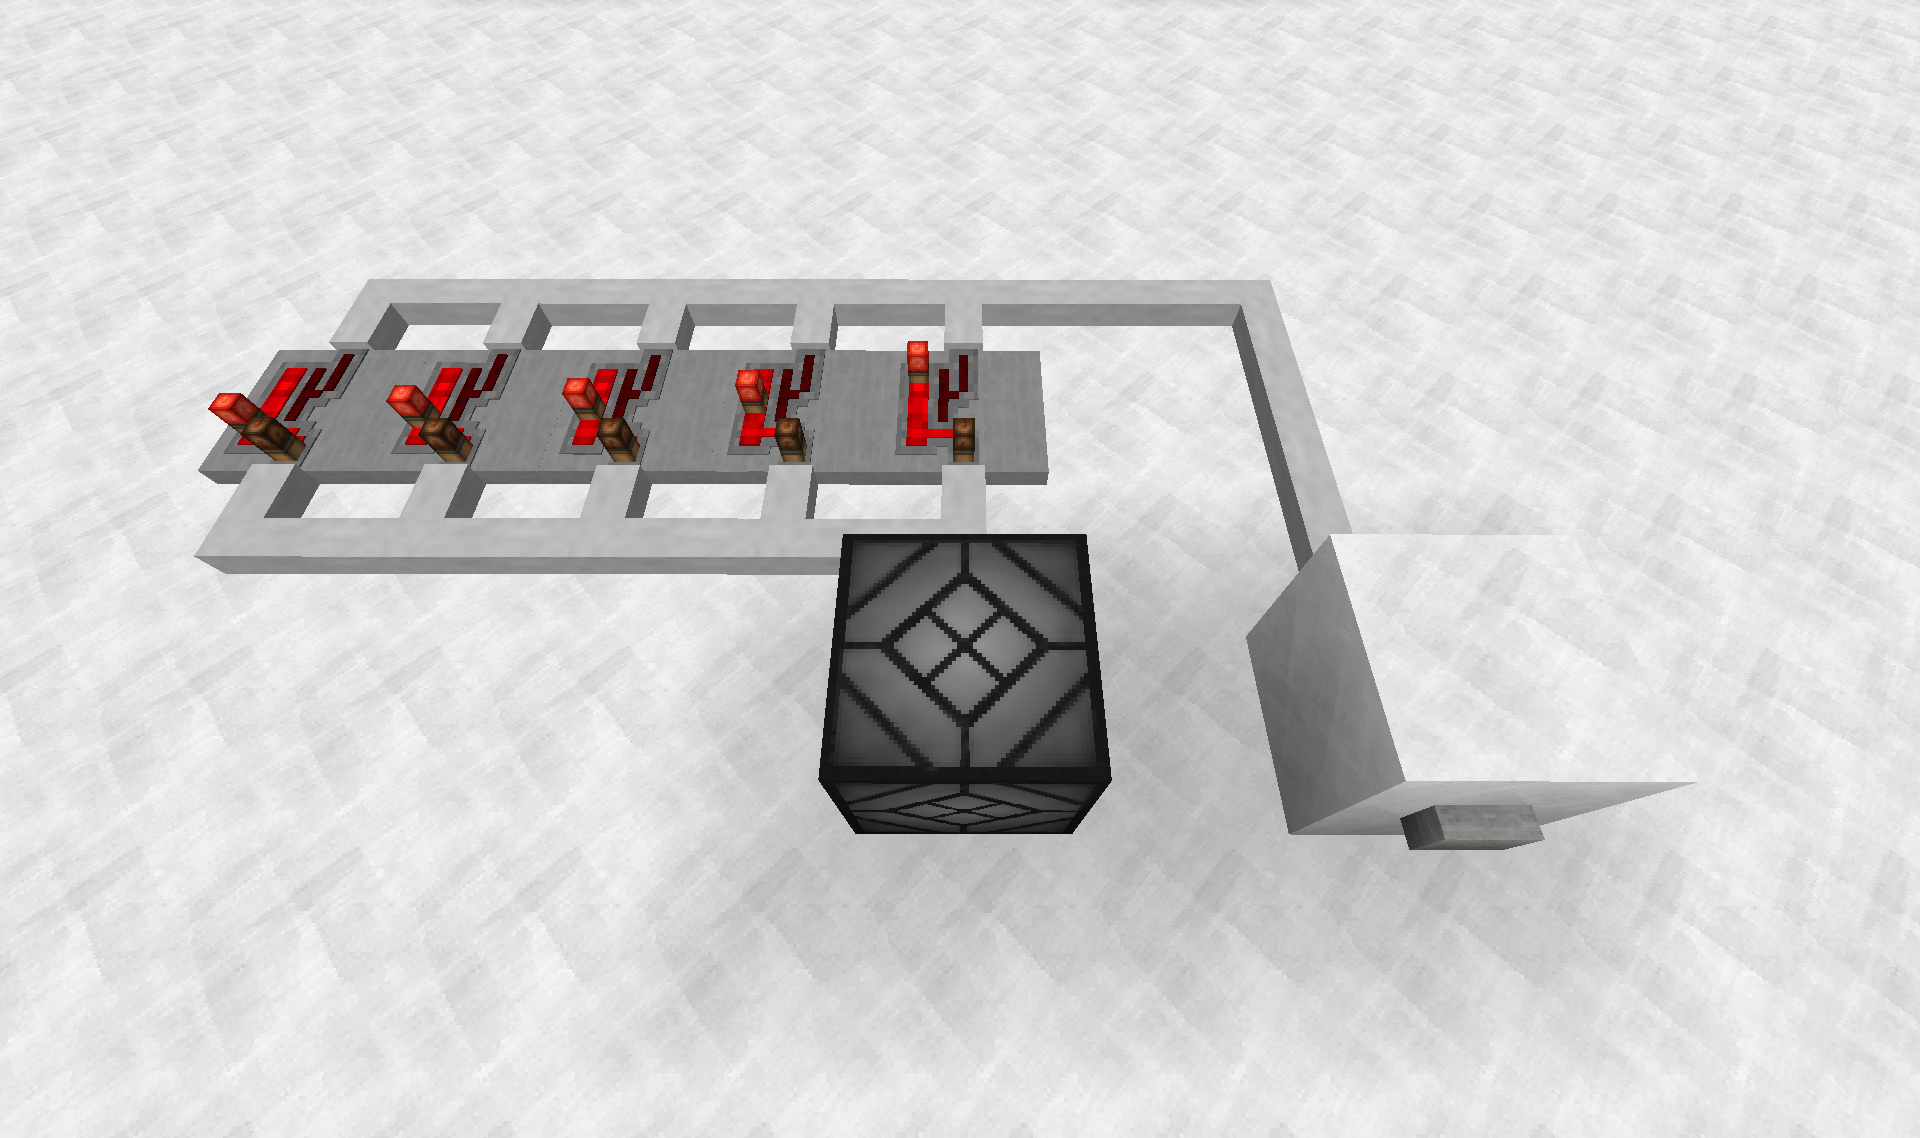
- Repeater(If you are familiar with the vanilla version, then this is a more user friendly version). Quick rundown: It delays signals by a chosen amount of "Ticks"(1/20th of a second) and it boosts signal strength to 15.
- Timer: This gate is basically a little clock that runs continuously and every time it "strikes twelve" it outputs a Redstone pulse. The length of each cycle can be set in its GUI and it can be given a Redstone input to reset and hold the clock.
- Buffer Gate: This basically works as a Diode. What that means is that signals can only travel in one way through it. Good if you need to isolate your Redstone signals.
- Comparator(Again a better version of the vanilla one). I suggest that you read the official wiki for information on it. The PR one's main difference is that it is a multipart and can be attached to any surface: http://minecraft.gamepedia.com/Redstone_Comparator
The quick rundown: It can in its two states either Compare if an incoming signal strength(0-15 Redstone signal strength) is Larger than a sample signal, or it can subtract the sample signal from the incoming signals strength. It also have a completely different feature where it can measure "Block states" but I again refer to the official wiki for more info on that. PR version requires Screwdriver to change modes!
- Counter. Basically an RS Latch that can be set to count how many inputs it needs to before it changes states. And it can be set to need different amounts for each state. A common use would be to have it count to a certain number before it turns something on, but have it turn off again with just one signal(a reset signal).
http://projectredwiki.com/wiki/Logic_Gate
Multiple component builds
Here are a couple of more advanced builds that utilize several gates together.
Pulse Lengthener
Often you find that the redstone pulse you get from a device, sensor or button are simply not long enough to power your contraption long enough. The old-school solution for this involves lots of parallel wired Repeaters set to different delays.
This may have its moments, but there are usually better ways:
(Thanks to
@Wekmor for pointing out the State Cell option)
The first solution uses a RS Latch together with a Timer to create a customizable length pulse lengthener. The input pulse changes the state of the RS Latch, starting new pulse and causing the Timer to start up. Once the Timer finishes it triggers the opposite state in the RS Latch, thereby ending the new pulse. Length of the pulse is set in the GUI of the Timer.
Please note that this setup is orientation specific. If you place the Timer on the wrong side of the RS Latch if will not work(RS Latch is not symmetrical).
Second solution uses a single component: The State Cell. Once it receives an input pulse it starts running its inbuilt timer. During the timer one output is constantly powered and at the end of the timer the other output is pulsed. If you just use the constant output and the input it serves as a pulse lengthener. The length of it can be set in the GUI of the gate just as in the Timer.
Both these two setups have their pros and cons. The State Cell is obviously more compact(1 gate and 2 wires less). The State Cell is however more expensive and more complicated to craft(requires a Diamond saw and lots of crafting steps). Also probably more importantly the two setups respond completely different to repeated input signals during the output pulse: The RS/Timer setup will ignore input pulses and finish its current pulse length, whereas the State Cell will reset the timer every time it receives a new pulse and increase pulse length accordingly. Choose your method depending on which is preferable.
Signal Sequencing
Sometimes you want events to take place specific orders. It is quite easy to make the following happen by using Repeater delays: ON: 1->2. OFF: 1->2.
Problems arise when you need to make things happen in the reversed order: ON: 1->2. OFF: 2->1.
So in the first sequence we used Repeaters to delay one event(2) to make it happen after the other(1). What if we could delay the same event but only during the ON cycle?
This is where we need to use a new complex Logic Gate: The Multiplexer.
Basically what this does is take two samples, and depending on the input it outputs one of these samples. So lets give it the delay as a sample and use the ON/OFF state as an input:
I have delayed the 1 Event a medium amount and then depending on ON/OFF state the Multiplexer either delays the 2 Event by double or nothing of that. Result is the reversed sequencing of the two events as desired.
Now the astute and devoted followers(I recognise the same of you here quite often, but that is probably never going to happen lol) of this thread might think: "Have I not seen something sequenced like this before?"
Well yes you have!
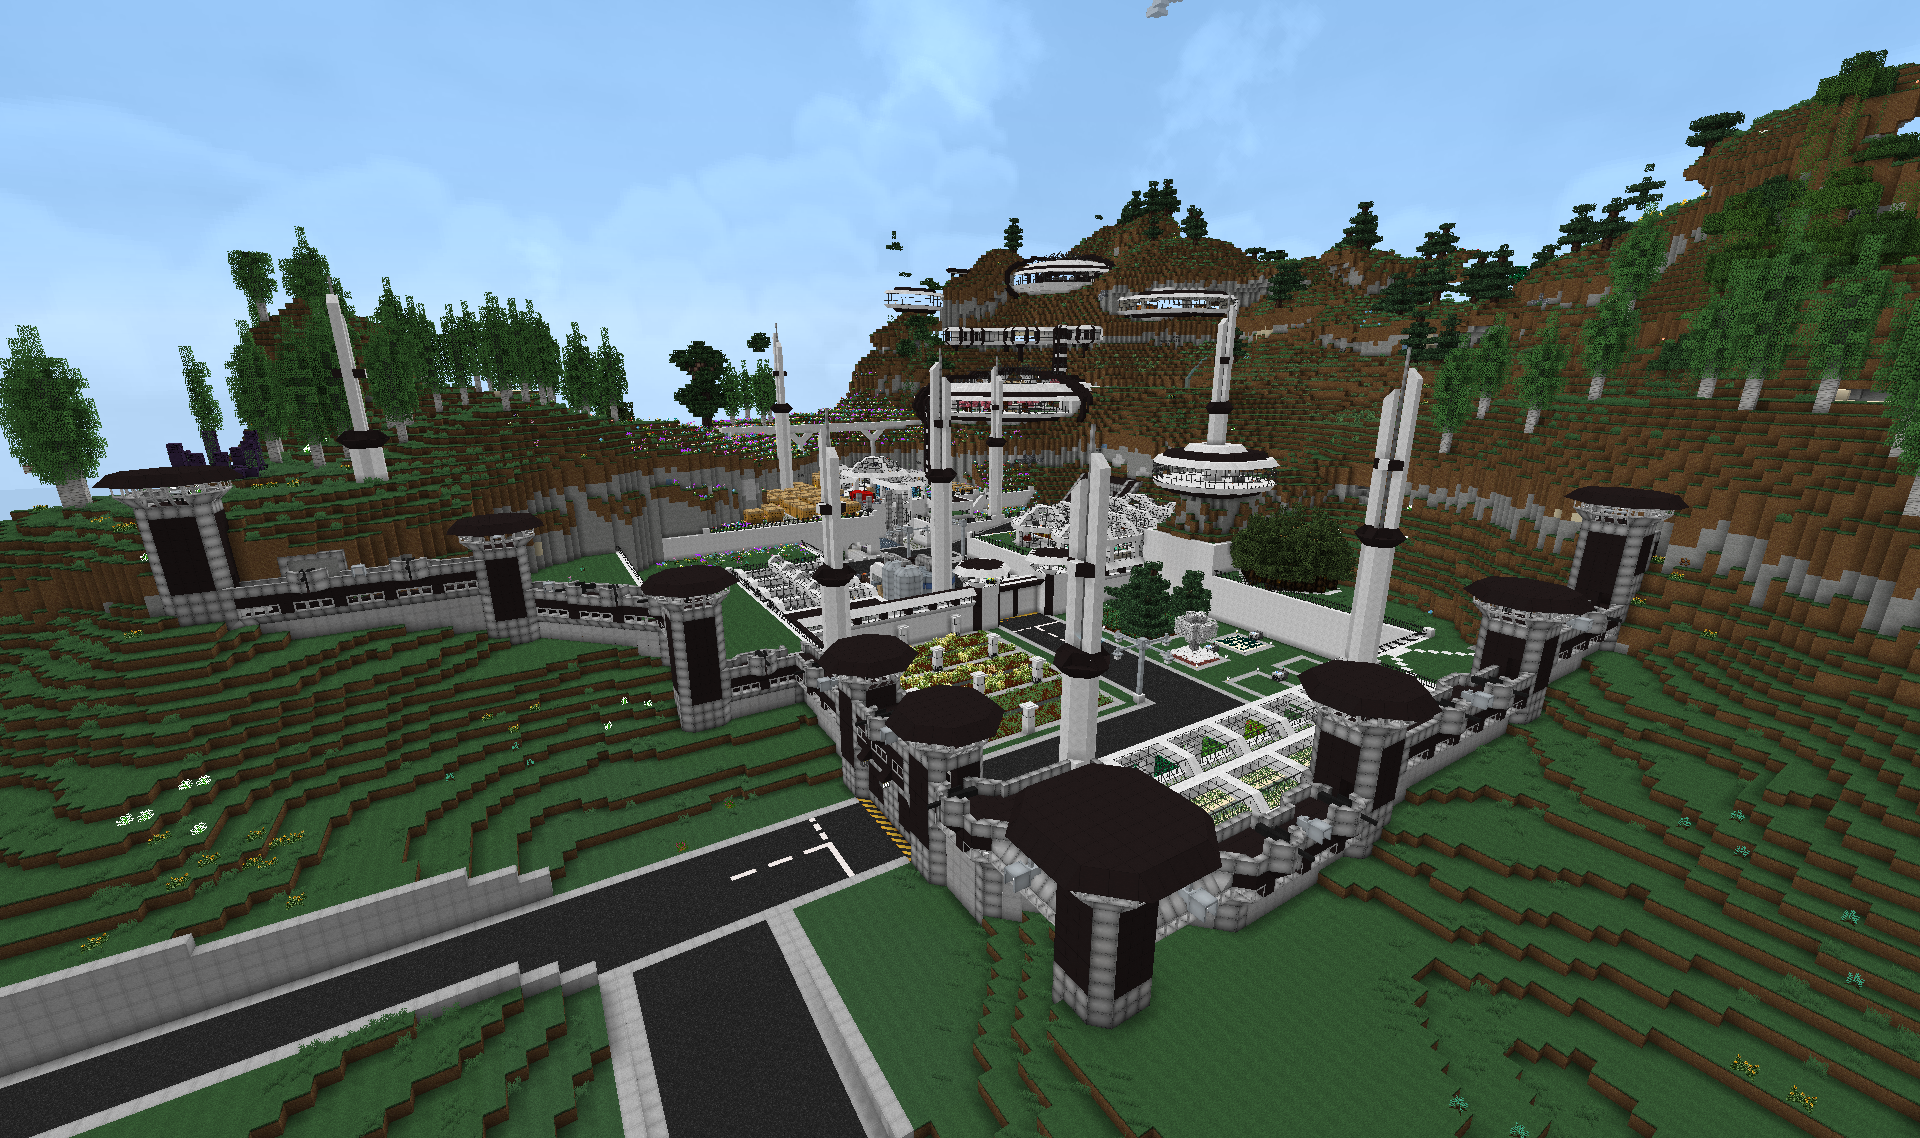
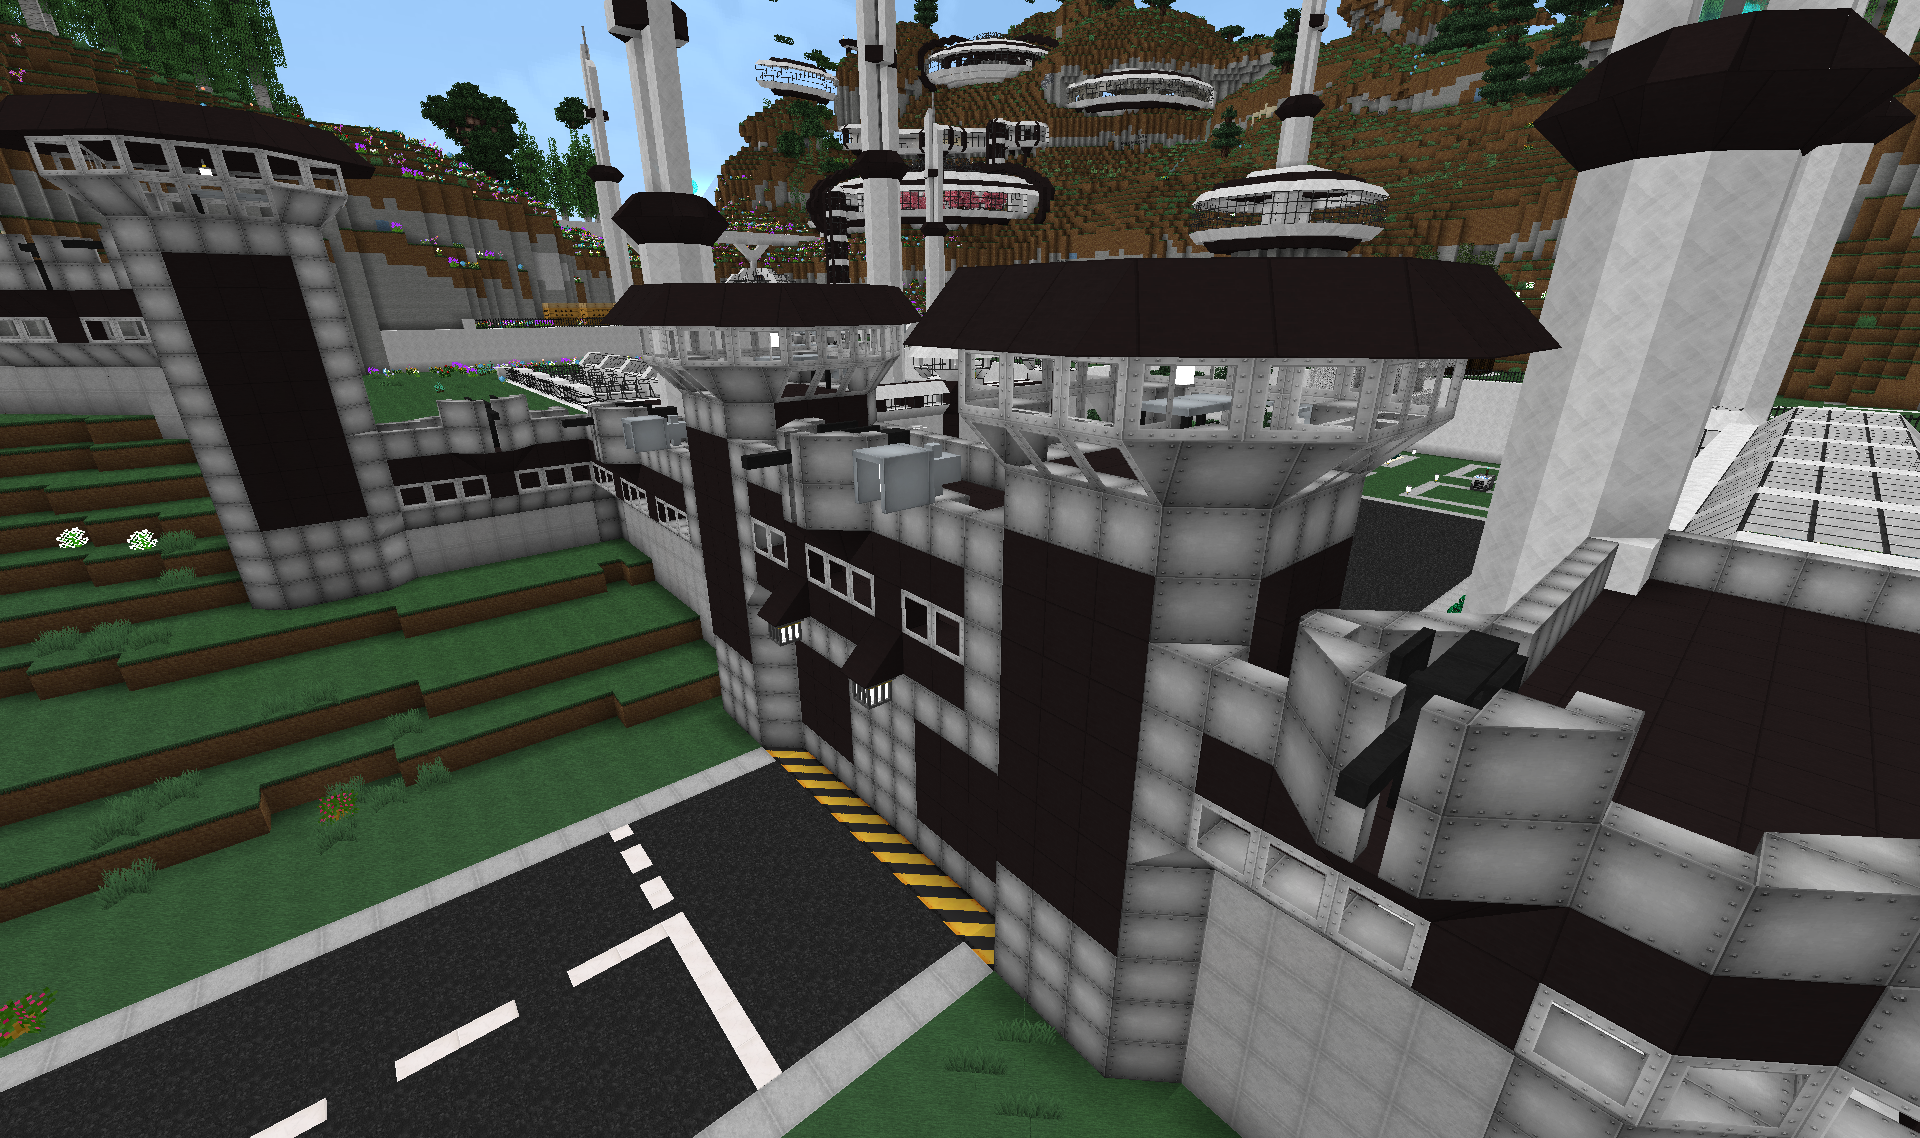
Bunker Entrance post
(5 media per post limit so you need to go there to see the video sorry

)
And I even used an extended version of it(a 1->2->3, 3->2->1) for the Abyssal base airlocks:
So, I think I am running out of ideas now. If anyone have ideas for additions, maybe PM me with the details and I will look into adding them. I will try and remember to add new stuff if I think any up along the way.


")


")