Allright, hope this works:
Monster world save:
https://www.dropbox.com/s/0phrdkfsphysj1v/Monster 021014.rar?dl=0
(really don't know if you can bring this back to life btw. Certain things were acting mighty strange when I gave up on it)
Be sure to look up the thread where I explain which mods have been added/removed.
TPPI world save:
https://www.dropbox.com/s/9k5k0sn3cktc92k/TPPI 240315.rar?dl=0
Config folder:
https://www.dropbox.com/s/7s3mbkstybflftc/TPPI config.rar?dl=0
Added mods:
ATG-1.6.4-0.9.5
ChickenChunks 1.3.3.4
Enchiridion-1.6.4-1-1
Highlands2.1.7_MC1.6.4
Mariculture-1.6.4-1.2.2f
Random_Things_v._1.9__MC_1.6.4_
Removed:
Advancedgenetics
AM2
Botania
DartCraft
Dimensional Anchors
eirairc
Gendustry
HardcoreEnderExpansion
InfernalMobs
Morph
Witchery
I have not done anything specific to make it easier to find the base in the TPPI world. I have currently "frozen" the save as I am in the middle of moving it over to a server(going a bit slow as I have been sick and I am a complete newbie at it) so rather not mess around with having multiple versions of it floating around.
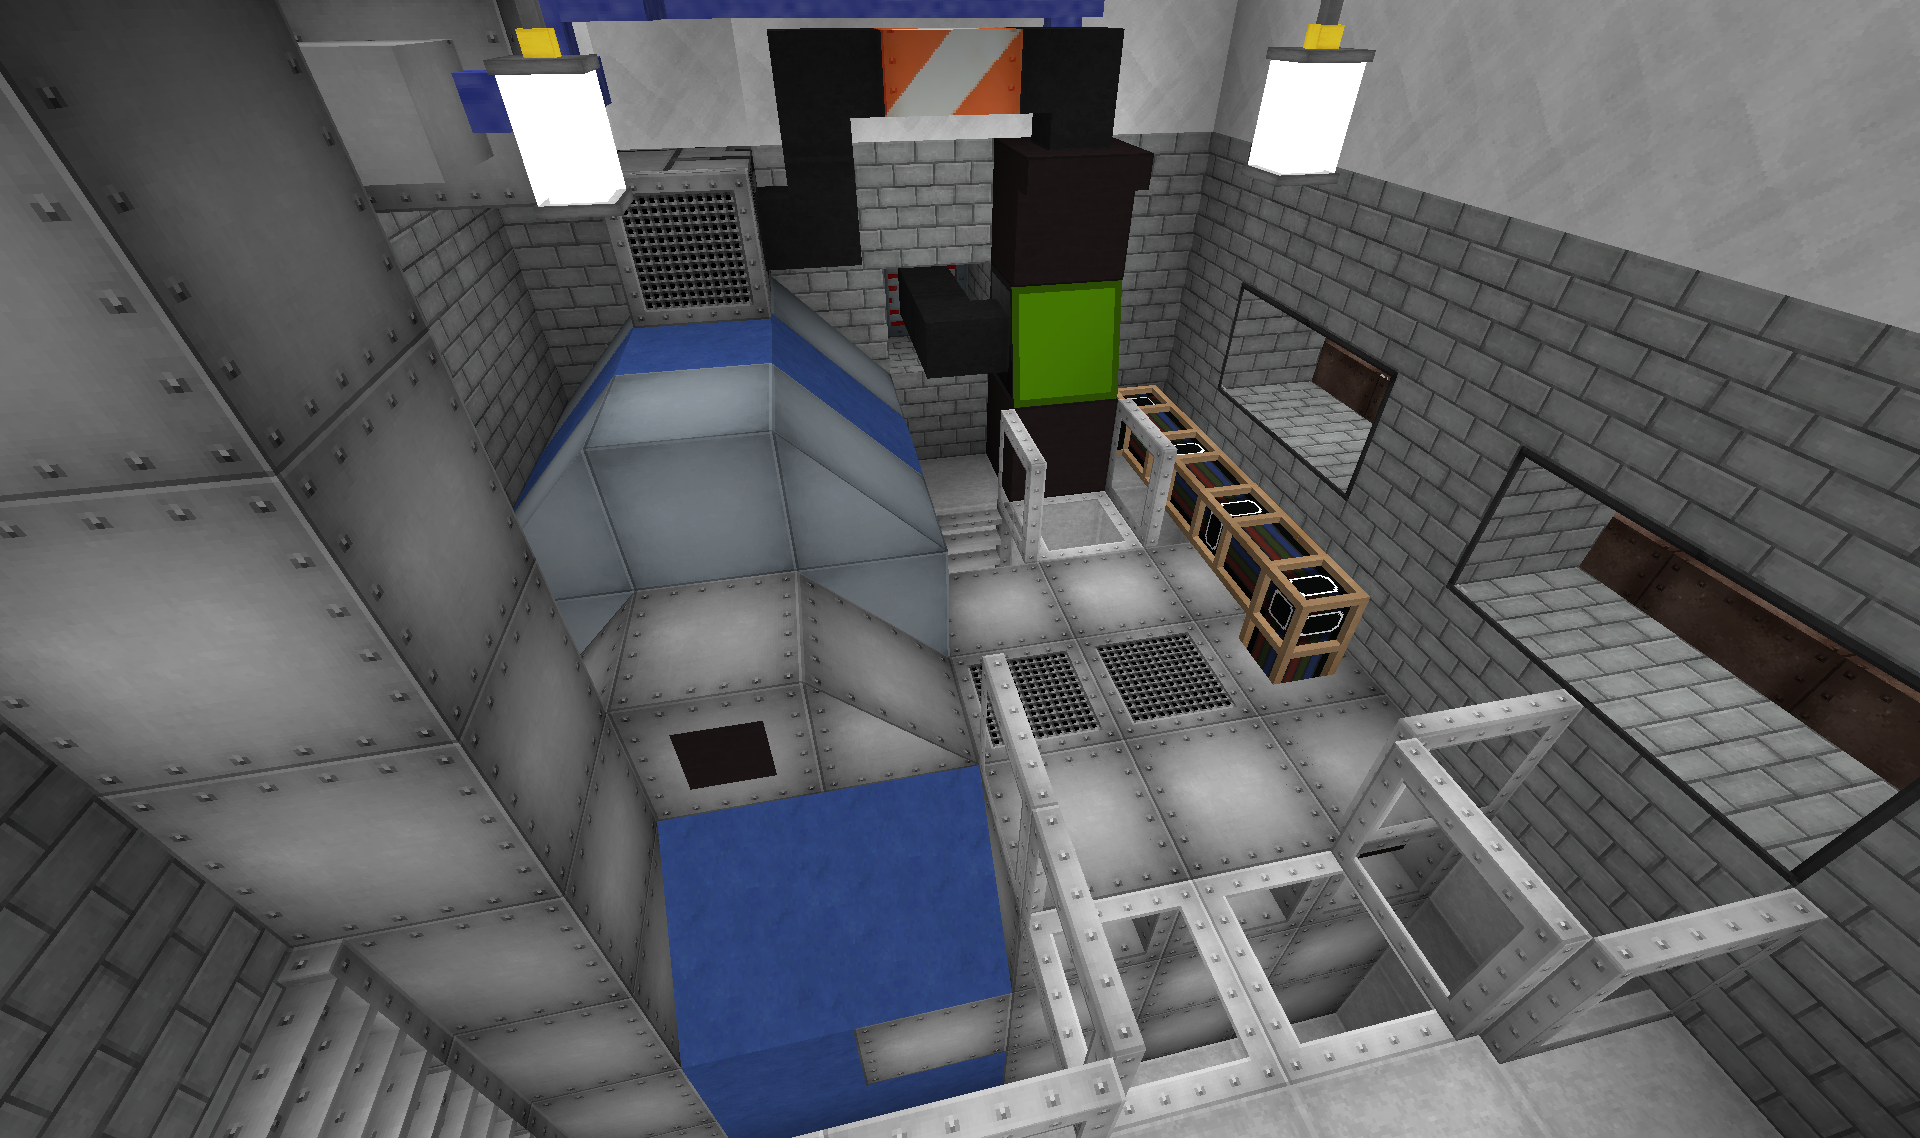
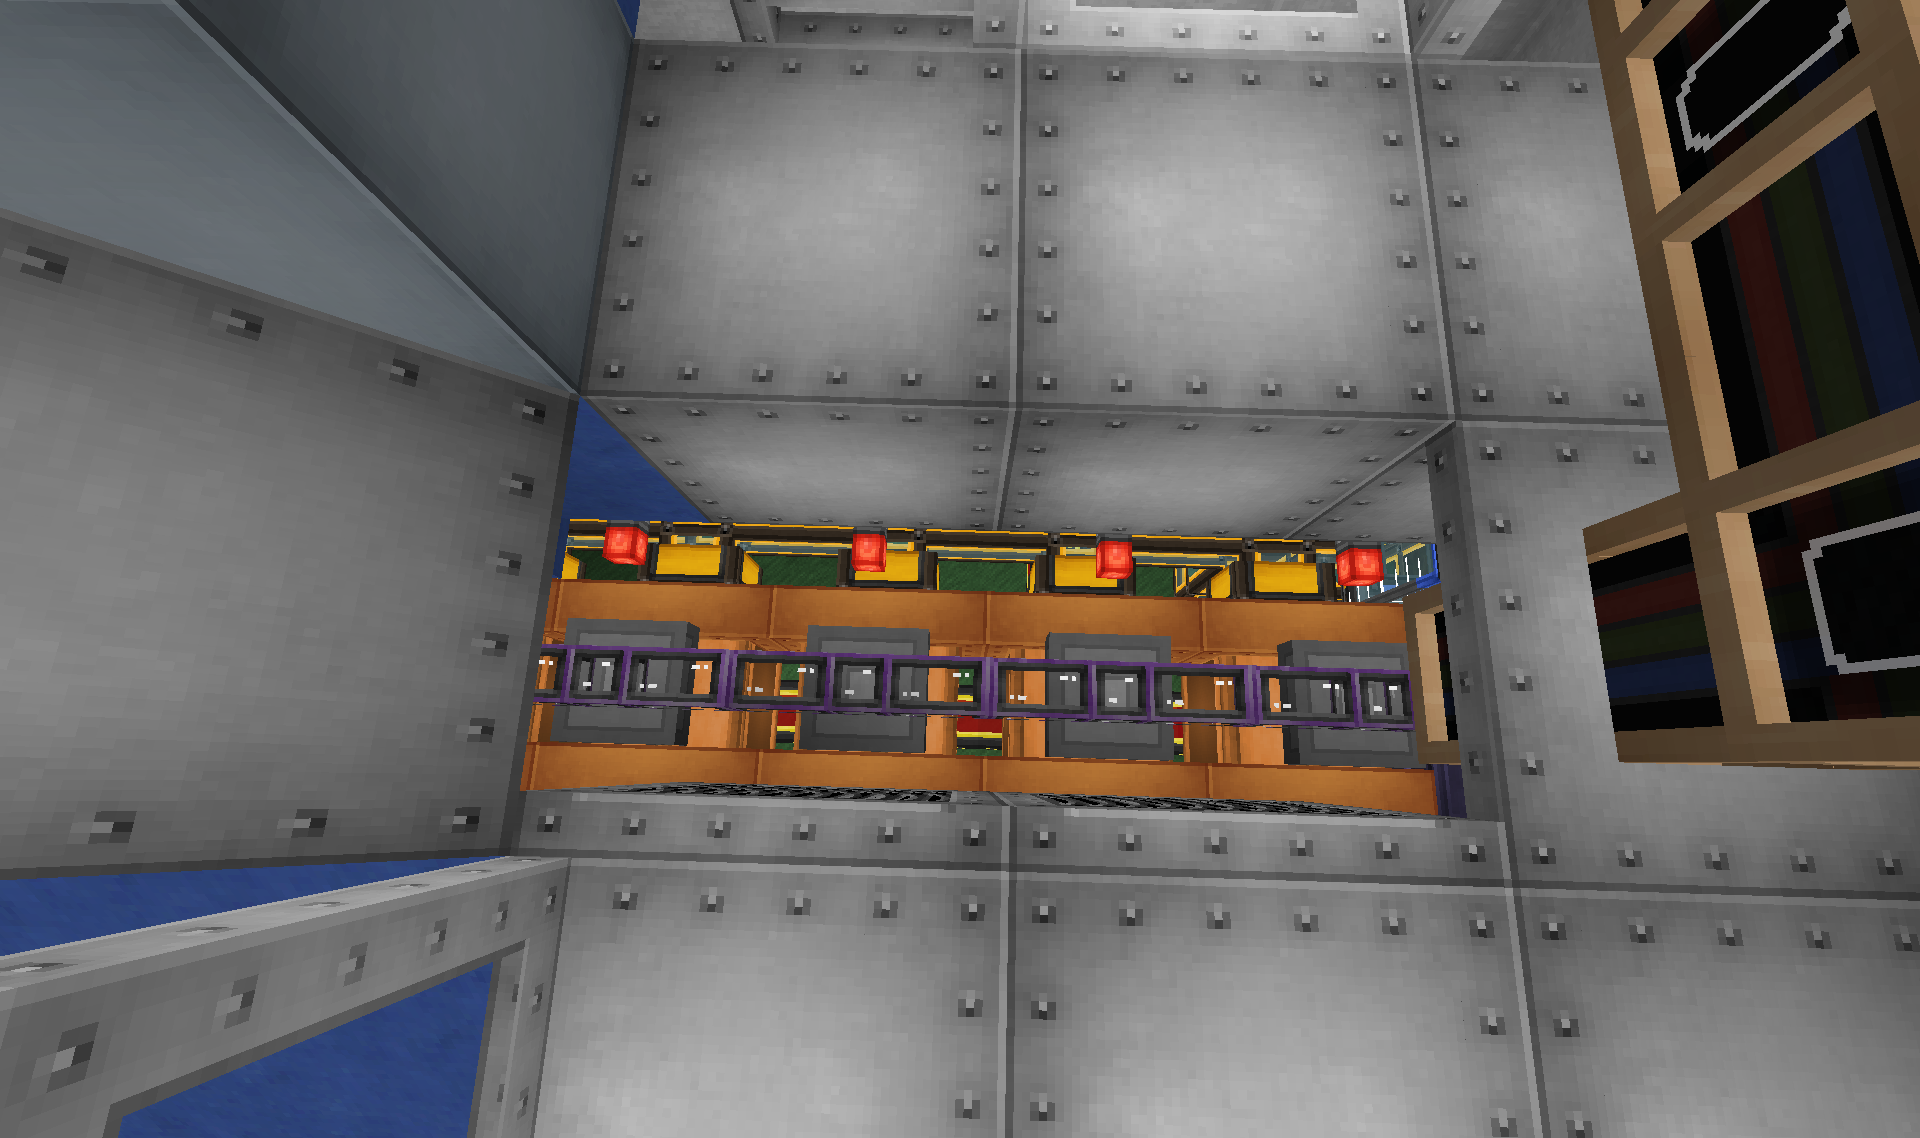
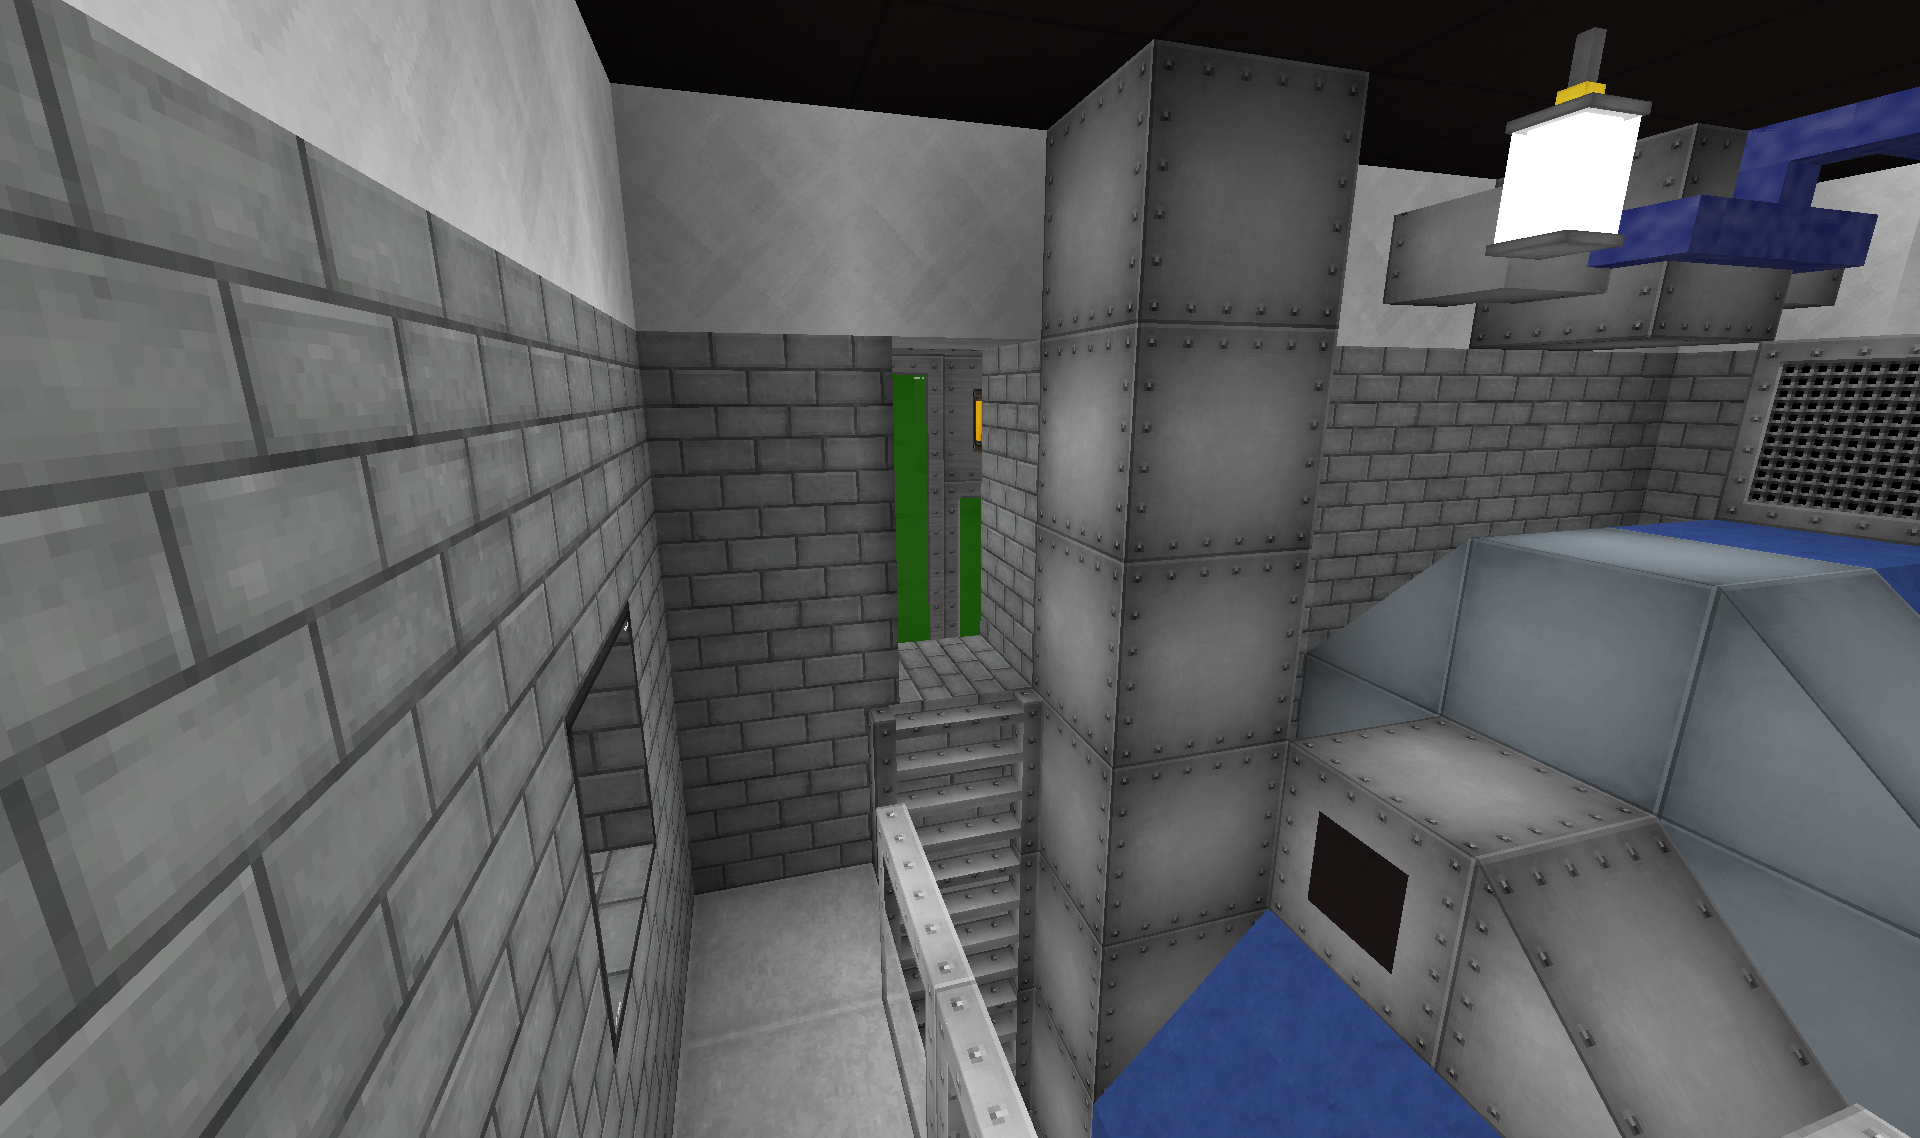
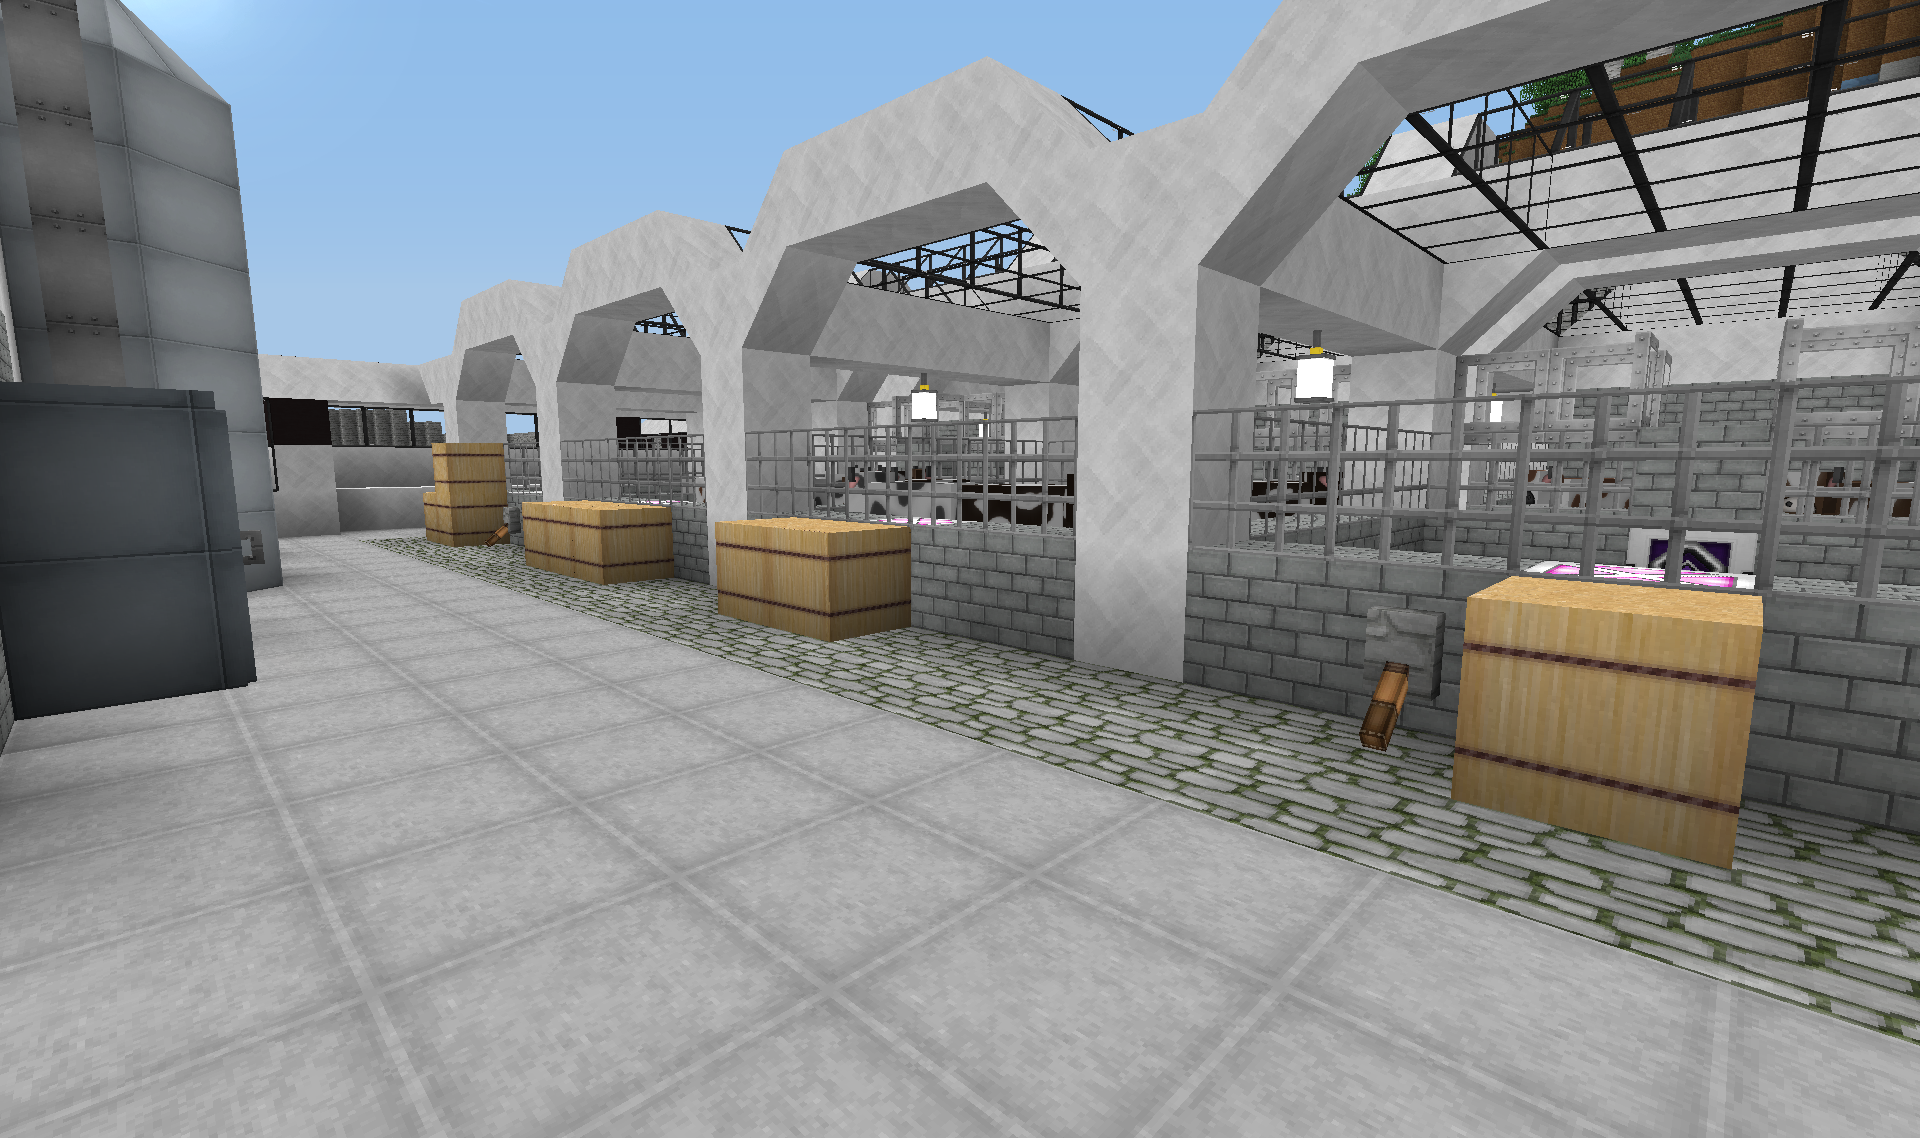
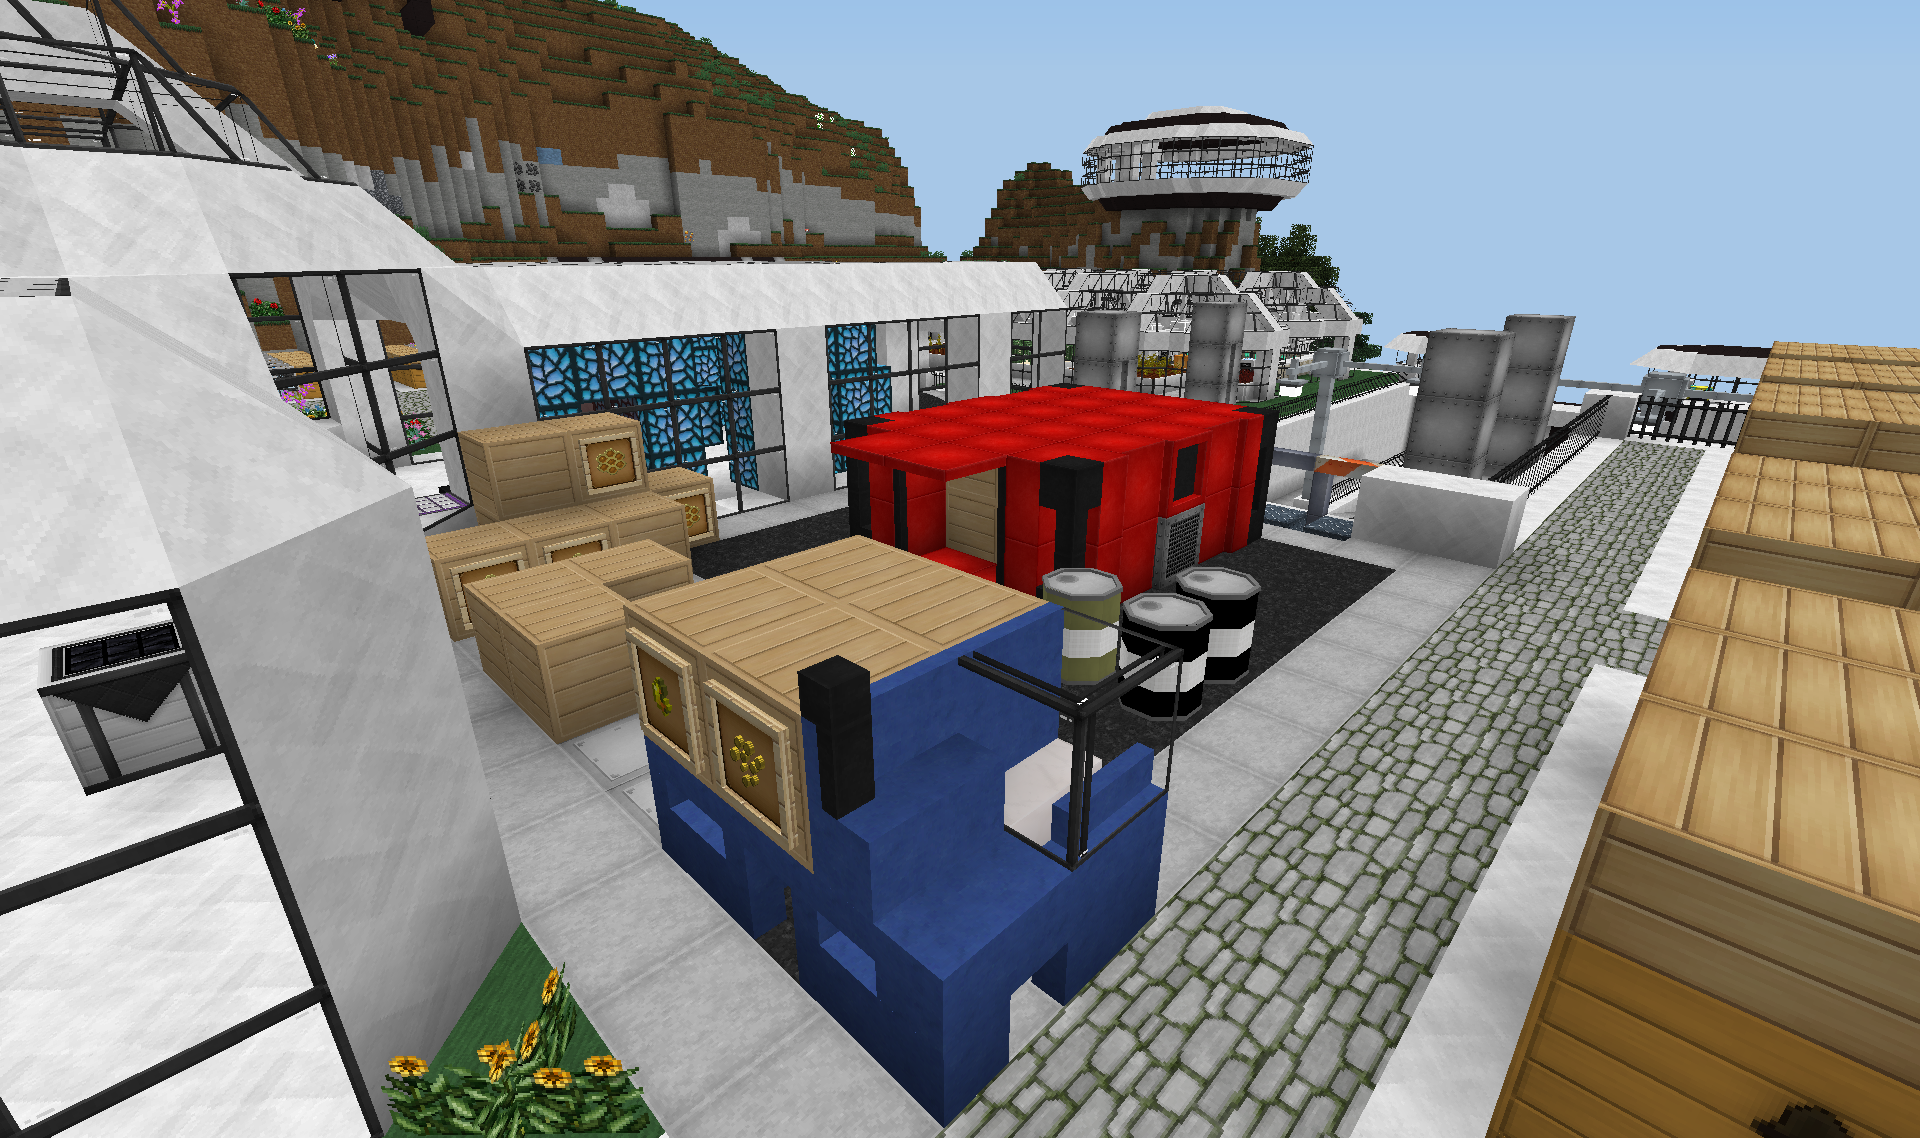
Excellent, thank you for taking the time to upload. I have only loaded up the Monster world so far and I'm particularly interested in how you've automated your TiCo smeltery and BC Lasers (although I think the Laser array that I saw was on your TPPI world!). I love your TC room as well; only wish I knew the fist thing about TC to warrant building my own room! There's so much stuff that you've built from a host of mods that I haven't even begun to learn and explore yet!
The Monster world is a touch laggy in the ship on my medium/high end system but certainly playable and enjoyable for me to have a bit of a tinker to see and learn how you've done certain things.
Thanks once again and looking forward to seeing further updates