rhn's continued adventures: a build journal, guide collection etc.
- Thread starter rhn
- Start date
-
The FTB Forum is now read-only, and is here as an archive. To participate in our community discussions, please join our Discord! https://ftb.team/discord
You are using an out of date browser. It may not display this or other websites correctly.
You should upgrade or use an alternative browser.
You should upgrade or use an alternative browser.
was easy to fix after seeing the real message to use a certain forge version. then it was fixed. and goin back on reika's mods is impossible. only the latest one is available onlineTry an older version of the LIB?
R
Robstar1
Guest
Hi all. I've been following this thread for a while now and I have to say that rhn's builds are a real inspiration for me in my single-player world. The use of Soartex is amazing which brings up a question about the following image:
Which block textures are used for the AE2 terminals. They look incredible, and I've tried to replicate them in my game, but I can't seem to find the right textures. For the record, I'm using Soartex as well.

Which block textures are used for the AE2 terminals. They look incredible, and I've tried to replicate them in my game, but I can't seem to find the right textures. For the record, I'm using Soartex as well.
They are Metal Block textures from the chisel mod. Either Tin or Iron blocks. I cannot recall at the moment.
my first educated guesses were either a kind of tin or steel block tbh, just wasn't sure enough to say with certainty XD
It has been a while since I had time to play. They are definitely Tin Blocks and I think they are from Project Red.Hi all. I've been following this thread for a while now and I have to say that rhn's builds are a real inspiration for me in my single-player world. The use of Soartex is amazing which brings up a question about the following image:
Which block textures are used for the AE2 terminals. They look incredible, and I've tried to replicate them in my game, but I can't seem to find the right textures. For the record, I'm using Soartex as well.
View attachment 36647
Had a bit of time in the last week to get ingame. Thought I would try and get through some of the massive backlog of stuff. But then Imgur crapped out. Finally managed to get the pictures up after days of trying.
So as some of the previous pictures have shown, I kinda built another city:
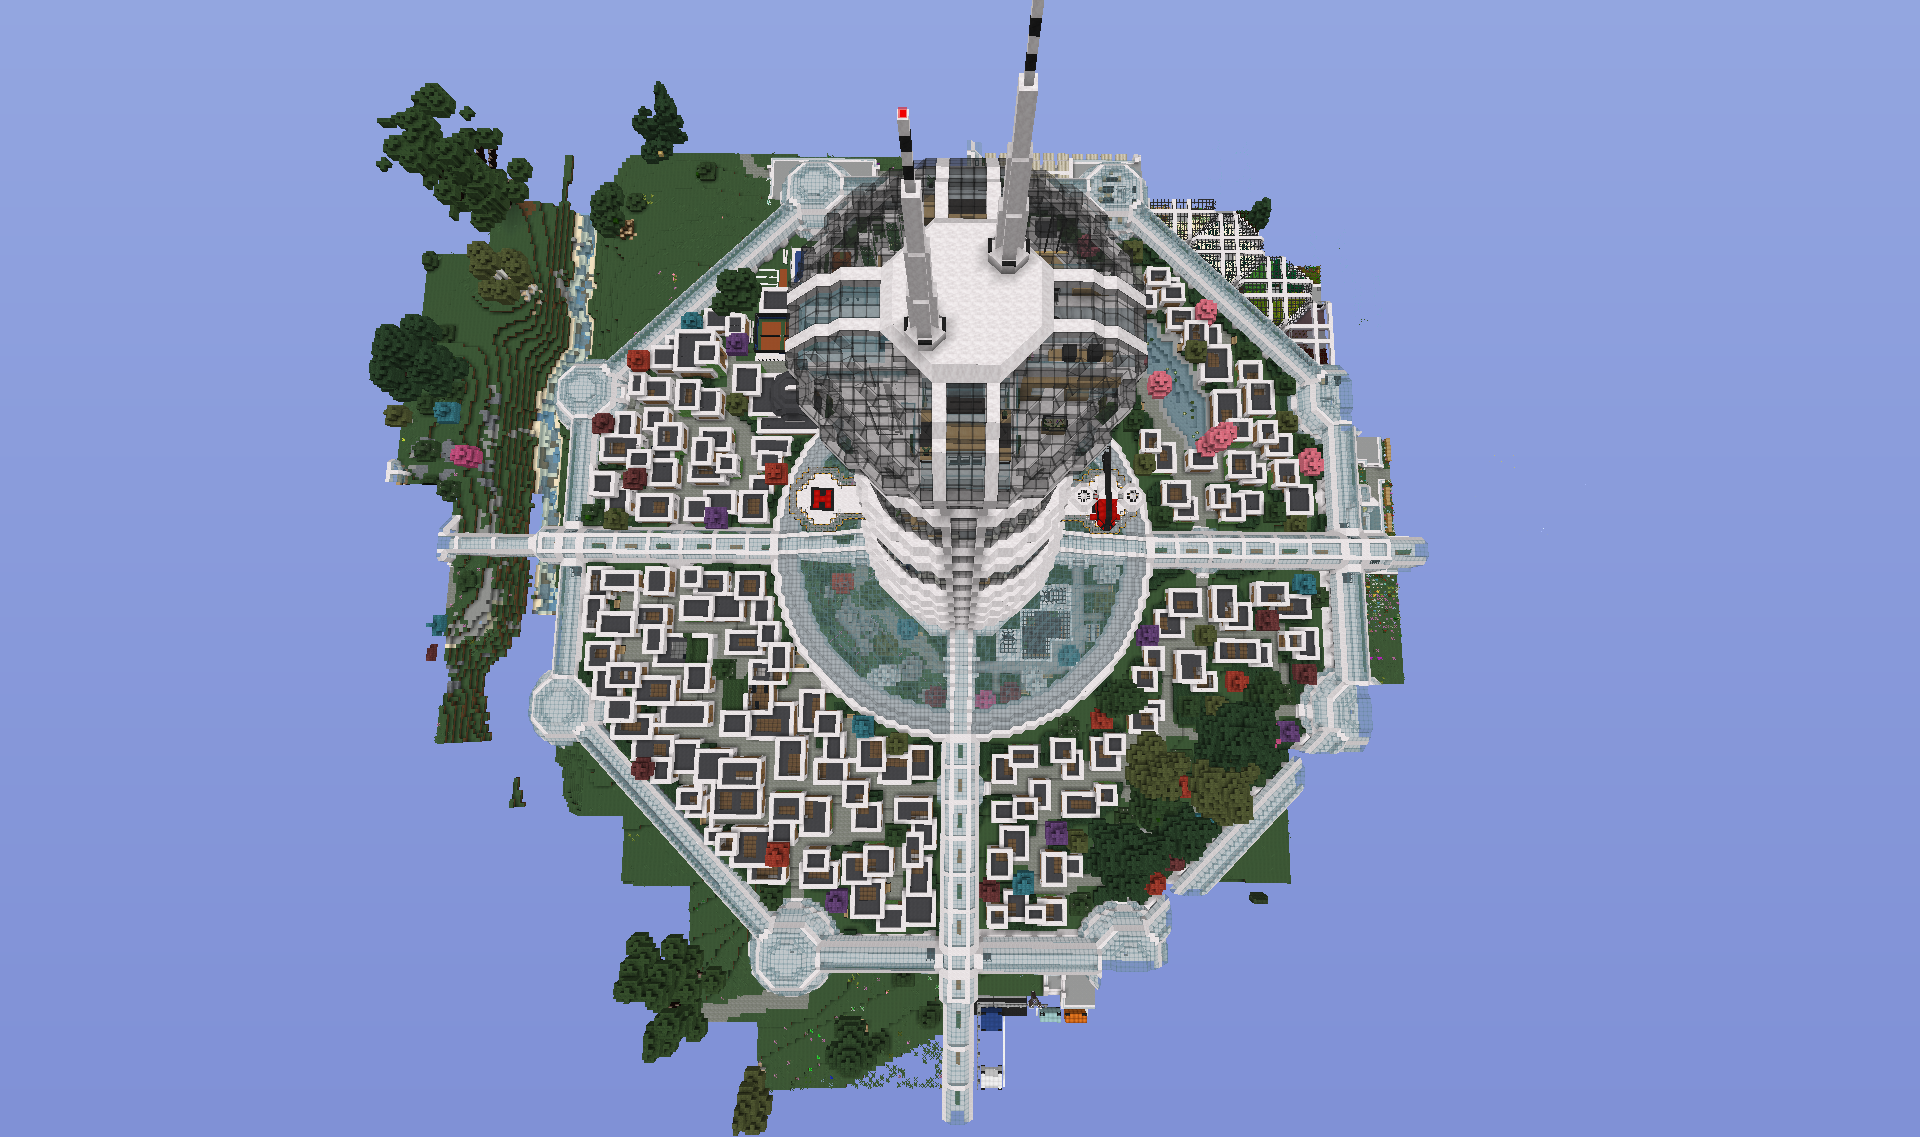
Decided long ago to populate the space between the rings on the towers base with houses. It was a lot of work despite not furnishing all of them. Did not seem worth the work and performance hit.
The city is made up of 4 quadrants:
The first quadrant is the one closest to the harbour:
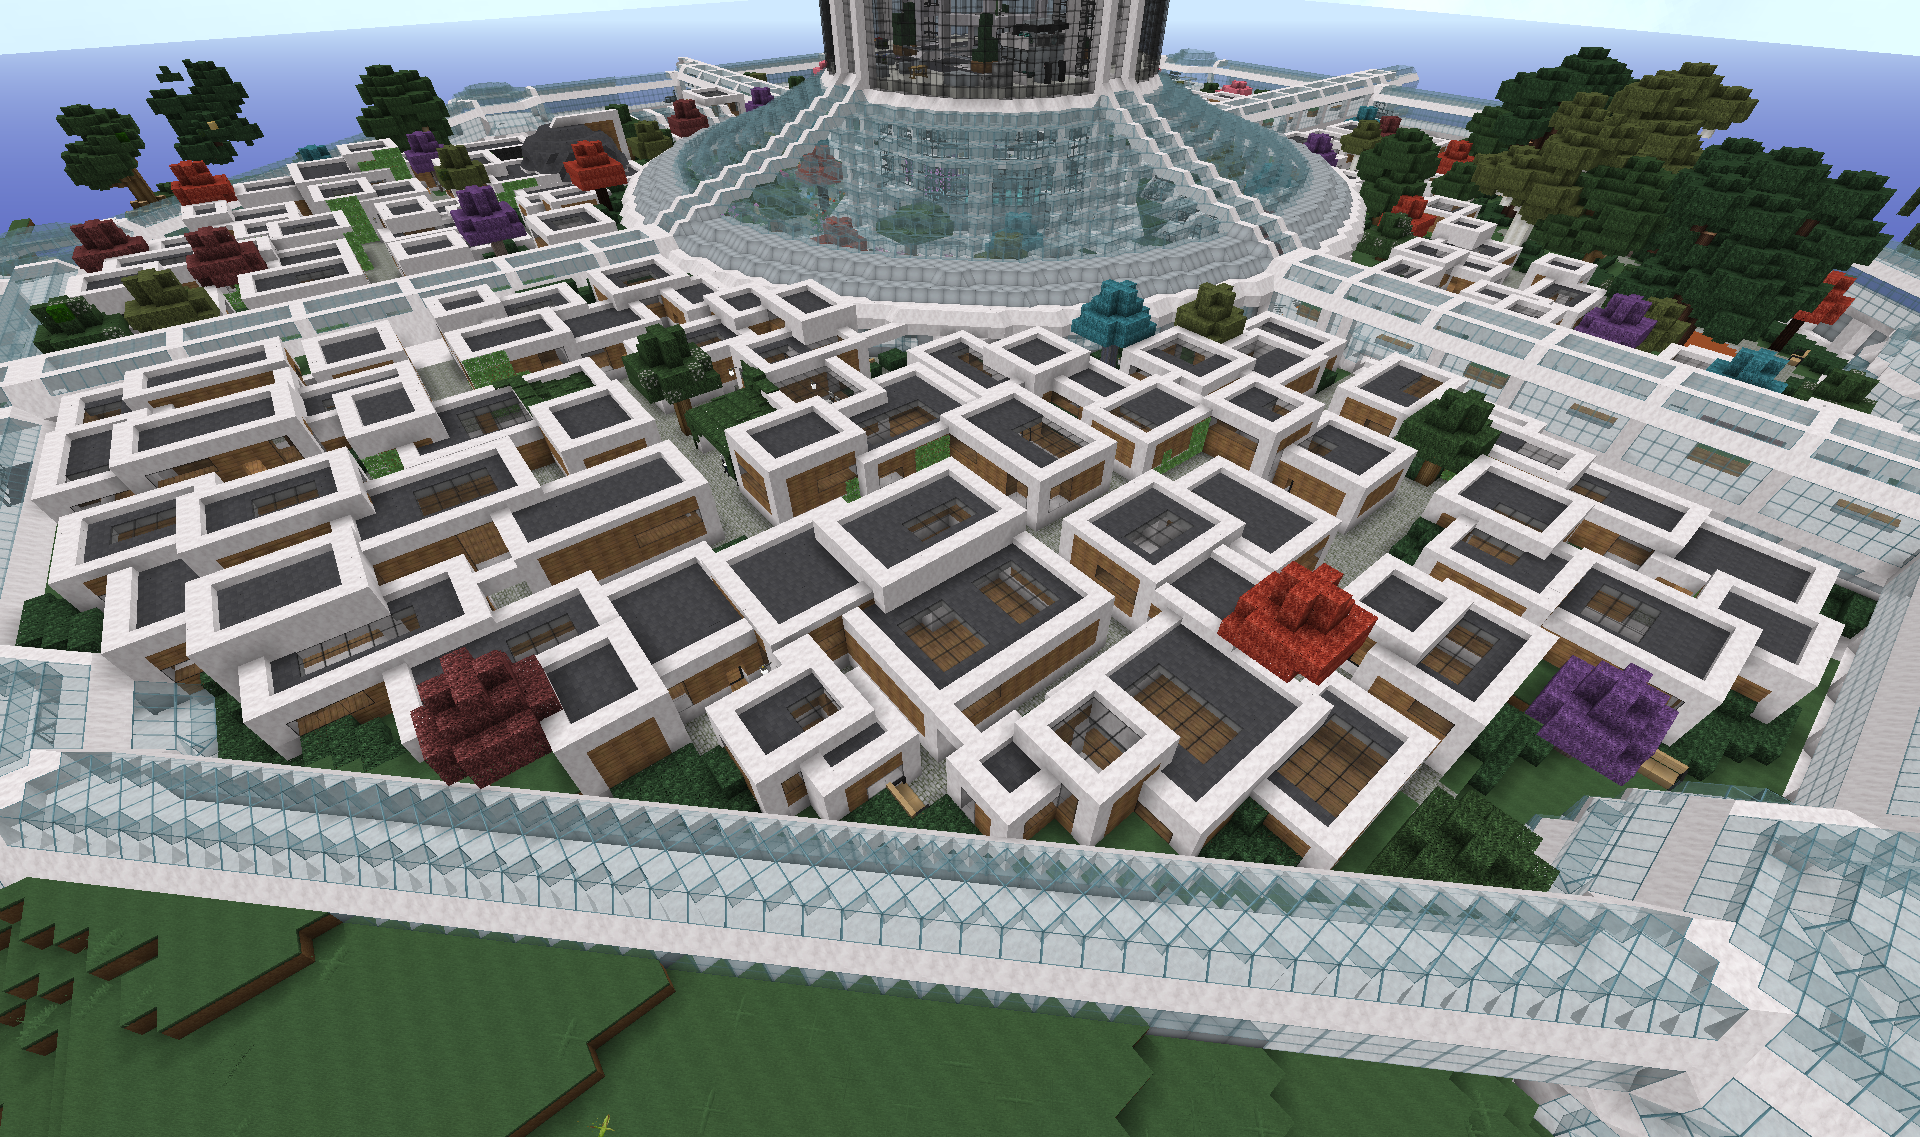
This quadrant is a bit more dynamic than the others. It has lots of small alleys and a more chaotic layout of buildings.
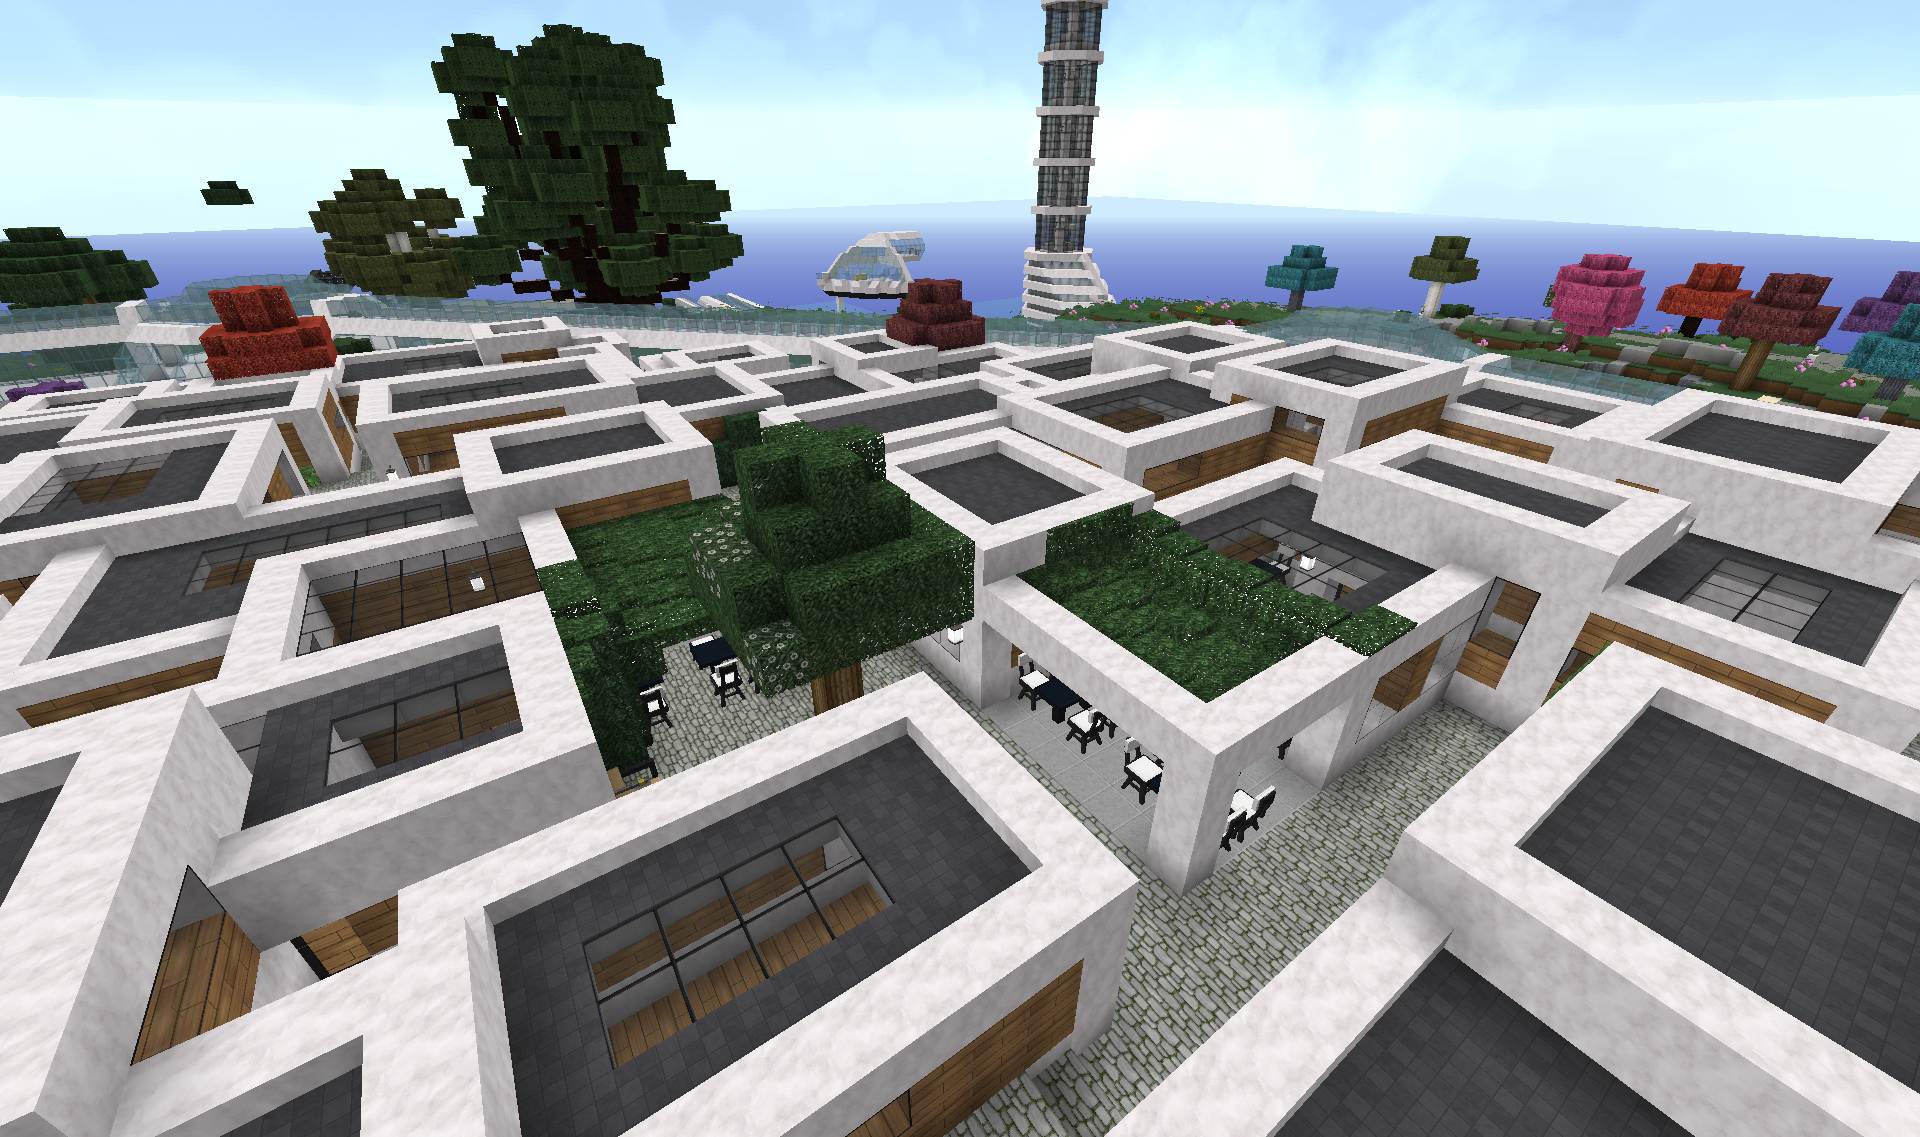
It also houses a couple of coffee shops /restaurants.
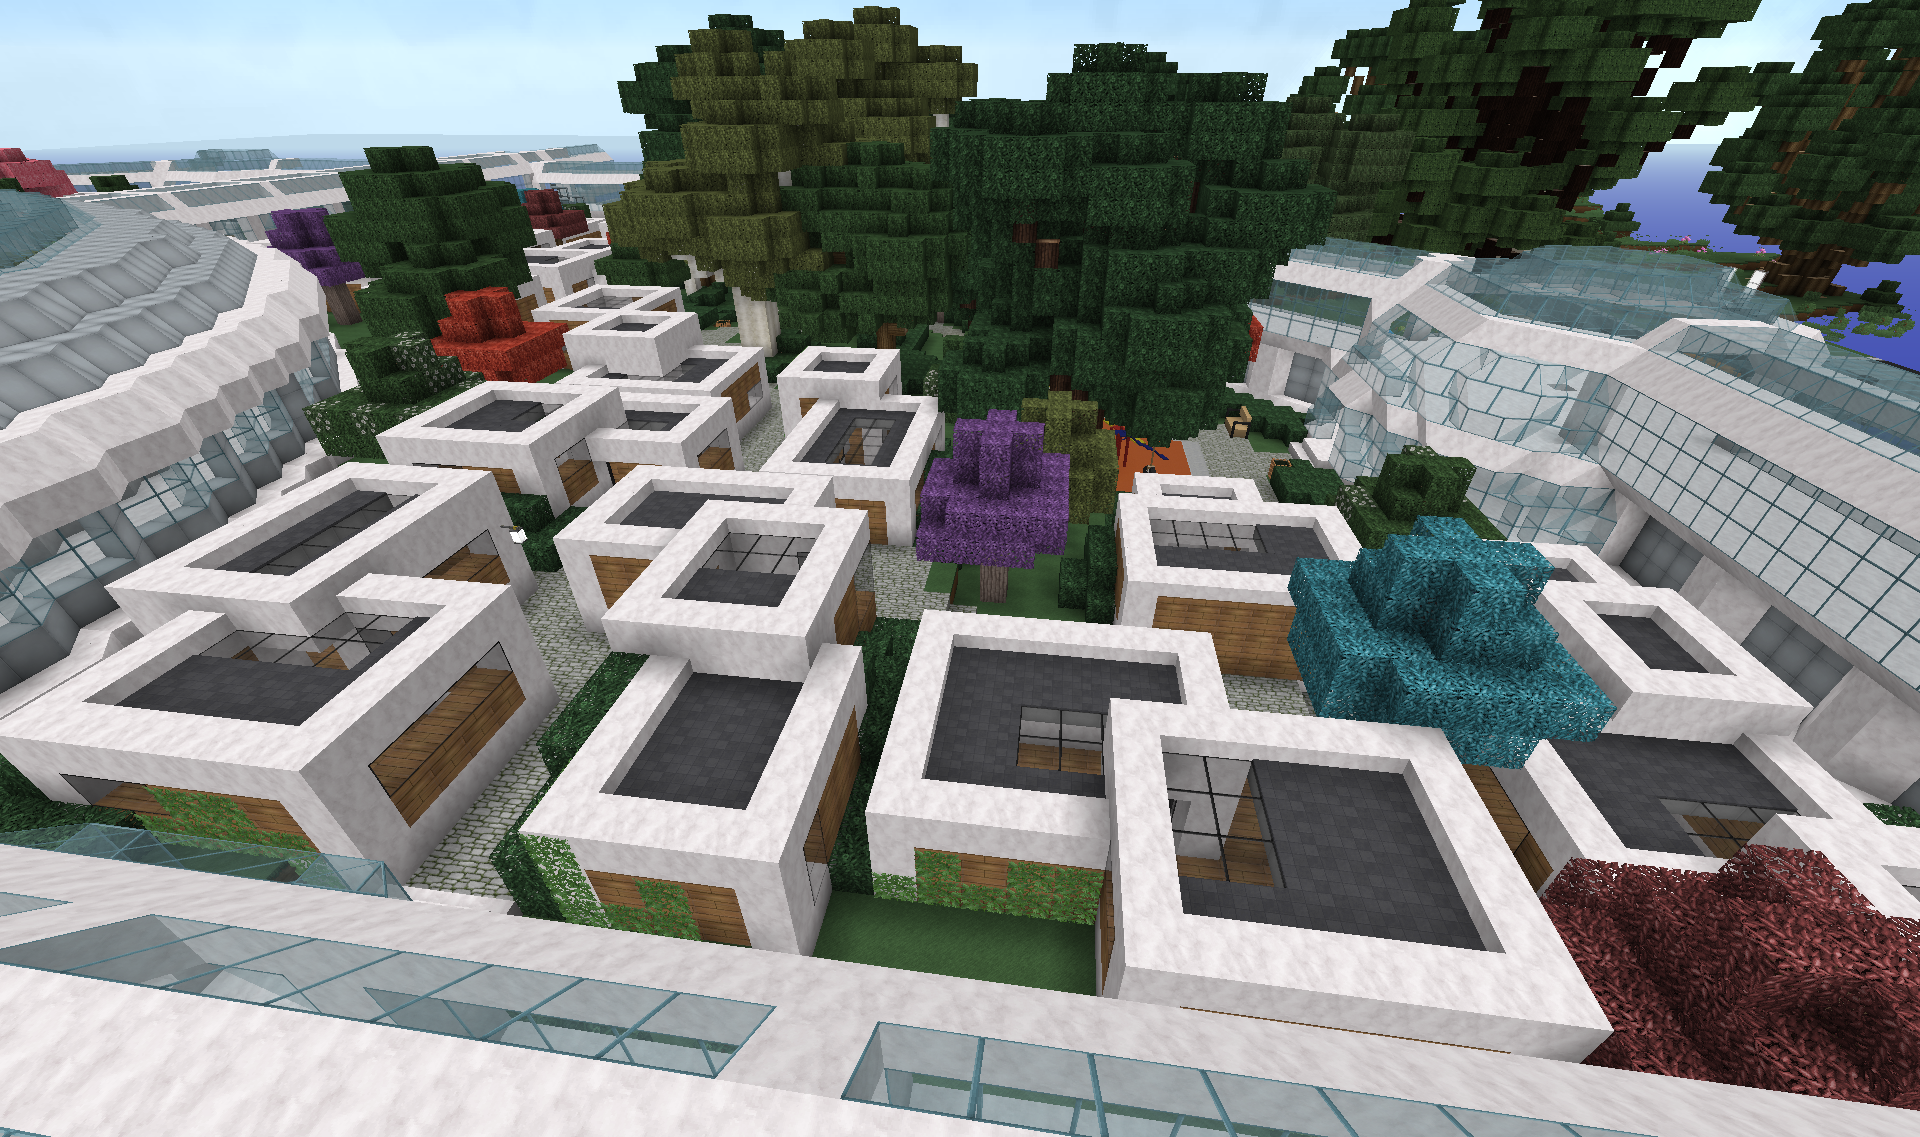
Second quadrant is the park:
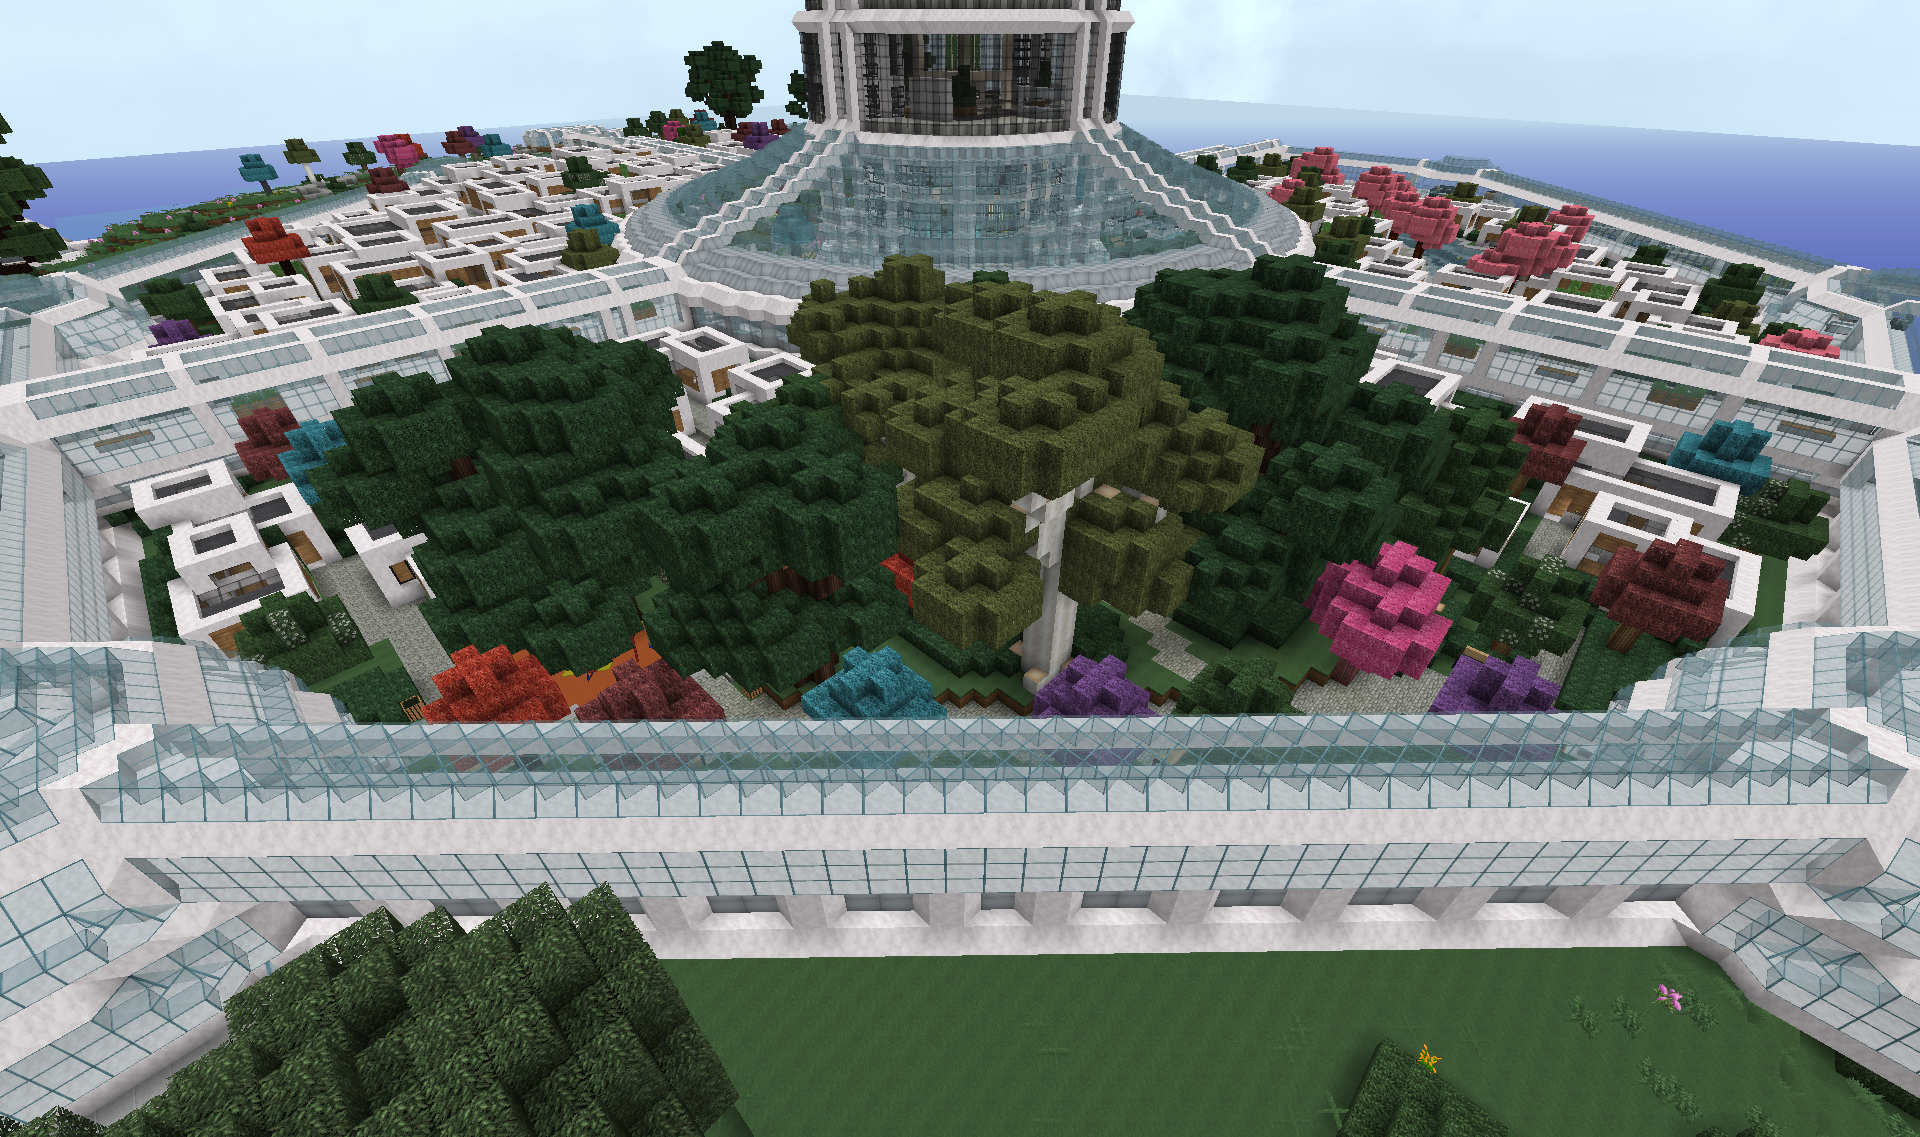
It has houses that are much more spaced out:
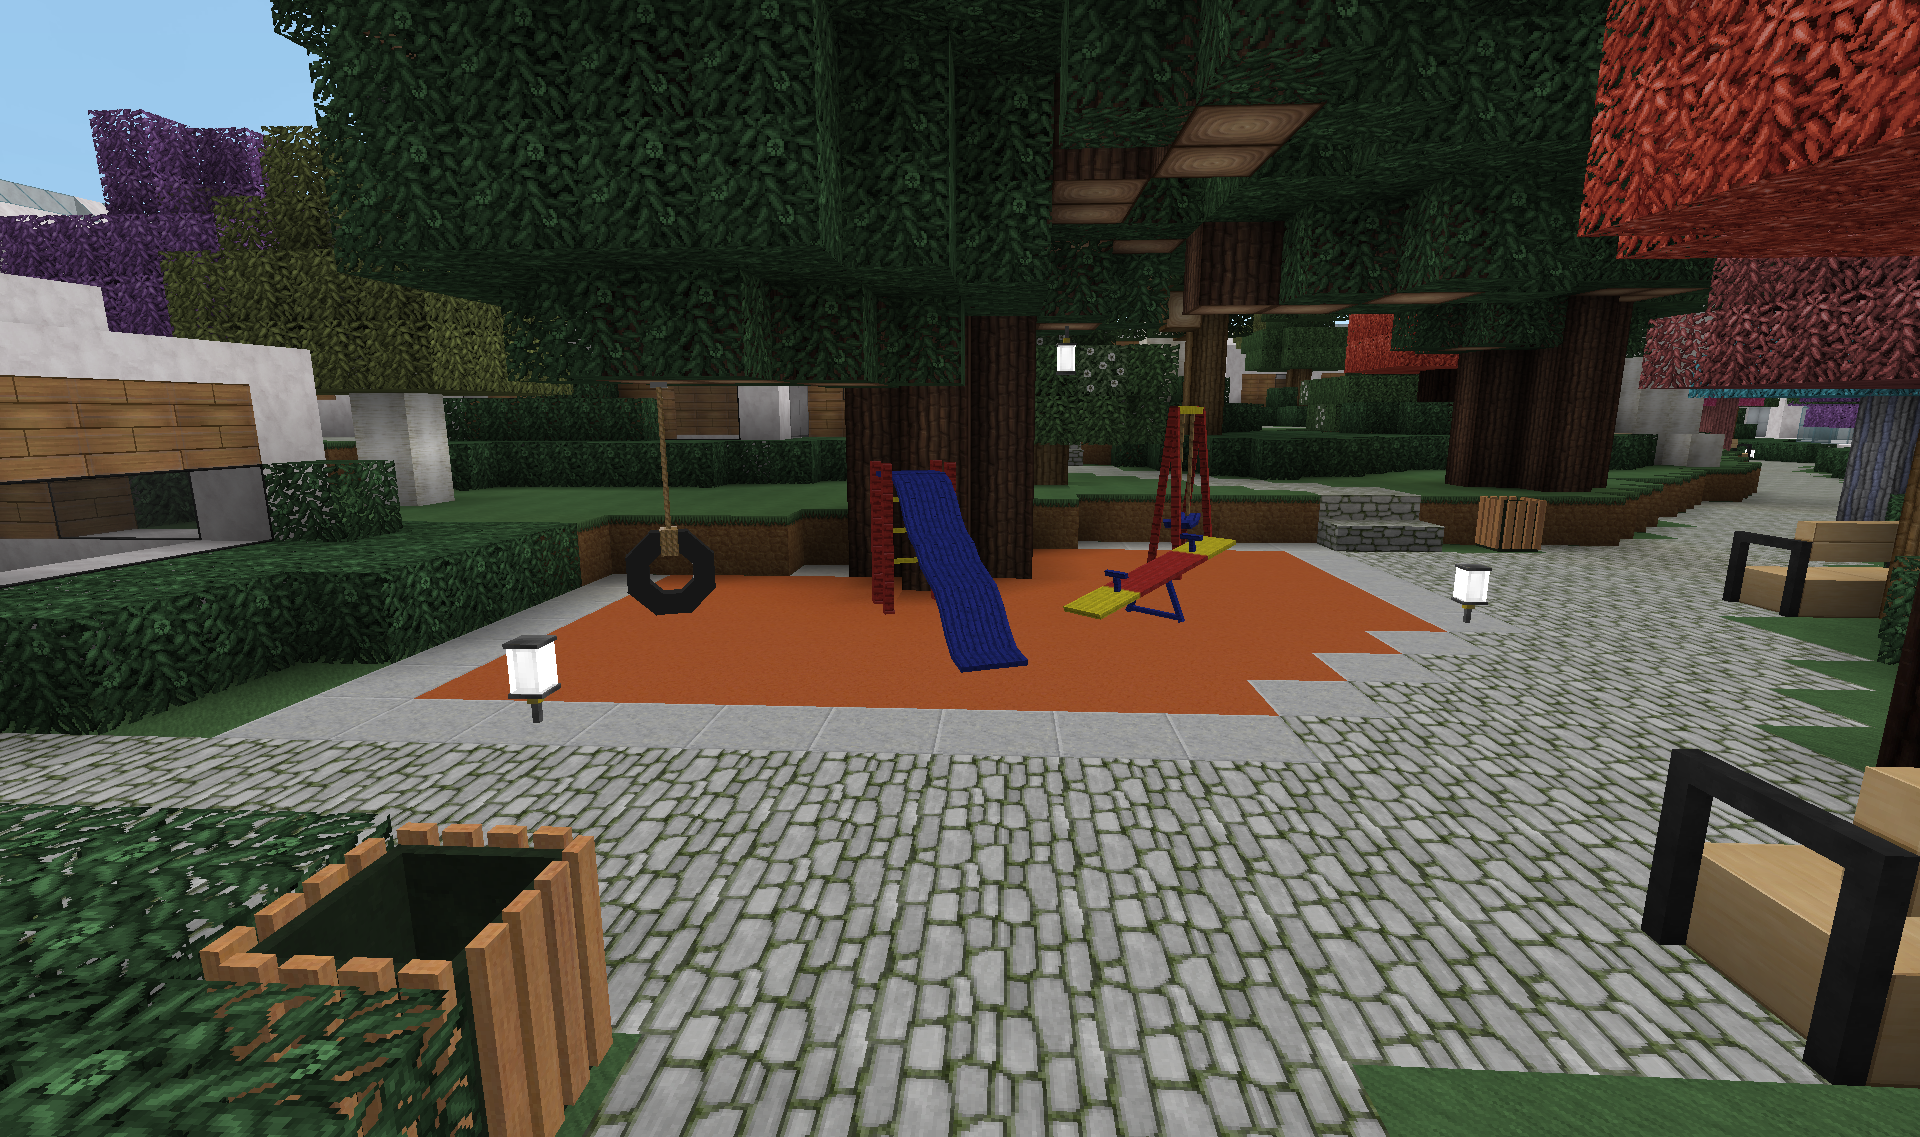
There is a playground:
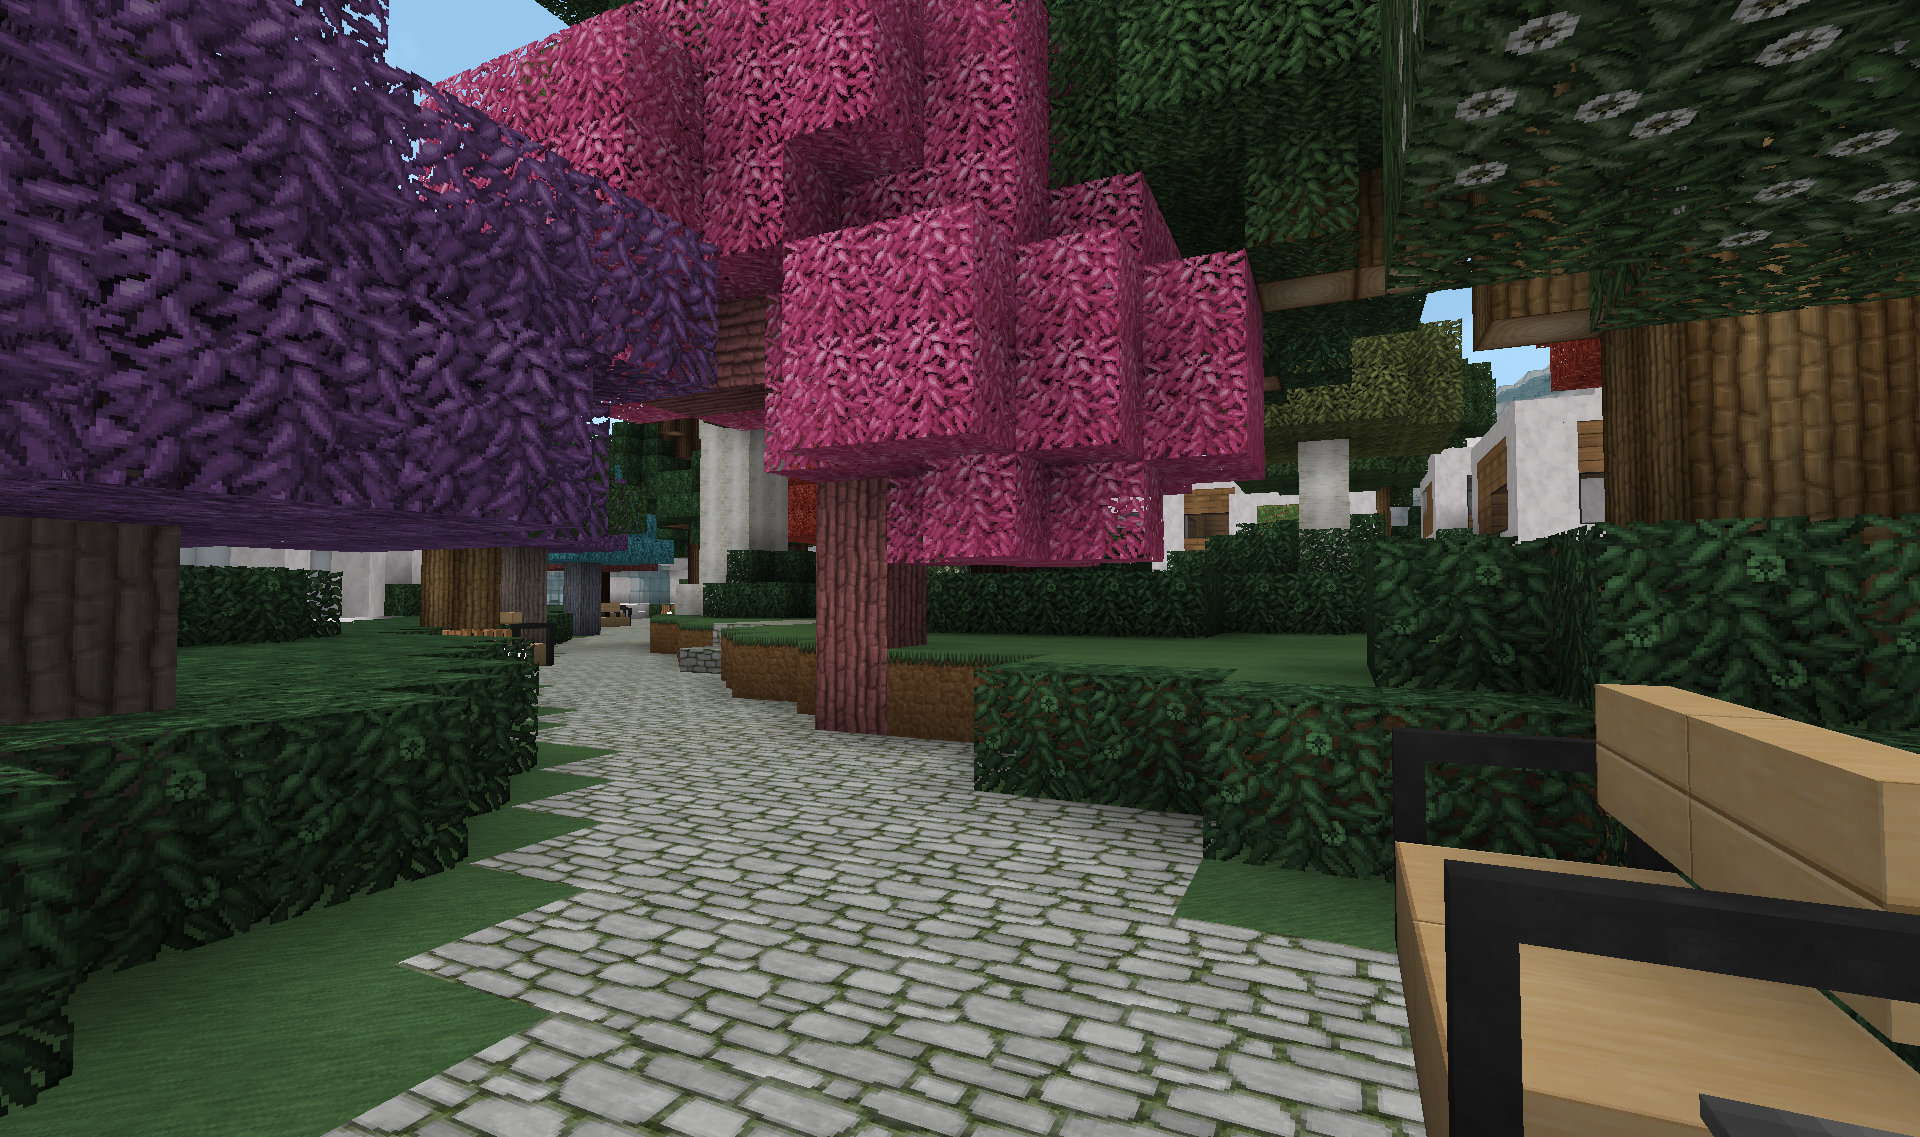
And the lower part is dedicated as park area:
Third quadrant is a bit more "high end":
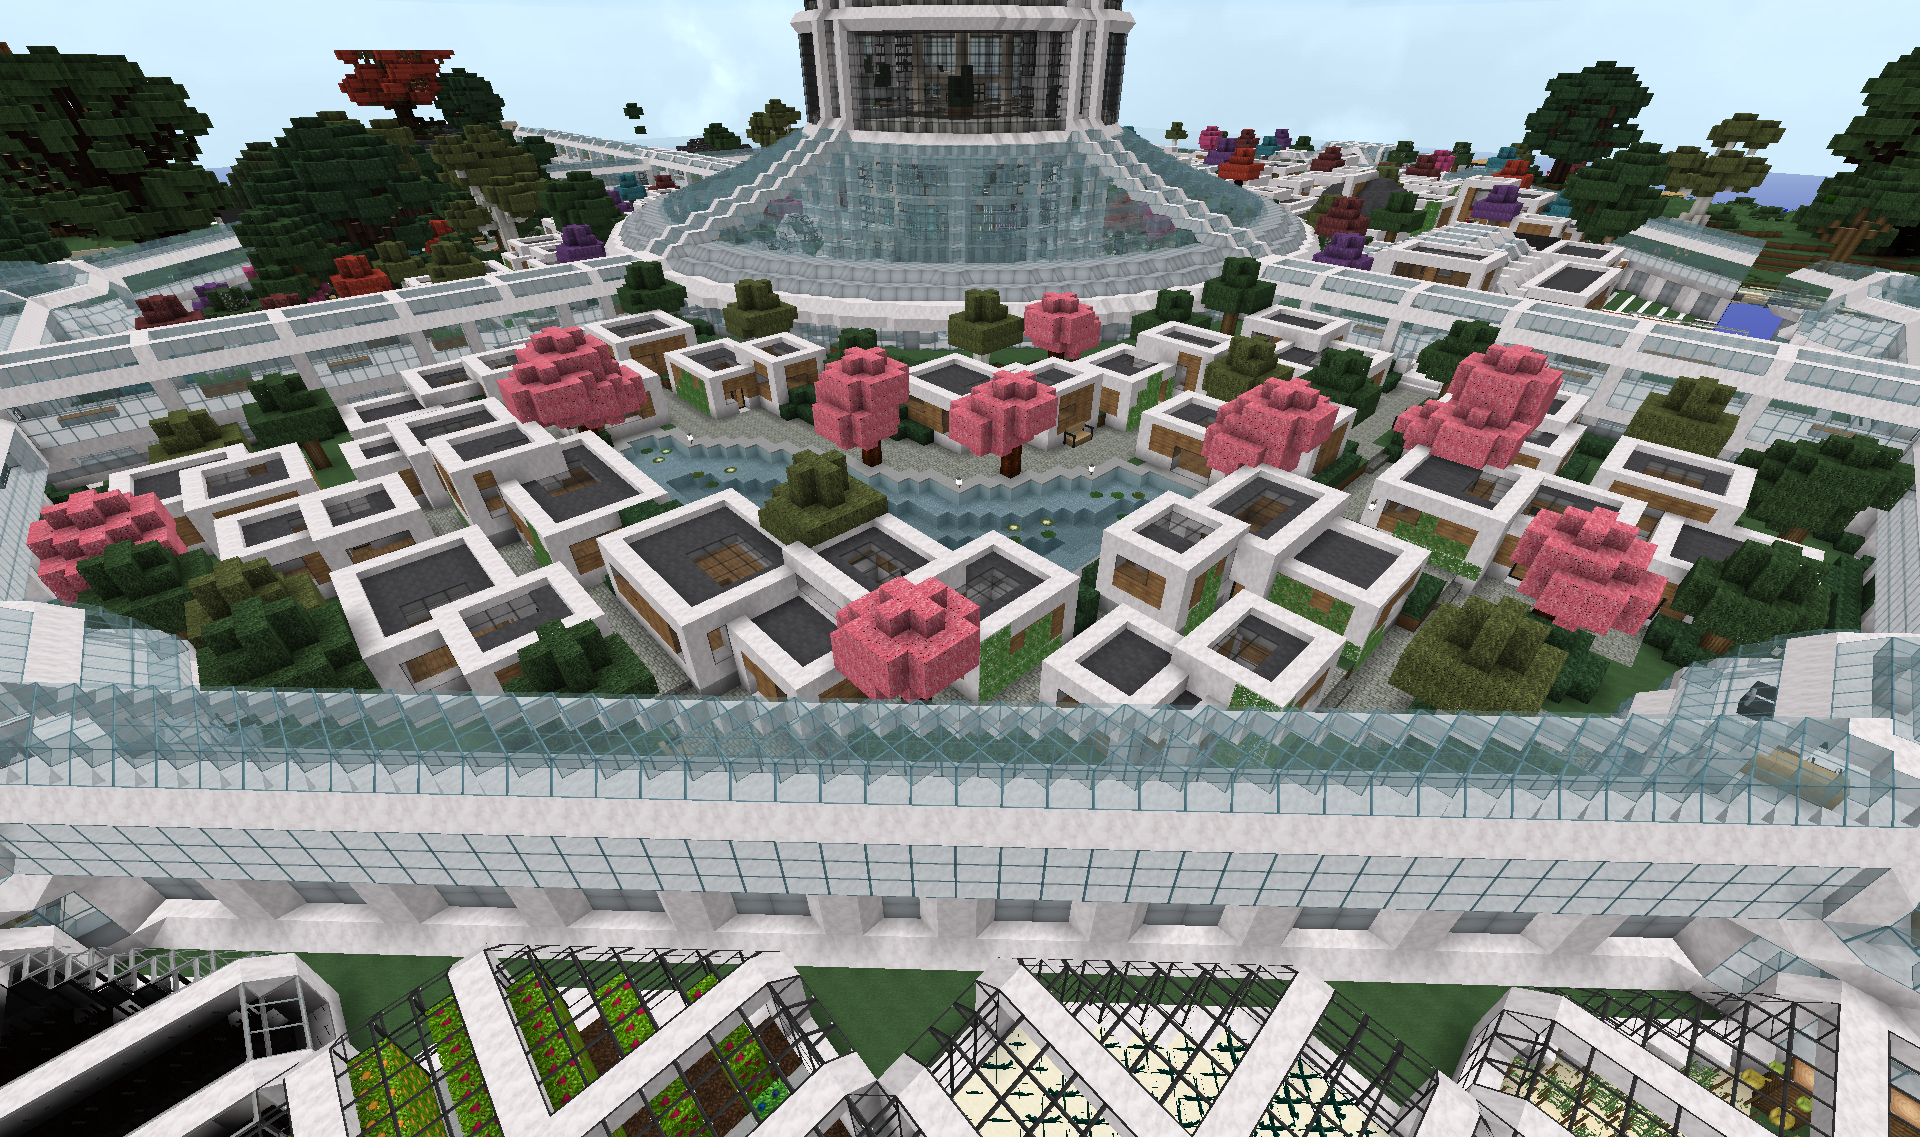
Got a lake and its houses are bigger and fancier than the other quadrants.
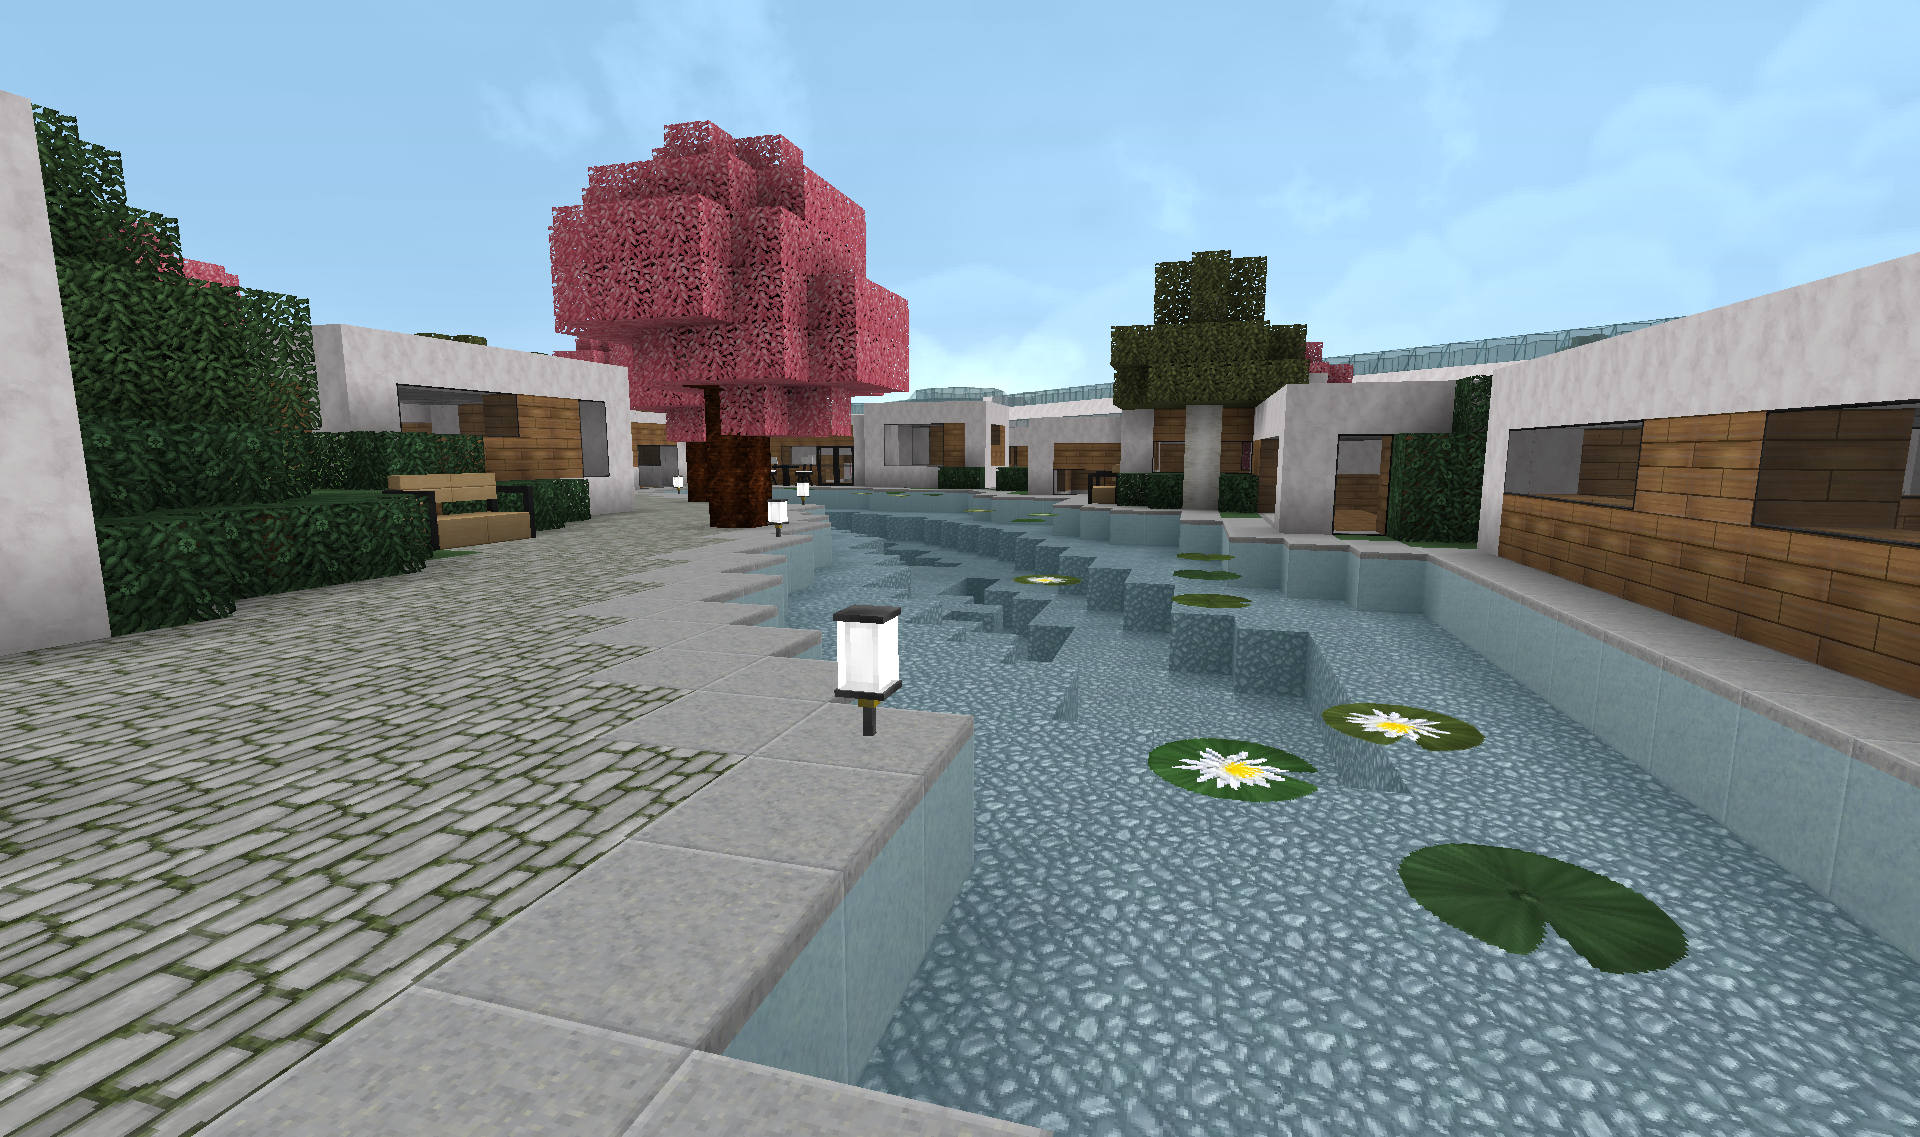
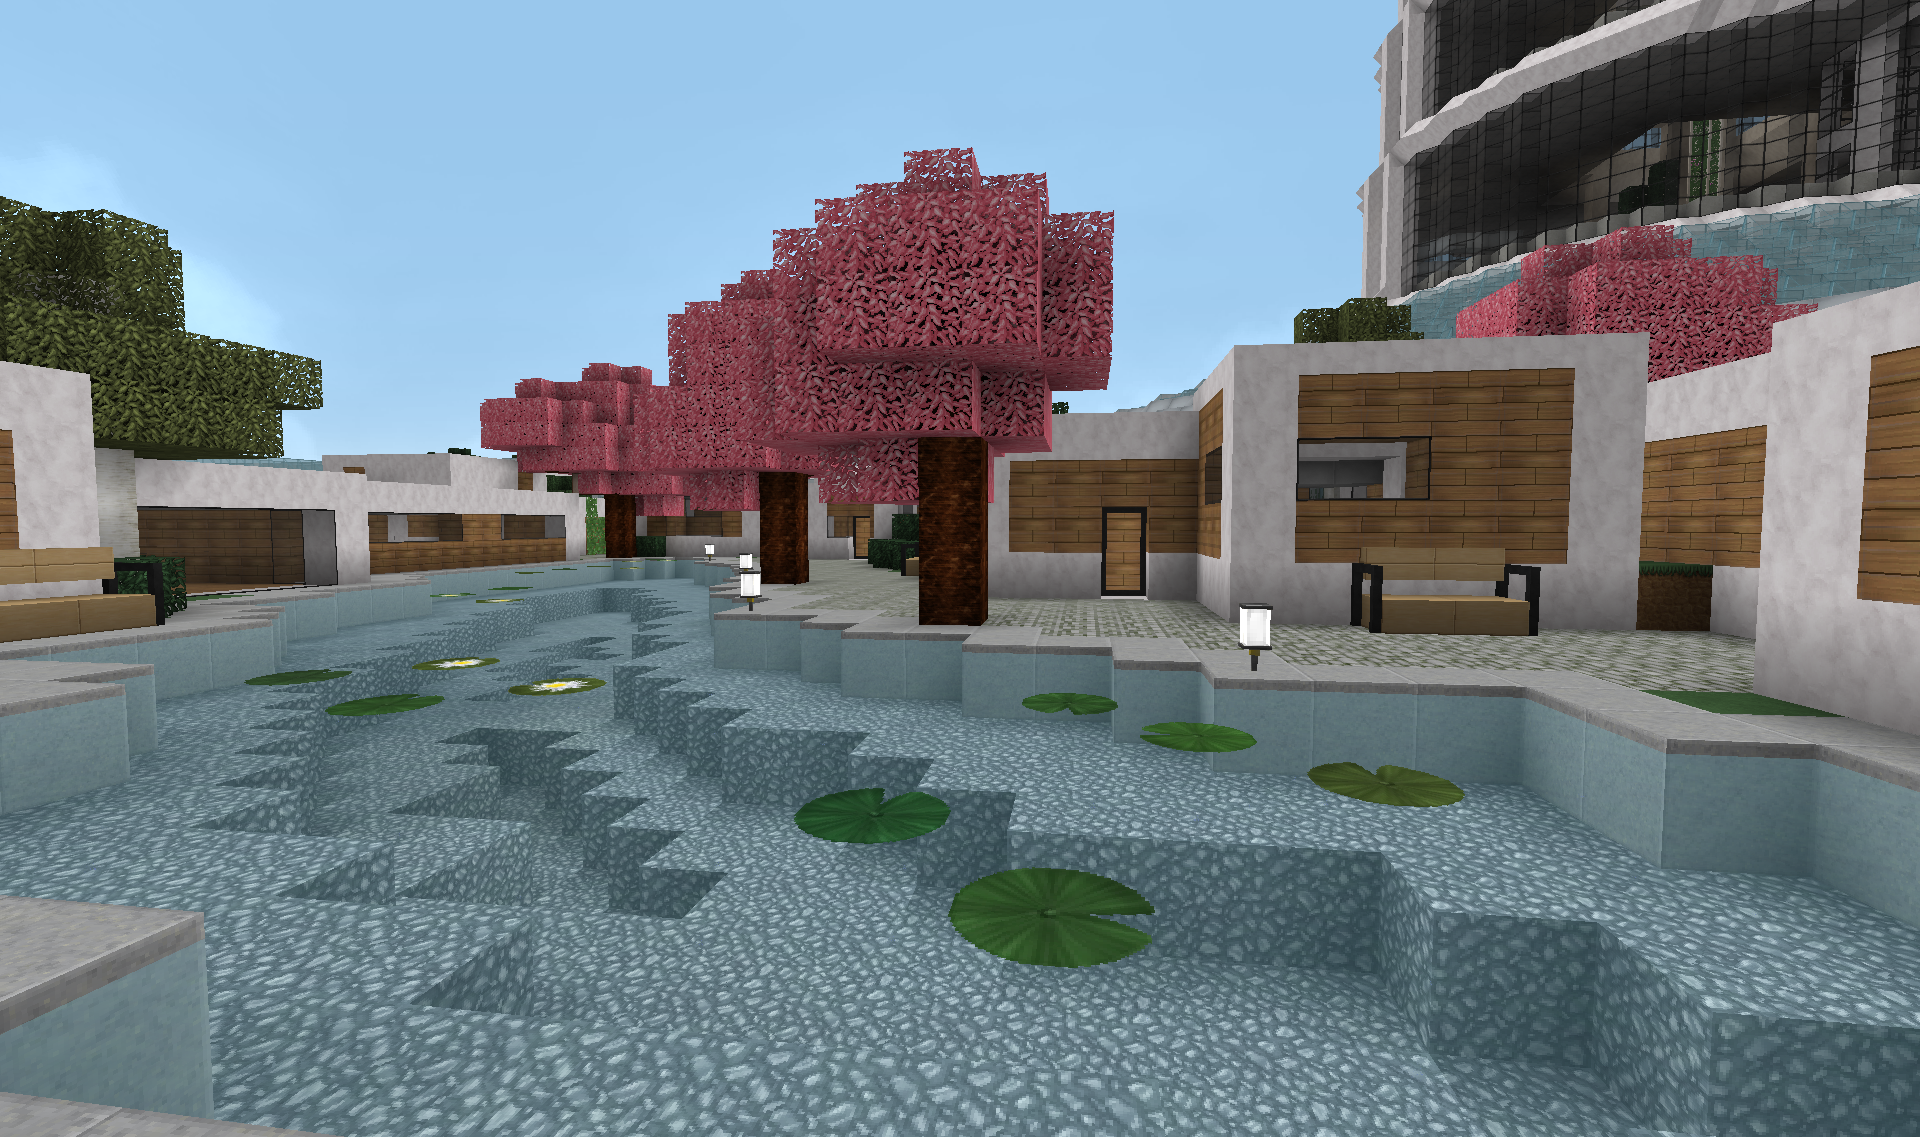
Last quadrant houses a bunch of activities, entertainment and shops:
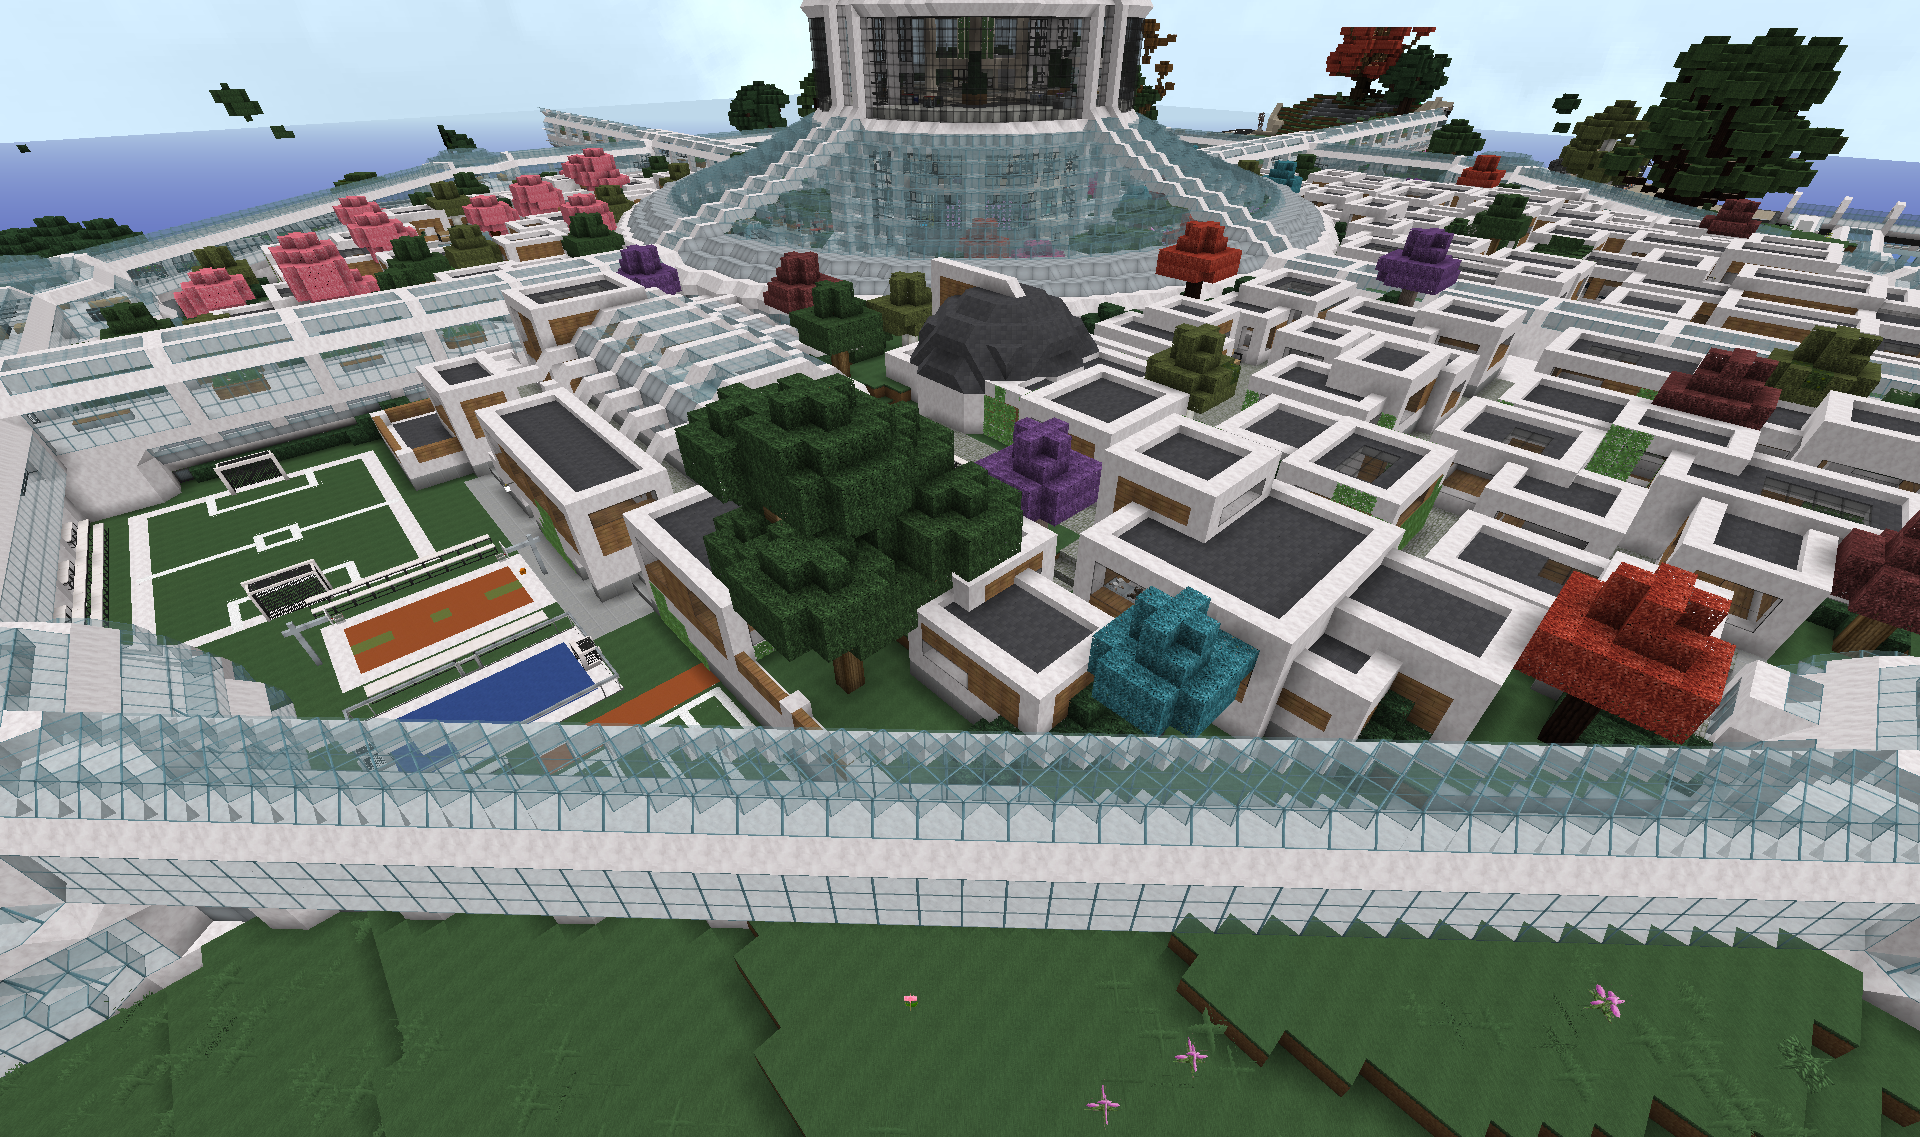
The athletics park has a soccer field:
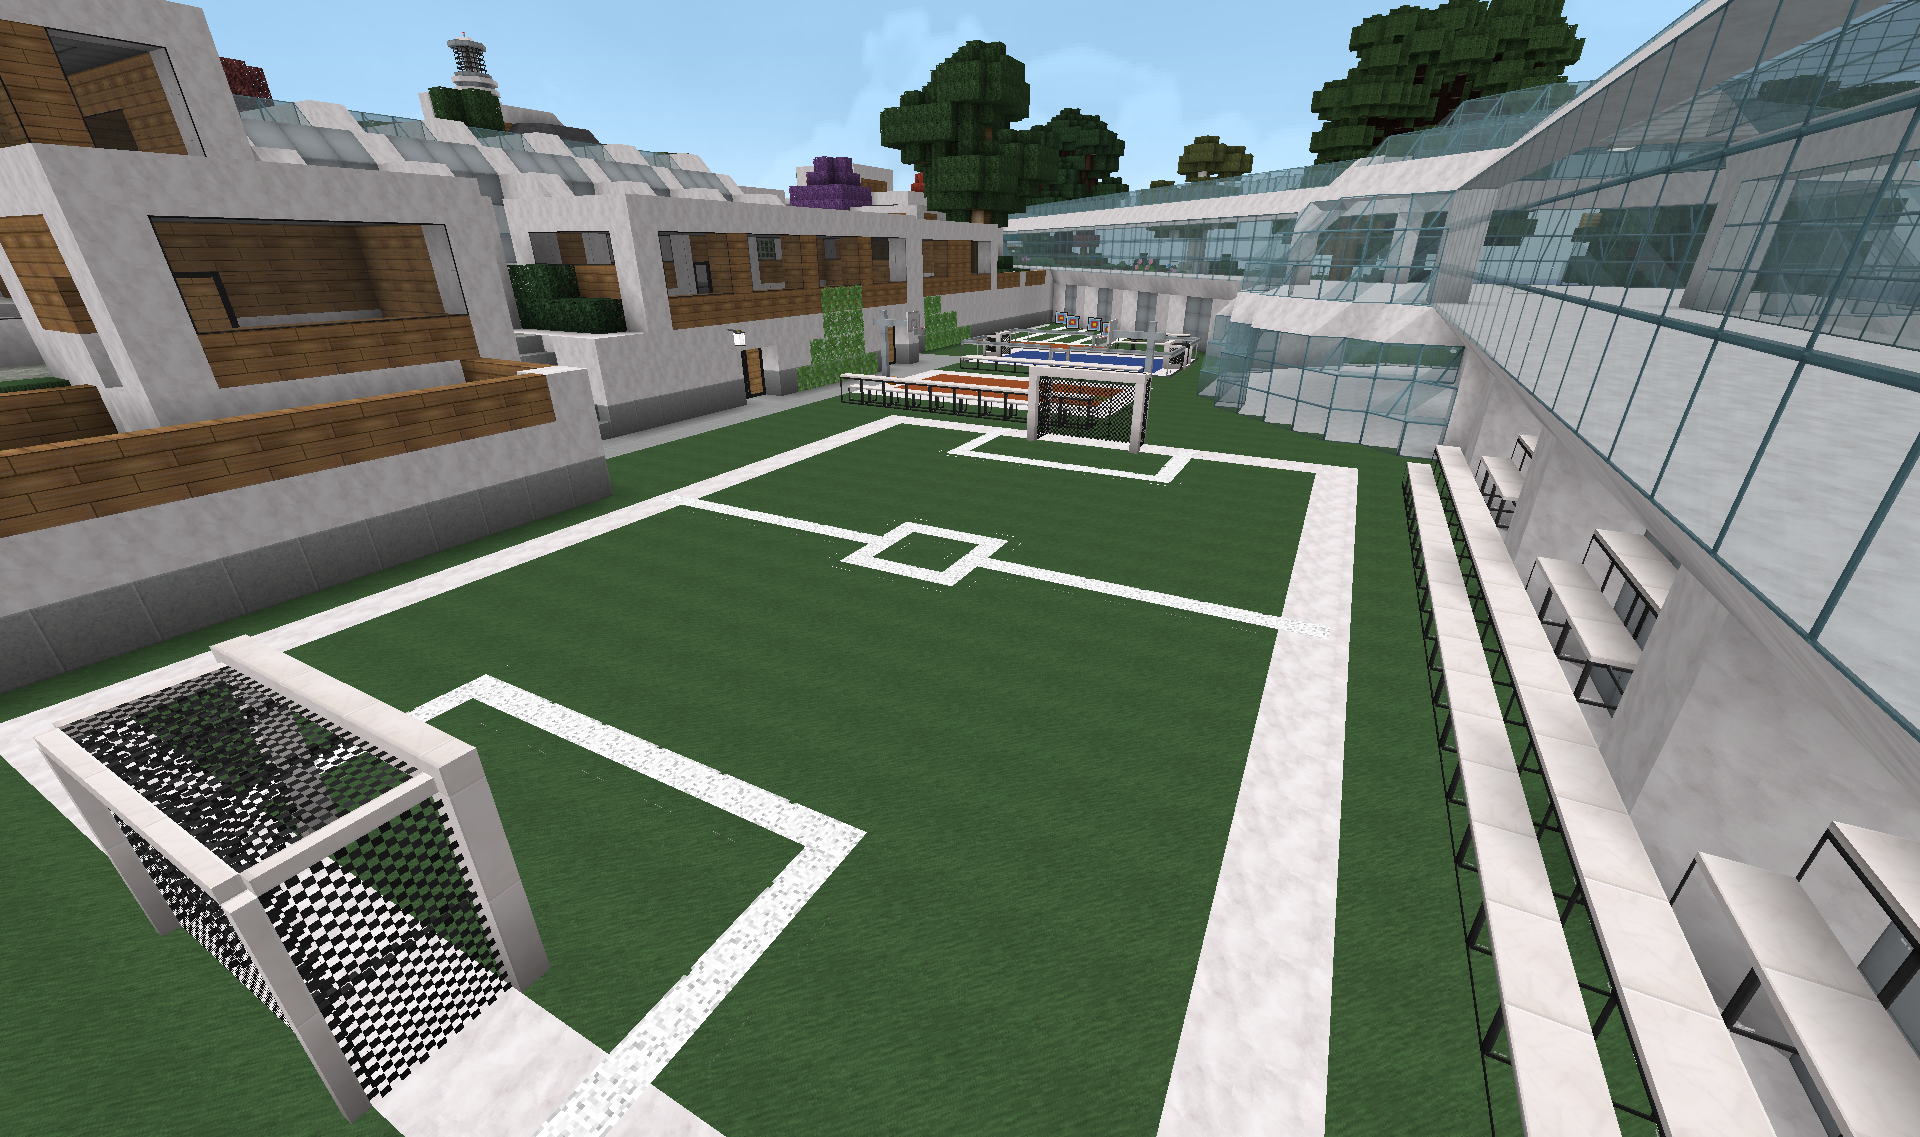
As well as basket, hockey and an archery range:
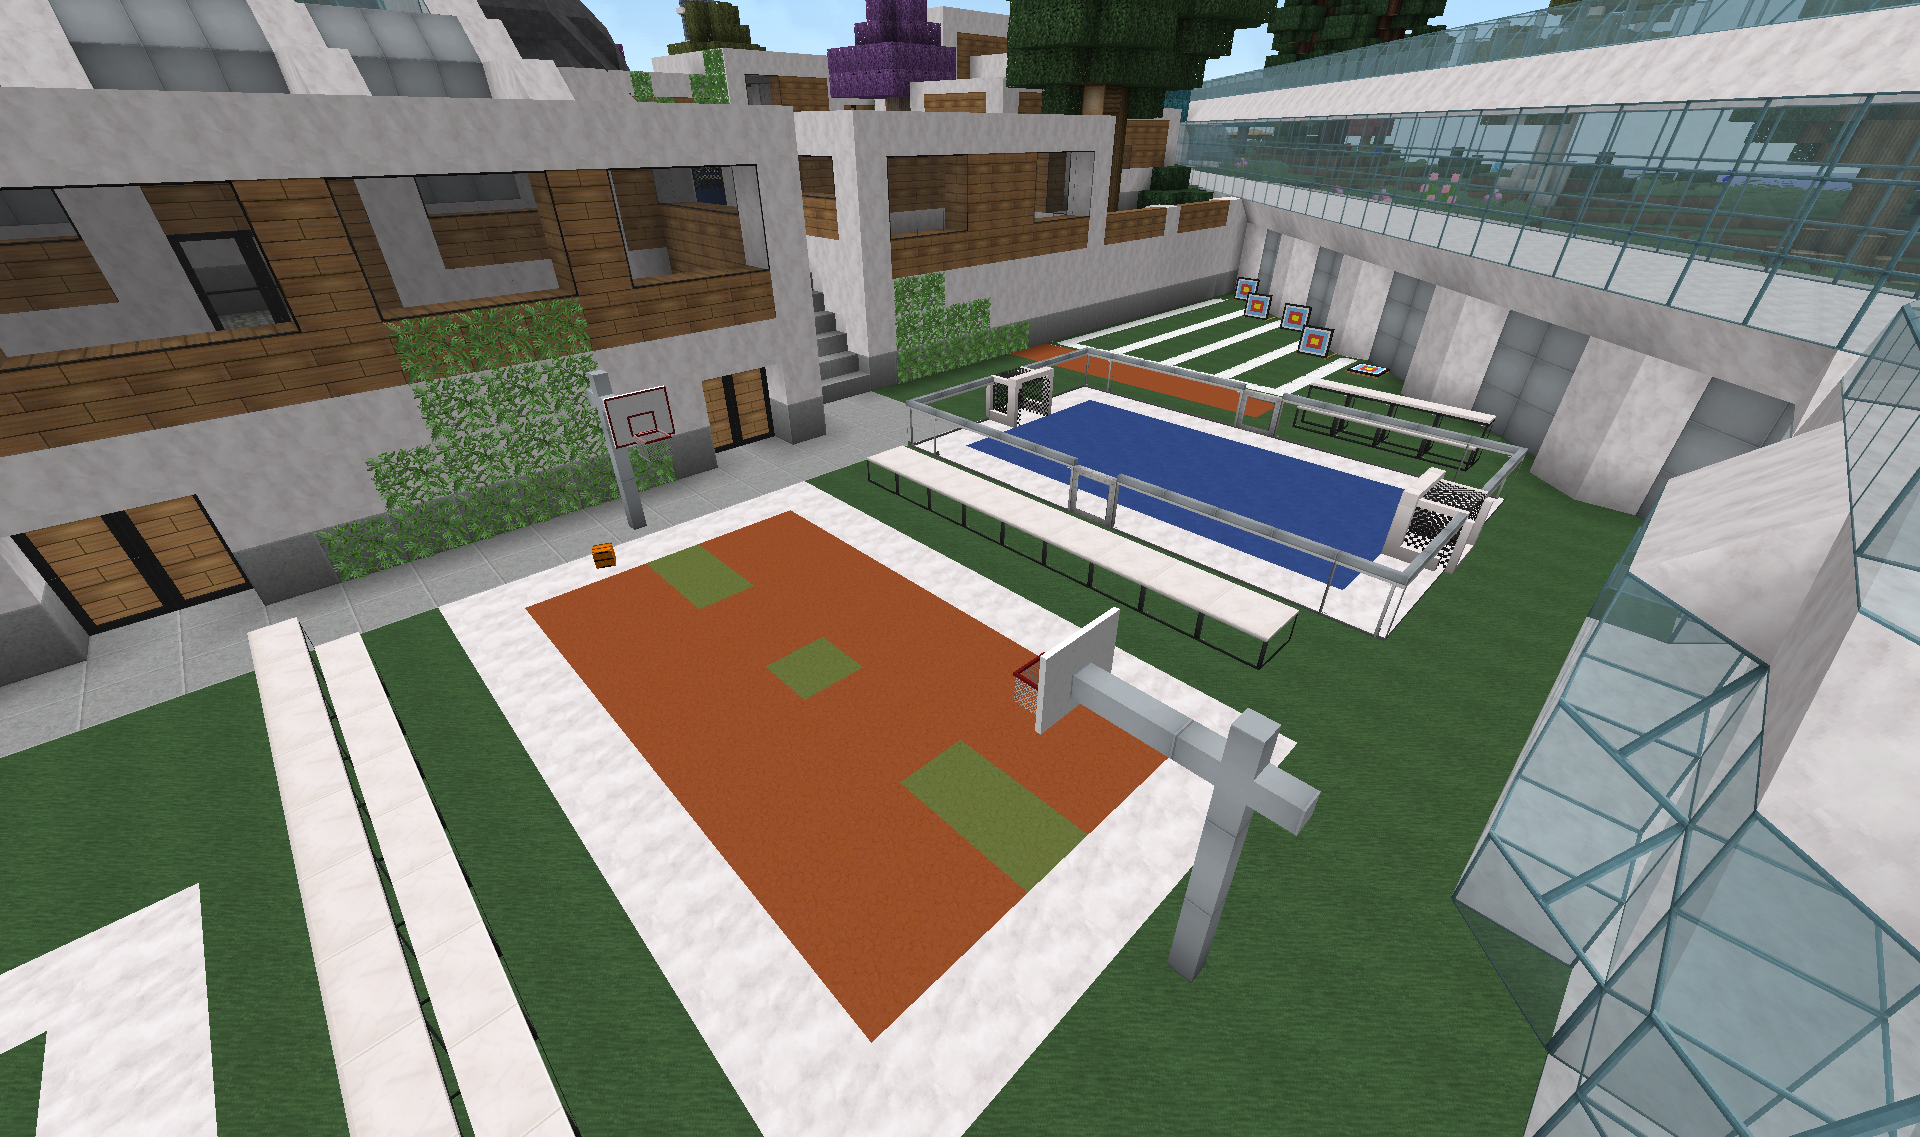
Tennis court and pool:
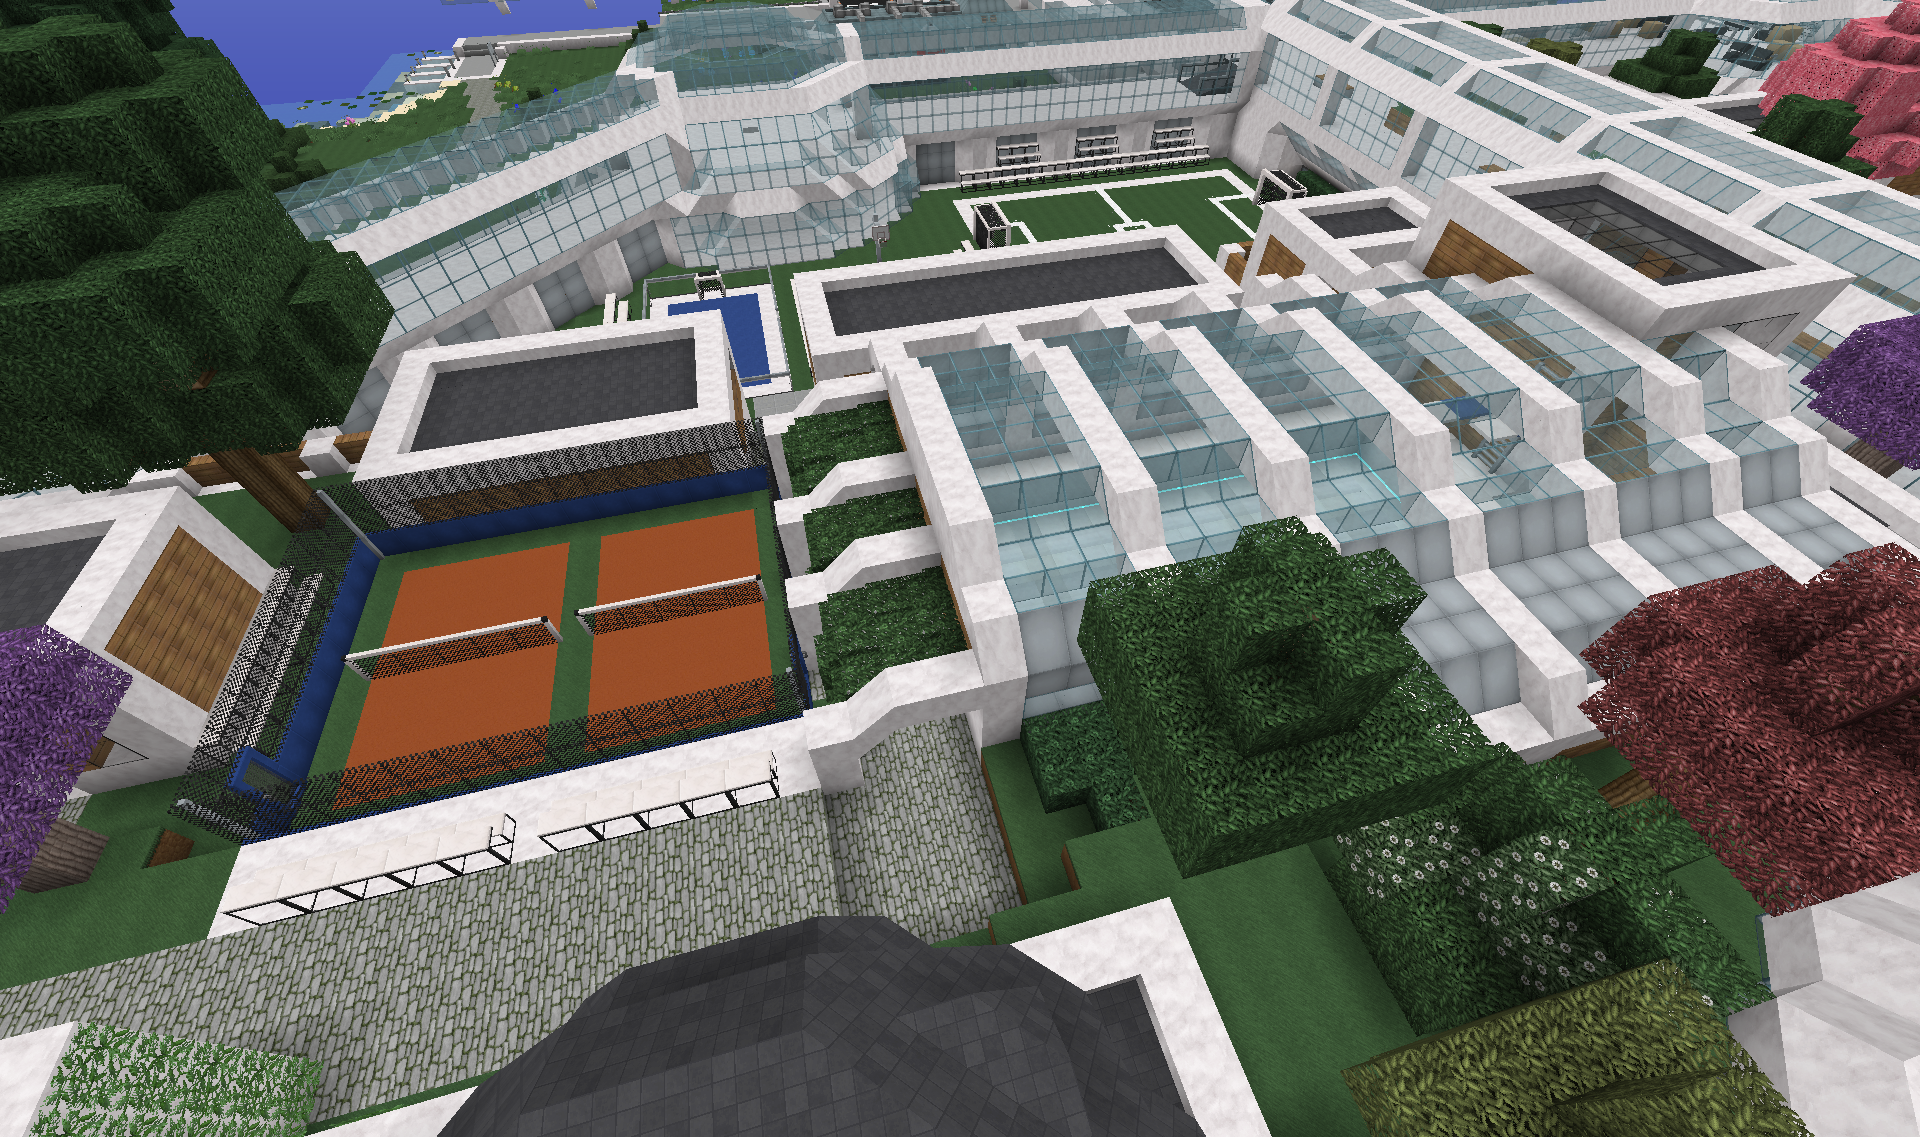
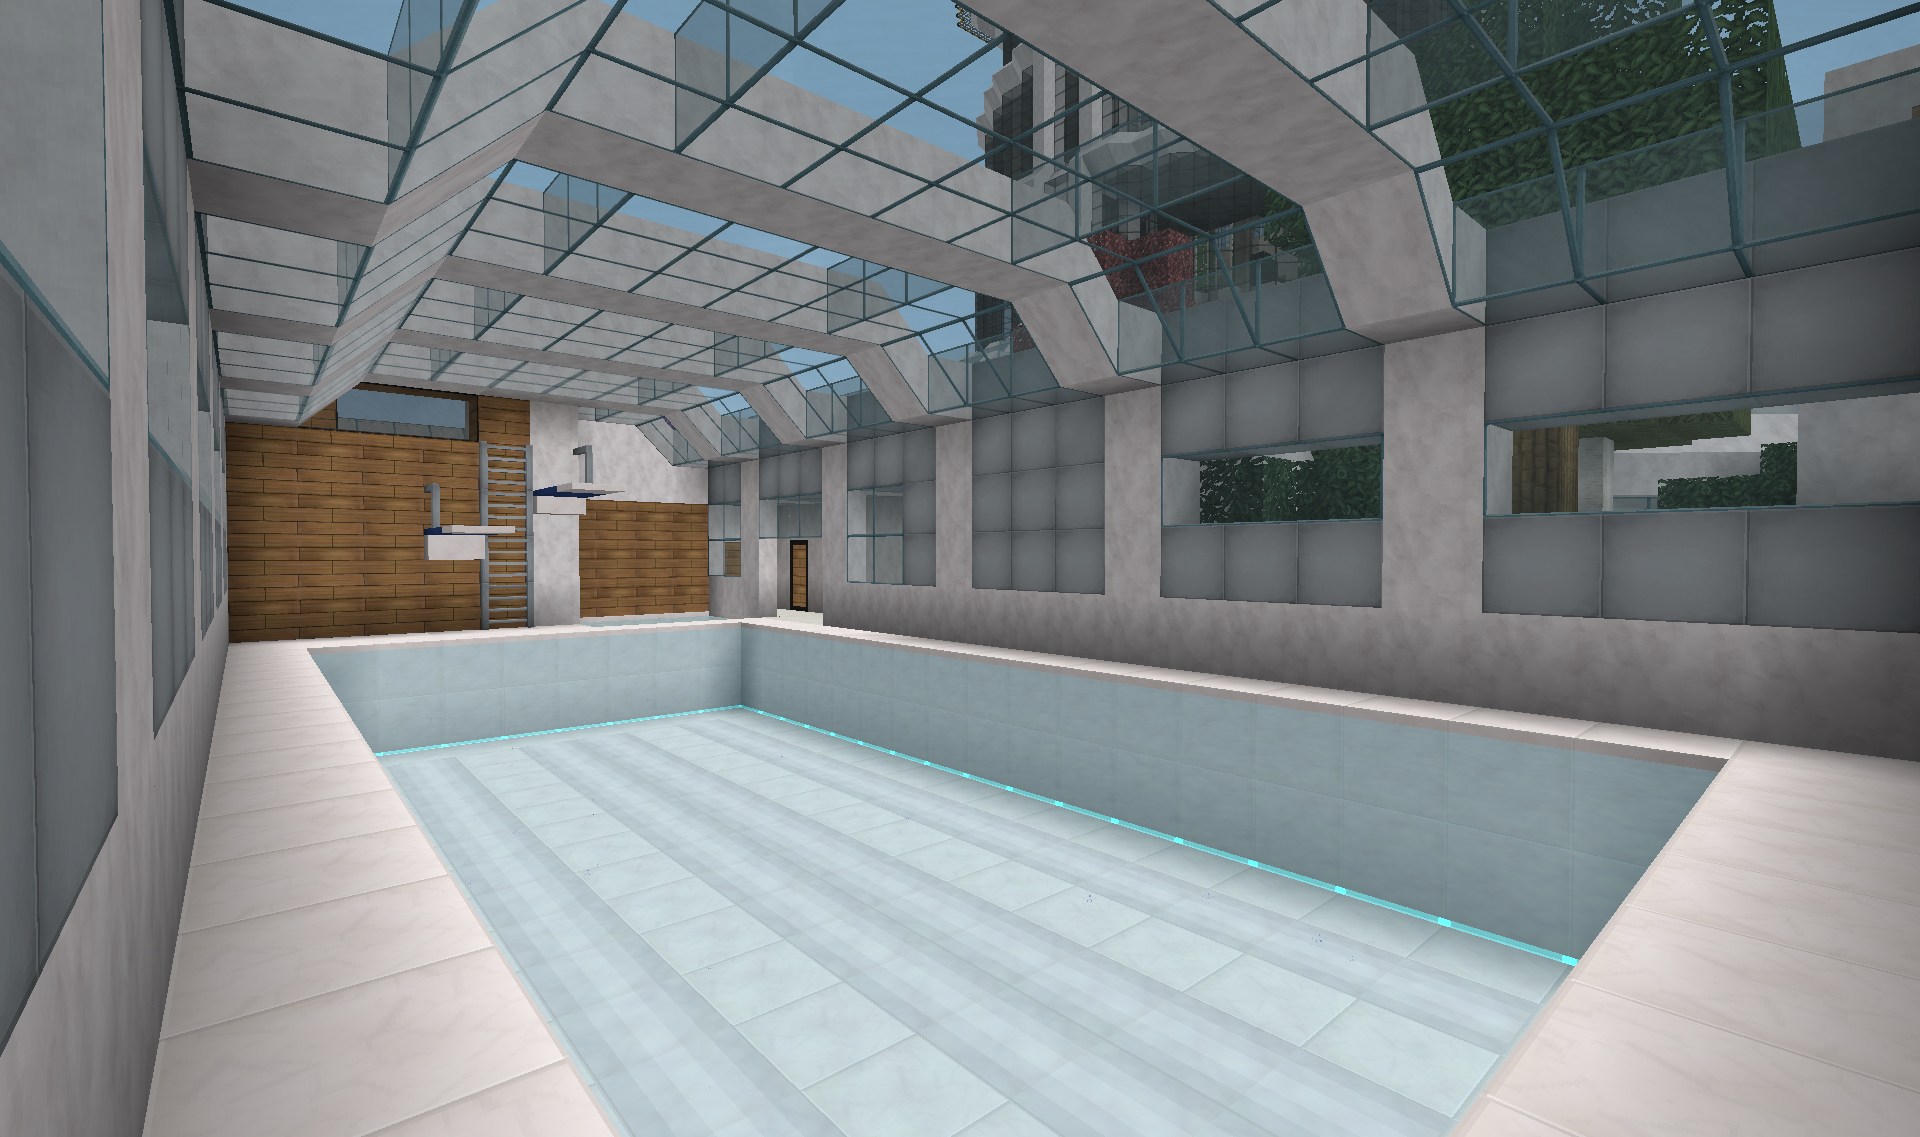
Complete with a pair of diving boards at the end, as well as a hot tub area.
Continued in next post.
So as some of the previous pictures have shown, I kinda built another city:

Decided long ago to populate the space between the rings on the towers base with houses. It was a lot of work despite not furnishing all of them. Did not seem worth the work and performance hit.
The city is made up of 4 quadrants:
The first quadrant is the one closest to the harbour:

This quadrant is a bit more dynamic than the others. It has lots of small alleys and a more chaotic layout of buildings.

It also houses a couple of coffee shops /restaurants.
Second quadrant is the park:

It has houses that are much more spaced out:

There is a playground:

And the lower part is dedicated as park area:

Third quadrant is a bit more "high end":

Got a lake and its houses are bigger and fancier than the other quadrants.


Last quadrant houses a bunch of activities, entertainment and shops:

The athletics park has a soccer field:

As well as basket, hockey and an archery range:

Tennis court and pool:


Complete with a pair of diving boards at the end, as well as a hot tub area.
Continued in next post.
Continued:
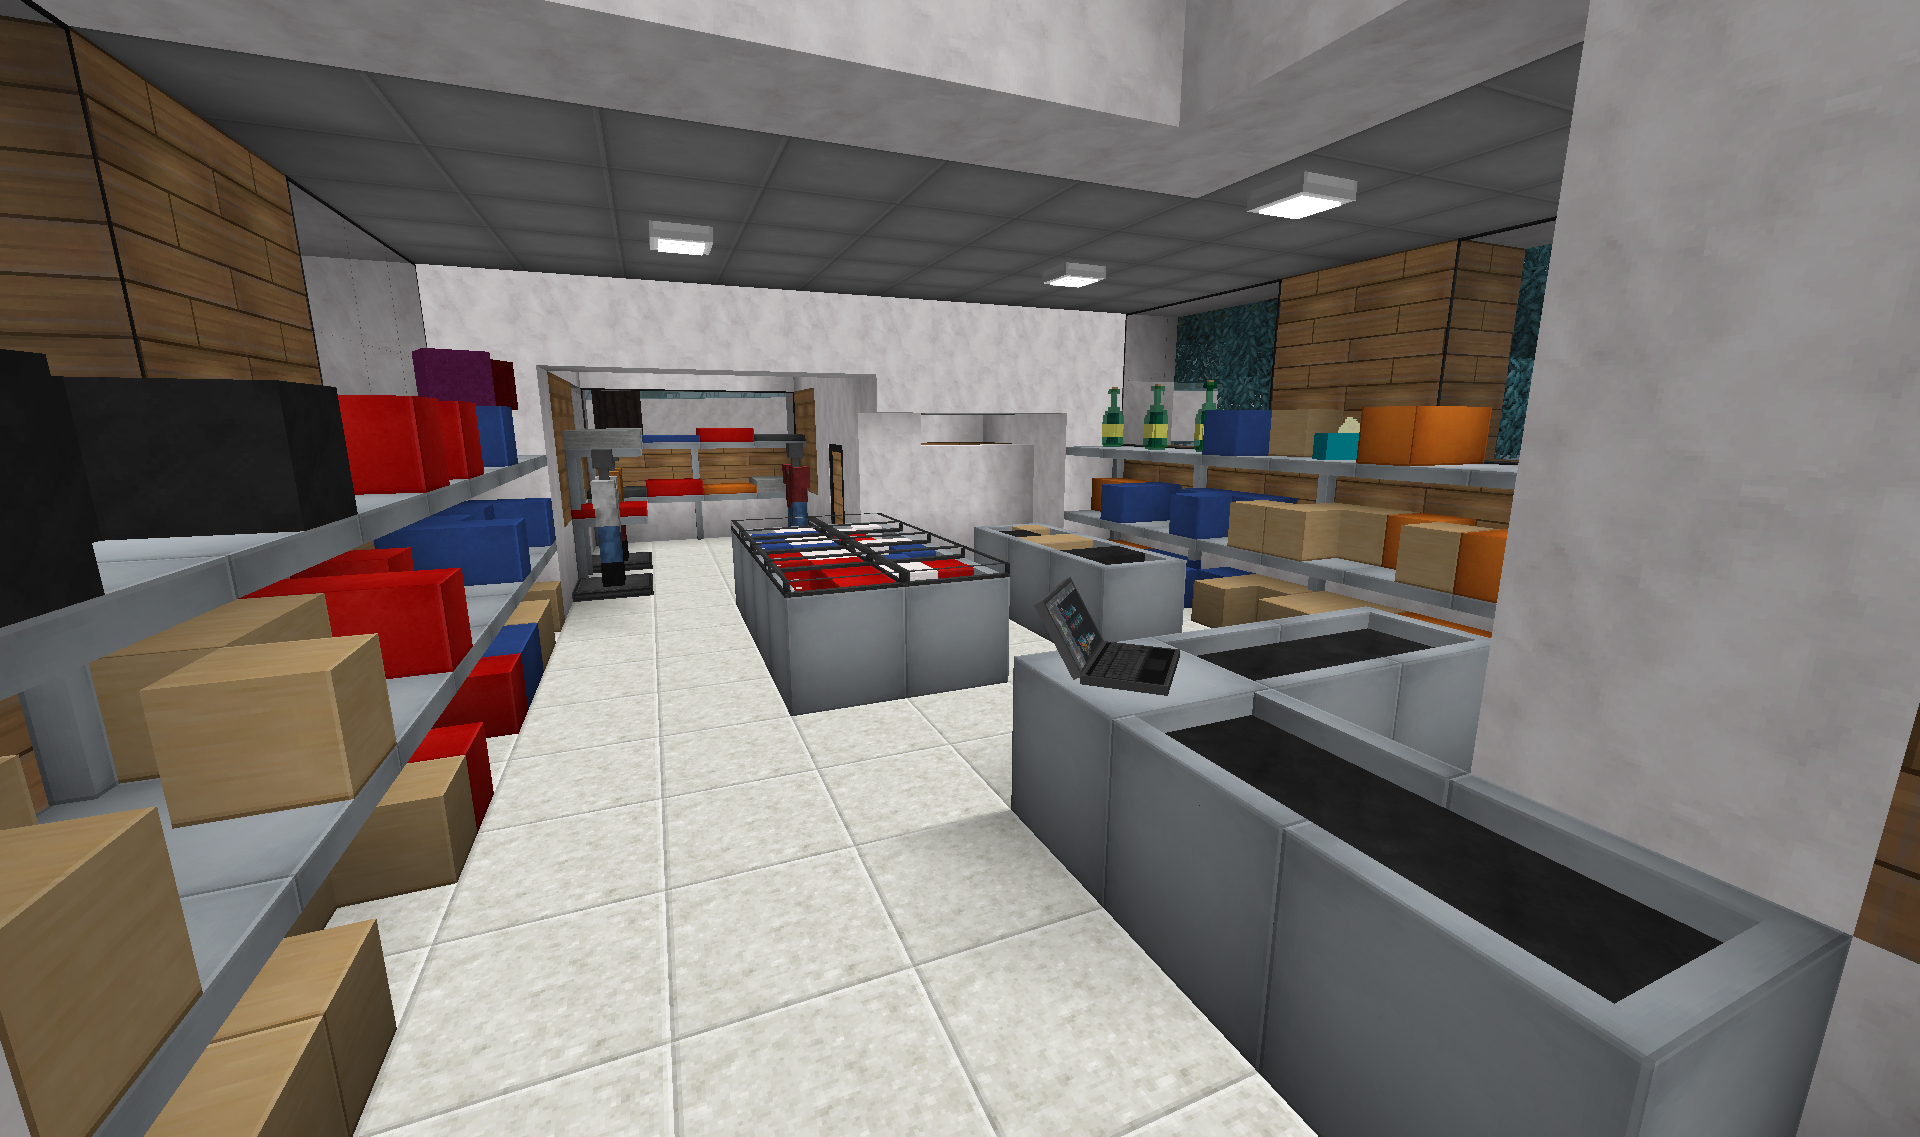
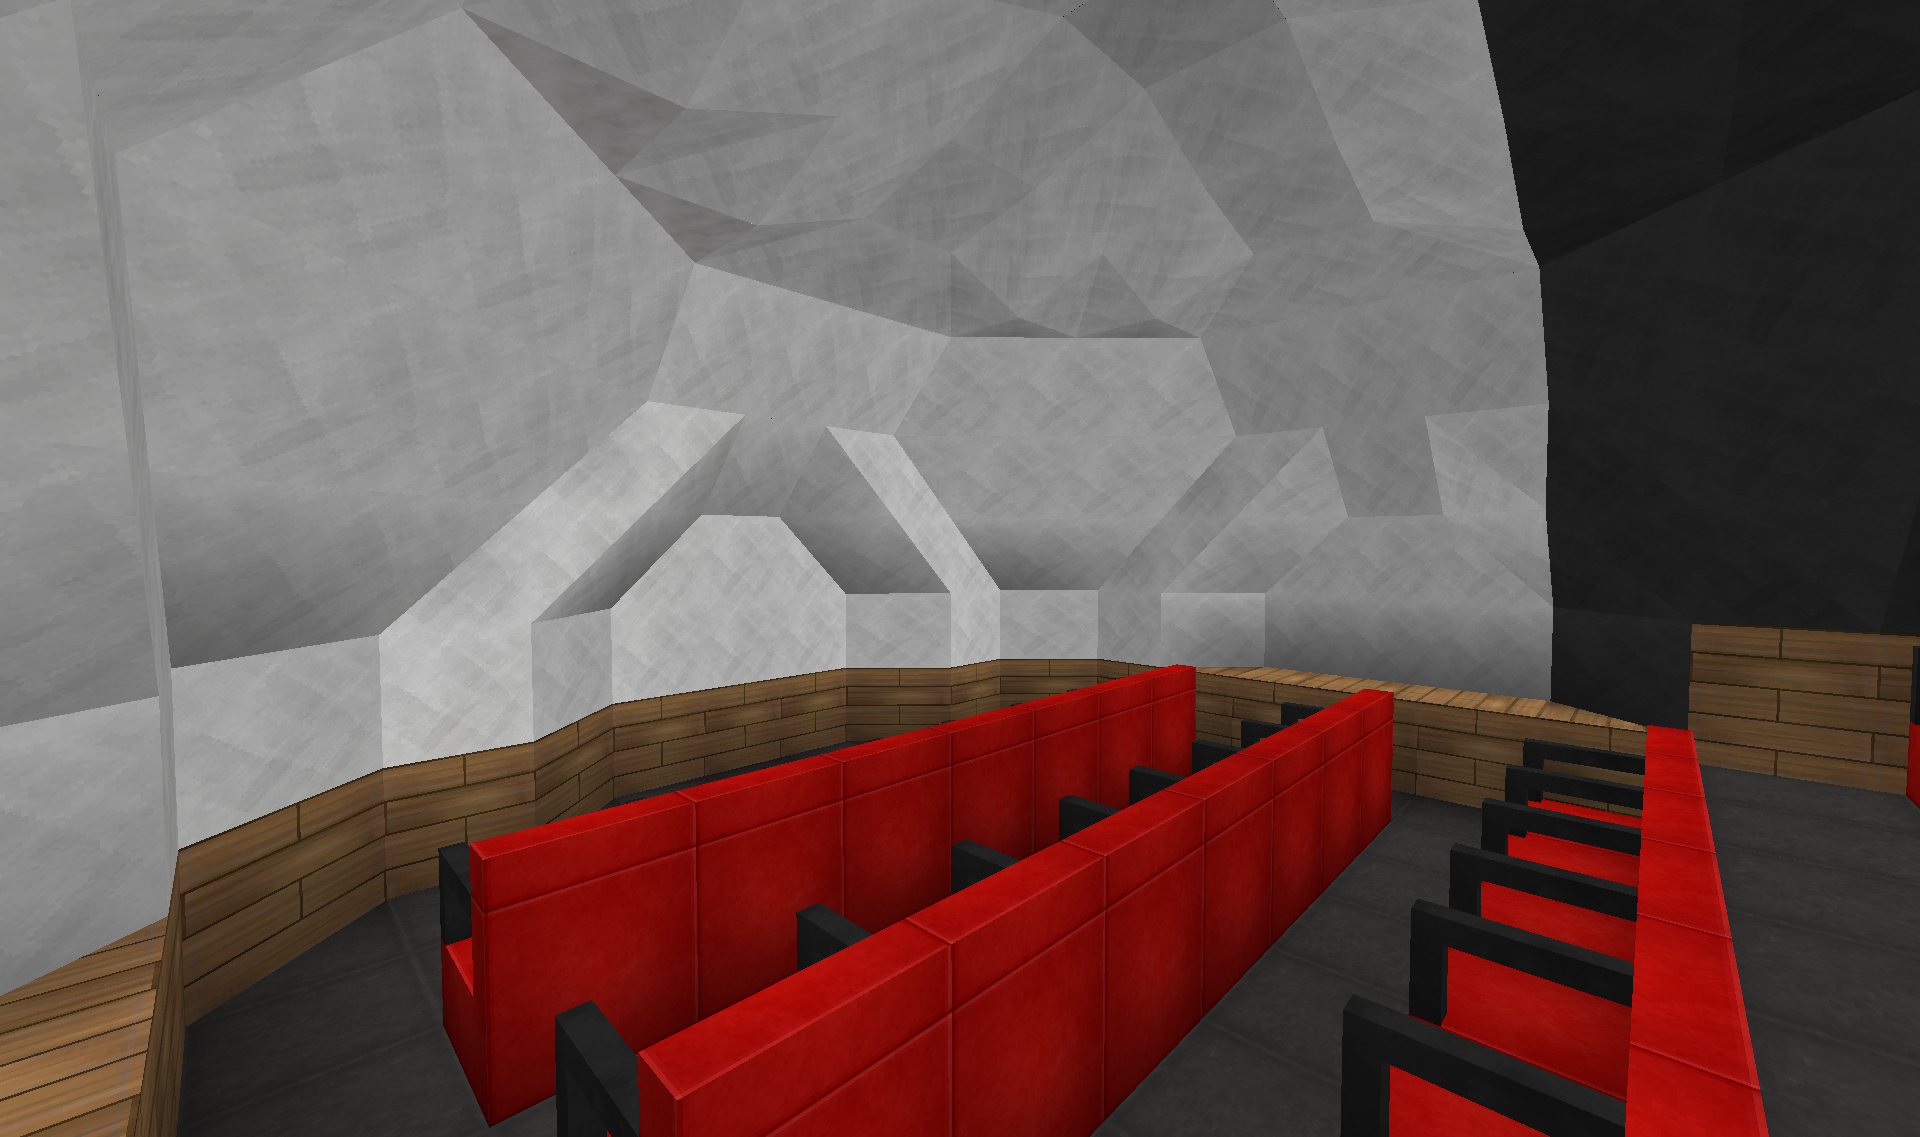
There is a general store(left) and a cinema(dome to the right):
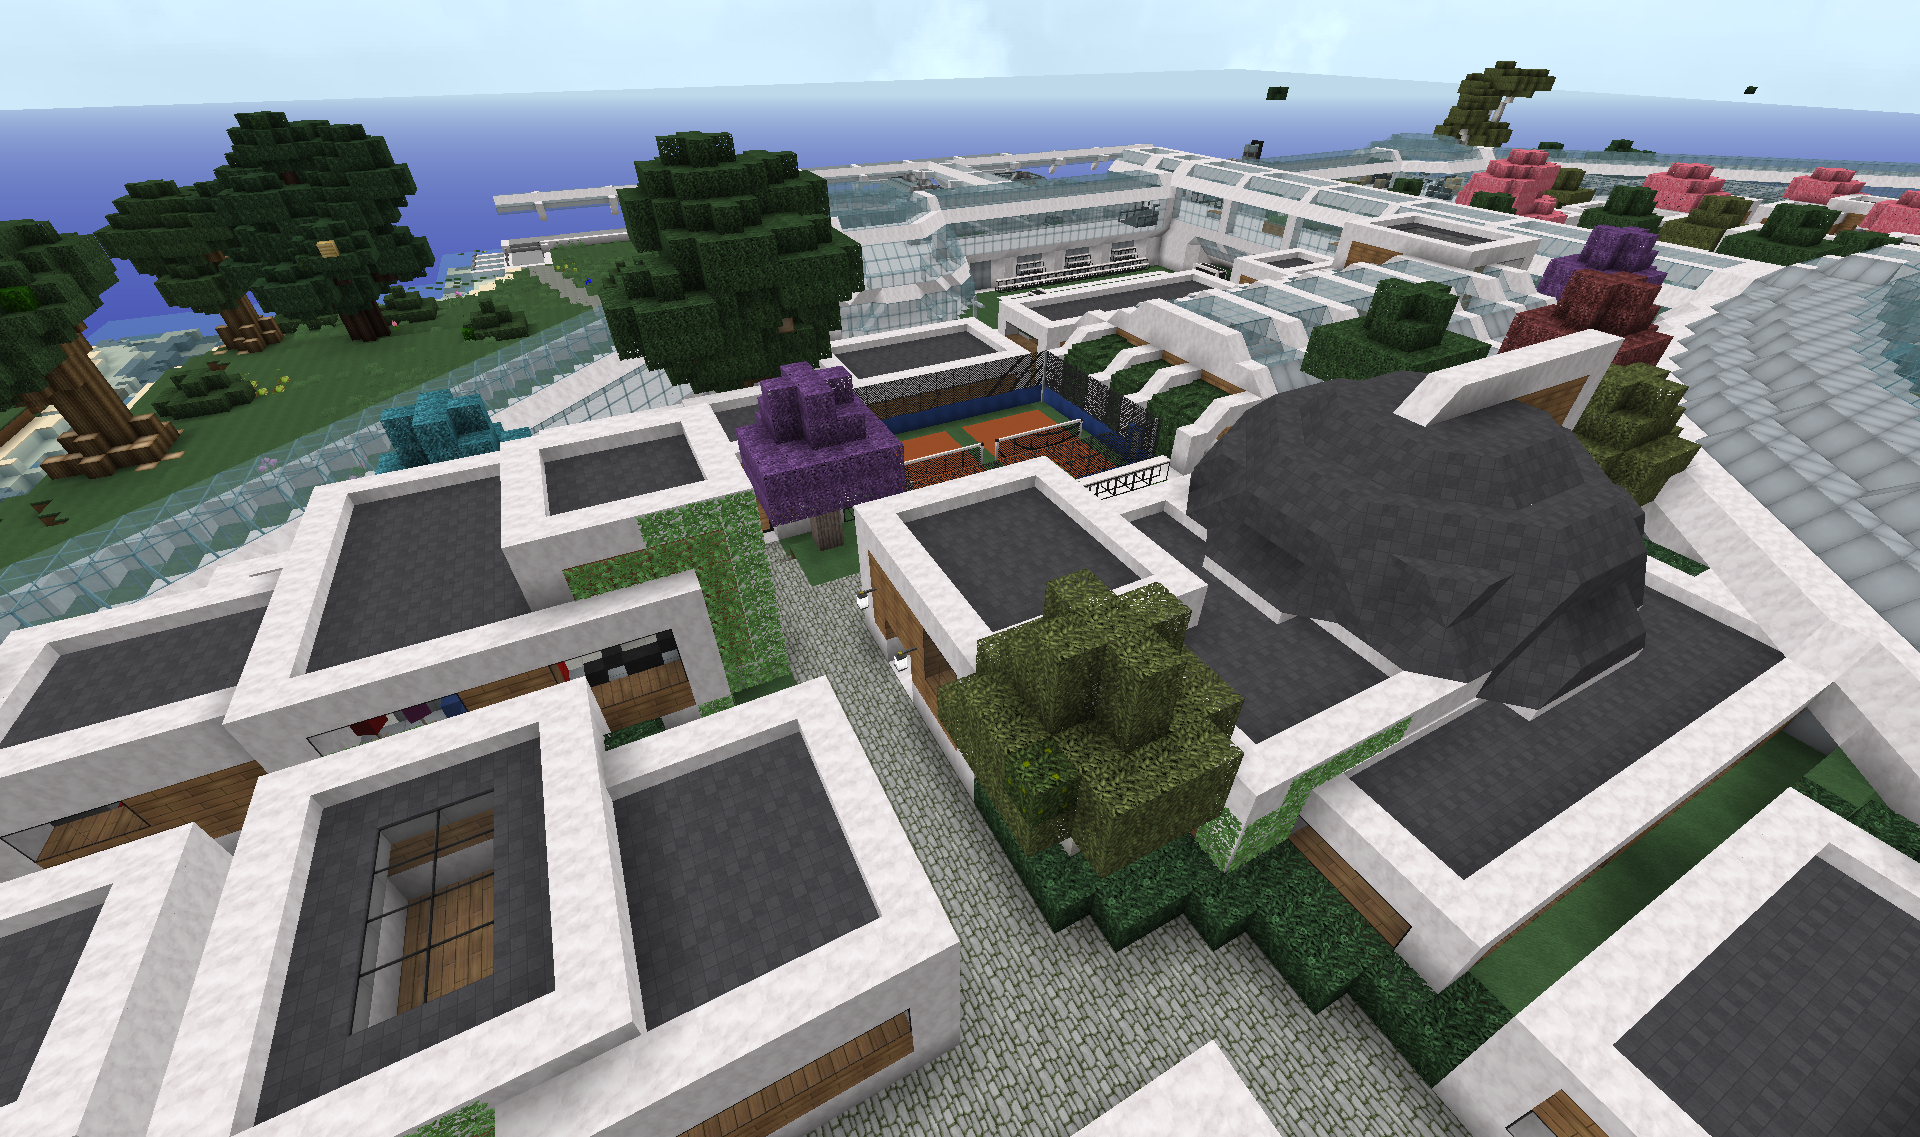
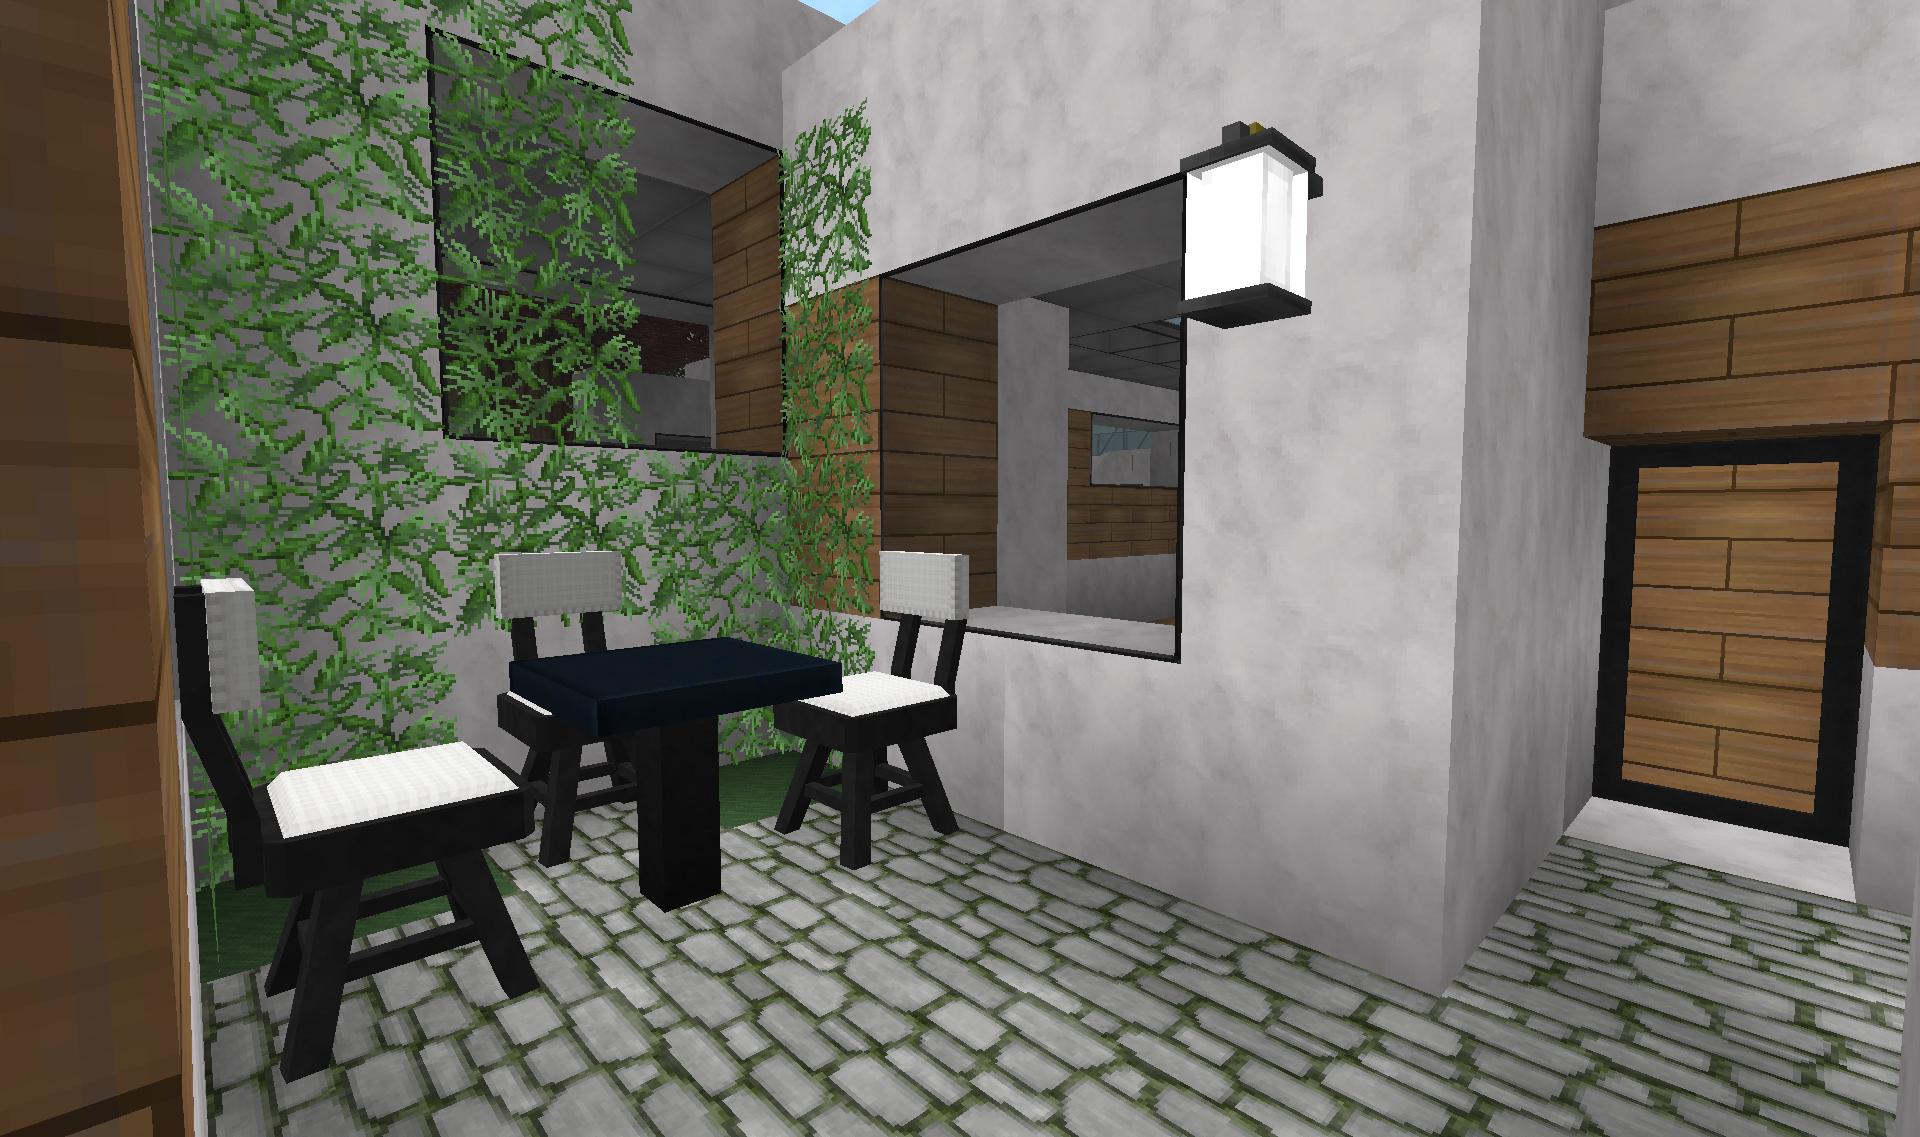
Most of the city has a lot of winding paths and small nooks and corners that are hard to get on a screenshot. But here is an example of one of the little nooks:
Inside under the dome at the bottom of the tower, I have tidied up the "pit" at the base of the tower:
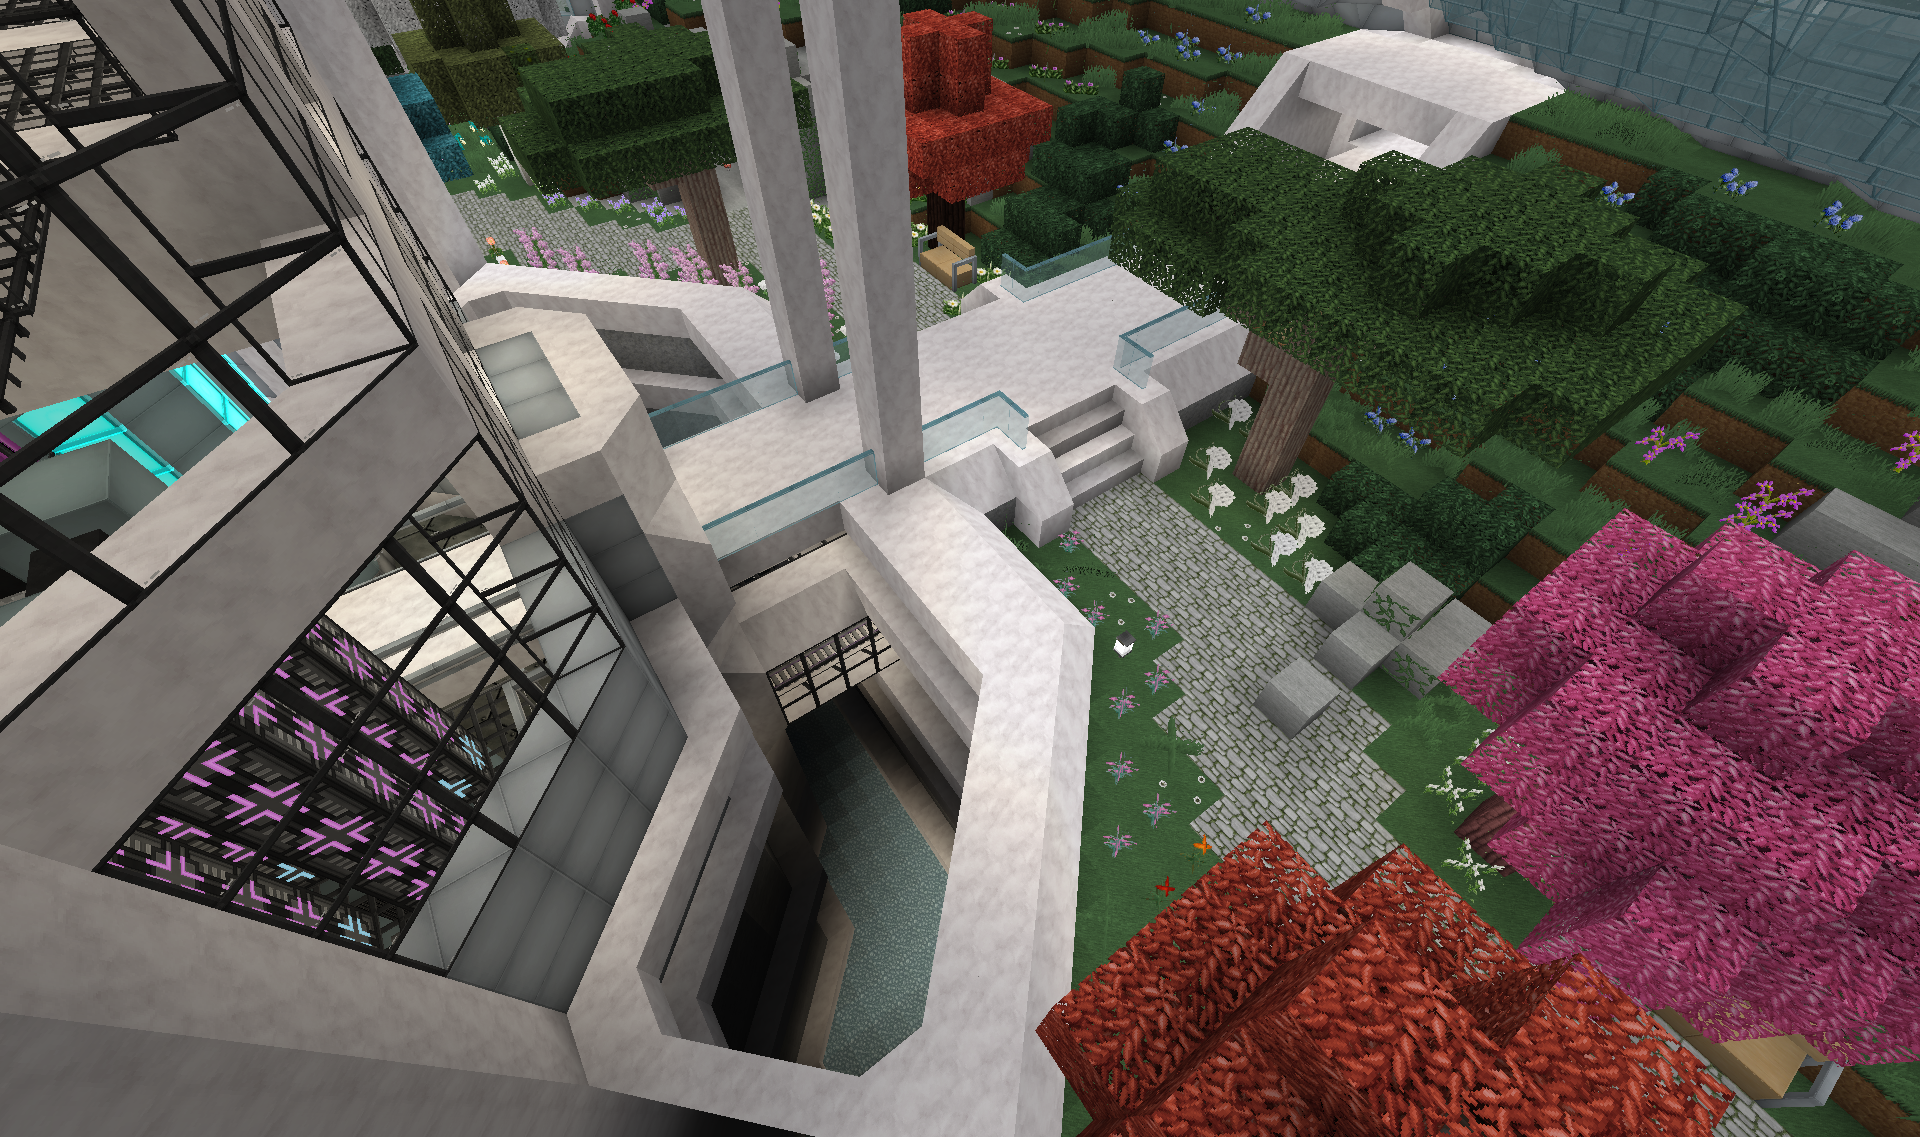
You can see one of the train tracks that all merge in the tower. This one is going out toward the beach and passenger harbour.
The park part of the dome have had a little cave for a long time:
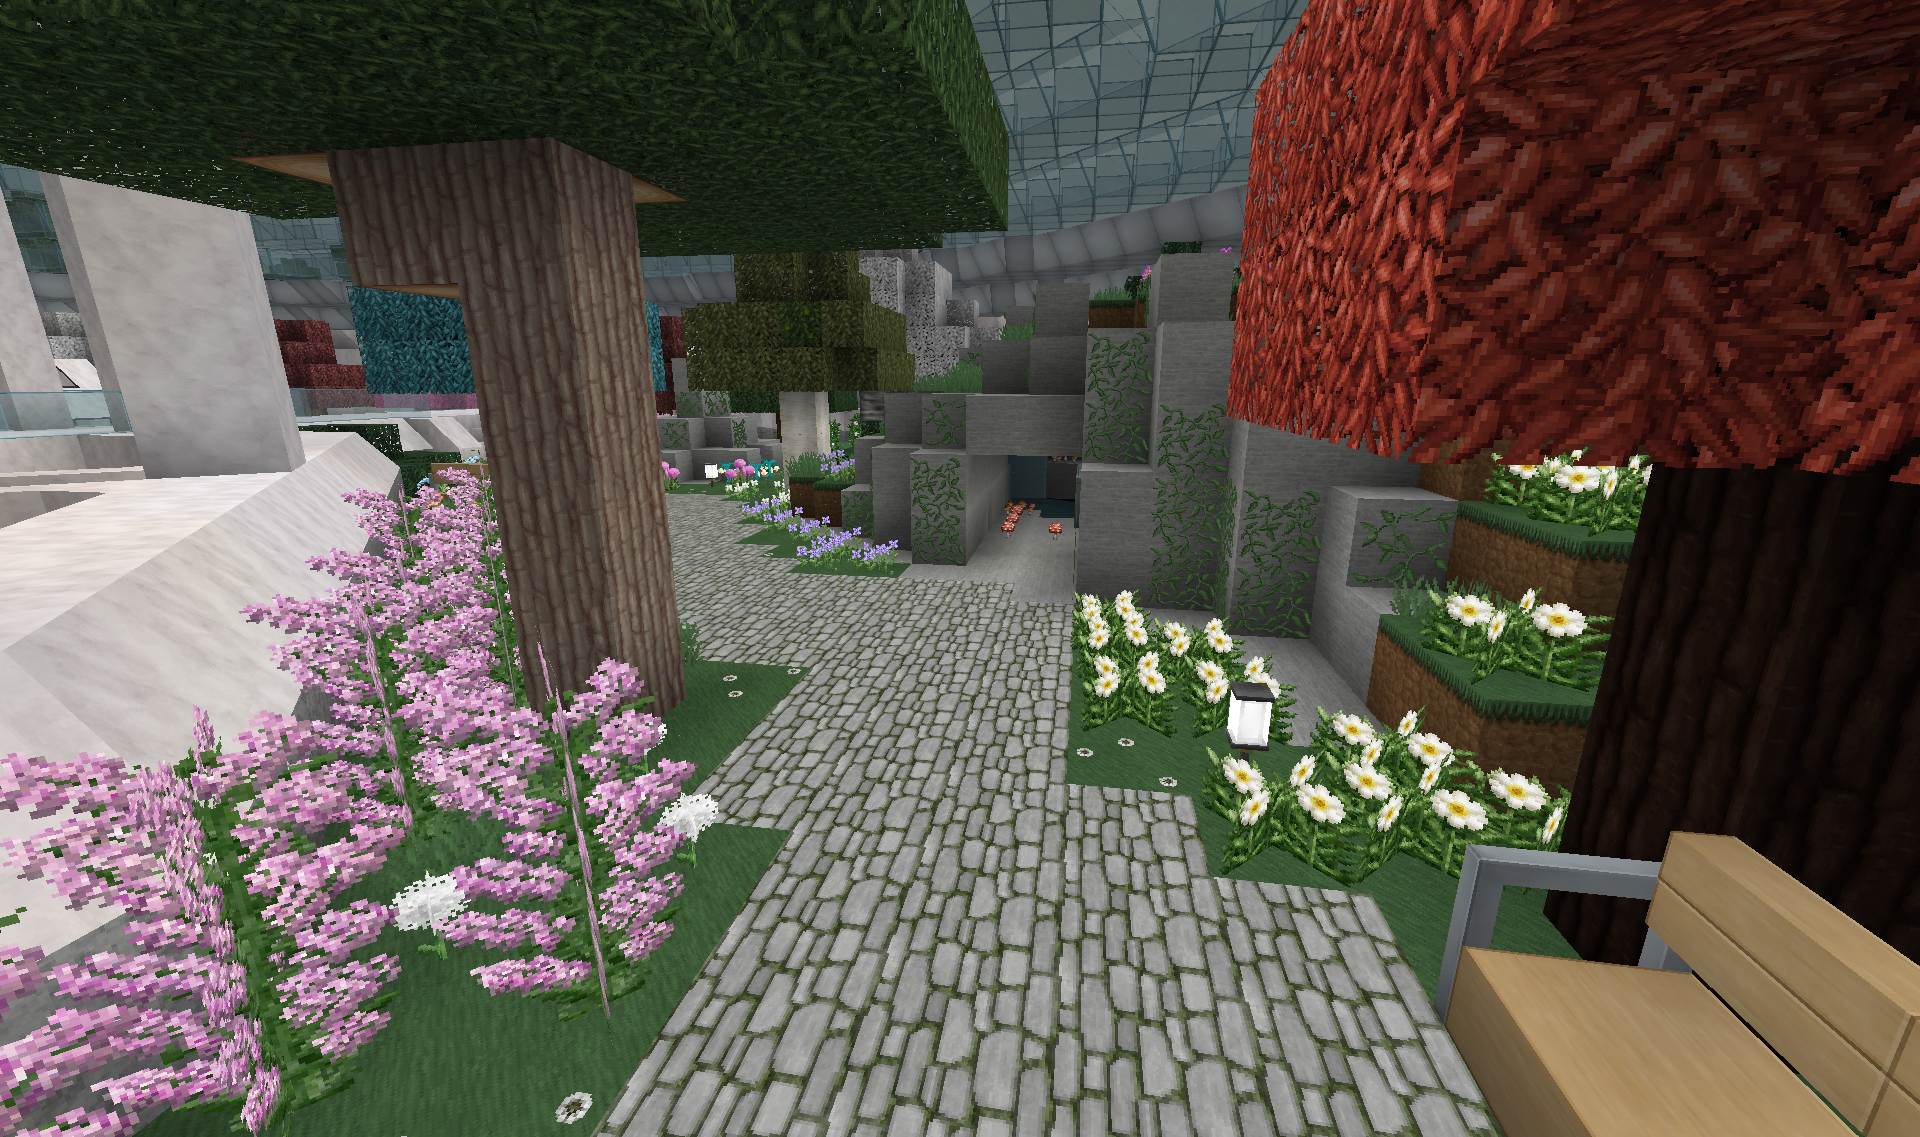
You can pass through it and get out to the outer walkway around the dome. This has lots of exits out into the surrounding city.
But inside the cave there is now a little secret passageway:
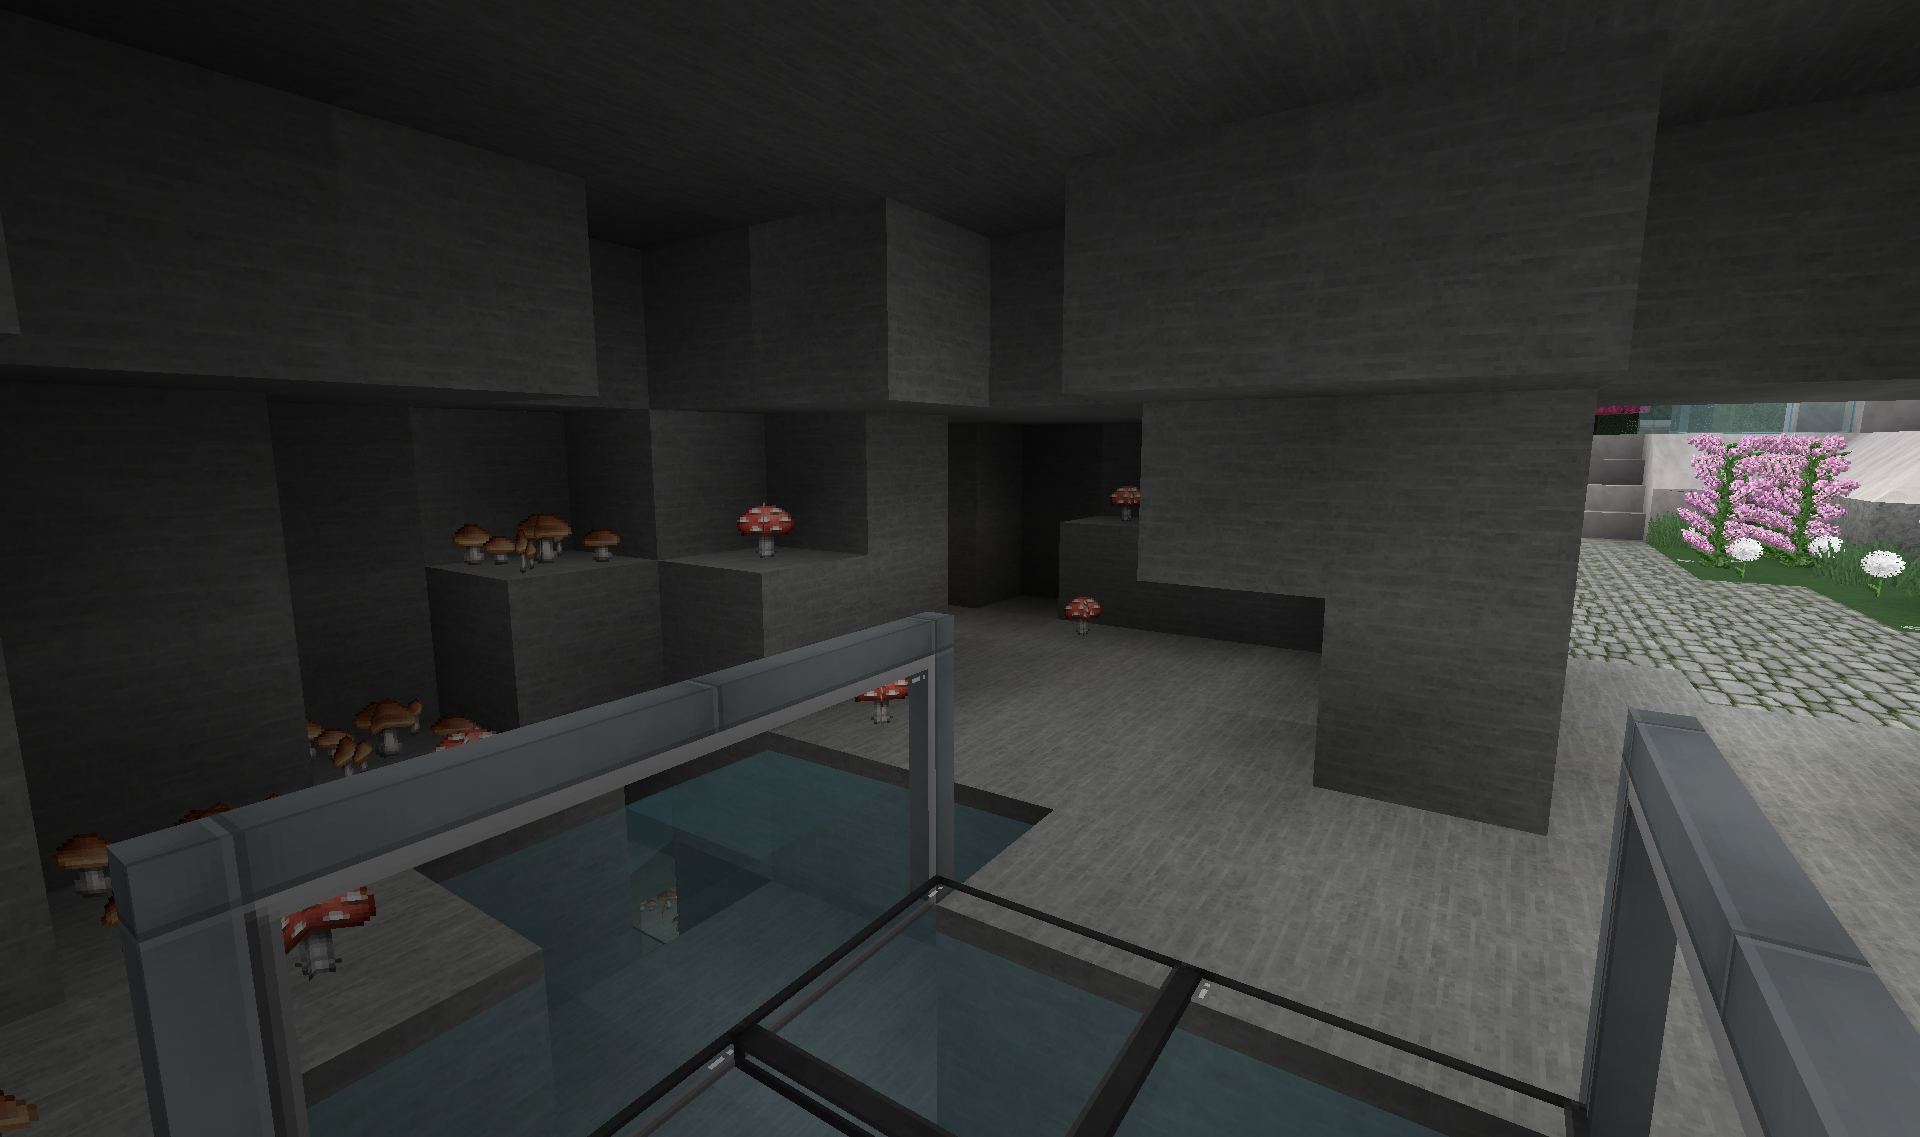
It leads down...
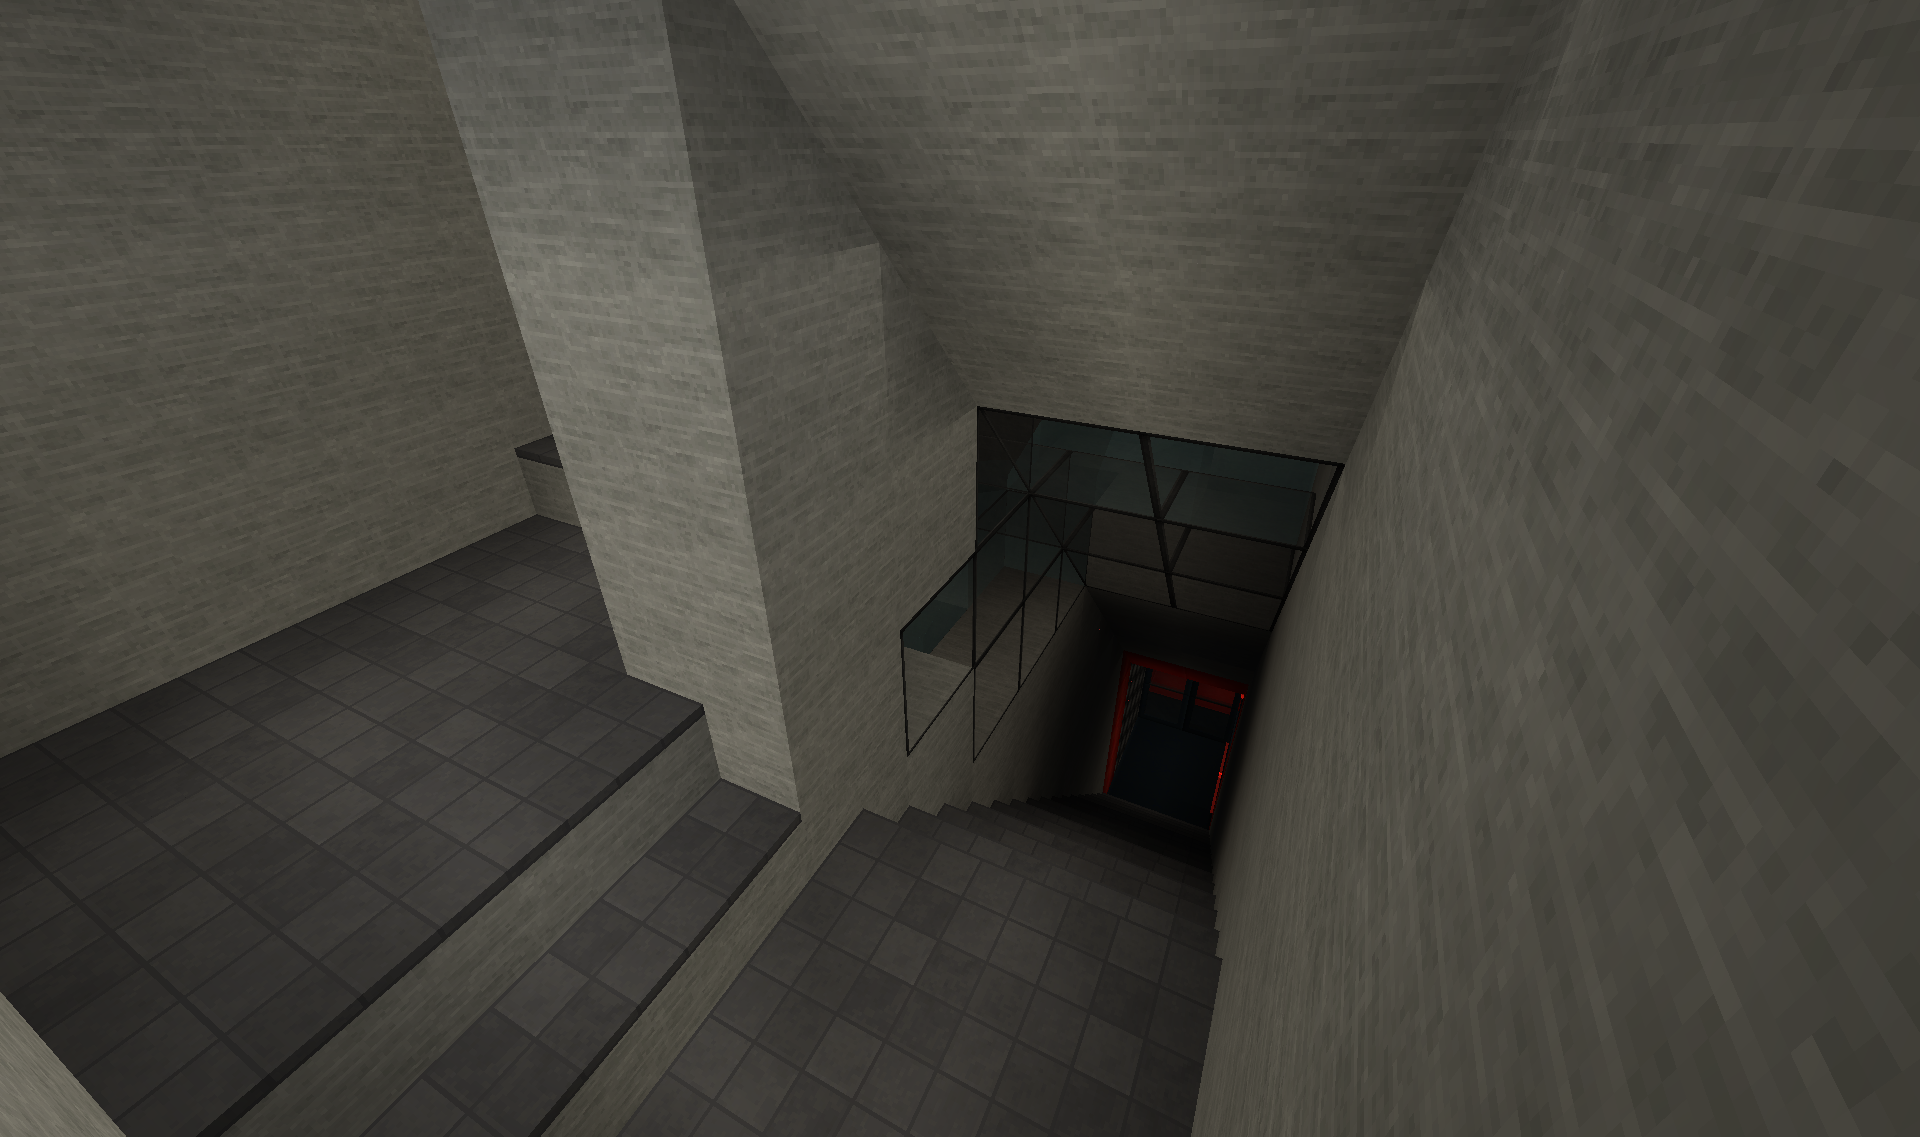
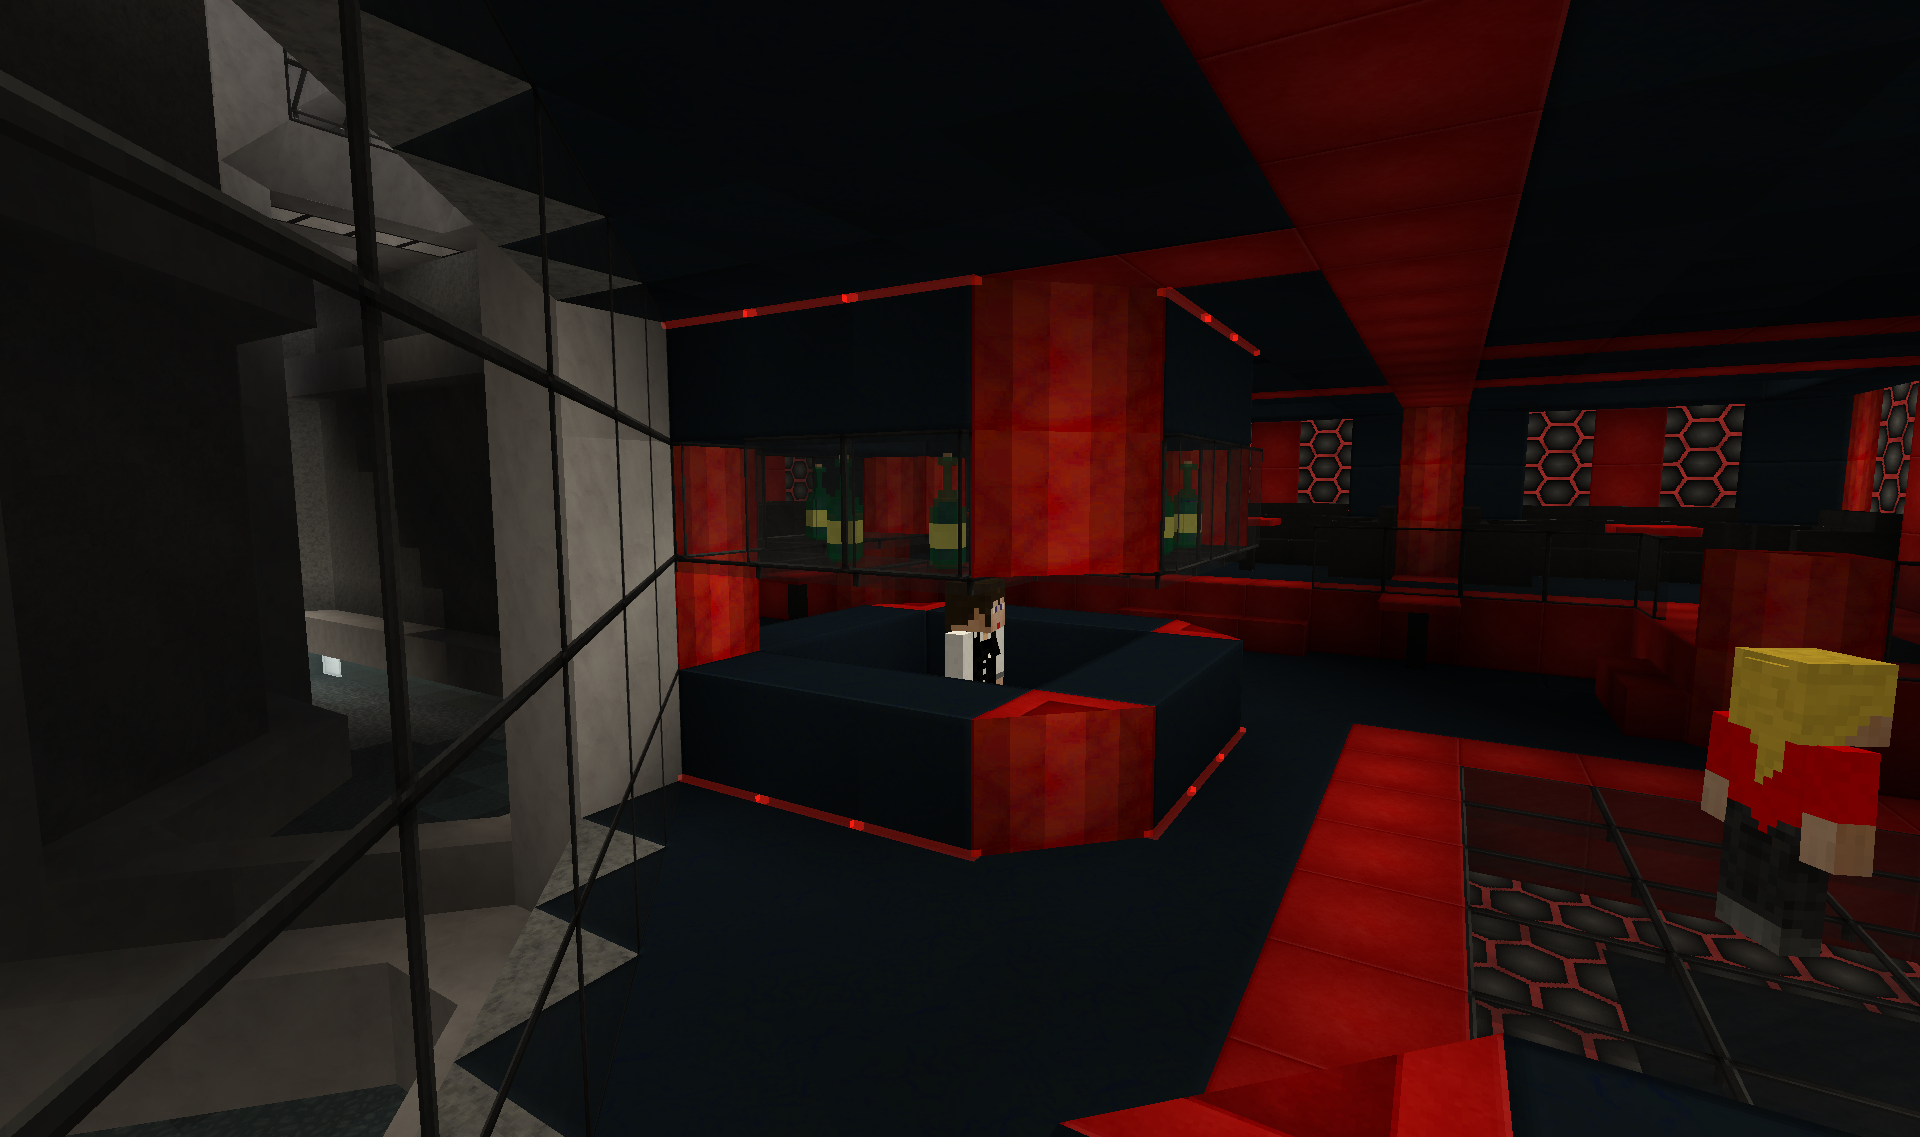
To a night club:
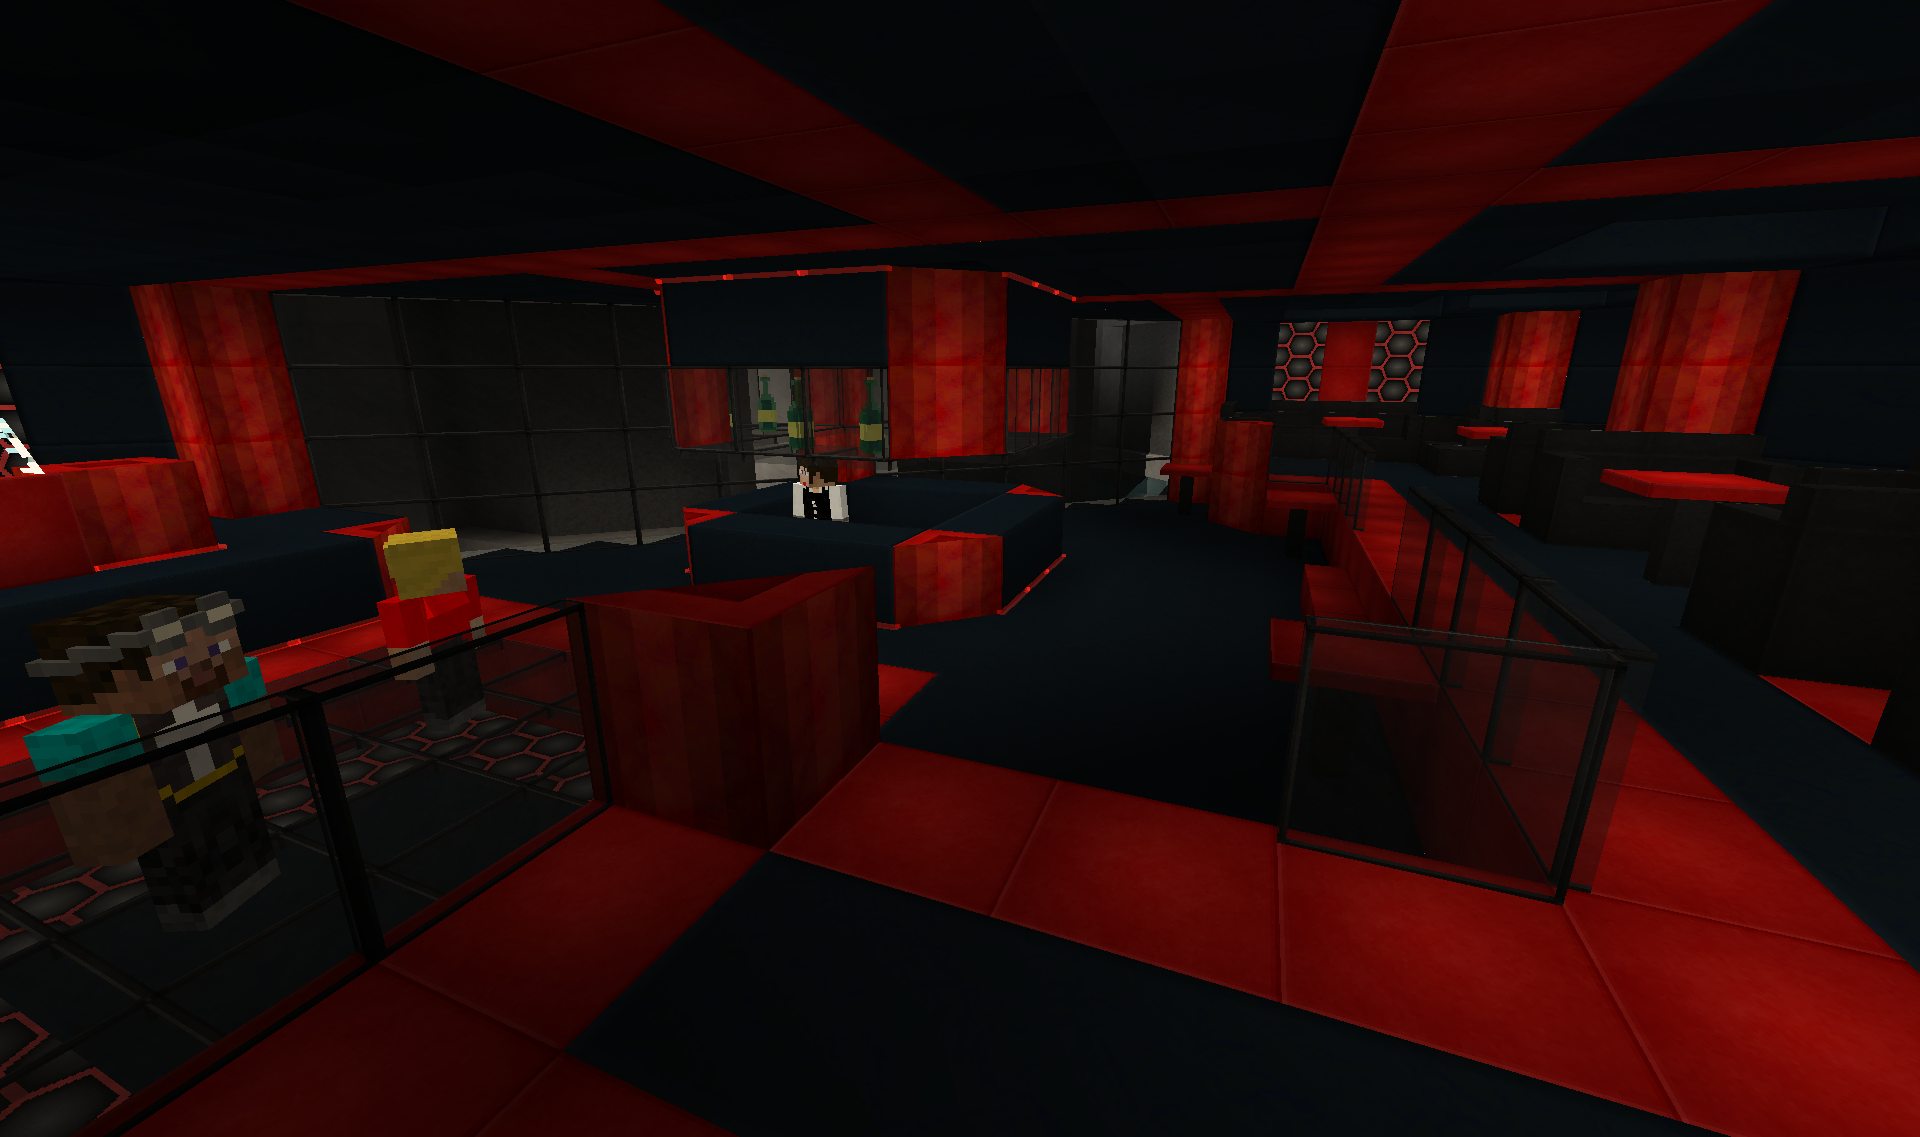
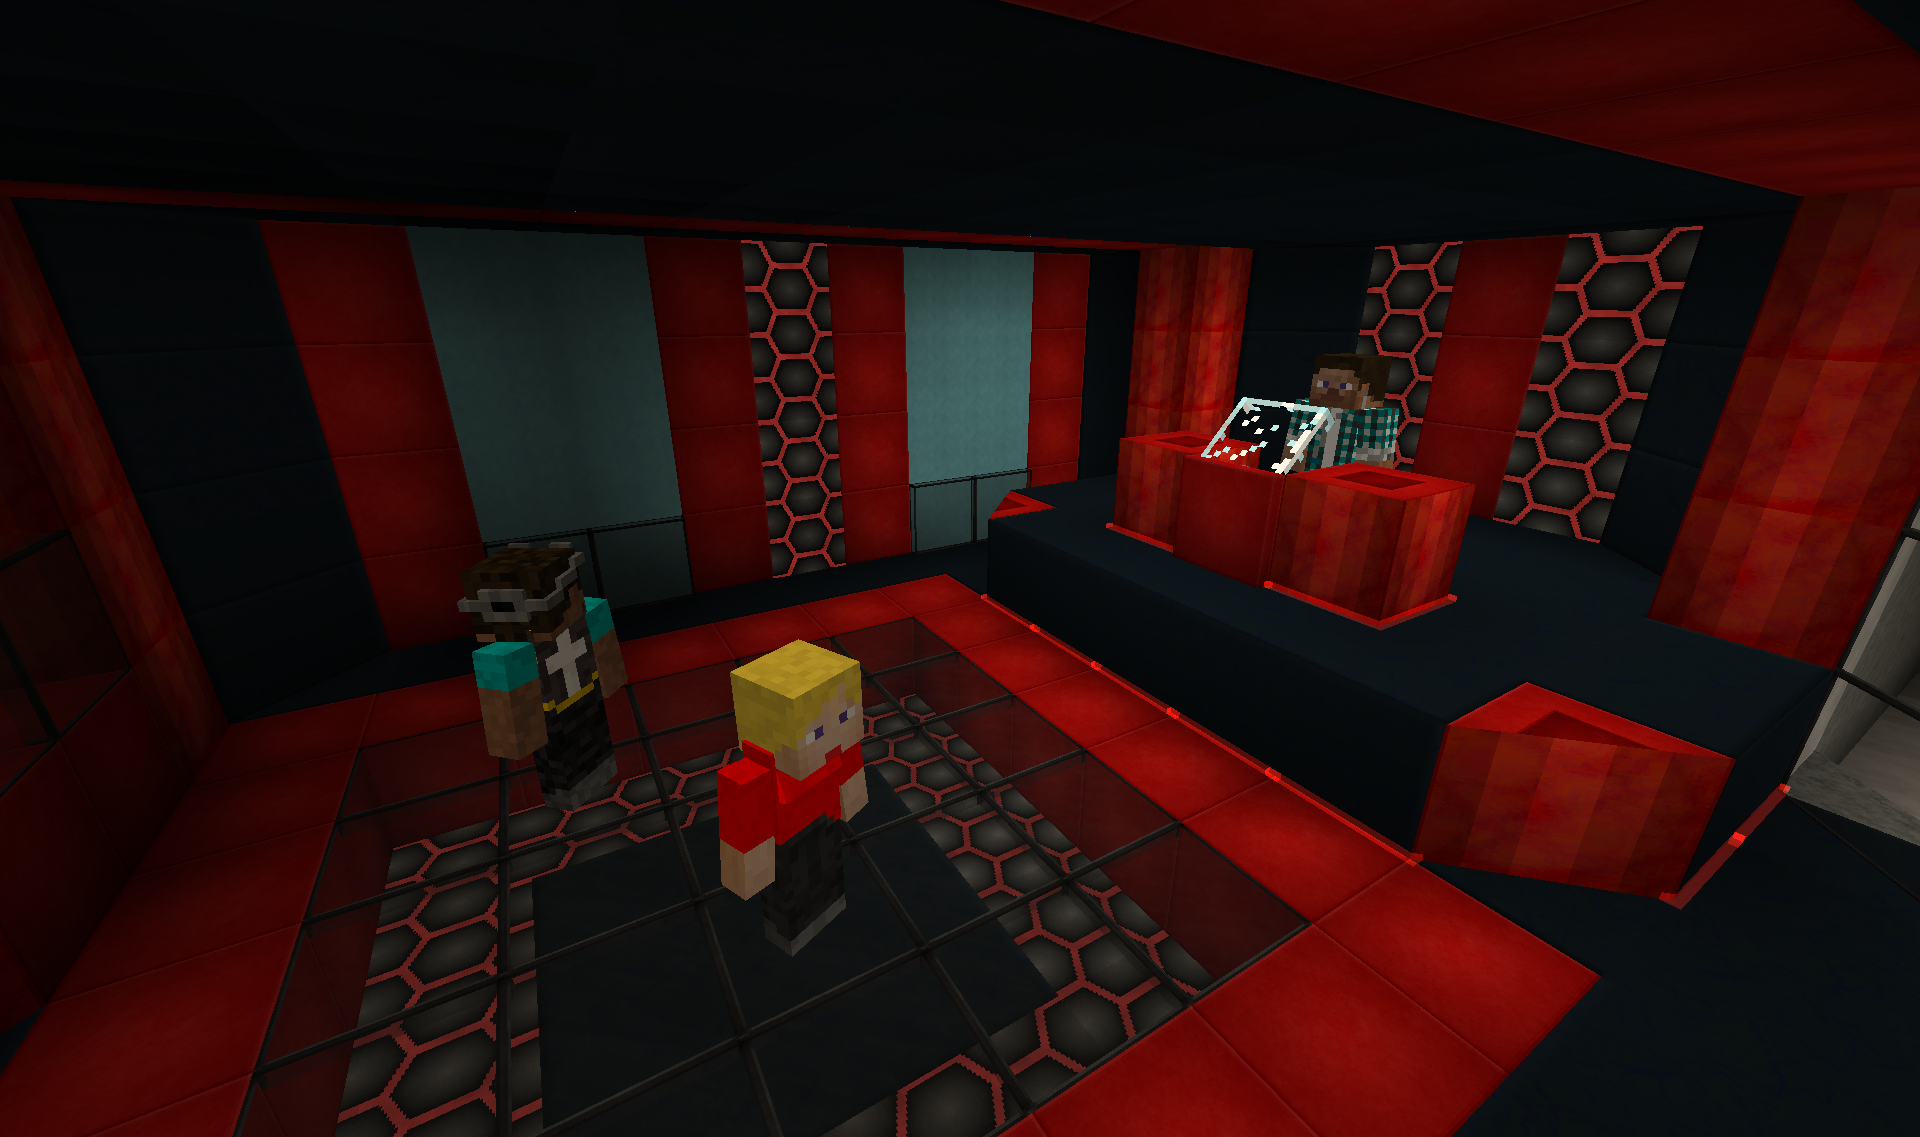
Which is directly adjacent to the bottom of the pit at the base of the tower:
There is a general store(left) and a cinema(dome to the right):


Most of the city has a lot of winding paths and small nooks and corners that are hard to get on a screenshot. But here is an example of one of the little nooks:

Inside under the dome at the bottom of the tower, I have tidied up the "pit" at the base of the tower:

You can see one of the train tracks that all merge in the tower. This one is going out toward the beach and passenger harbour.
The park part of the dome have had a little cave for a long time:

You can pass through it and get out to the outer walkway around the dome. This has lots of exits out into the surrounding city.
But inside the cave there is now a little secret passageway:

It leads down...

To a night club:


Which is directly adjacent to the bottom of the pit at the base of the tower:

Lets get more of this out of the way.
I have been working on decorating the last floors of the tower:
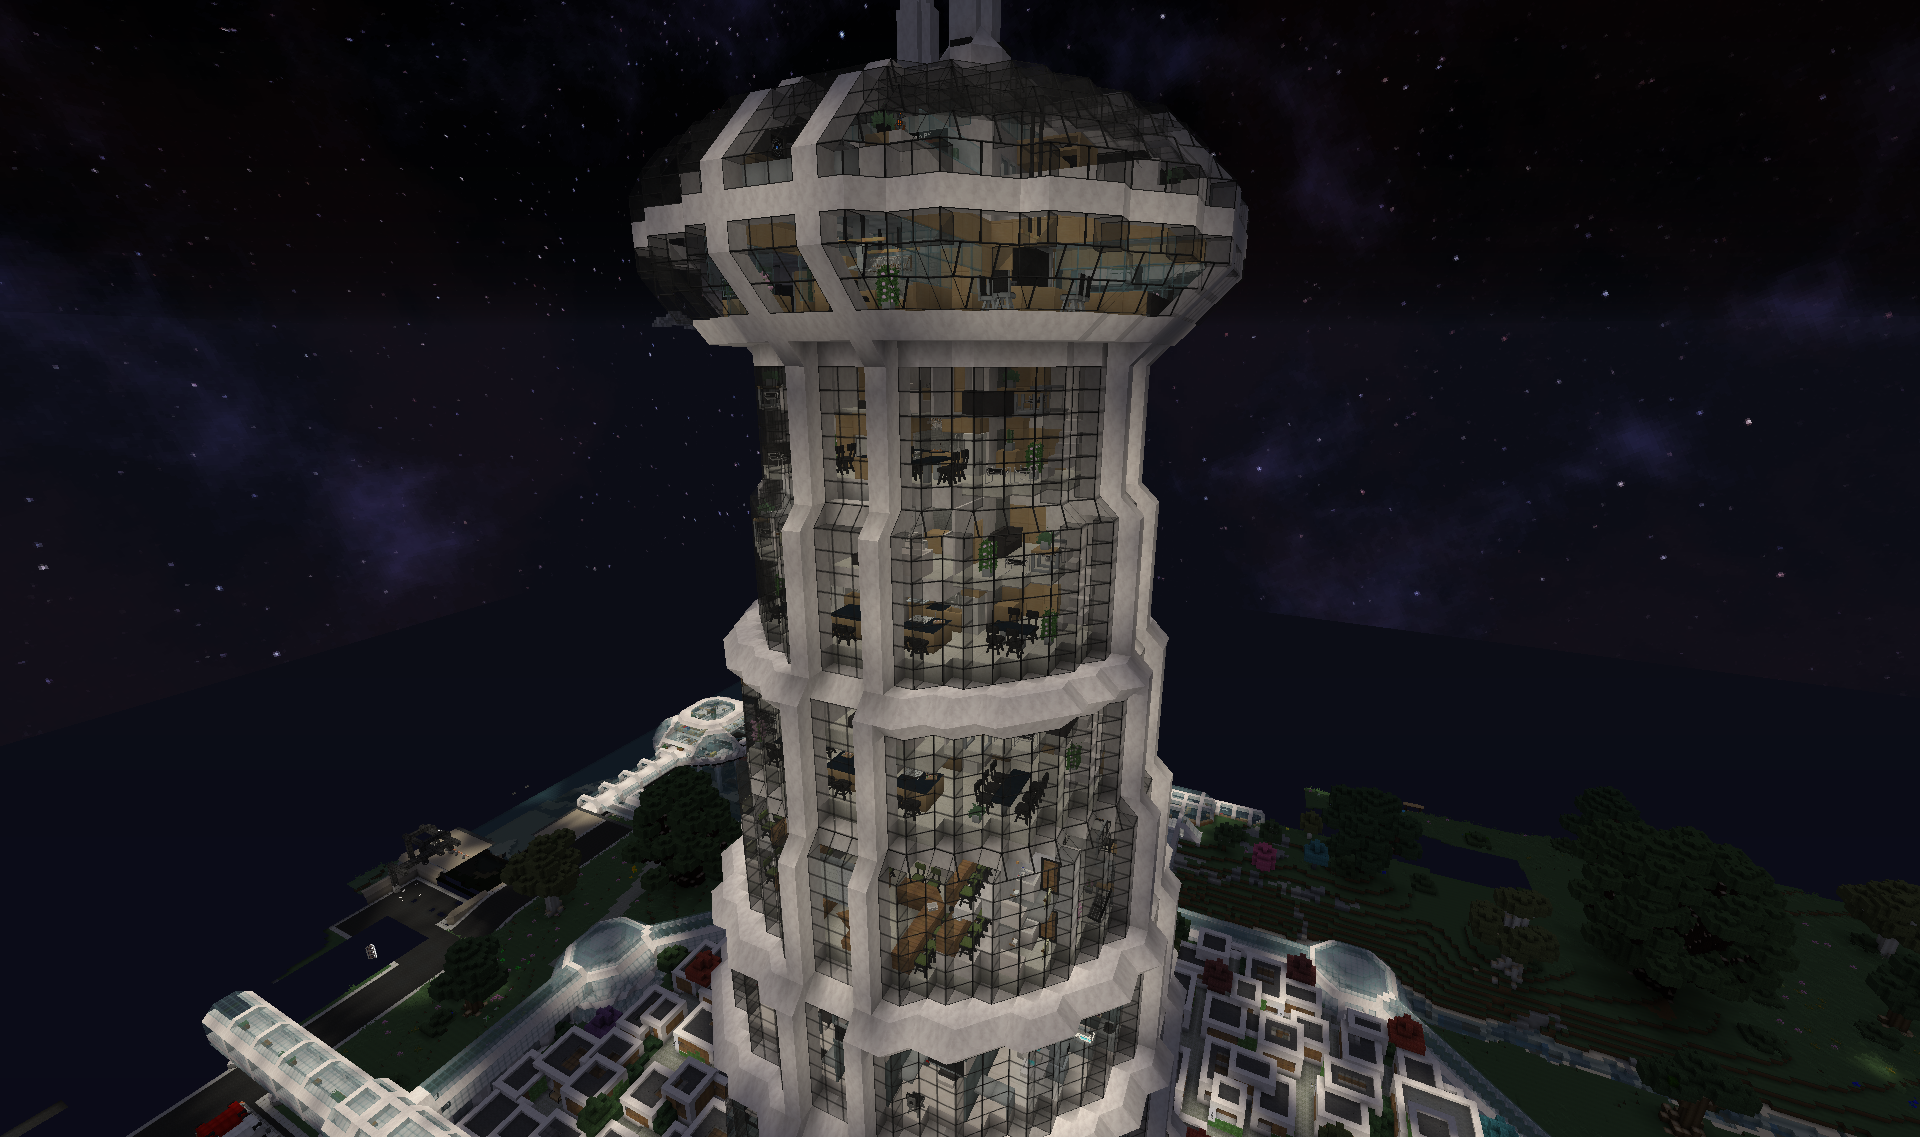
All the upper floors(above the helipads) are now done. I have added apartments and offices to the top four "floors"(below my penthouse). Each "floor" has an elevator stop, but is then divided into two more sub floors, so it is actually 8 floors total.
Just above the hospital wing I added two floors of offices and a council hall.
Reception area just off the elevator:
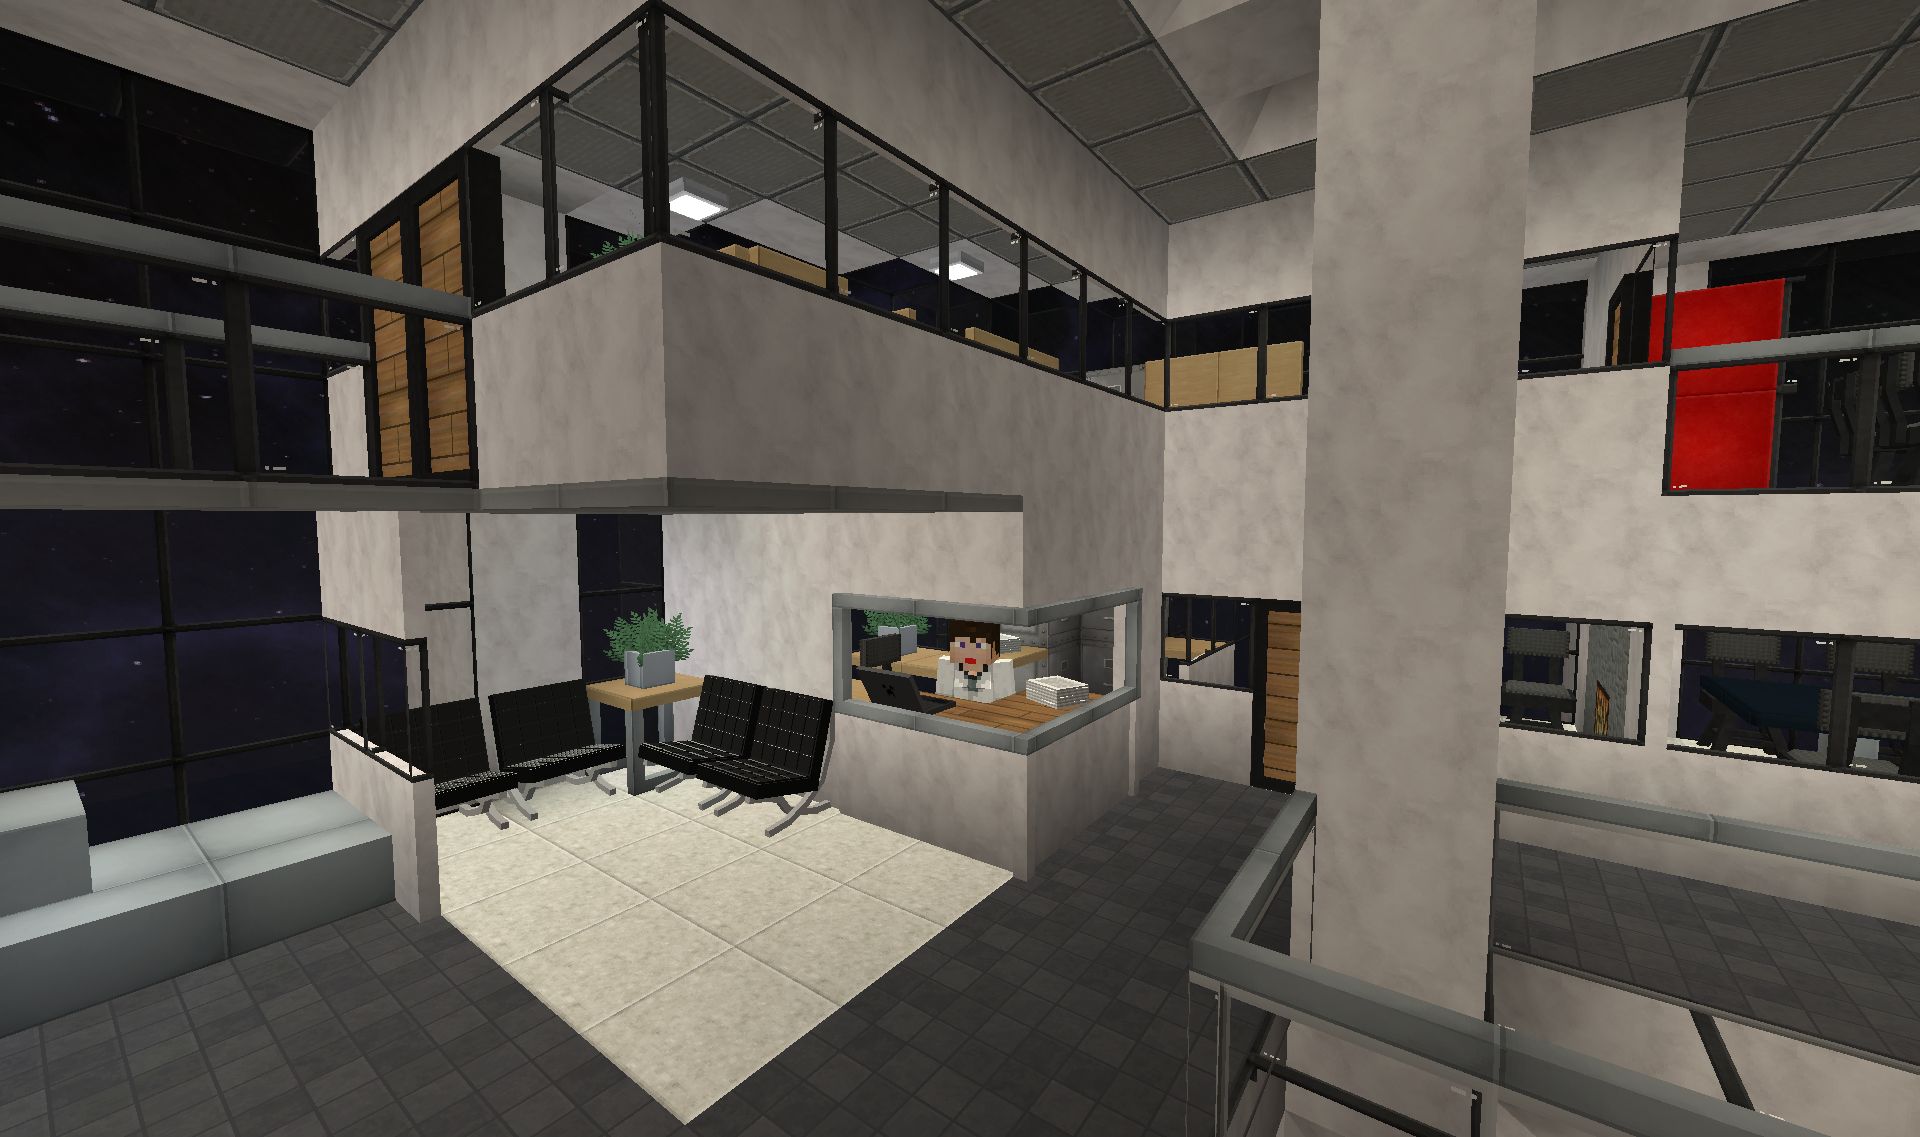
Bottom floor for meeting room and larger offices:
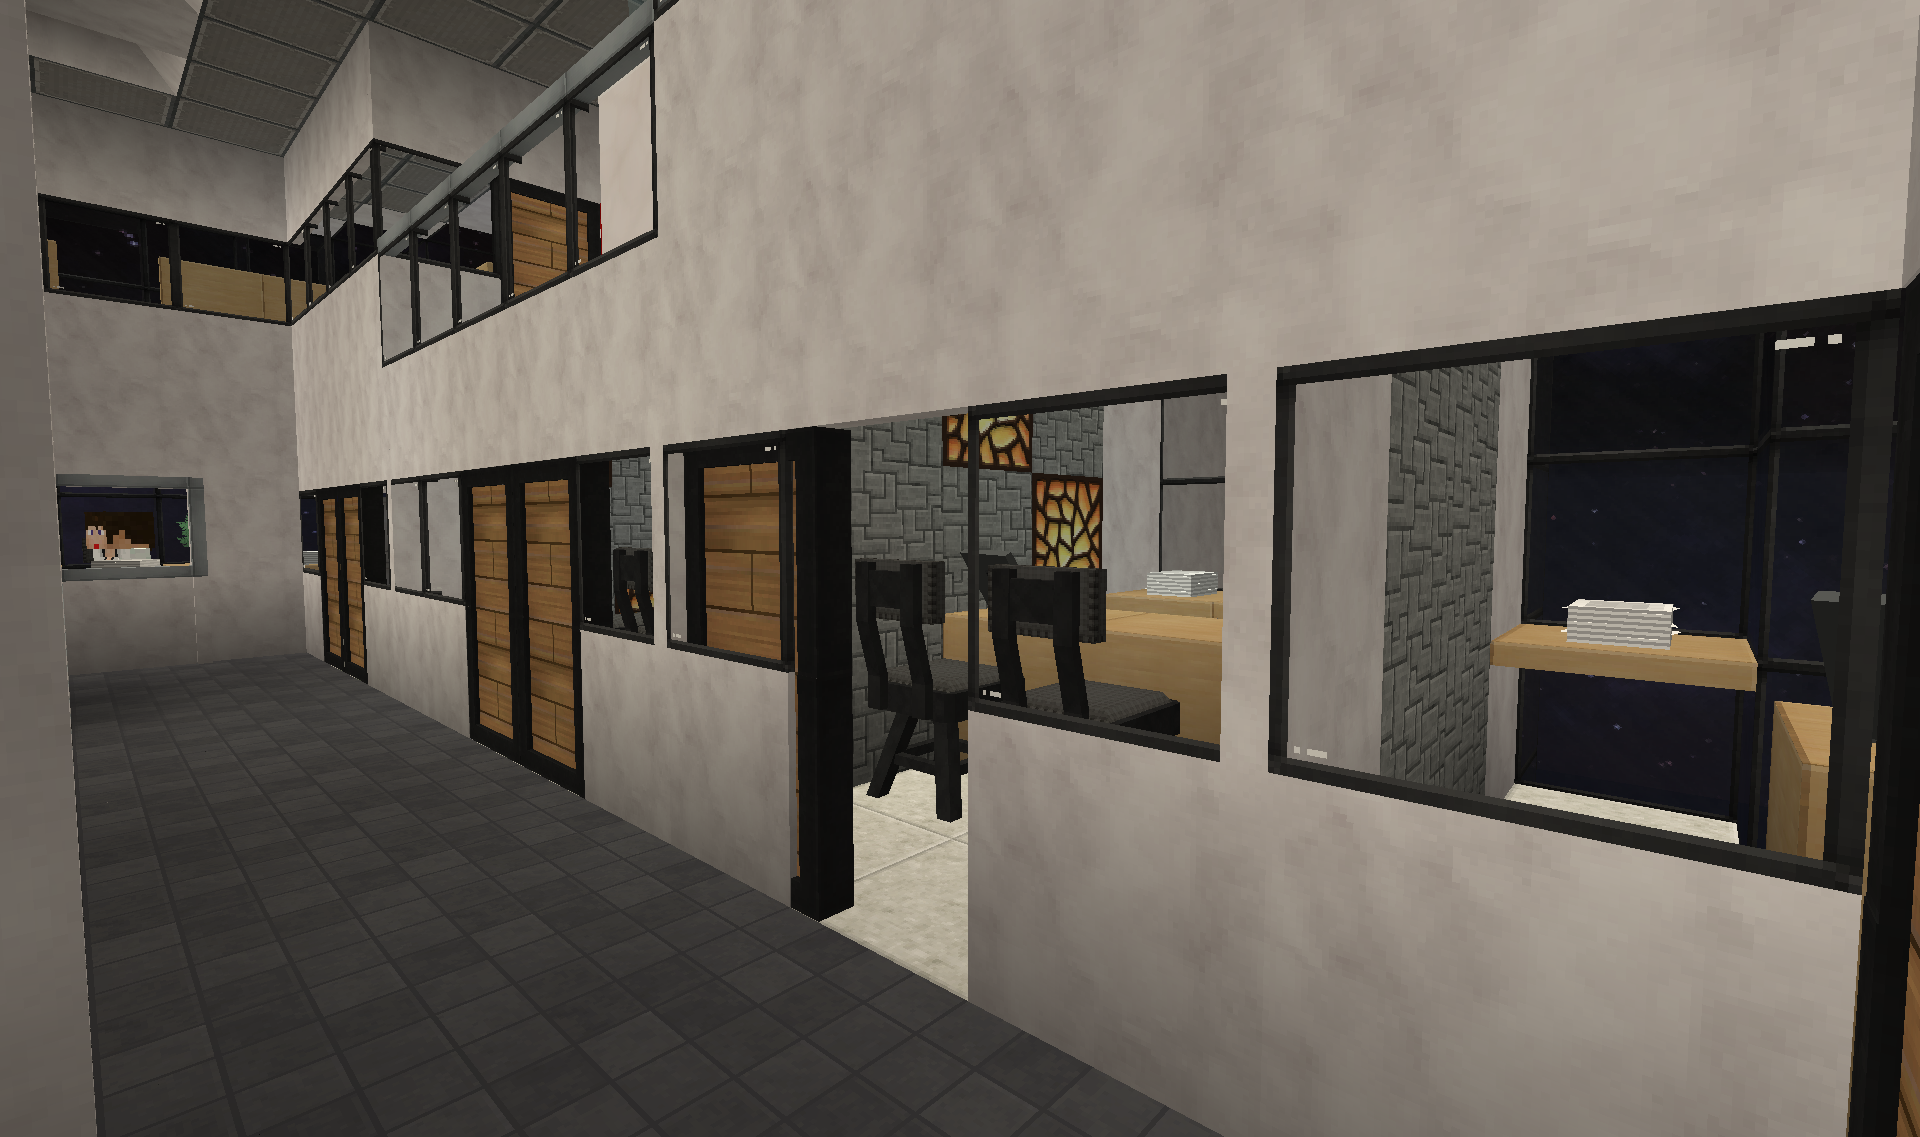
Upstairs is more basic cubicle style offices:
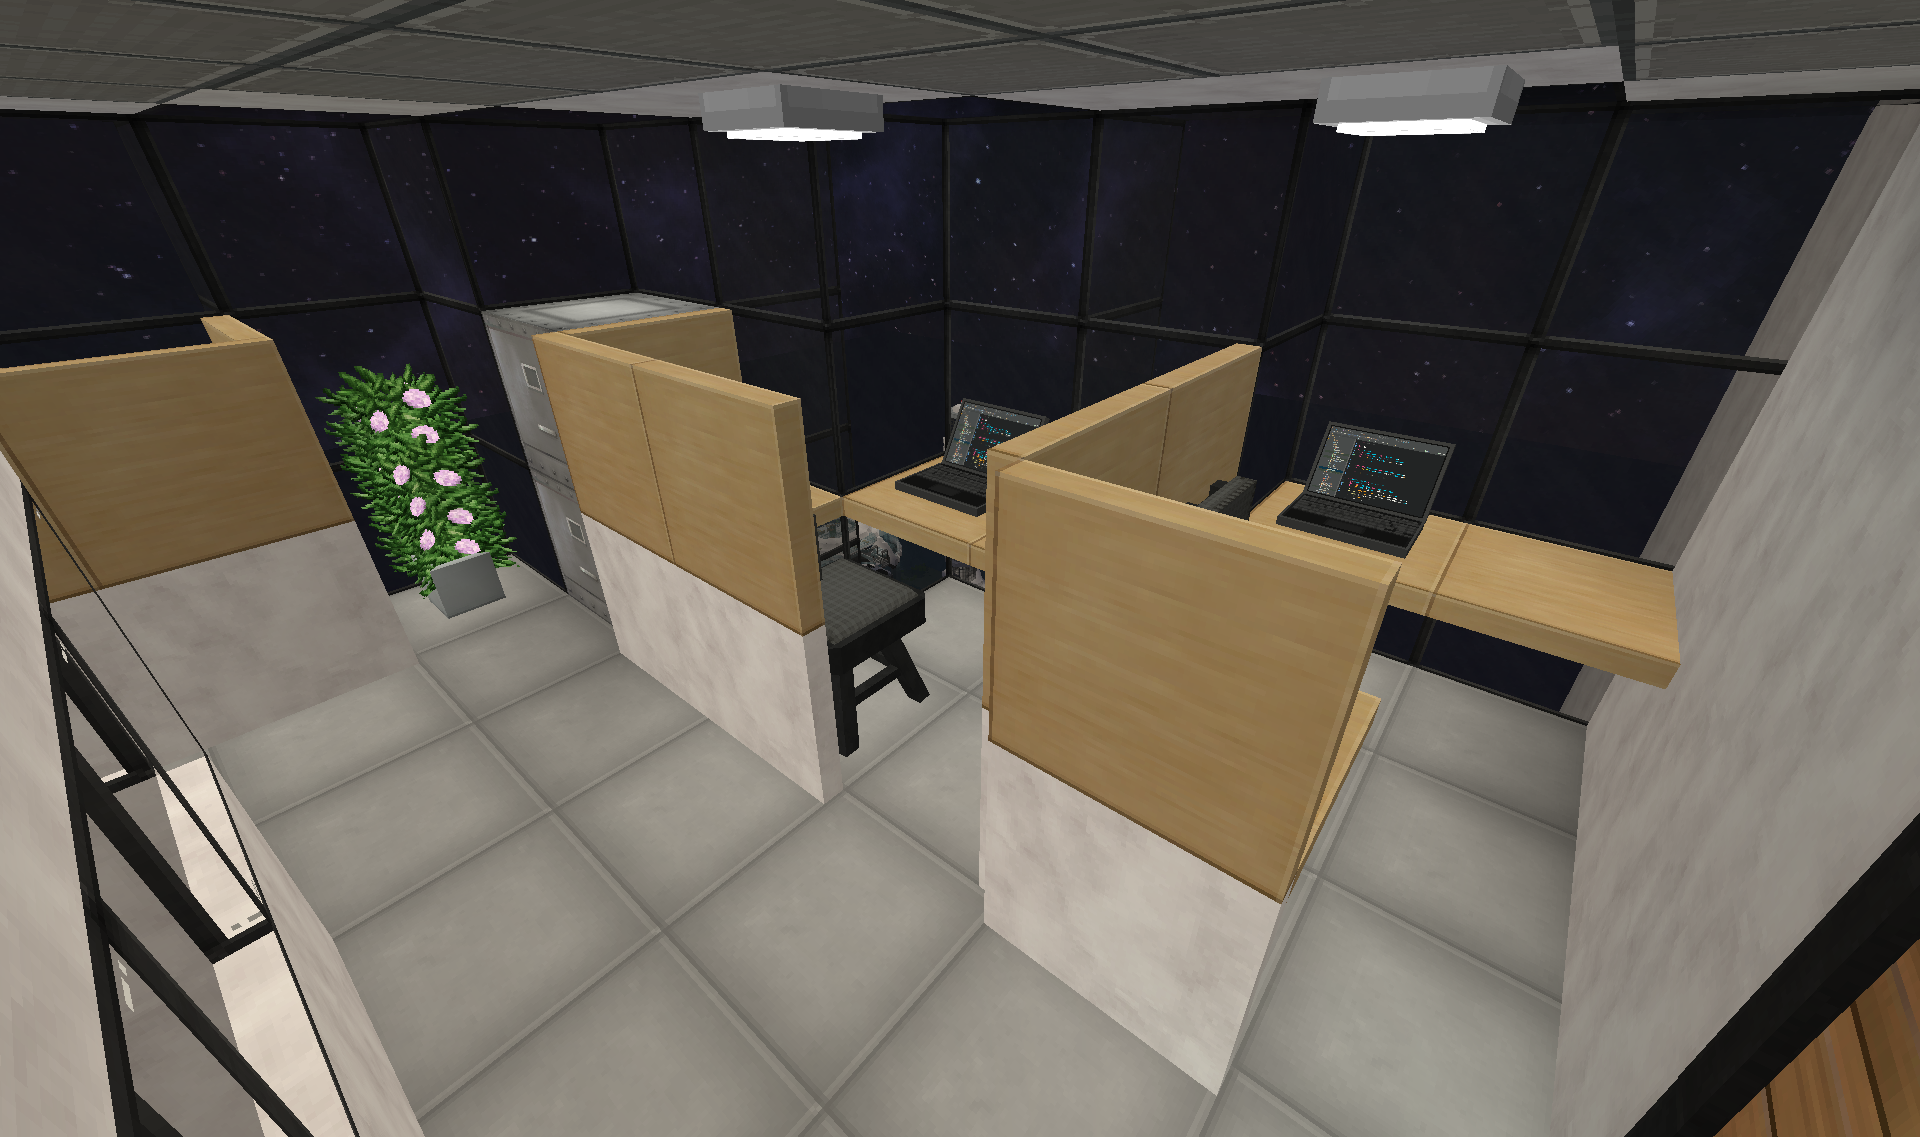
And it also has a break room:
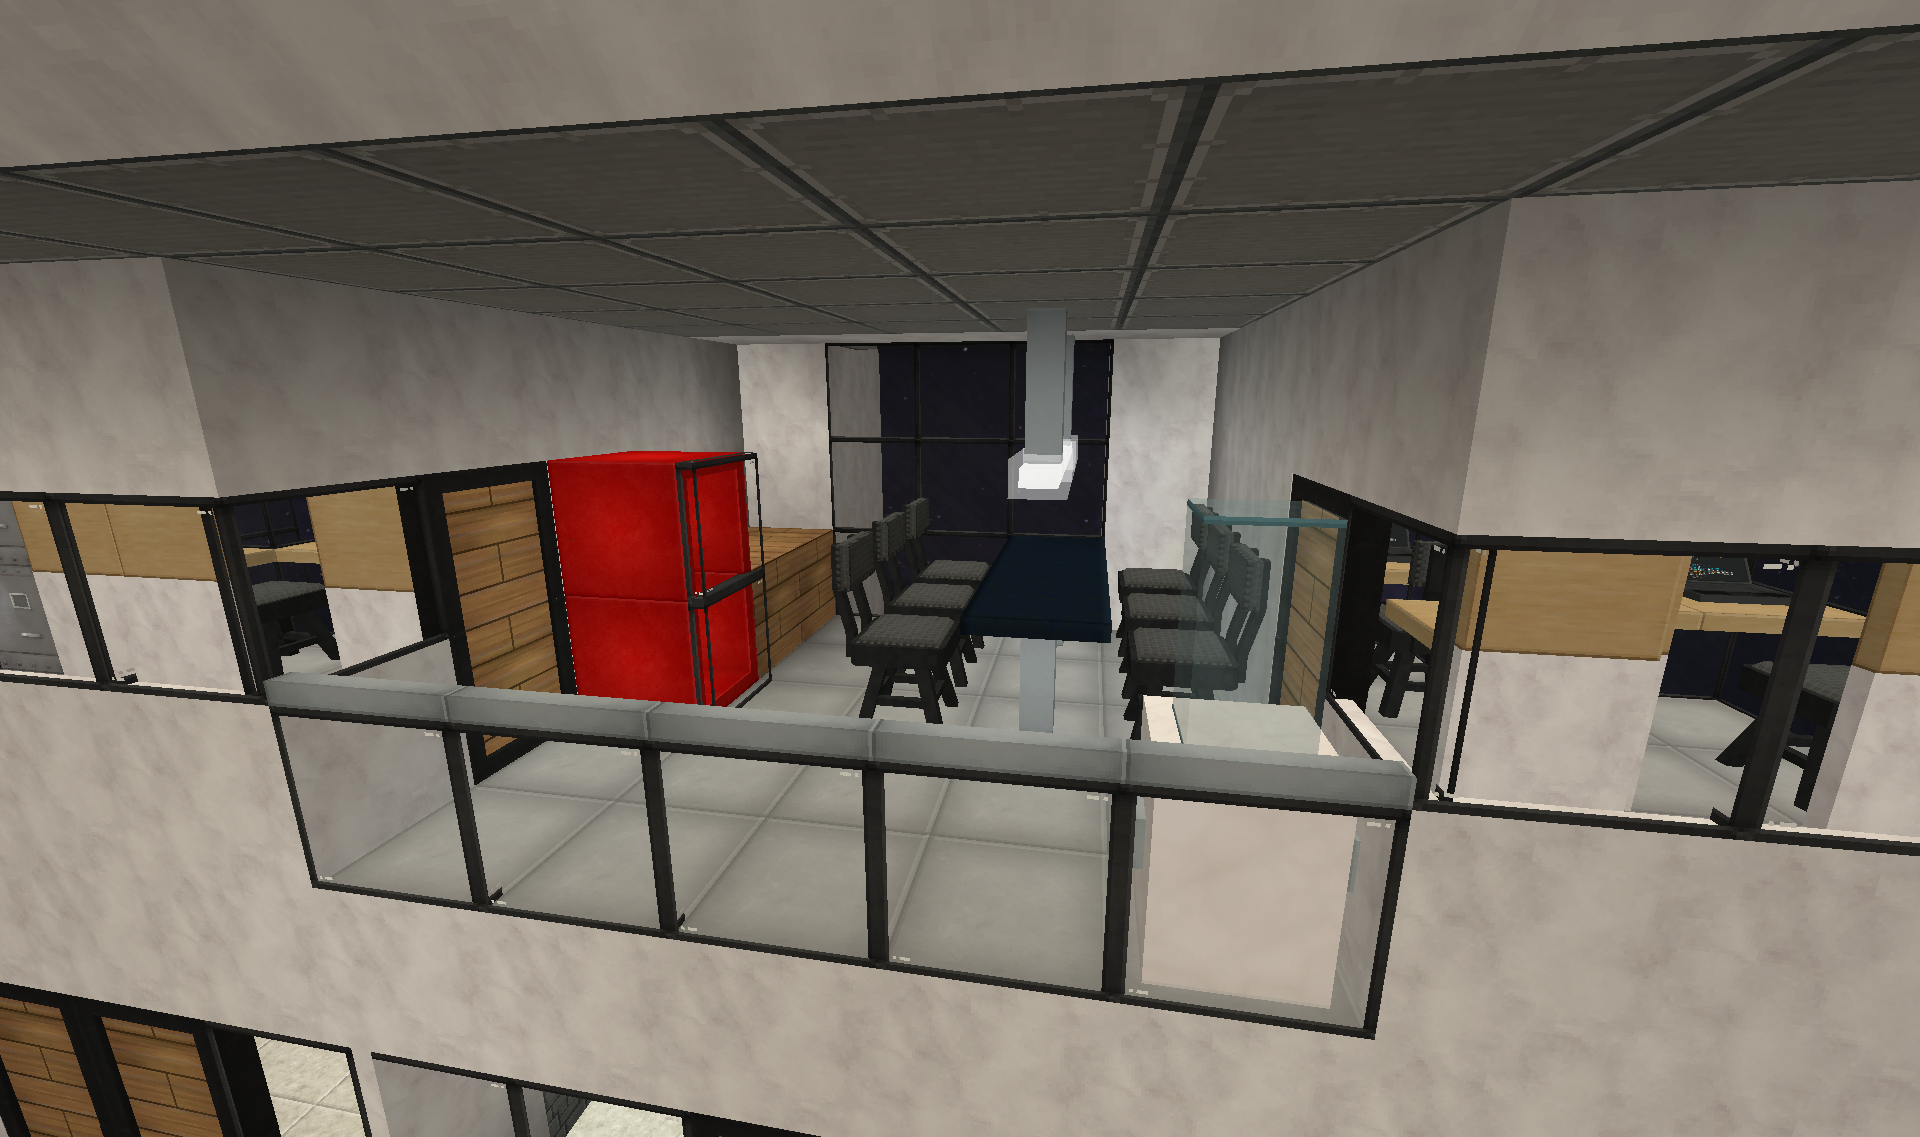
Complete with water cooler
The other side of the tower has the two story council hall:
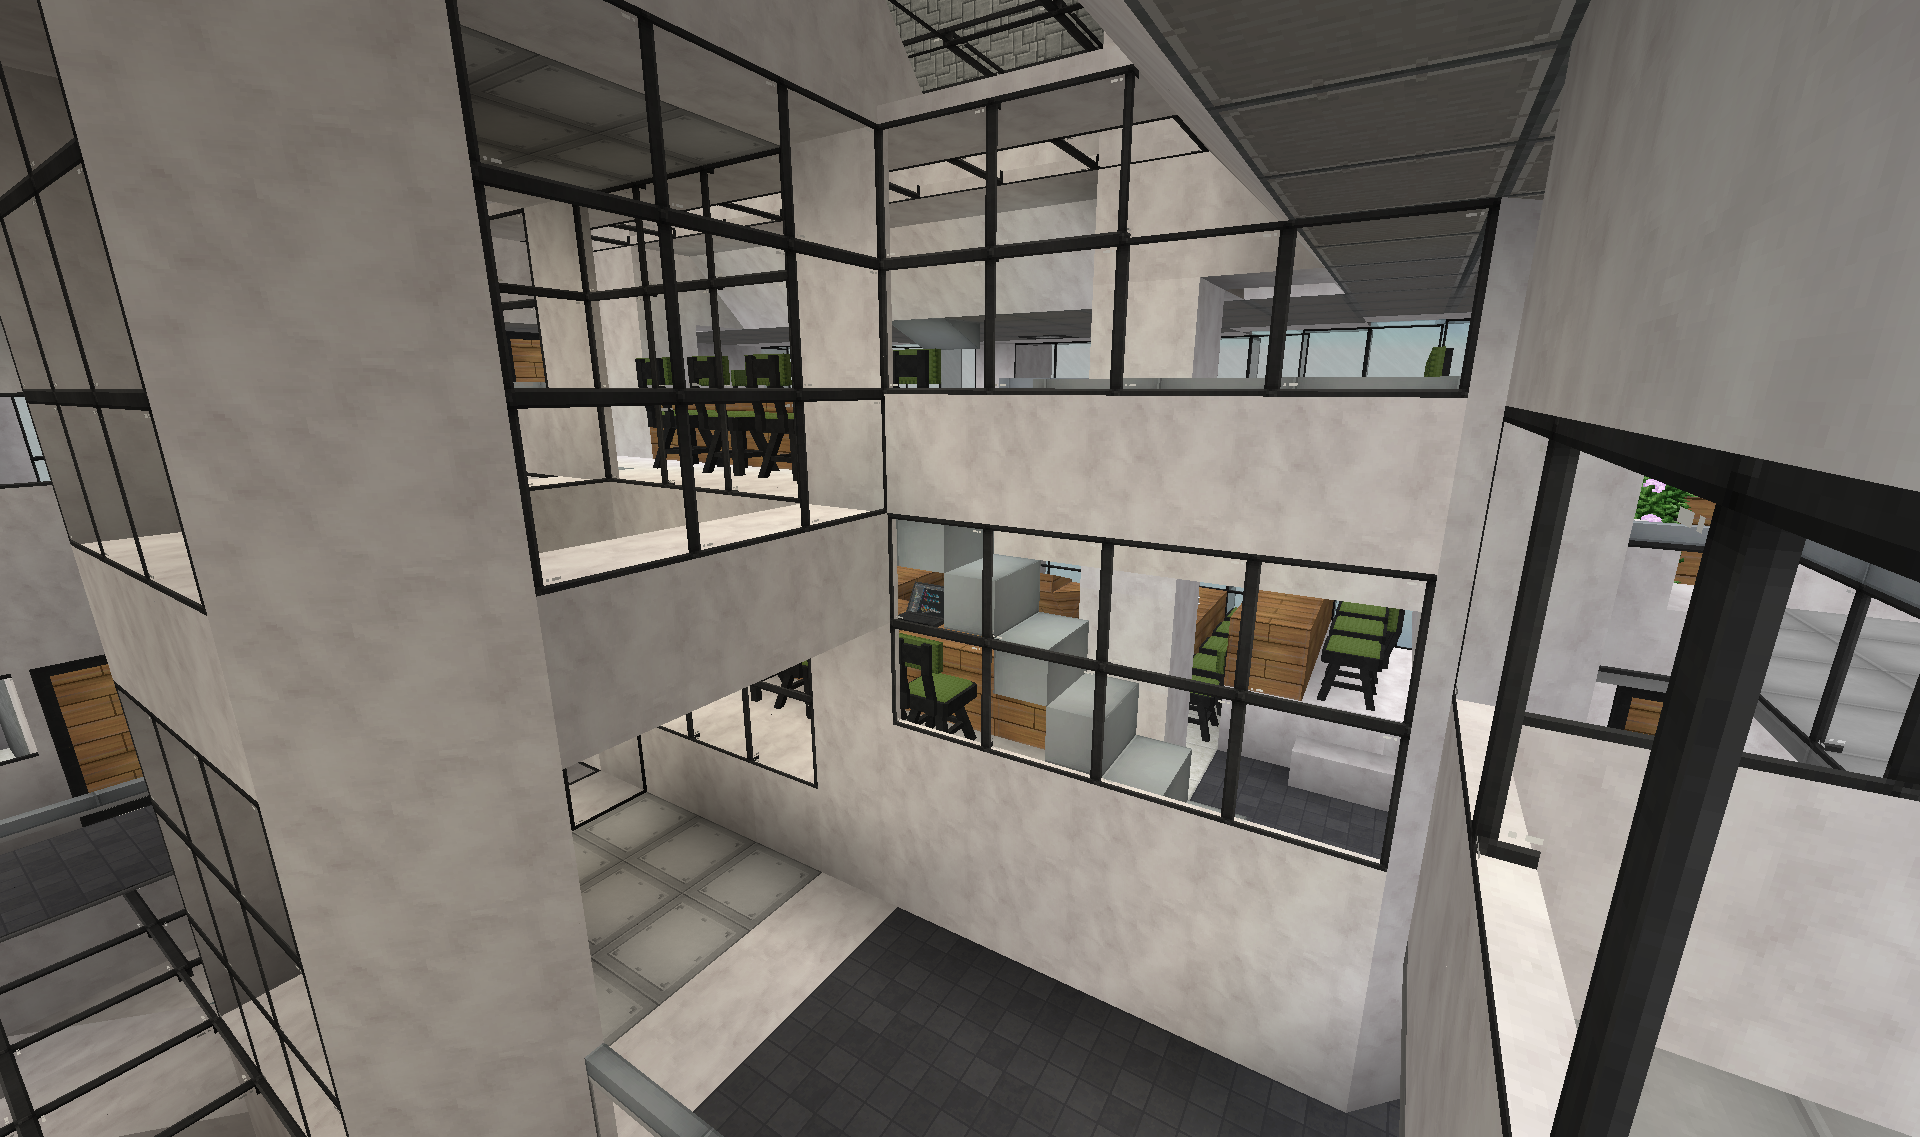
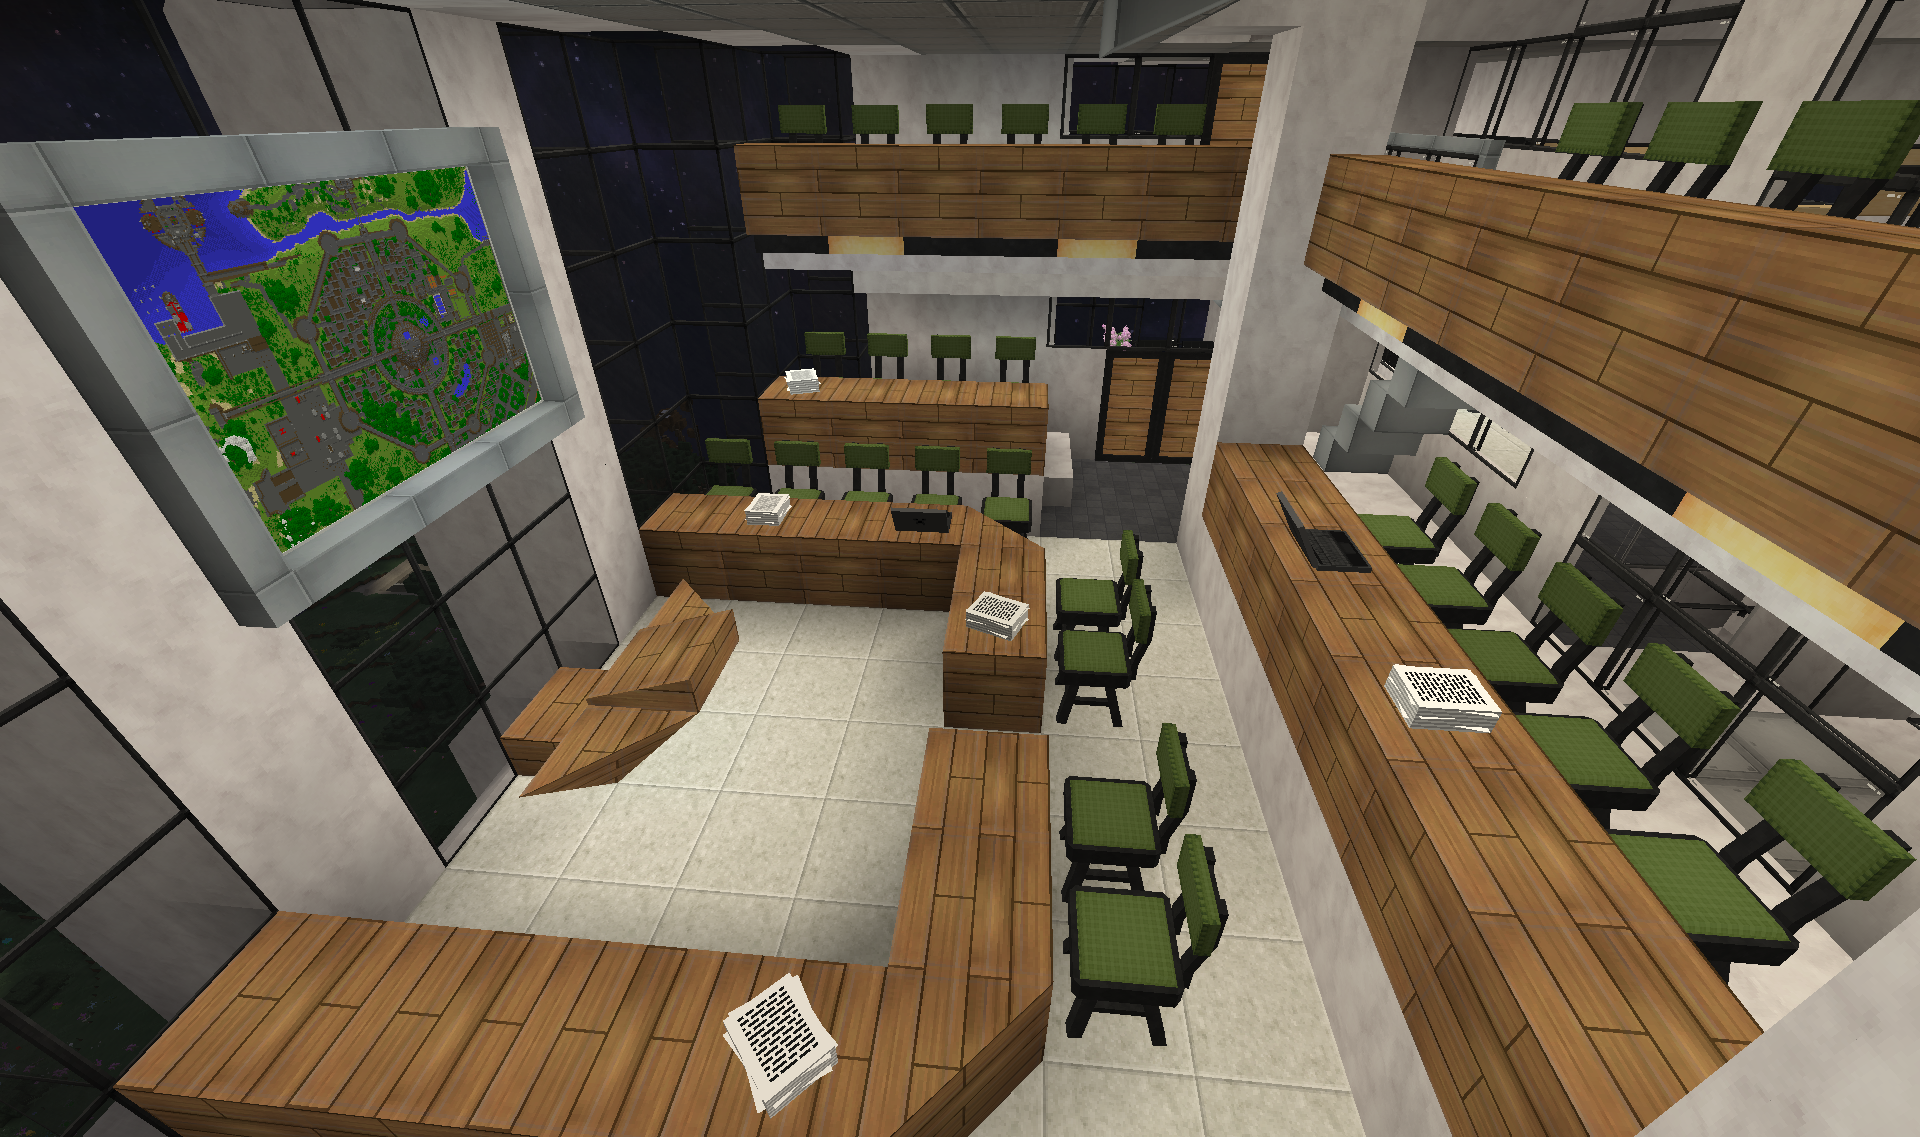
Adjacent to the council hall I also added four bathrooms:
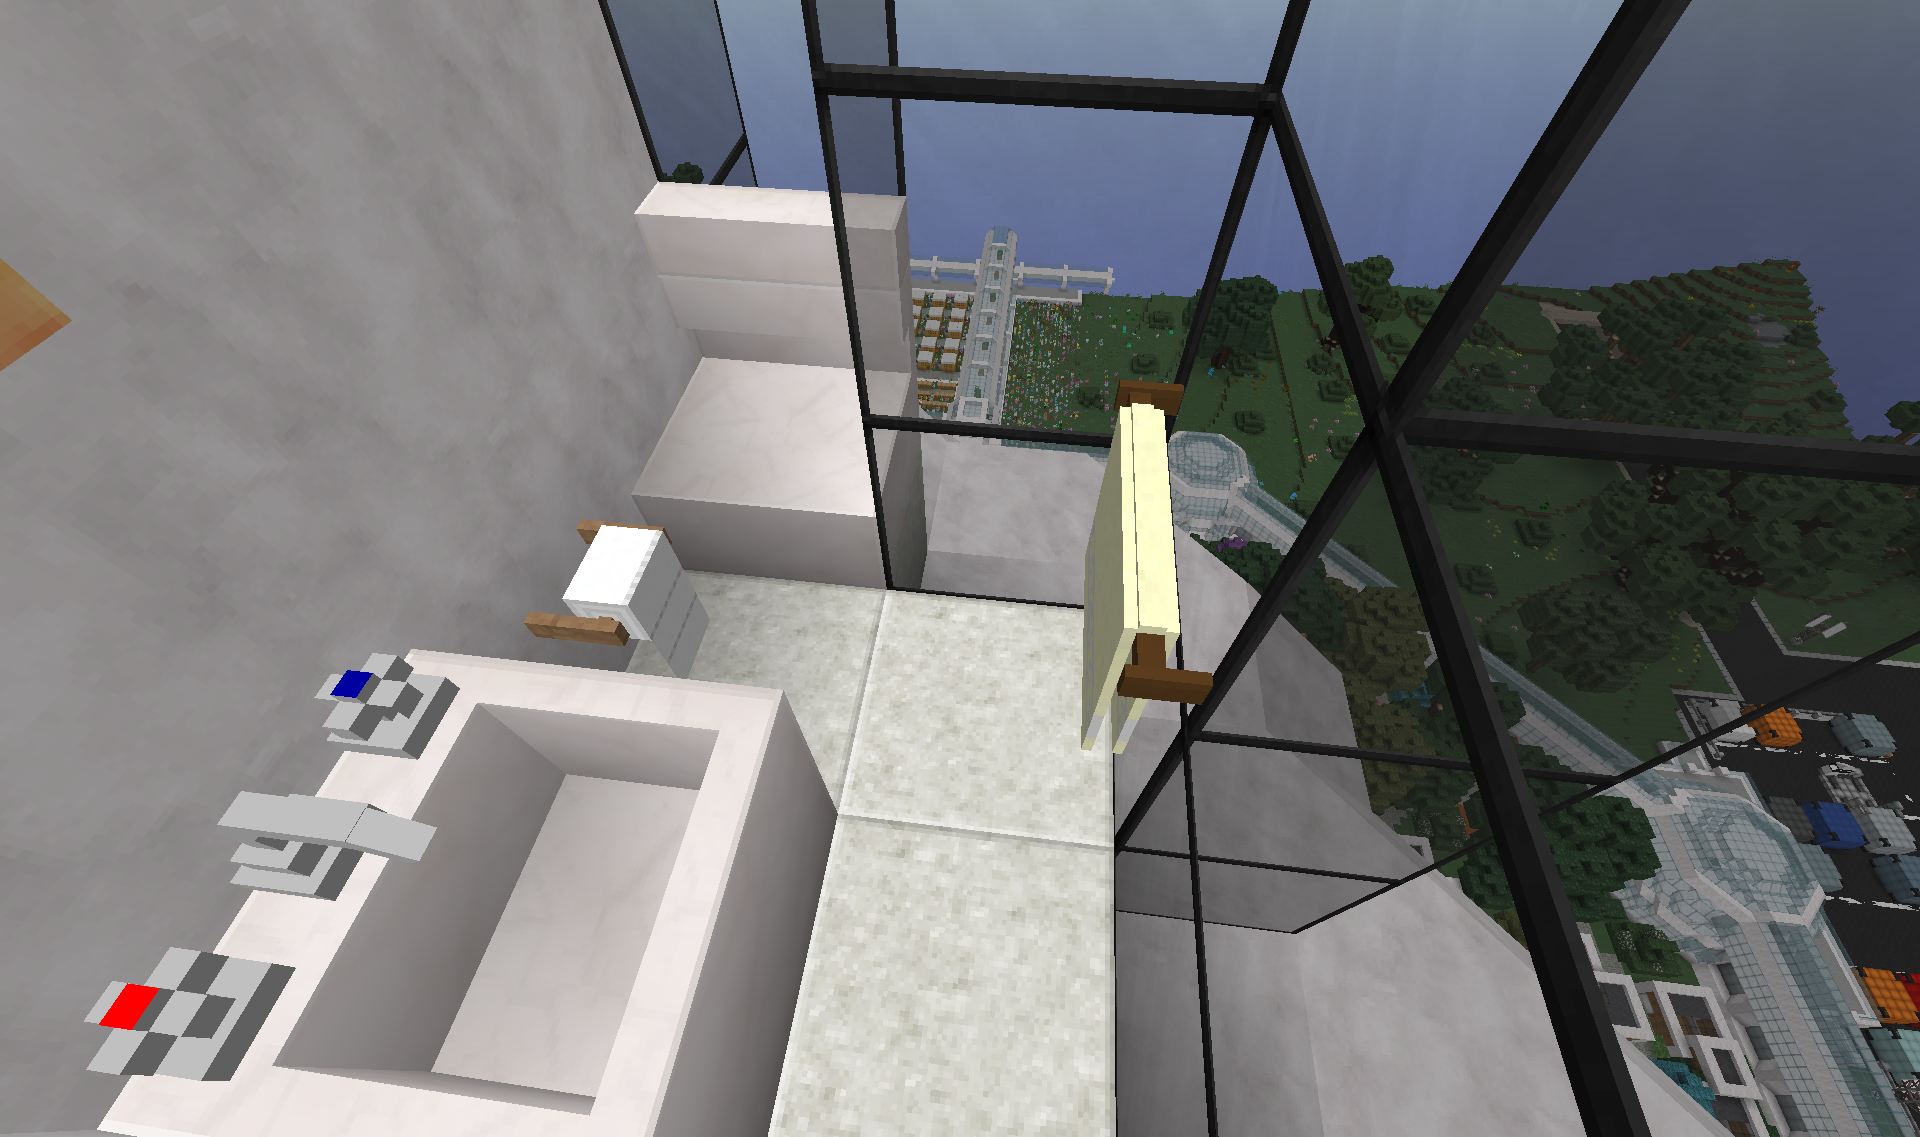
All with a kick ass view while you do your business
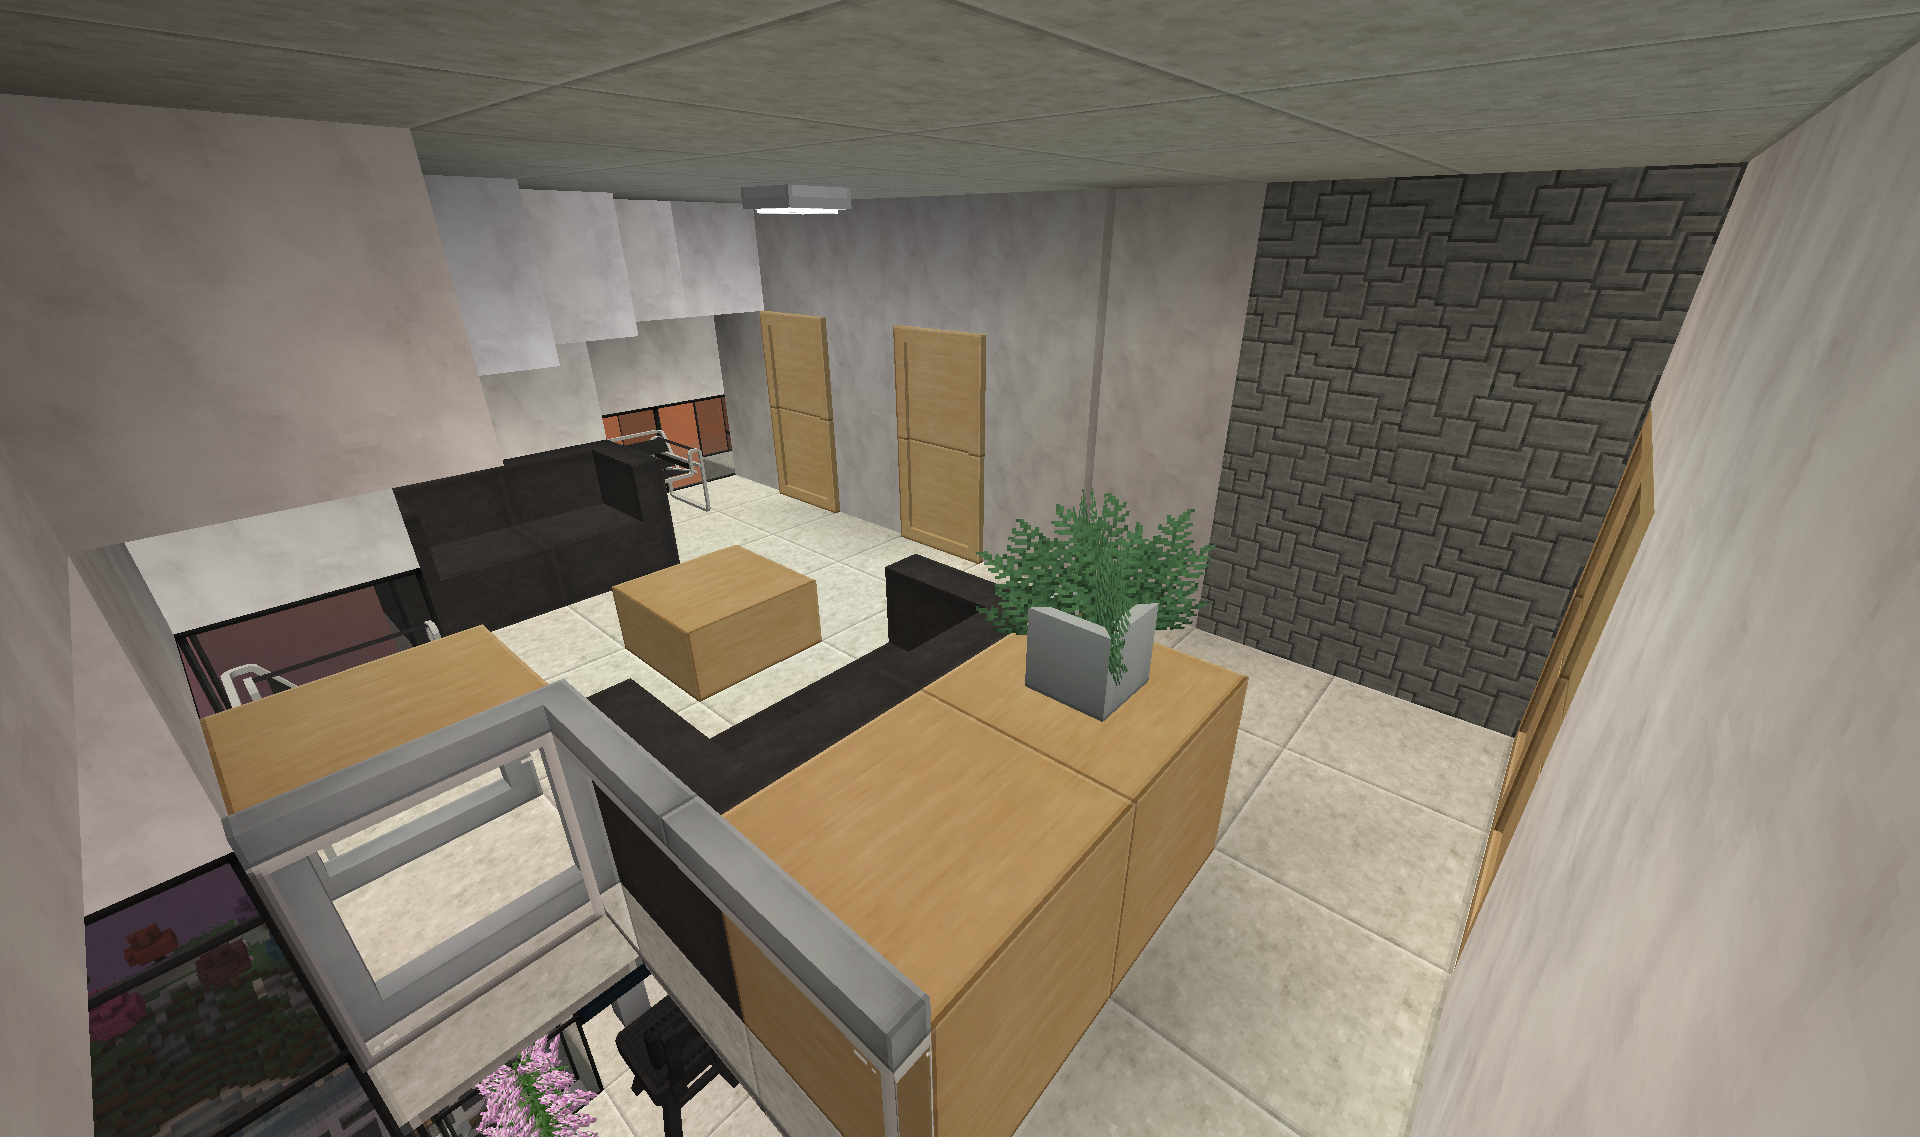
Taking the elevator up another step is the first set of apartments:
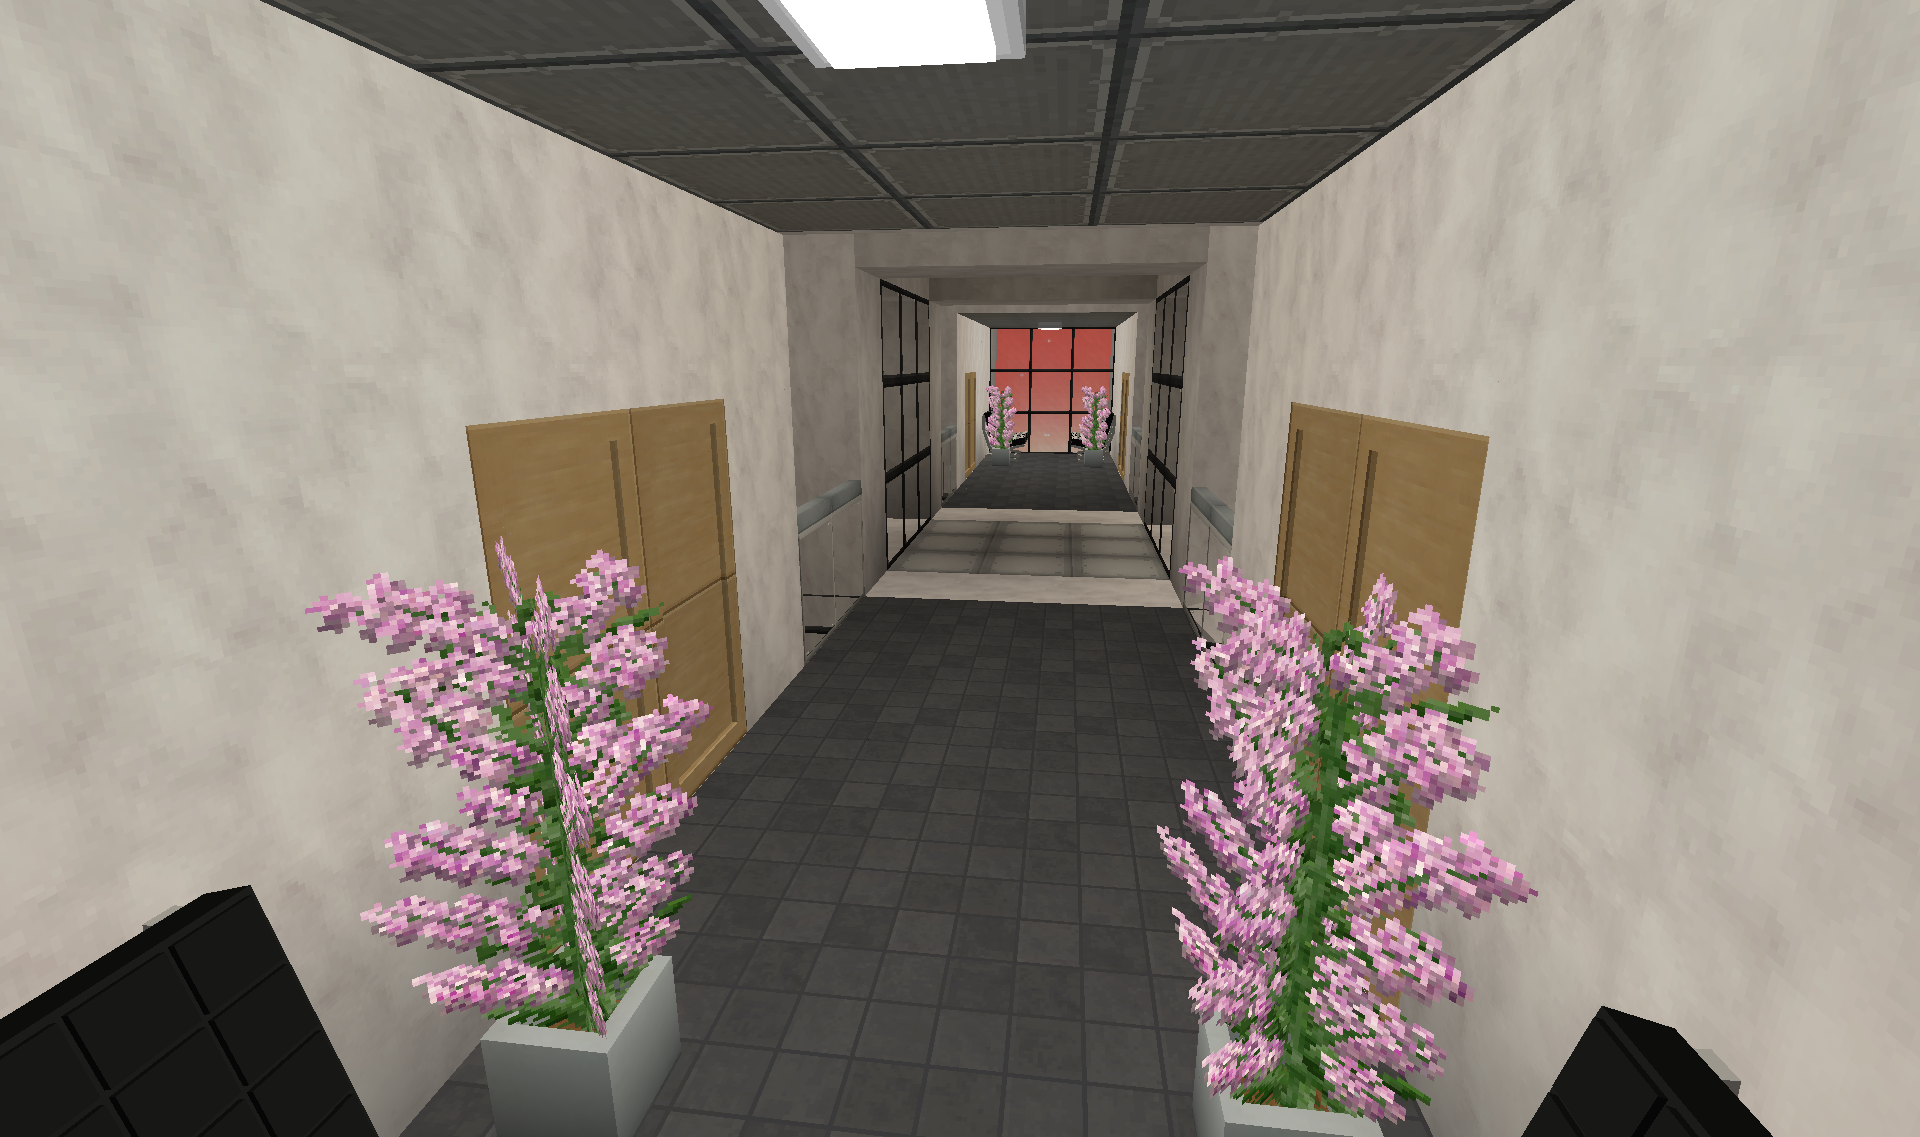
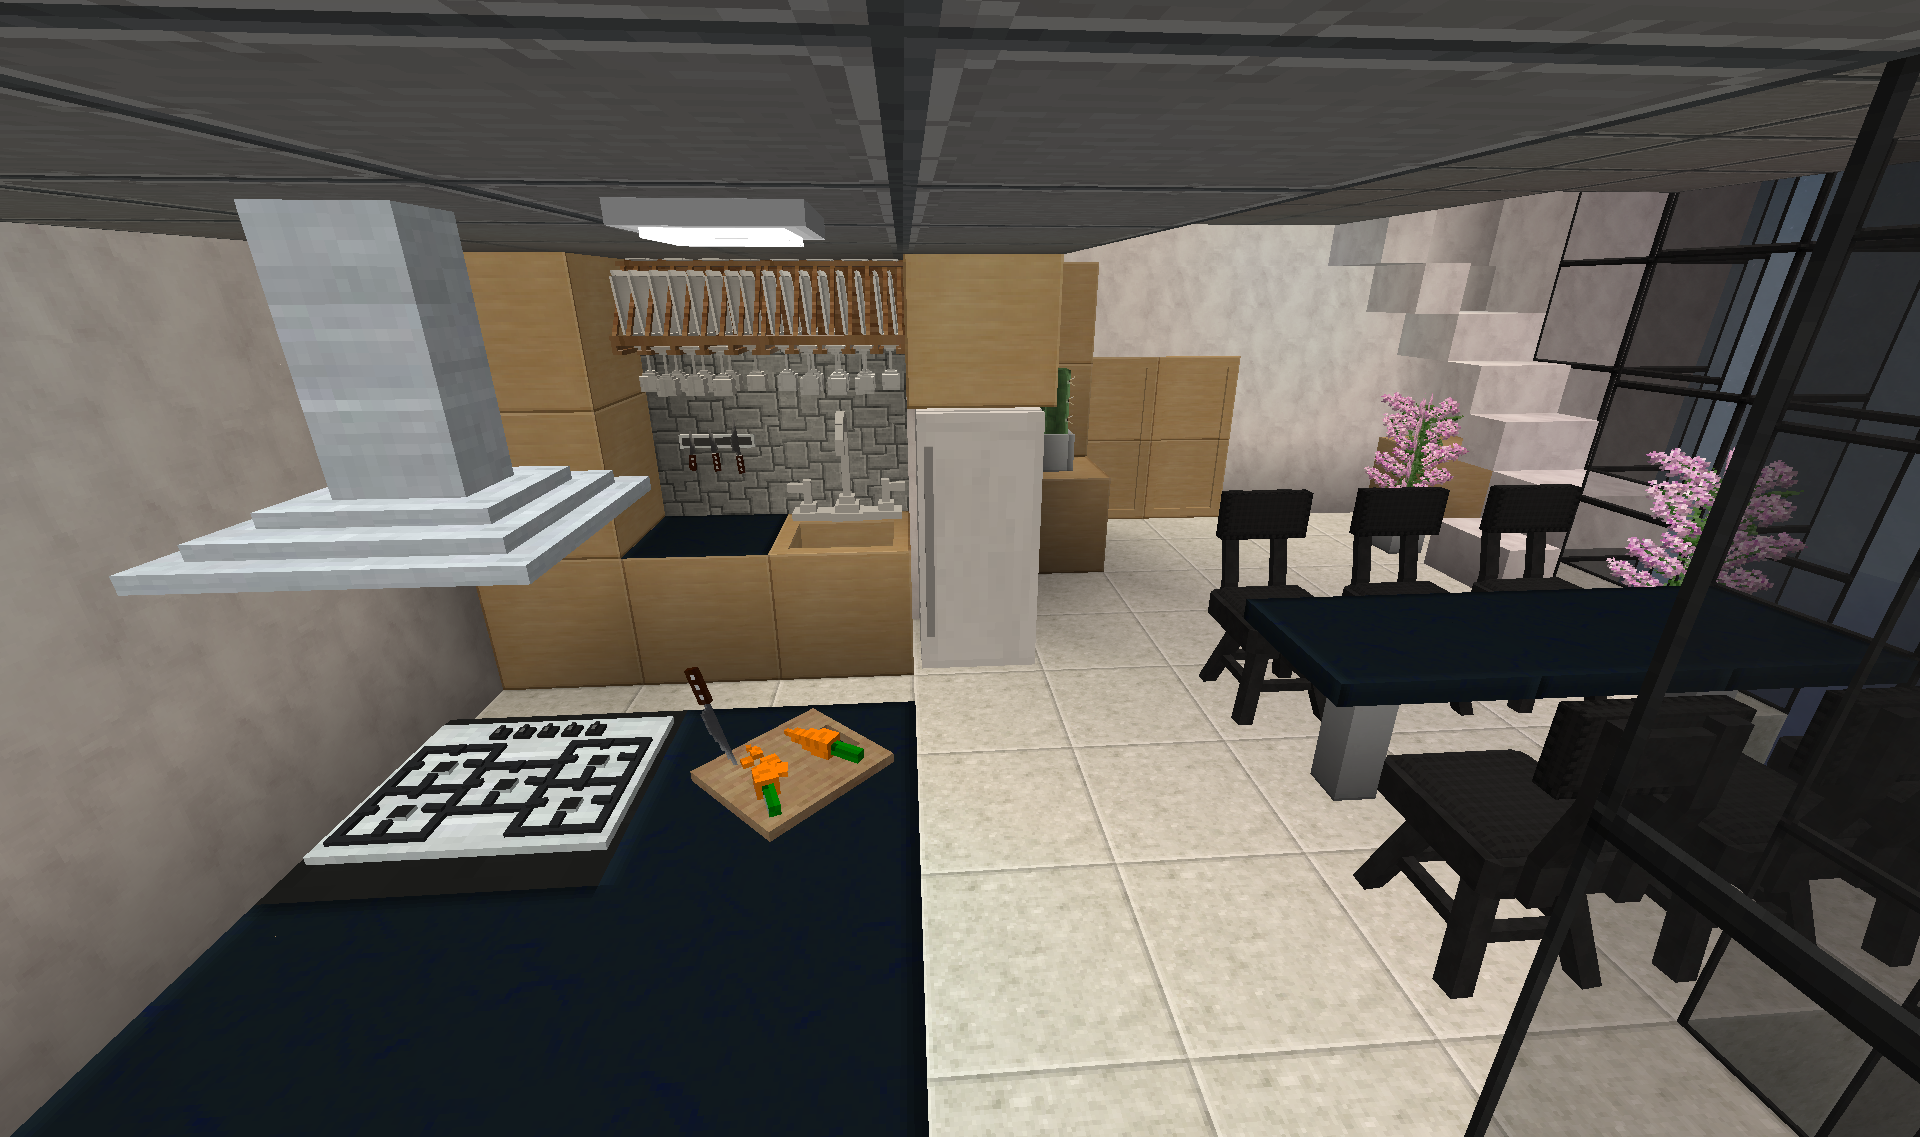
There are four two-story apartments on each floor.
Dining room and kitchen:
Living room upstairs:
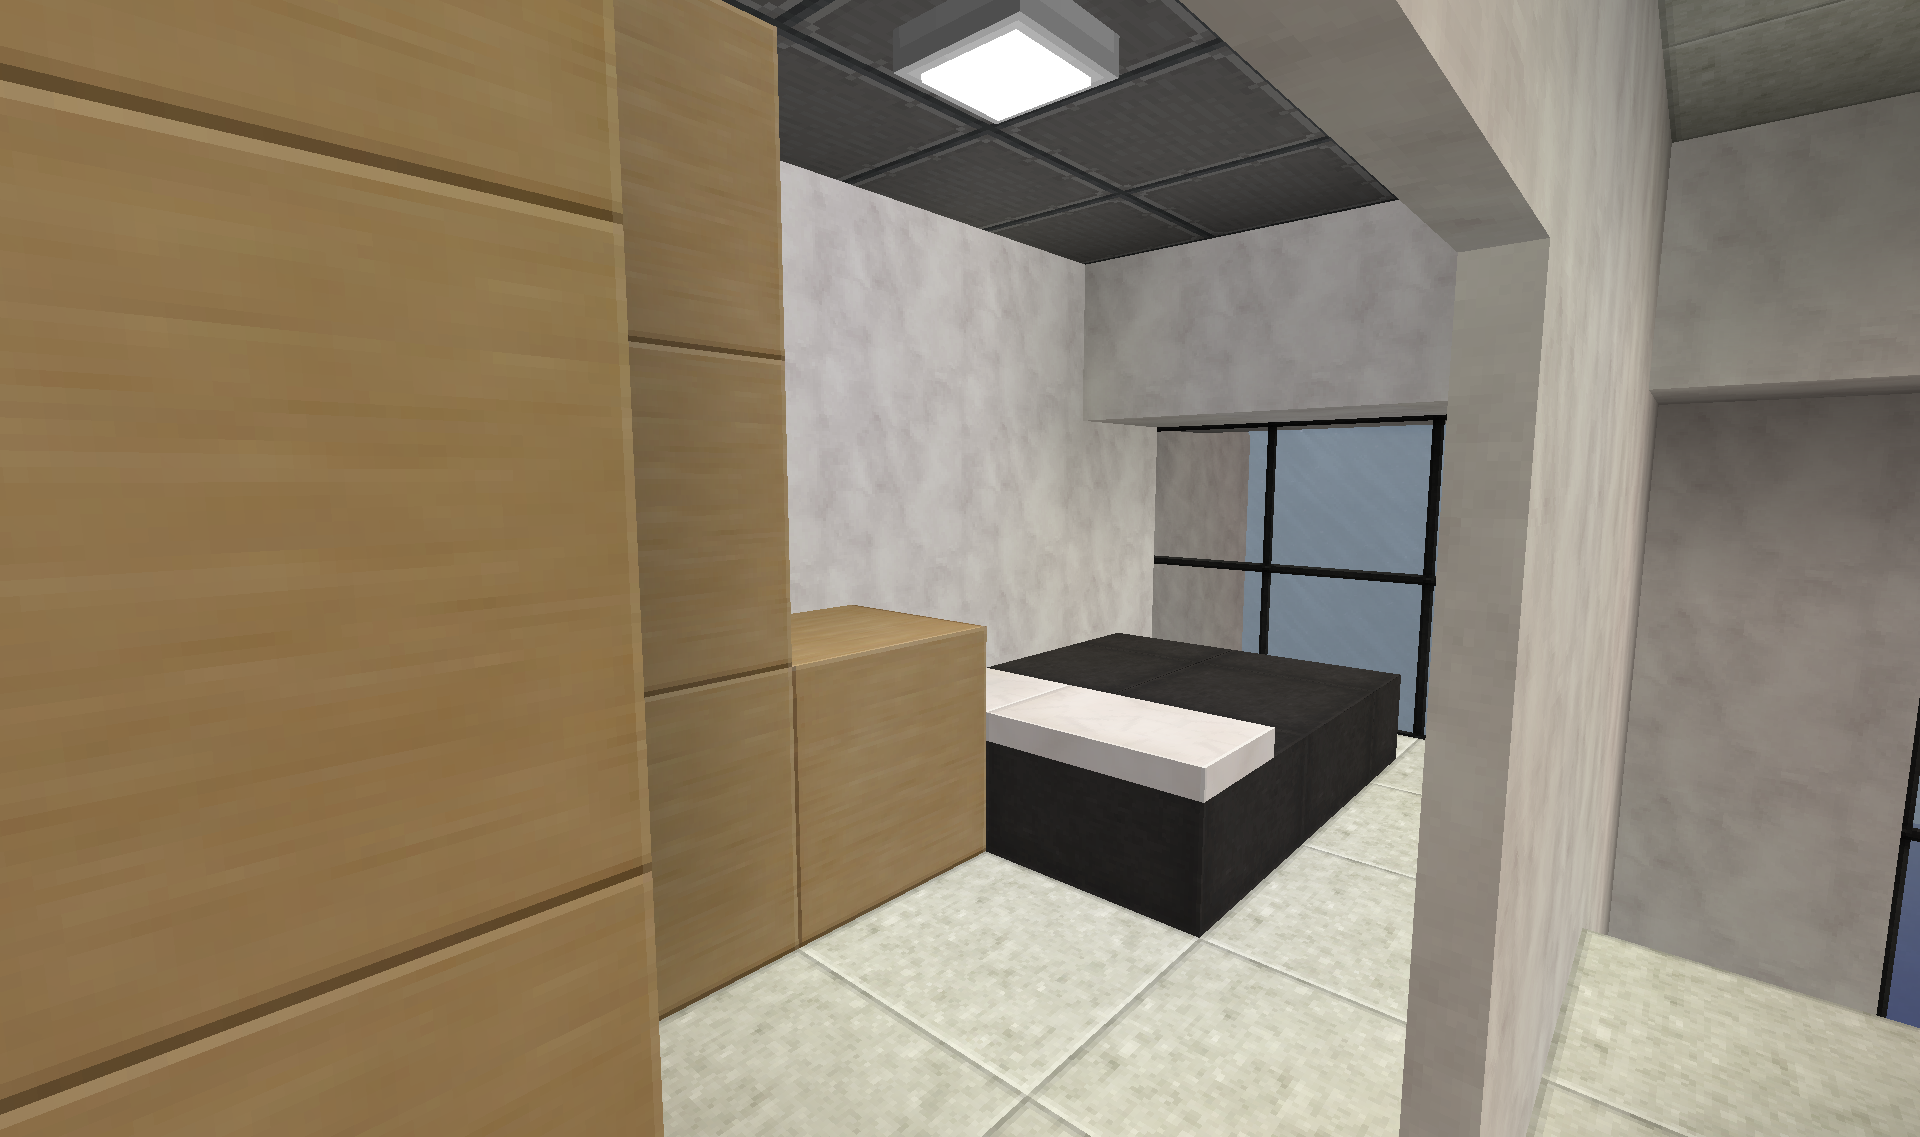
Bedroom:
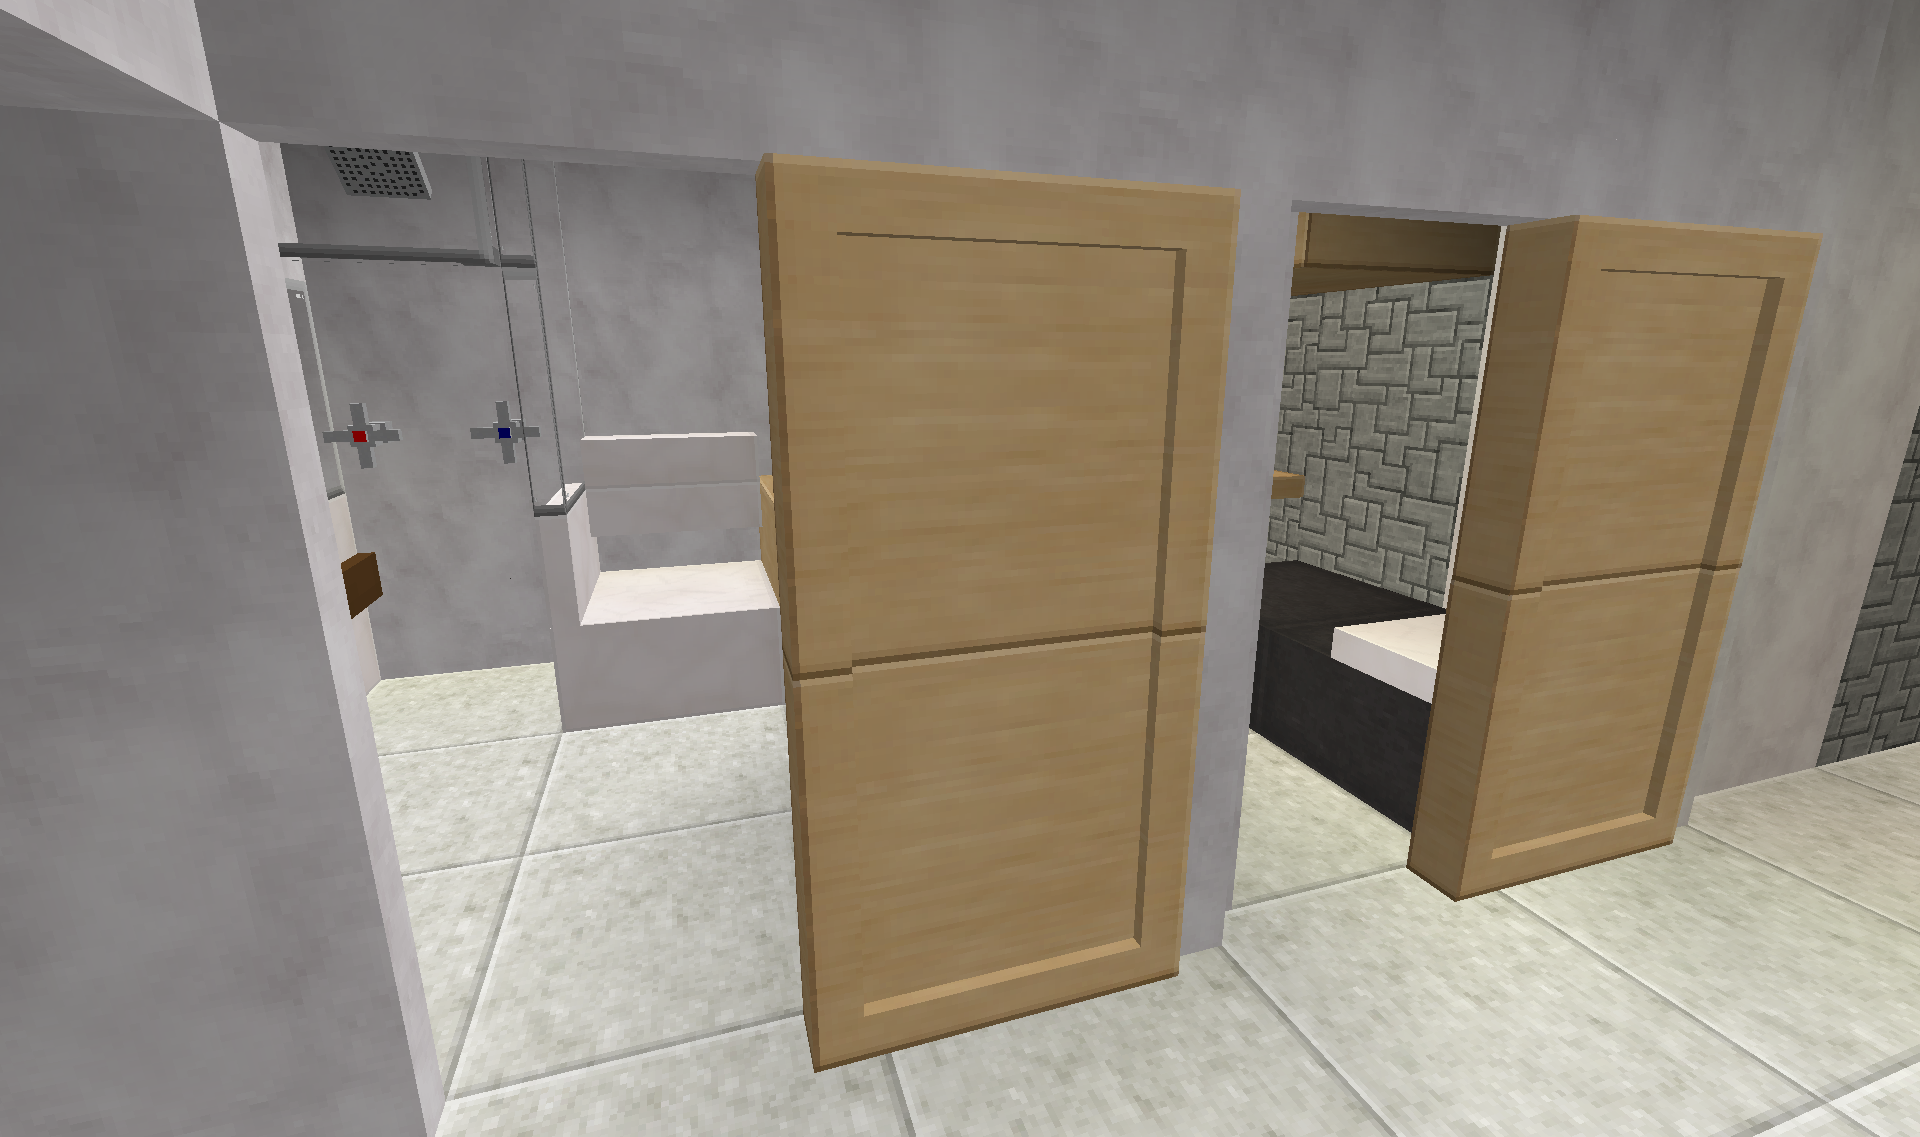
And bathroom:
Because of how the tower tapers in at the top, the lowest apartments are bigger and therefore have a small childs/guest room.
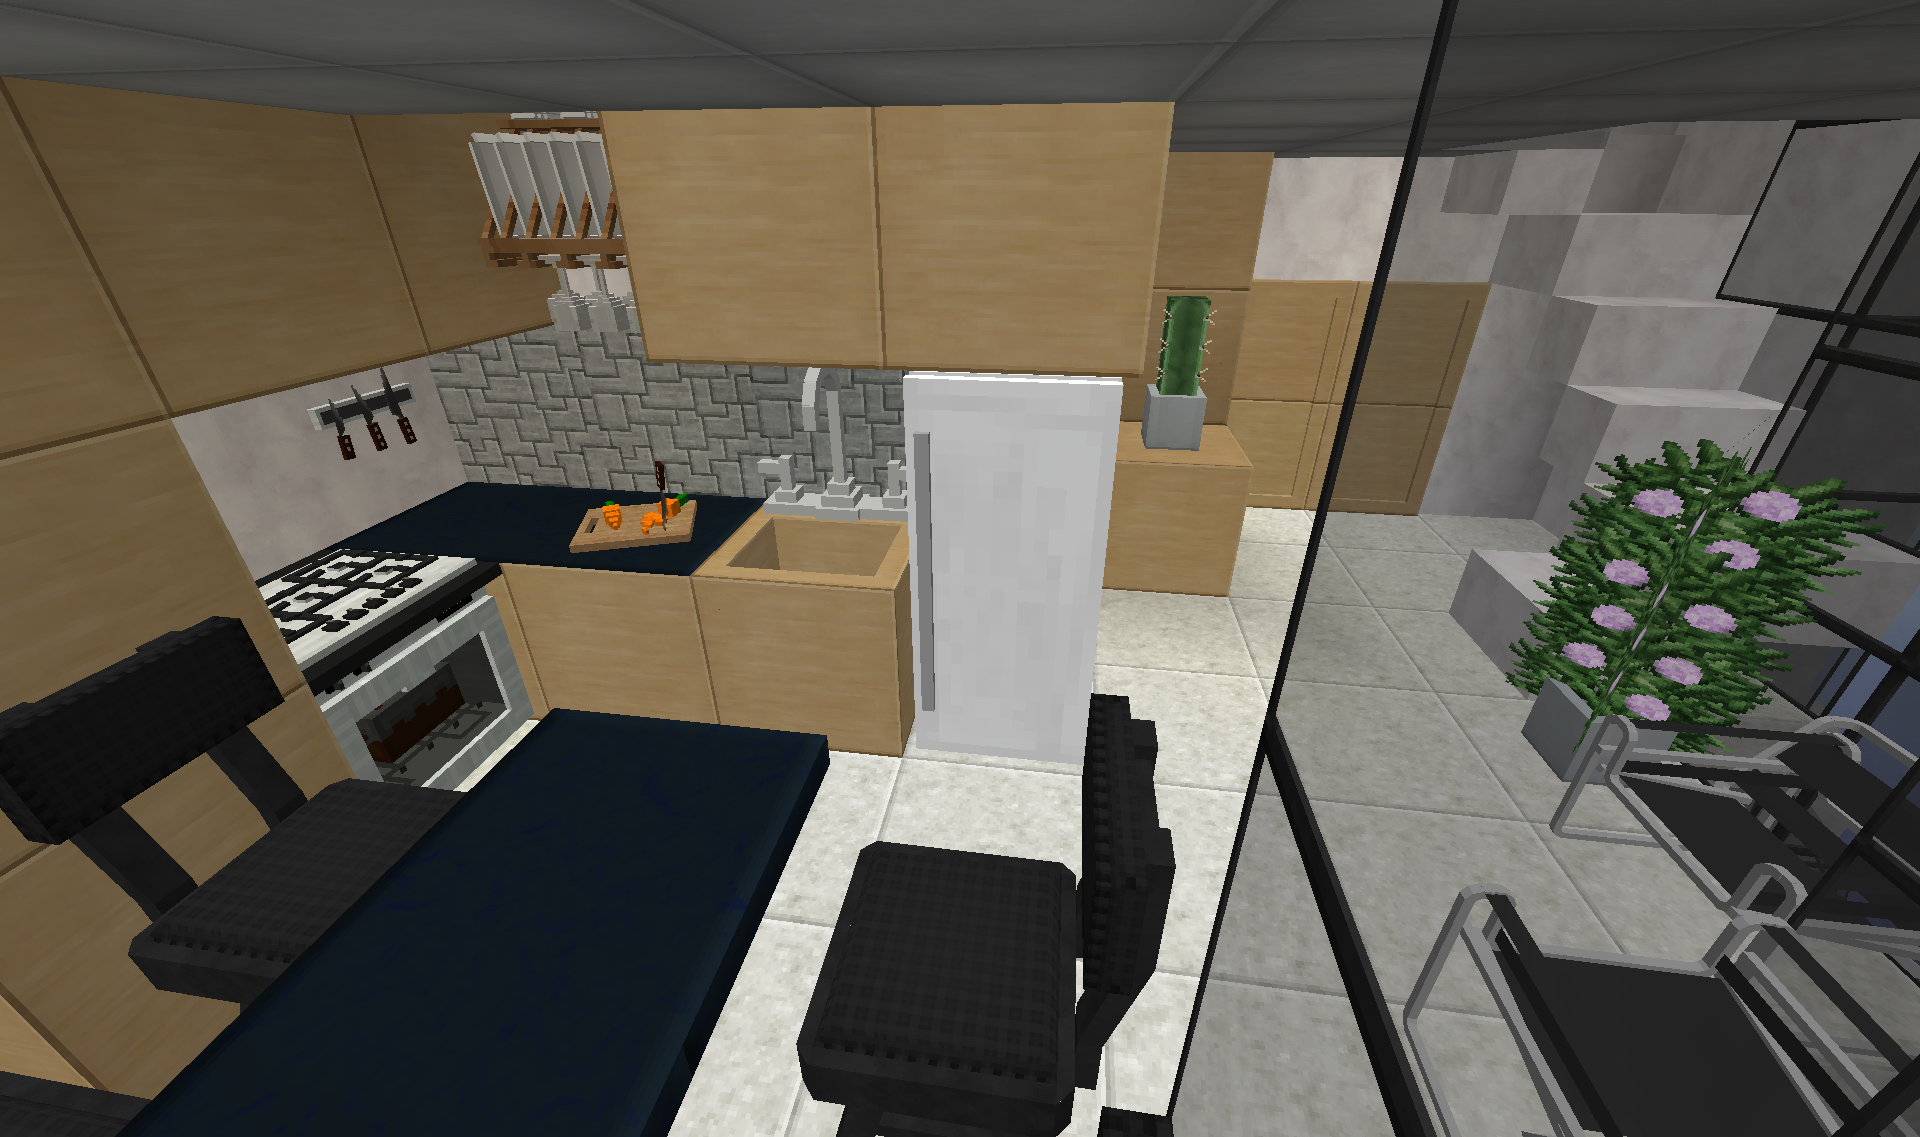
As a comparison of the size differences, here is the kitchen/dining area of one of the top apartments:
Further down the tower I am currently working on a library of sorts(WIP):
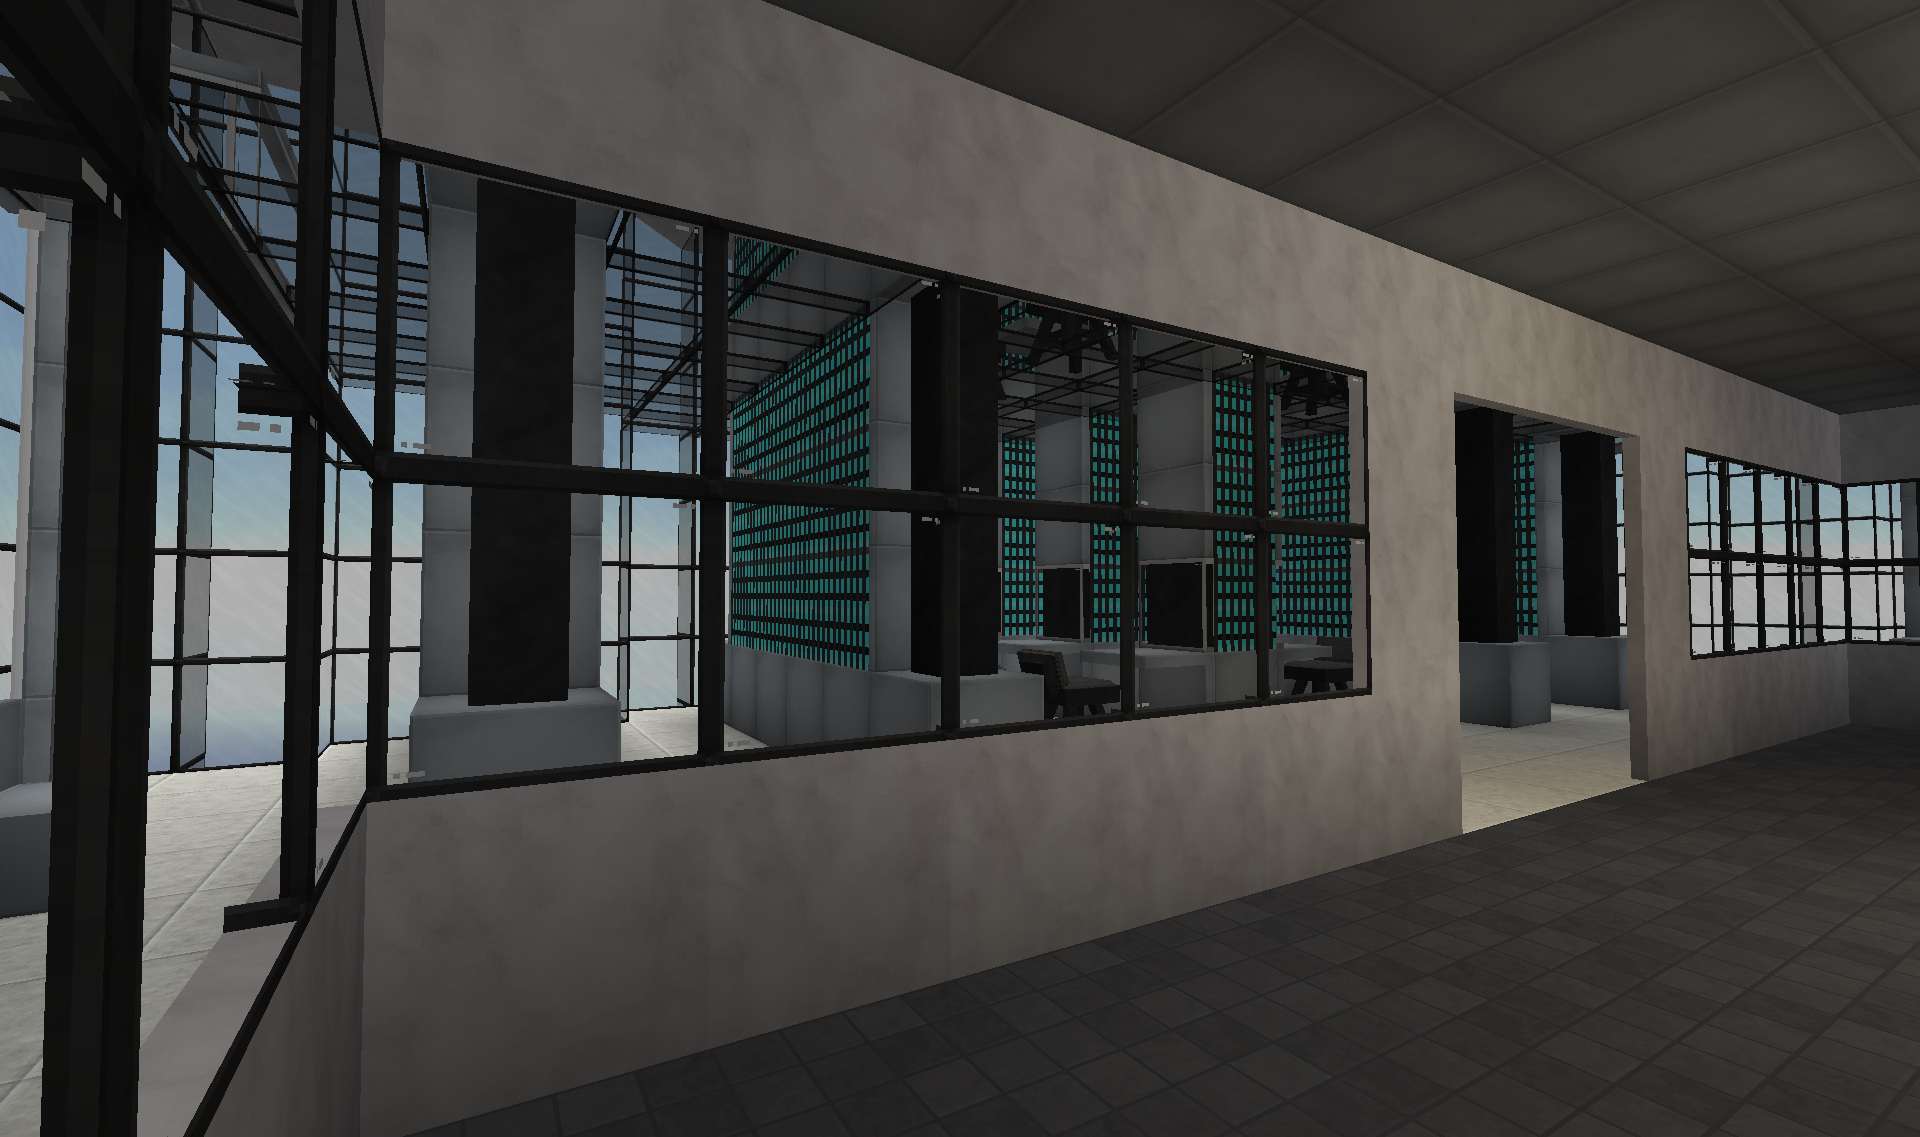
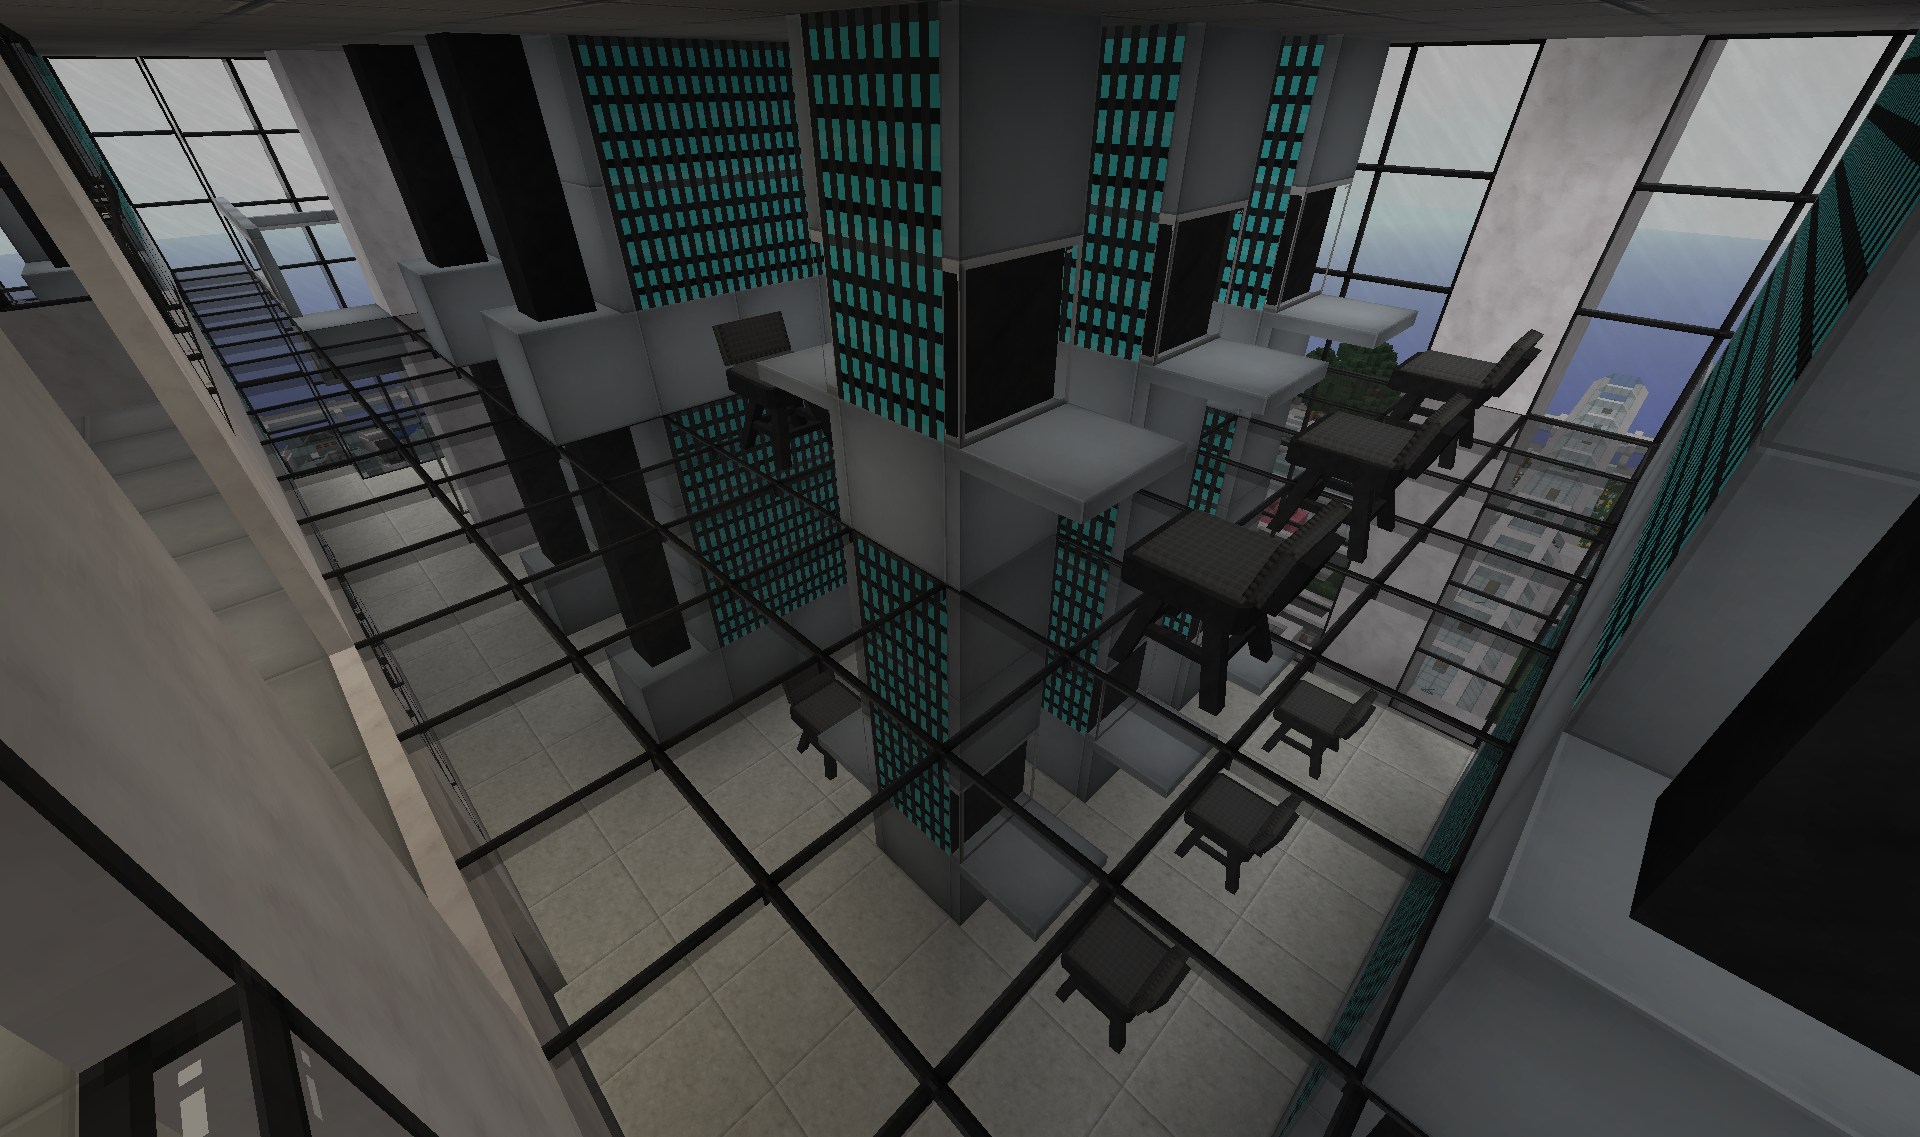
The whole "electronic library" style might not make that much sense logically, but what heck. It looks cool...
I have been working on decorating the last floors of the tower:

All the upper floors(above the helipads) are now done. I have added apartments and offices to the top four "floors"(below my penthouse). Each "floor" has an elevator stop, but is then divided into two more sub floors, so it is actually 8 floors total.
Just above the hospital wing I added two floors of offices and a council hall.
Reception area just off the elevator:

Bottom floor for meeting room and larger offices:

Upstairs is more basic cubicle style offices:

And it also has a break room:

Complete with water cooler
The other side of the tower has the two story council hall:


Adjacent to the council hall I also added four bathrooms:

All with a kick ass view while you do your business
Taking the elevator up another step is the first set of apartments:

There are four two-story apartments on each floor.
Dining room and kitchen:

Living room upstairs:

Bedroom:

And bathroom:

Because of how the tower tapers in at the top, the lowest apartments are bigger and therefore have a small childs/guest room.
As a comparison of the size differences, here is the kitchen/dining area of one of the top apartments:

Further down the tower I am currently working on a library of sorts(WIP):


The whole "electronic library" style might not make that much sense logically, but what heck. It looks cool...
Space centre
I have shown some pics of the space centre located south of the tower before. But thought I would show some more details:
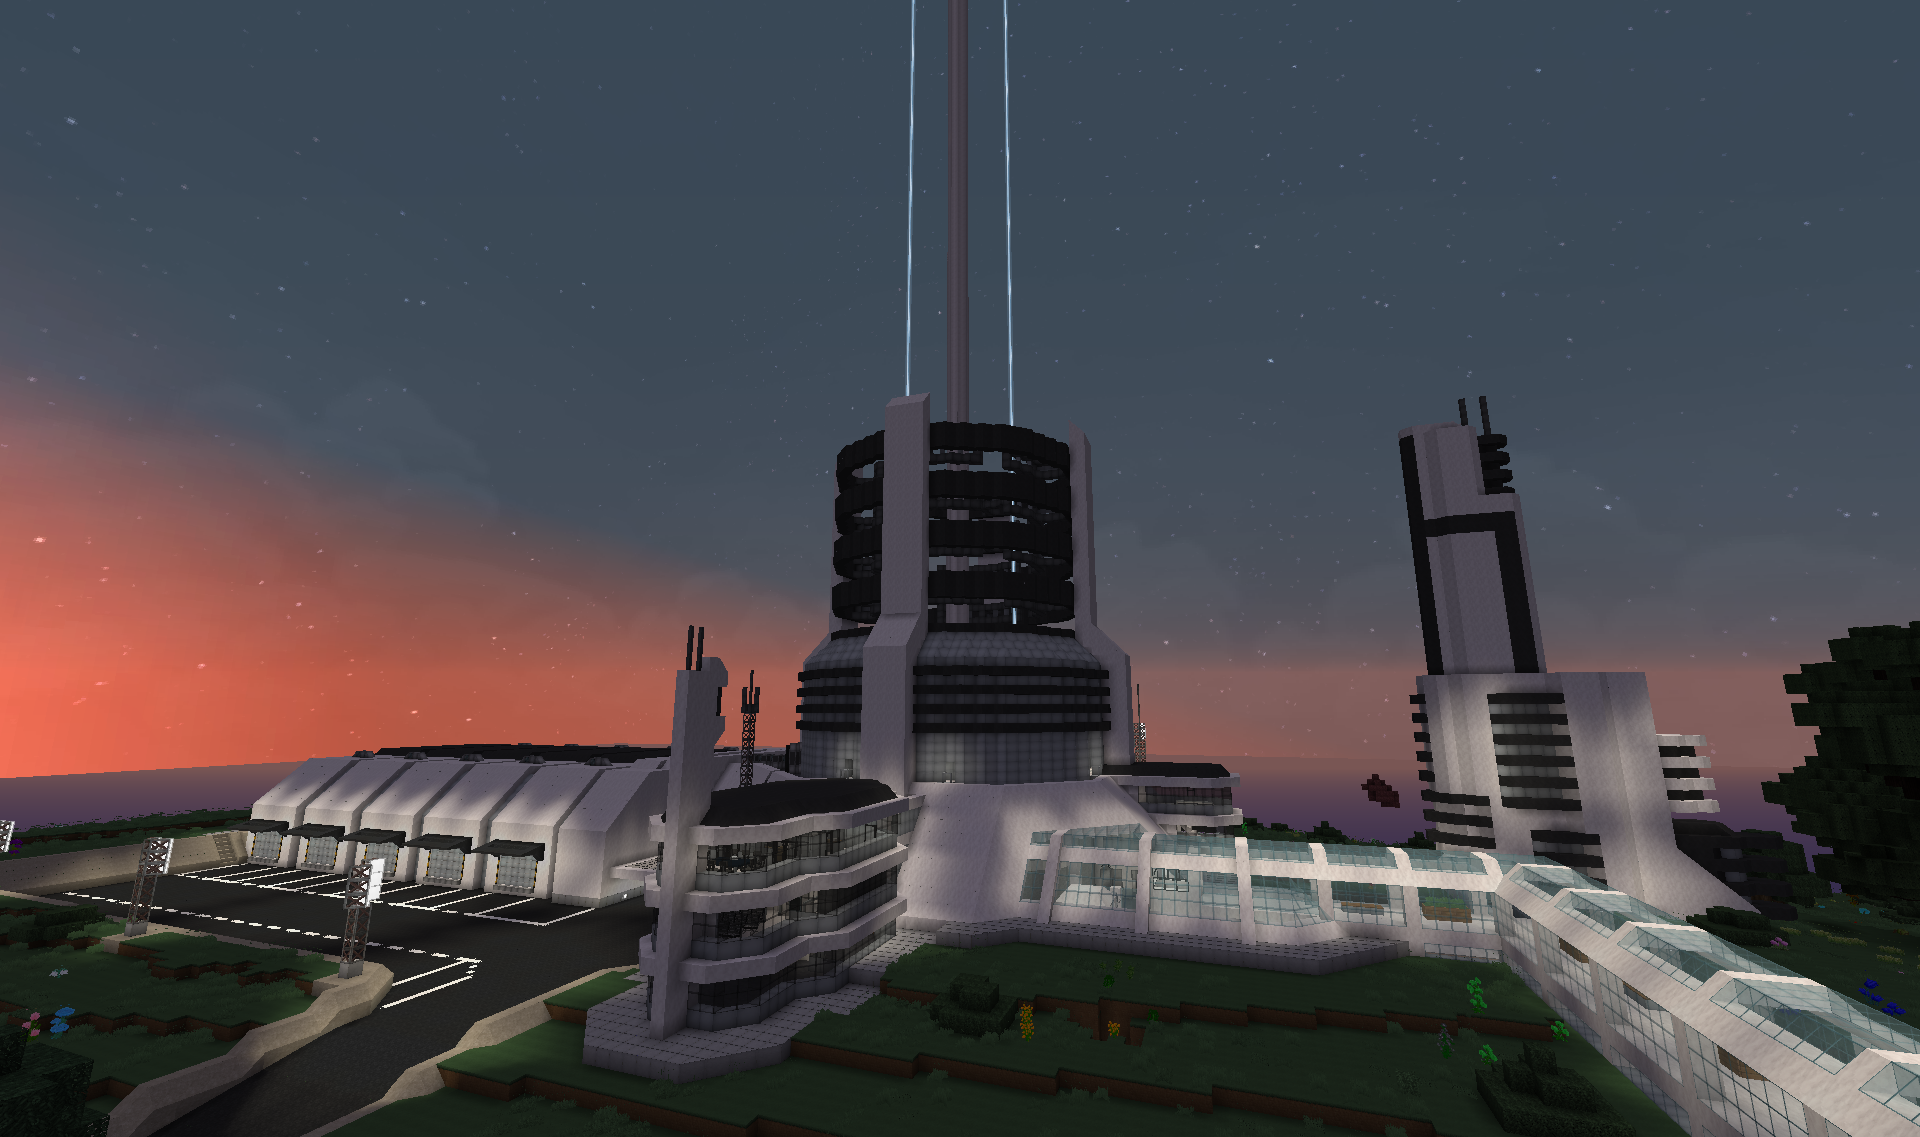
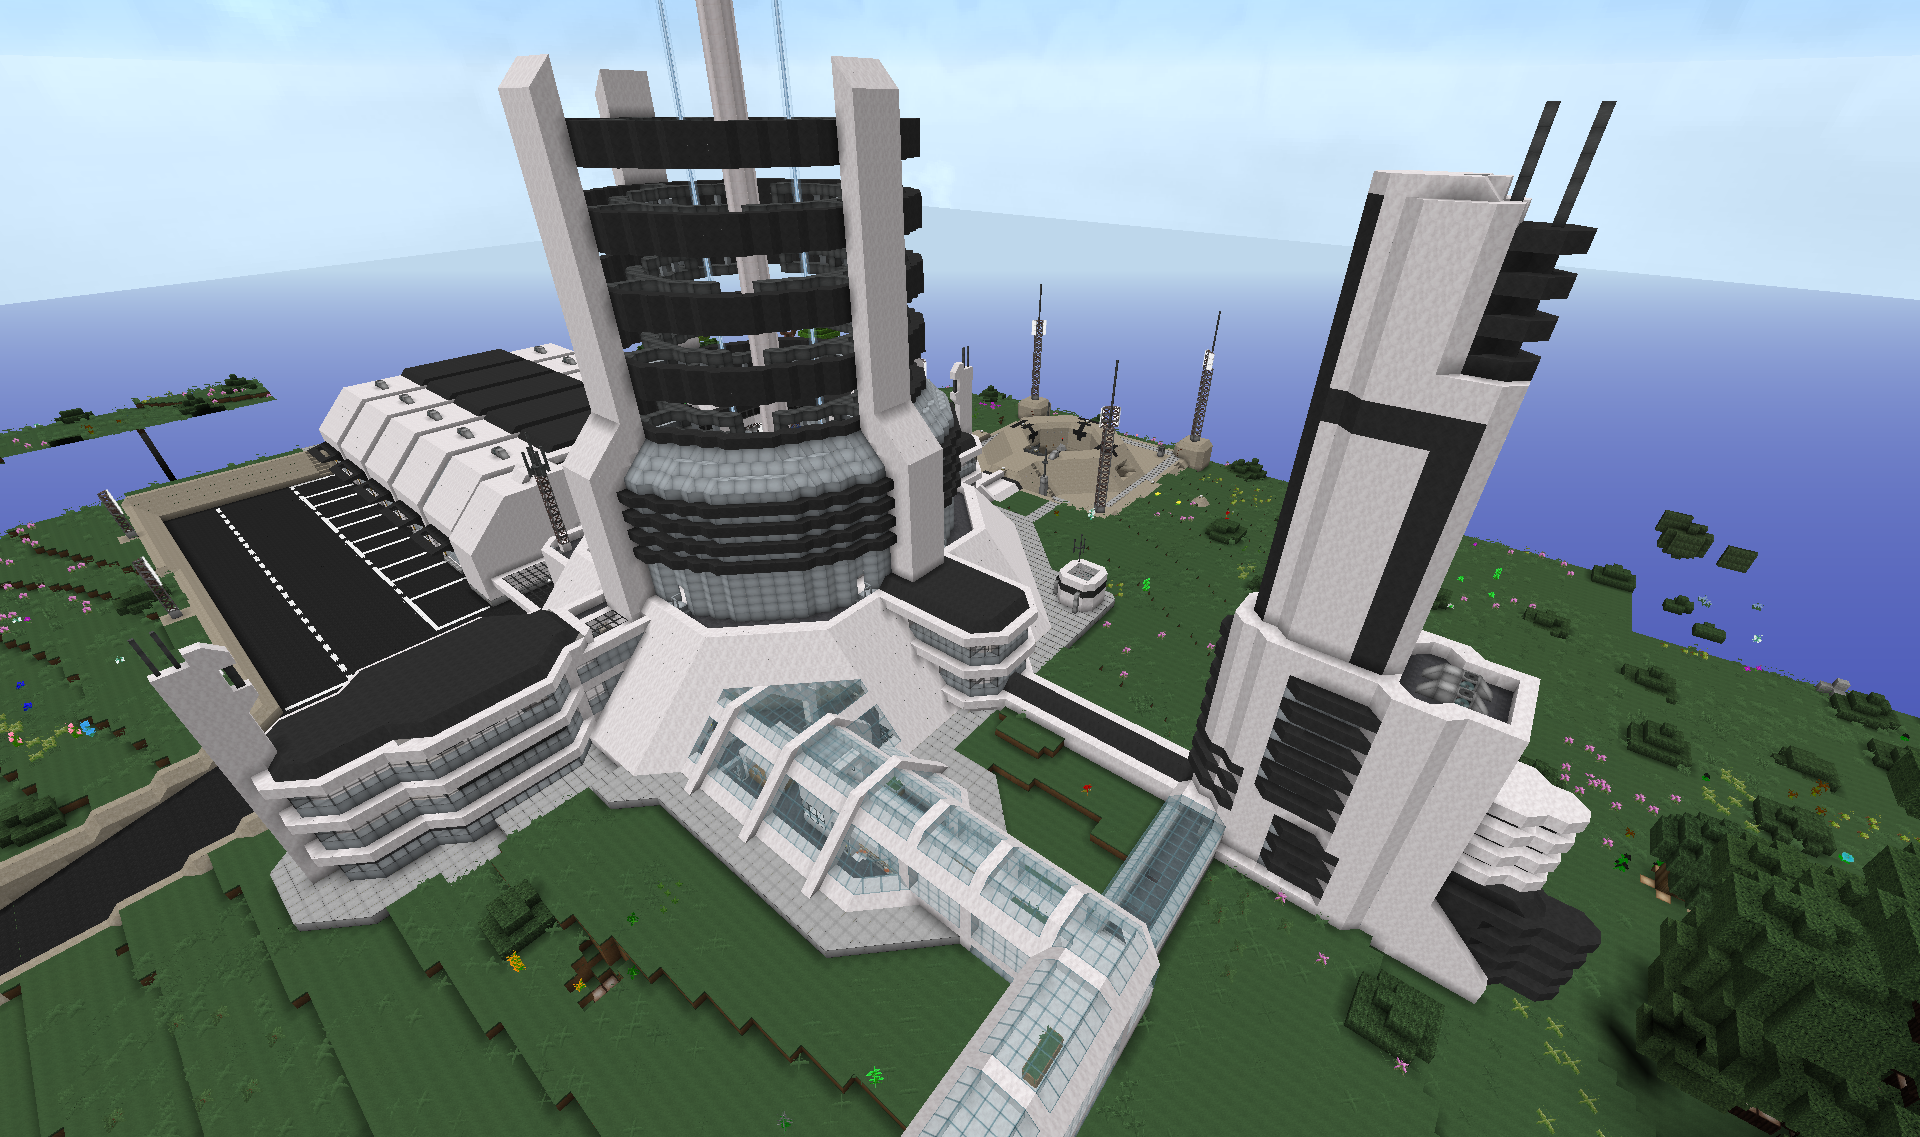
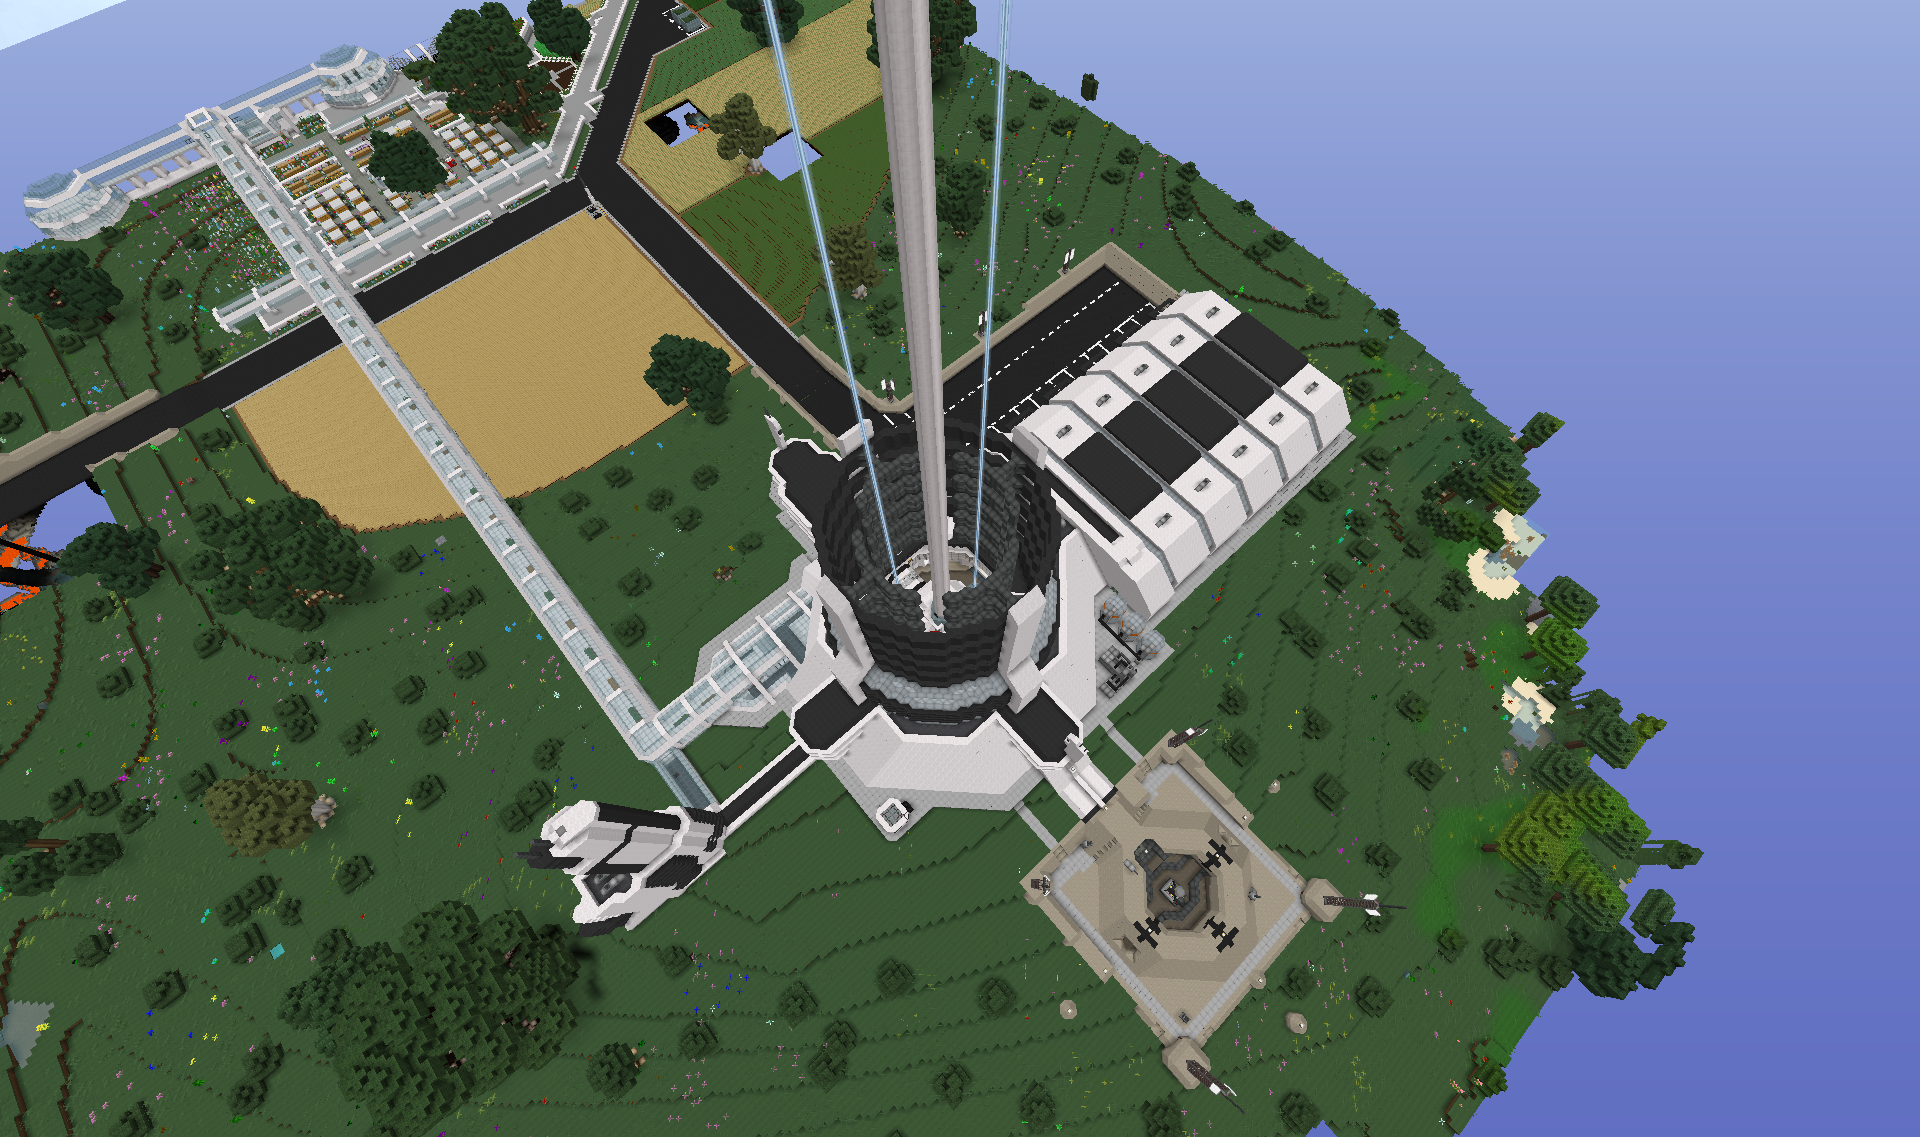
The main feature is of course the space elevator that leads to the space station. But there are a bunch of other things going on too.

The cab at the bottom will scale the cable to go to the space station in orbit(more on that later).
Rocket launch pad:
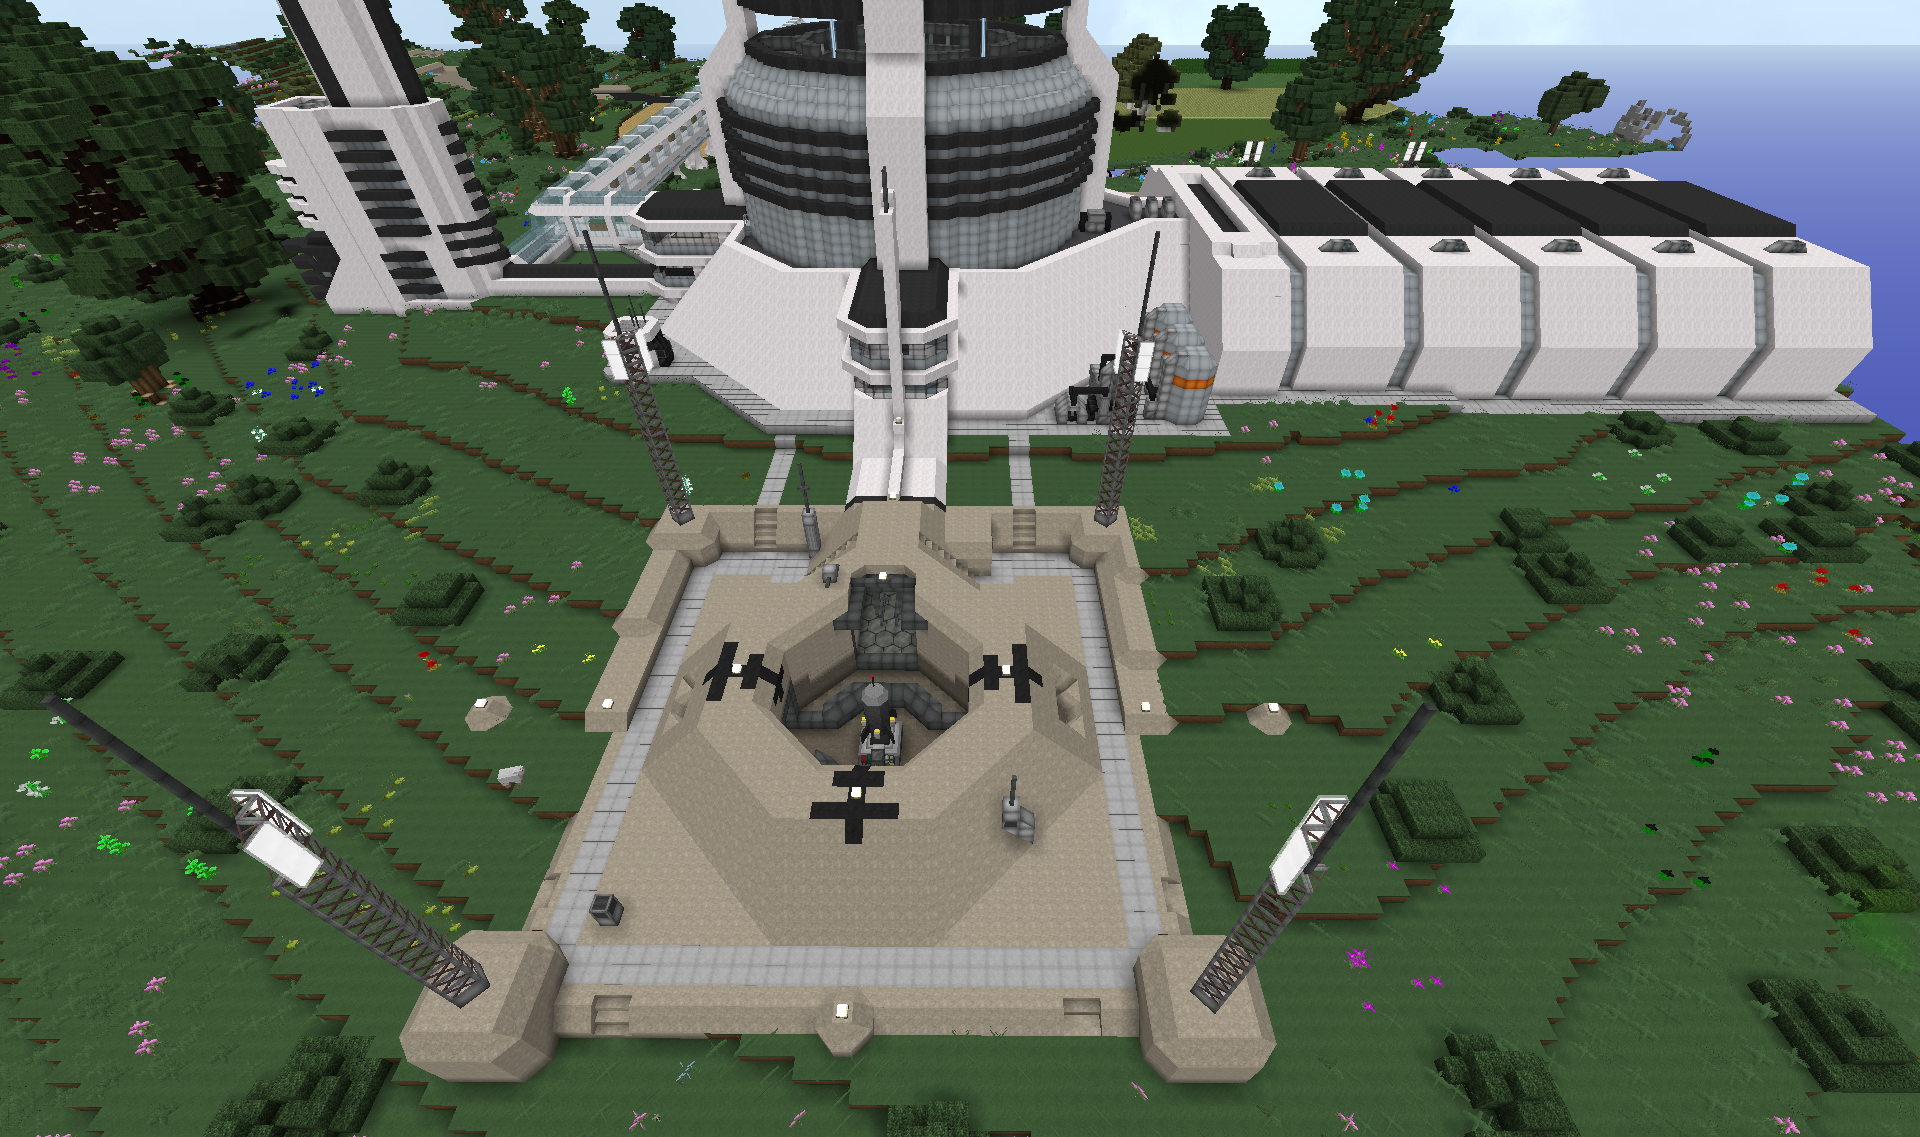
The launch control centre can be seen over viewing the launch pad.
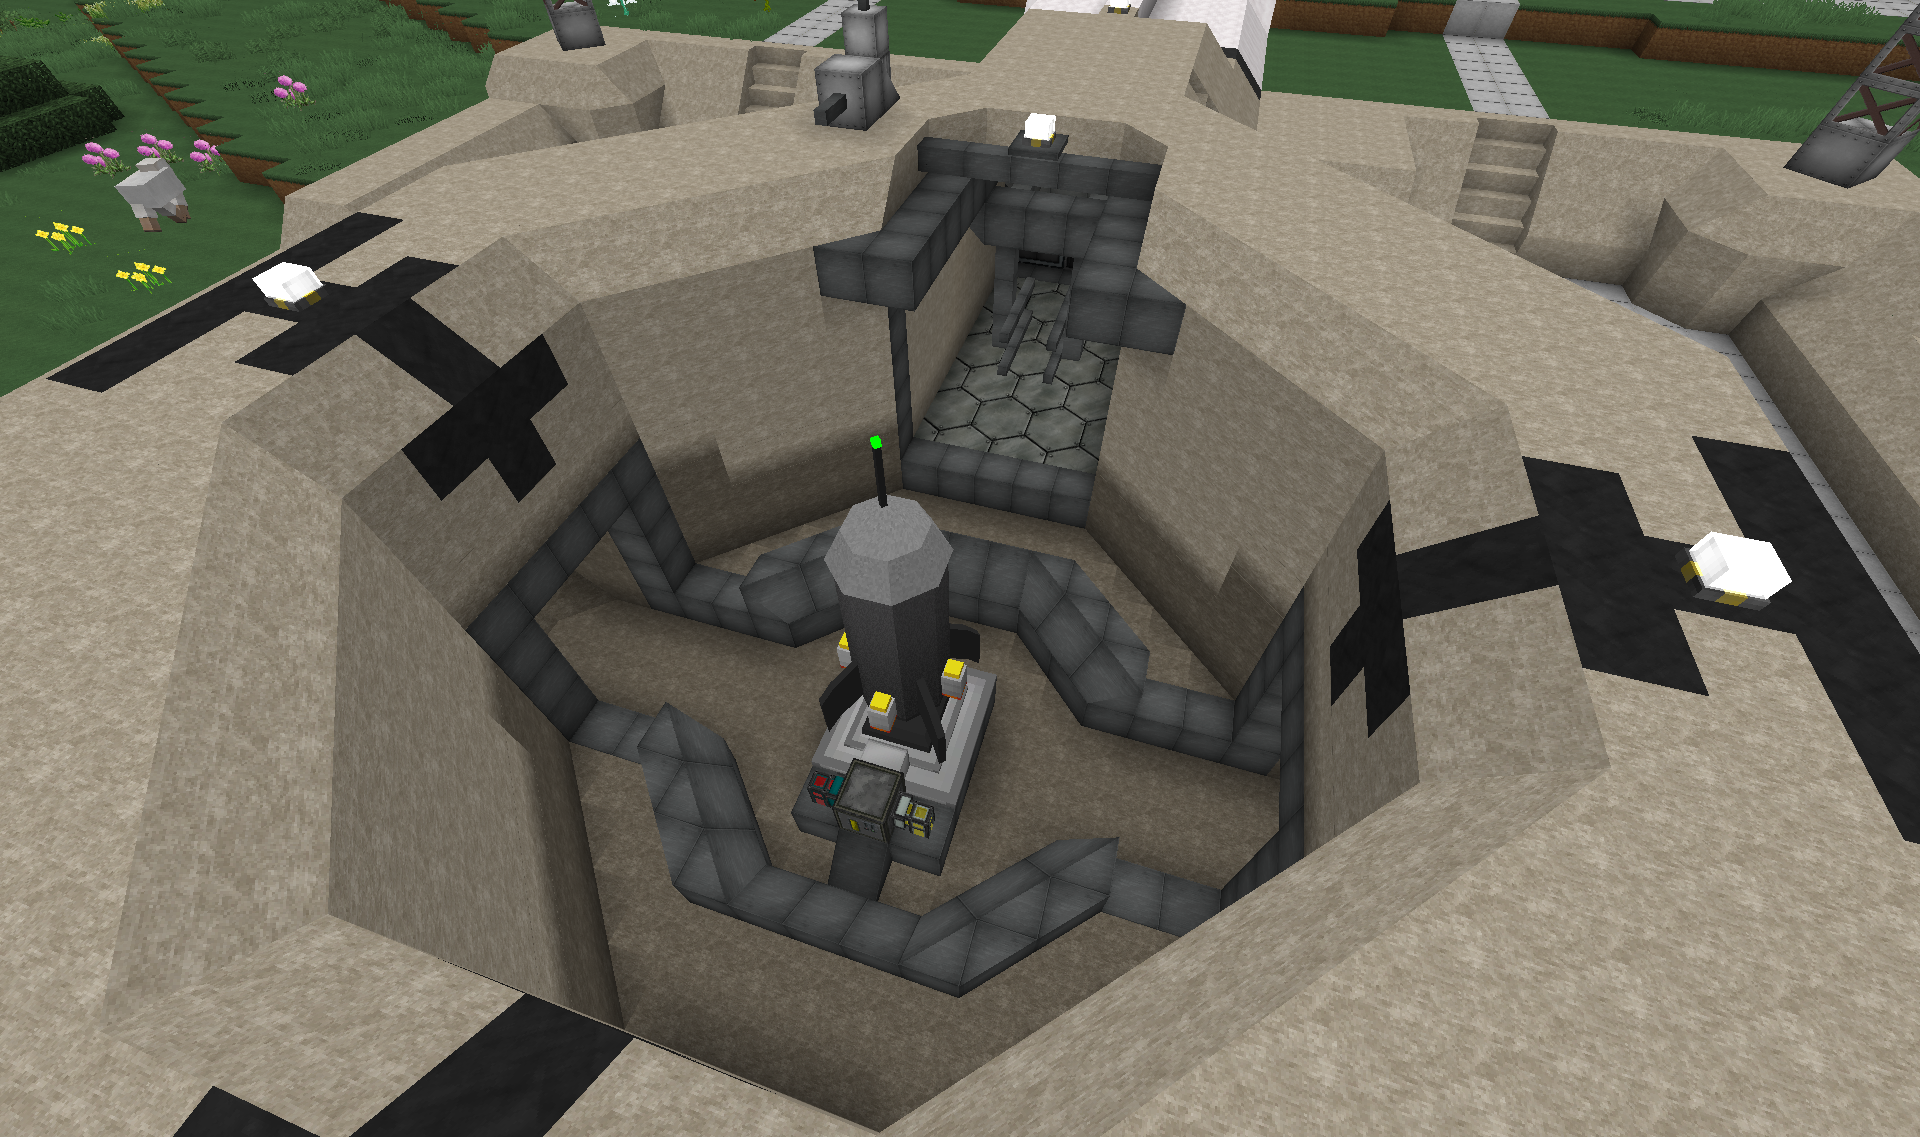
The rockets can be brought out from the factory to the launch pad through the tunnel in the top of the picture.
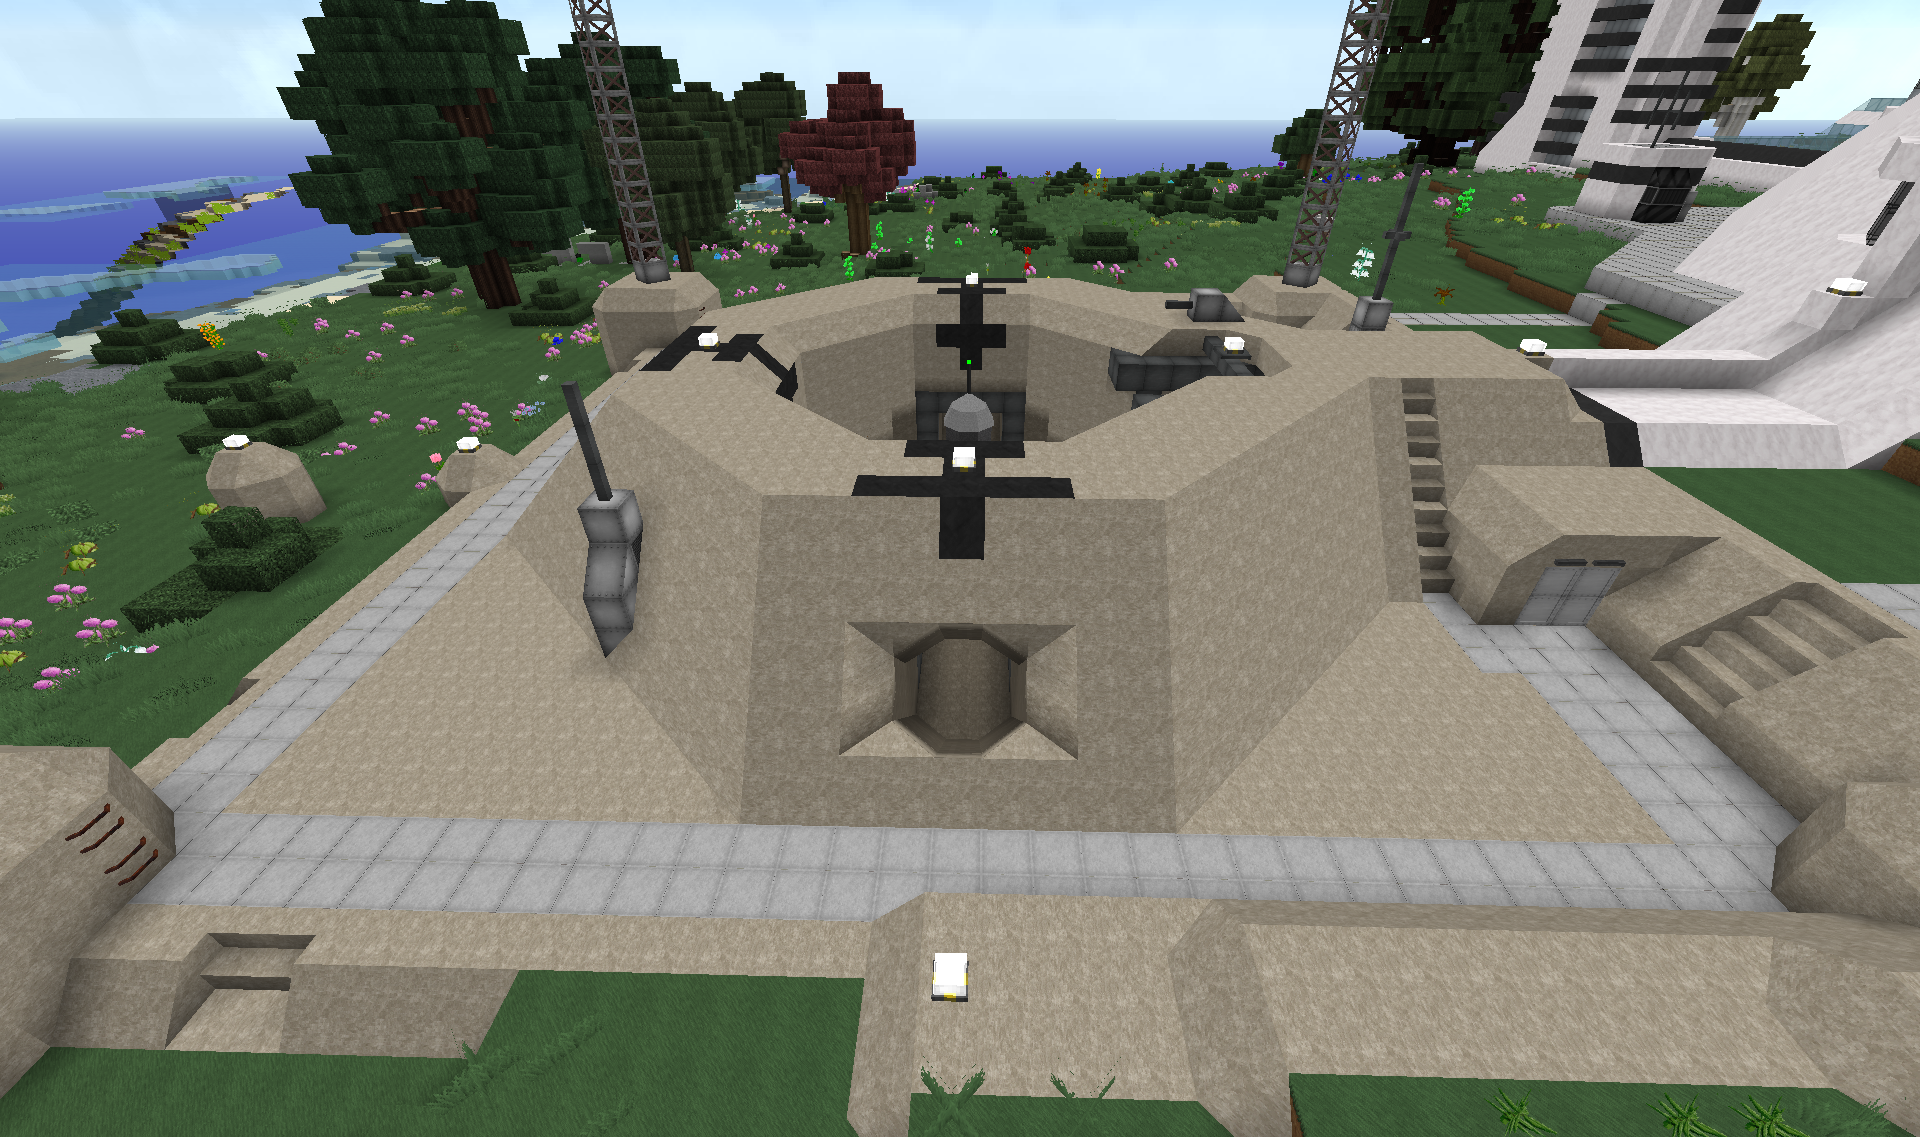
Built vents for the exhaust gasses out on both sides. Doorway leads down into the tunnel.
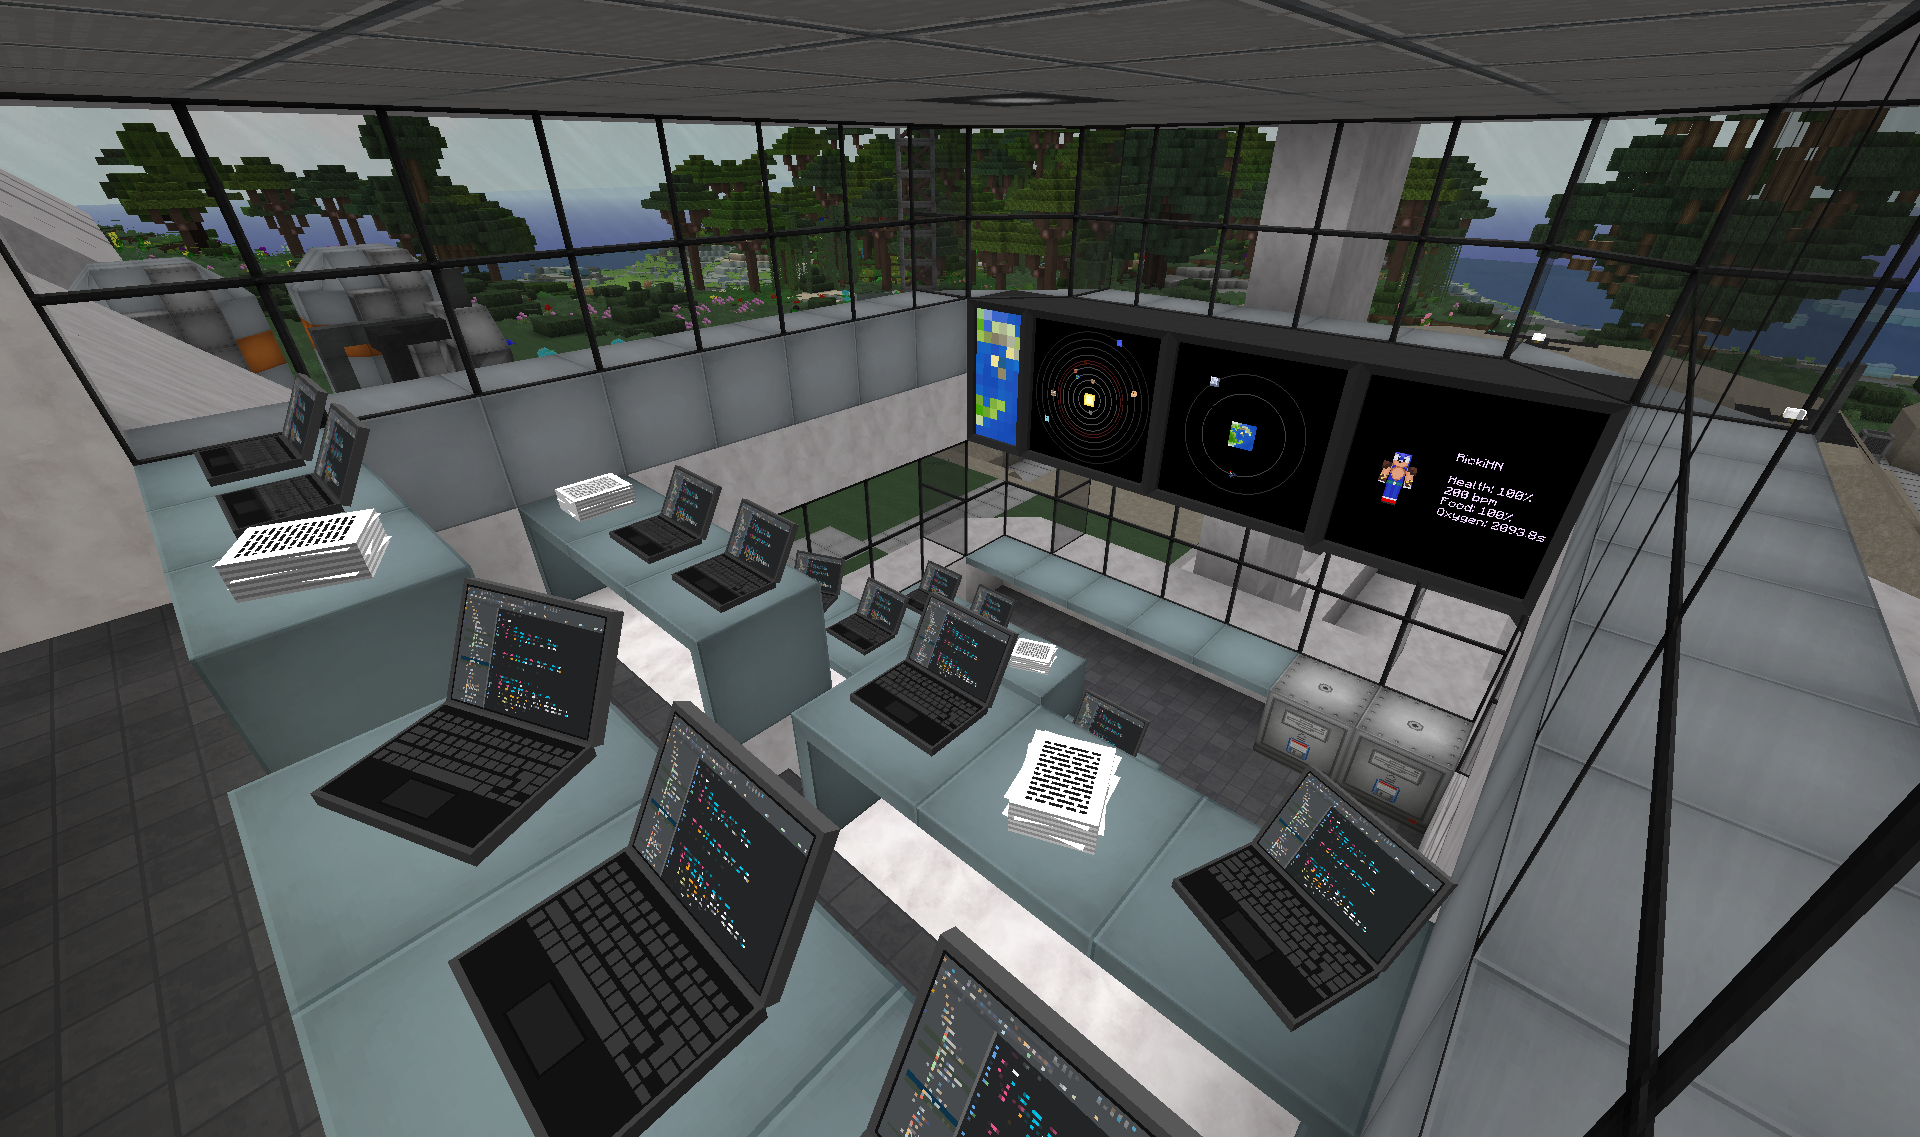
Control room:
The factory has a bunch of loading ramps for raw materials etc.
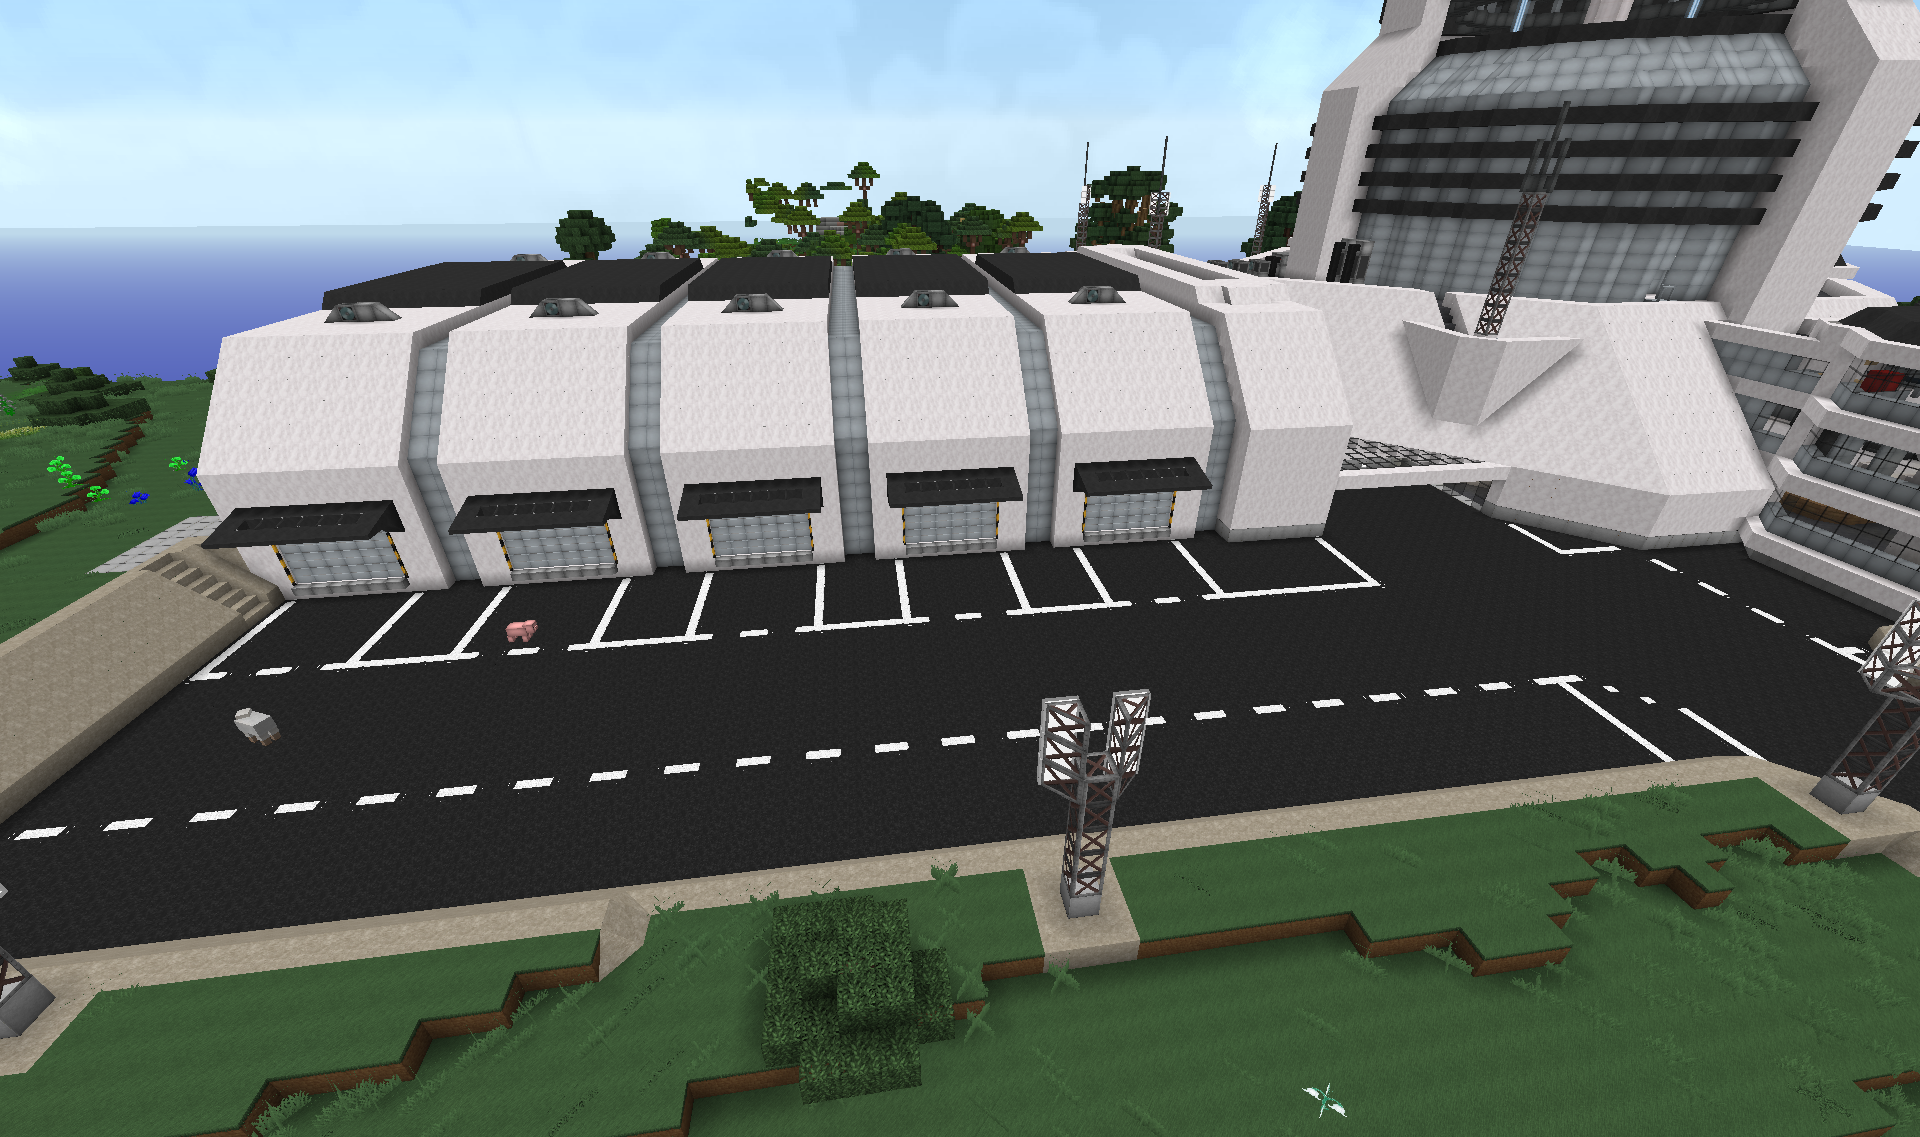
Reminder to self: Need to add shipping containers and trucks to the lot.
To the right is also a small covered parking lot for workers etc.
The factory hall is so far very empty:
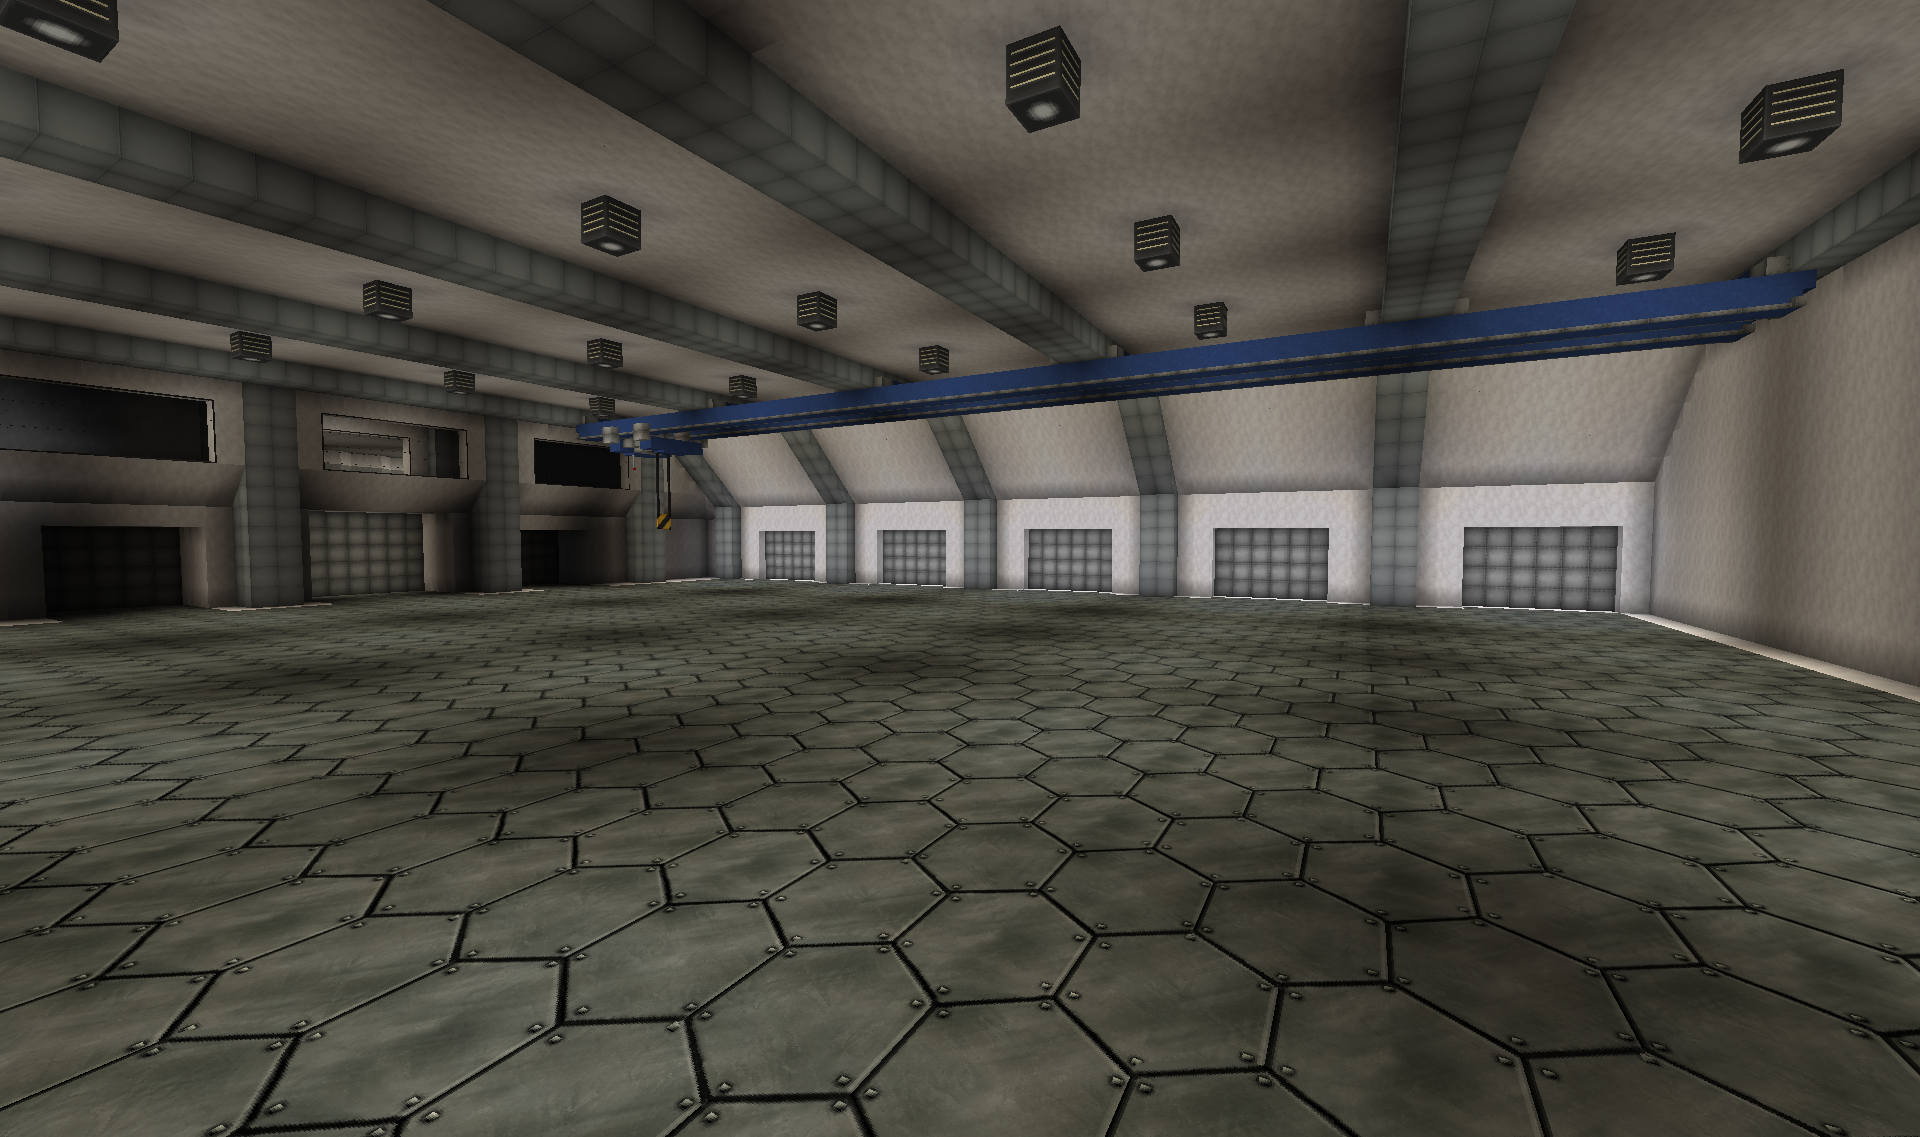
Have still not worked out what to build here. And it is somewhat on a low priority atm. Maybe I will add some workshops for rockets, satellites etc.
The space elevator cab resting at the bottom of the cable:
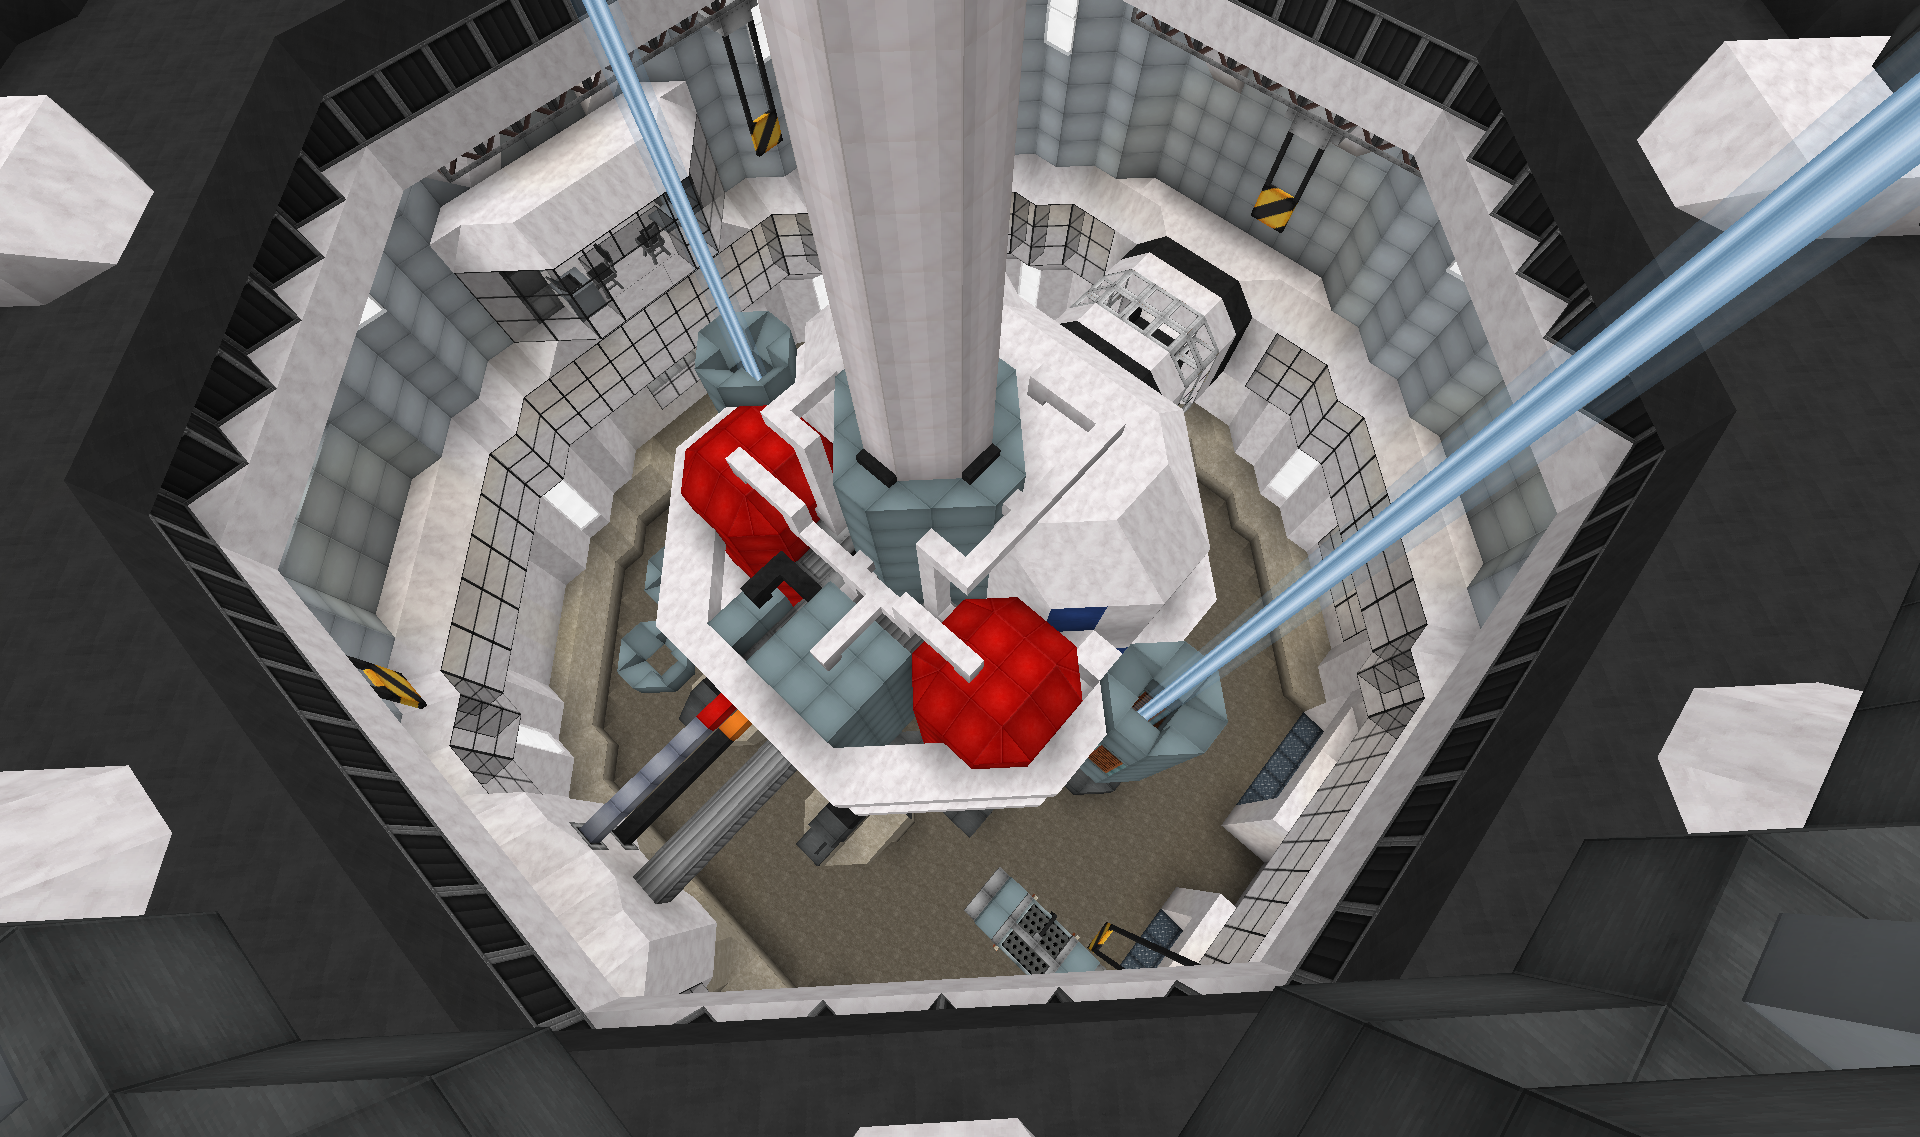
On this pic you can also see a little control area, as well as the observation area round the cab.
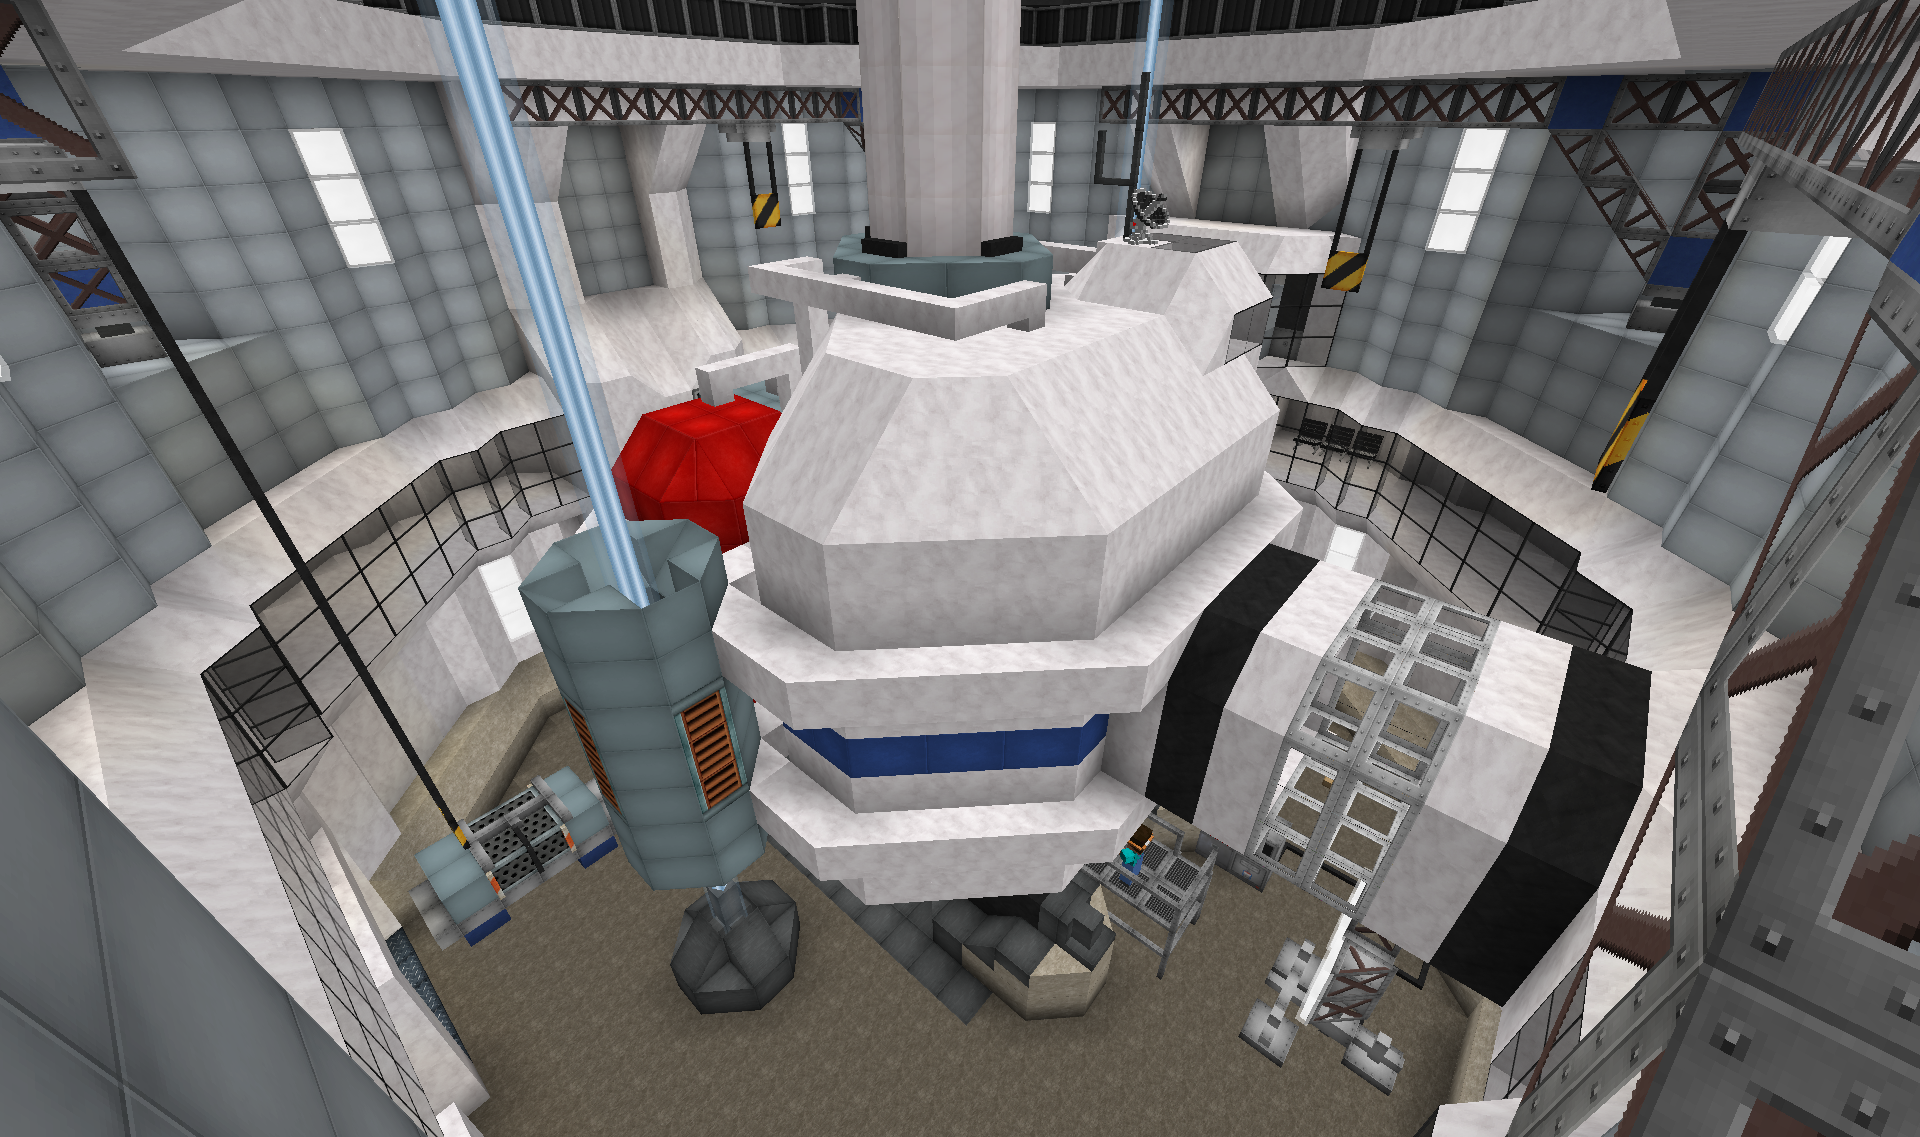
The black and white umbilical is here extended to allow passengers on/off(doesn't really retract of course )
)
Other side of the cab with various tanks etc.
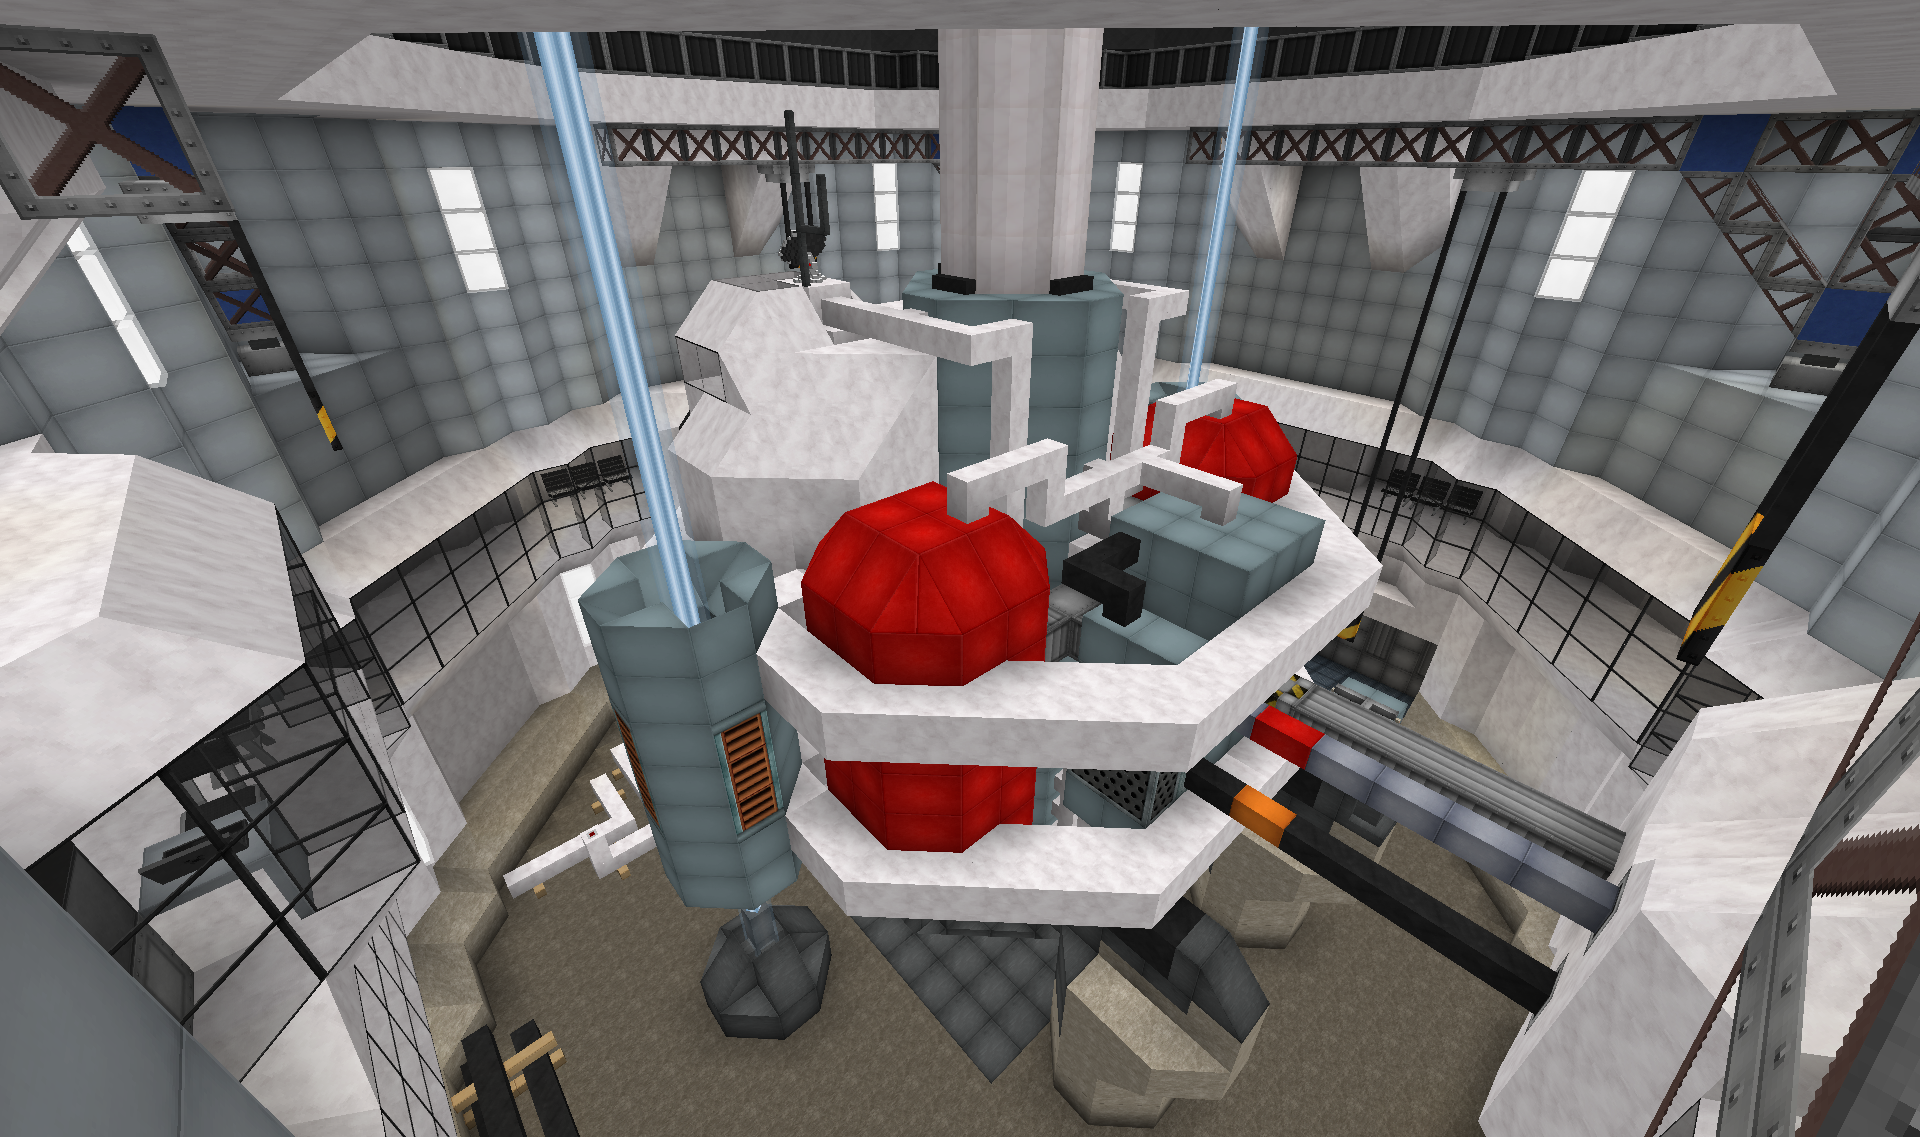
Currently being refuelled and restocked by the extended cables/pipes.
Some maintenance being done:
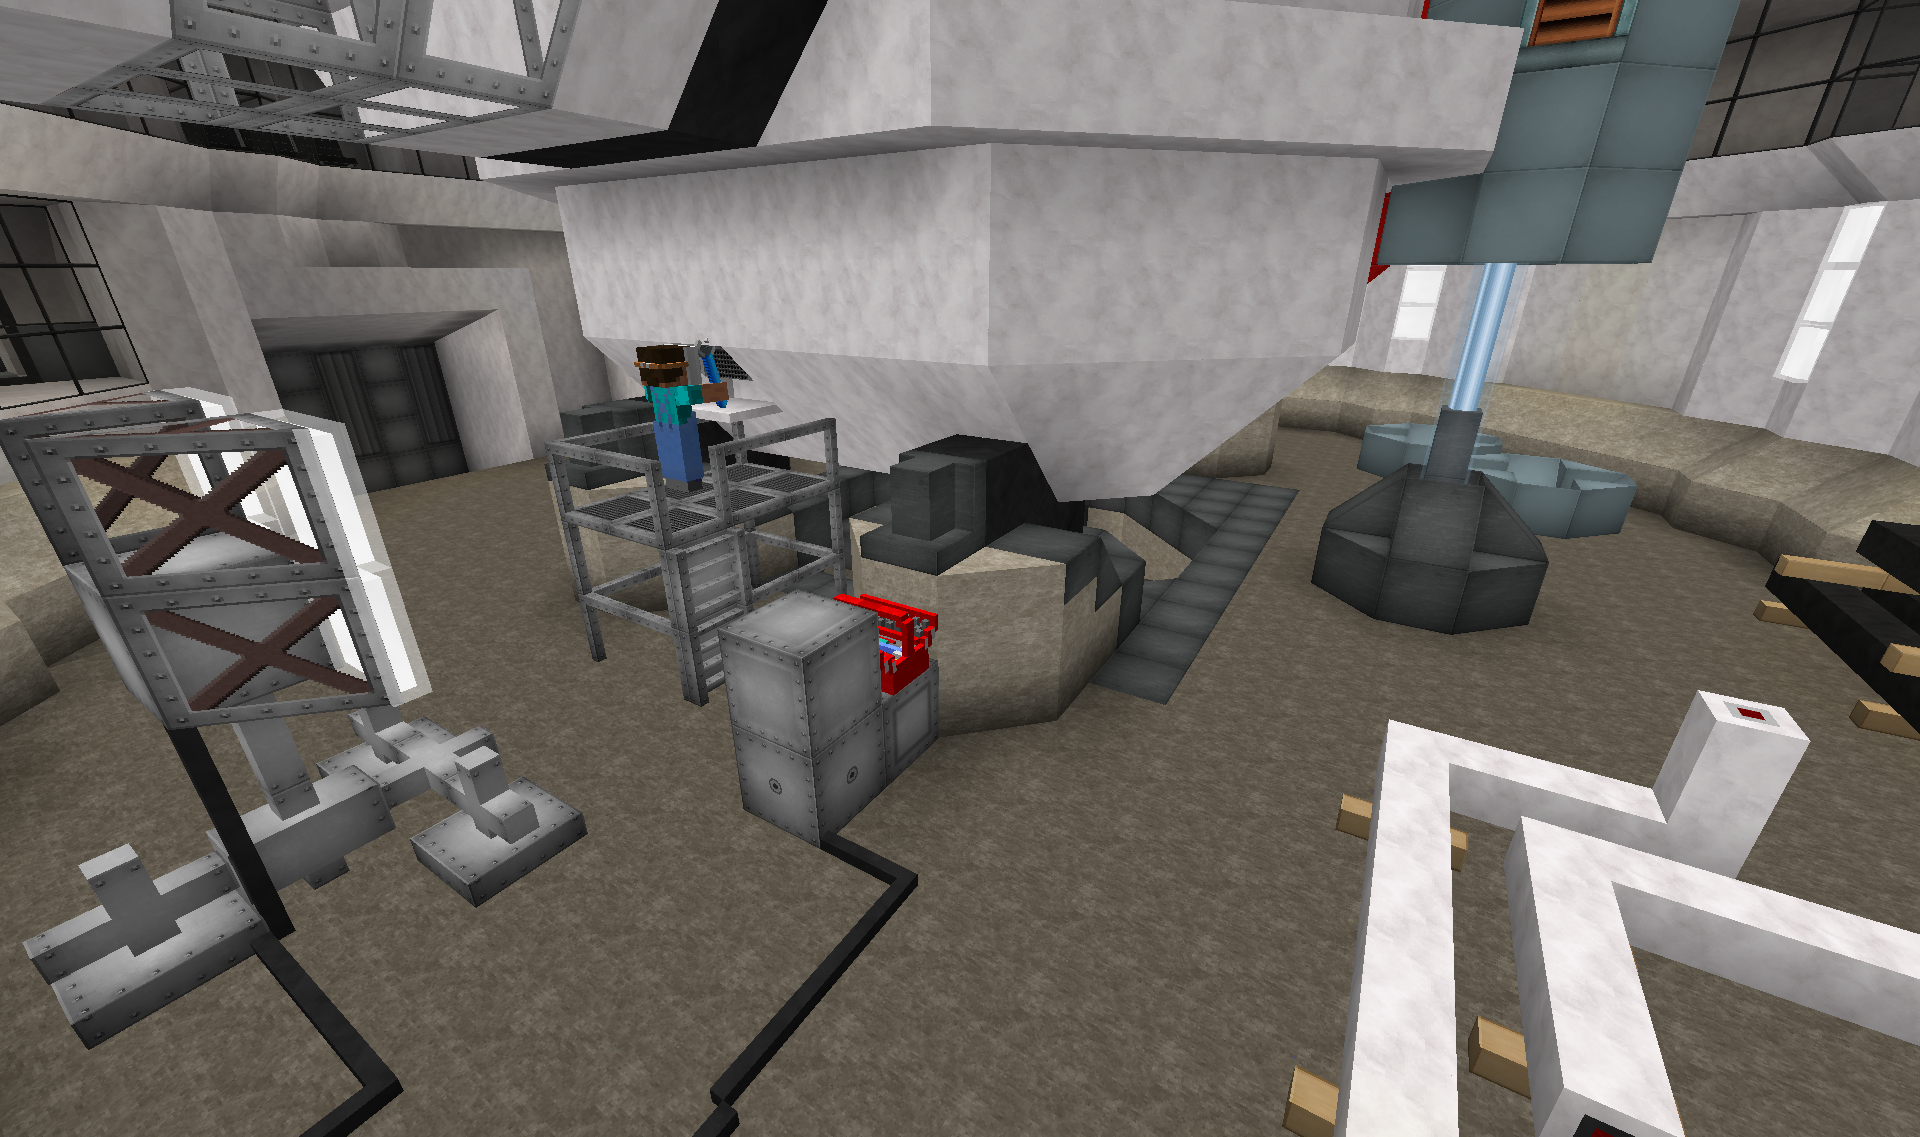
I also added various spare parts lying around.
At night or during rain the roof closes around the cable:
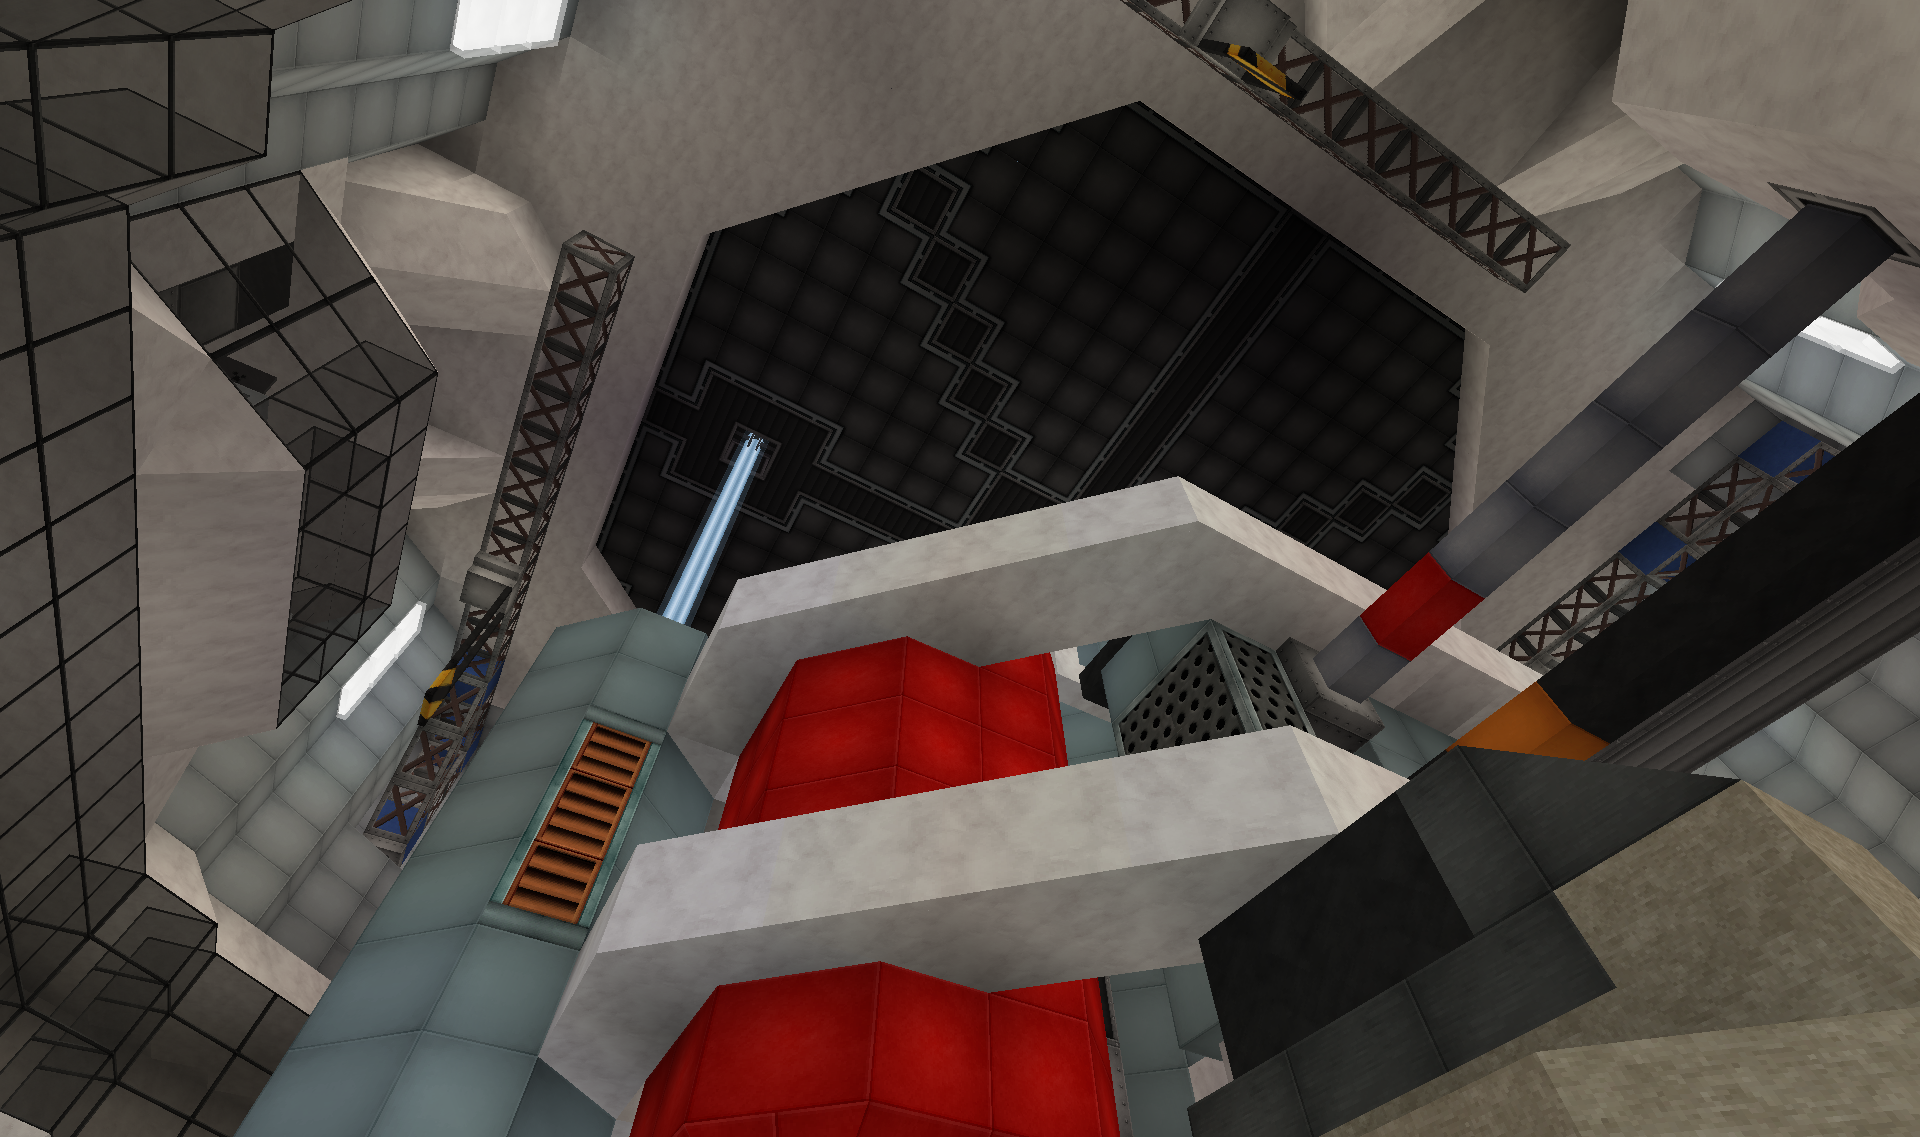
Currently working on the inside of the space centre, so more on that later.
I have shown some pics of the space centre located south of the tower before. But thought I would show some more details:


The main feature is of course the space elevator that leads to the space station. But there are a bunch of other things going on too.
- The tall spire off to the side is the "Data and utilities centre". This is connected up to the utilities tunnels I posted earlier.
- On the other side is the large factory hall. It was kinda meant as a place for building, assembling and maintaining parts for the space elevator, as well as the rockets.
- Speaking of rockets, the concrete square on the southern side is a launch pad for rockets.
- On the north side there is a office complex(which also houses Pre-launch check-in, briefing and preparation).
- The large glass covered part is a train station, which links into the train network. This is also where the walkway from the tower connects up(the train tracks are on the underside of the walkway).

The cab at the bottom will scale the cable to go to the space station in orbit(more on that later).
Rocket launch pad:

The launch control centre can be seen over viewing the launch pad.

The rockets can be brought out from the factory to the launch pad through the tunnel in the top of the picture.

Built vents for the exhaust gasses out on both sides. Doorway leads down into the tunnel.
Control room:

The factory has a bunch of loading ramps for raw materials etc.

Reminder to self: Need to add shipping containers and trucks to the lot.
To the right is also a small covered parking lot for workers etc.
The factory hall is so far very empty:

Have still not worked out what to build here. And it is somewhat on a low priority atm. Maybe I will add some workshops for rockets, satellites etc.
The space elevator cab resting at the bottom of the cable:

On this pic you can also see a little control area, as well as the observation area round the cab.

The black and white umbilical is here extended to allow passengers on/off(doesn't really retract of course
Other side of the cab with various tanks etc.

Currently being refuelled and restocked by the extended cables/pipes.
Some maintenance being done:

I also added various spare parts lying around.
At night or during rain the roof closes around the cable:

Currently working on the inside of the space centre, so more on that later.
Part 1
As mentioned in last post, I have been working on the interior of the space centre.
The main access point to the space centre is through this suspended walkway:
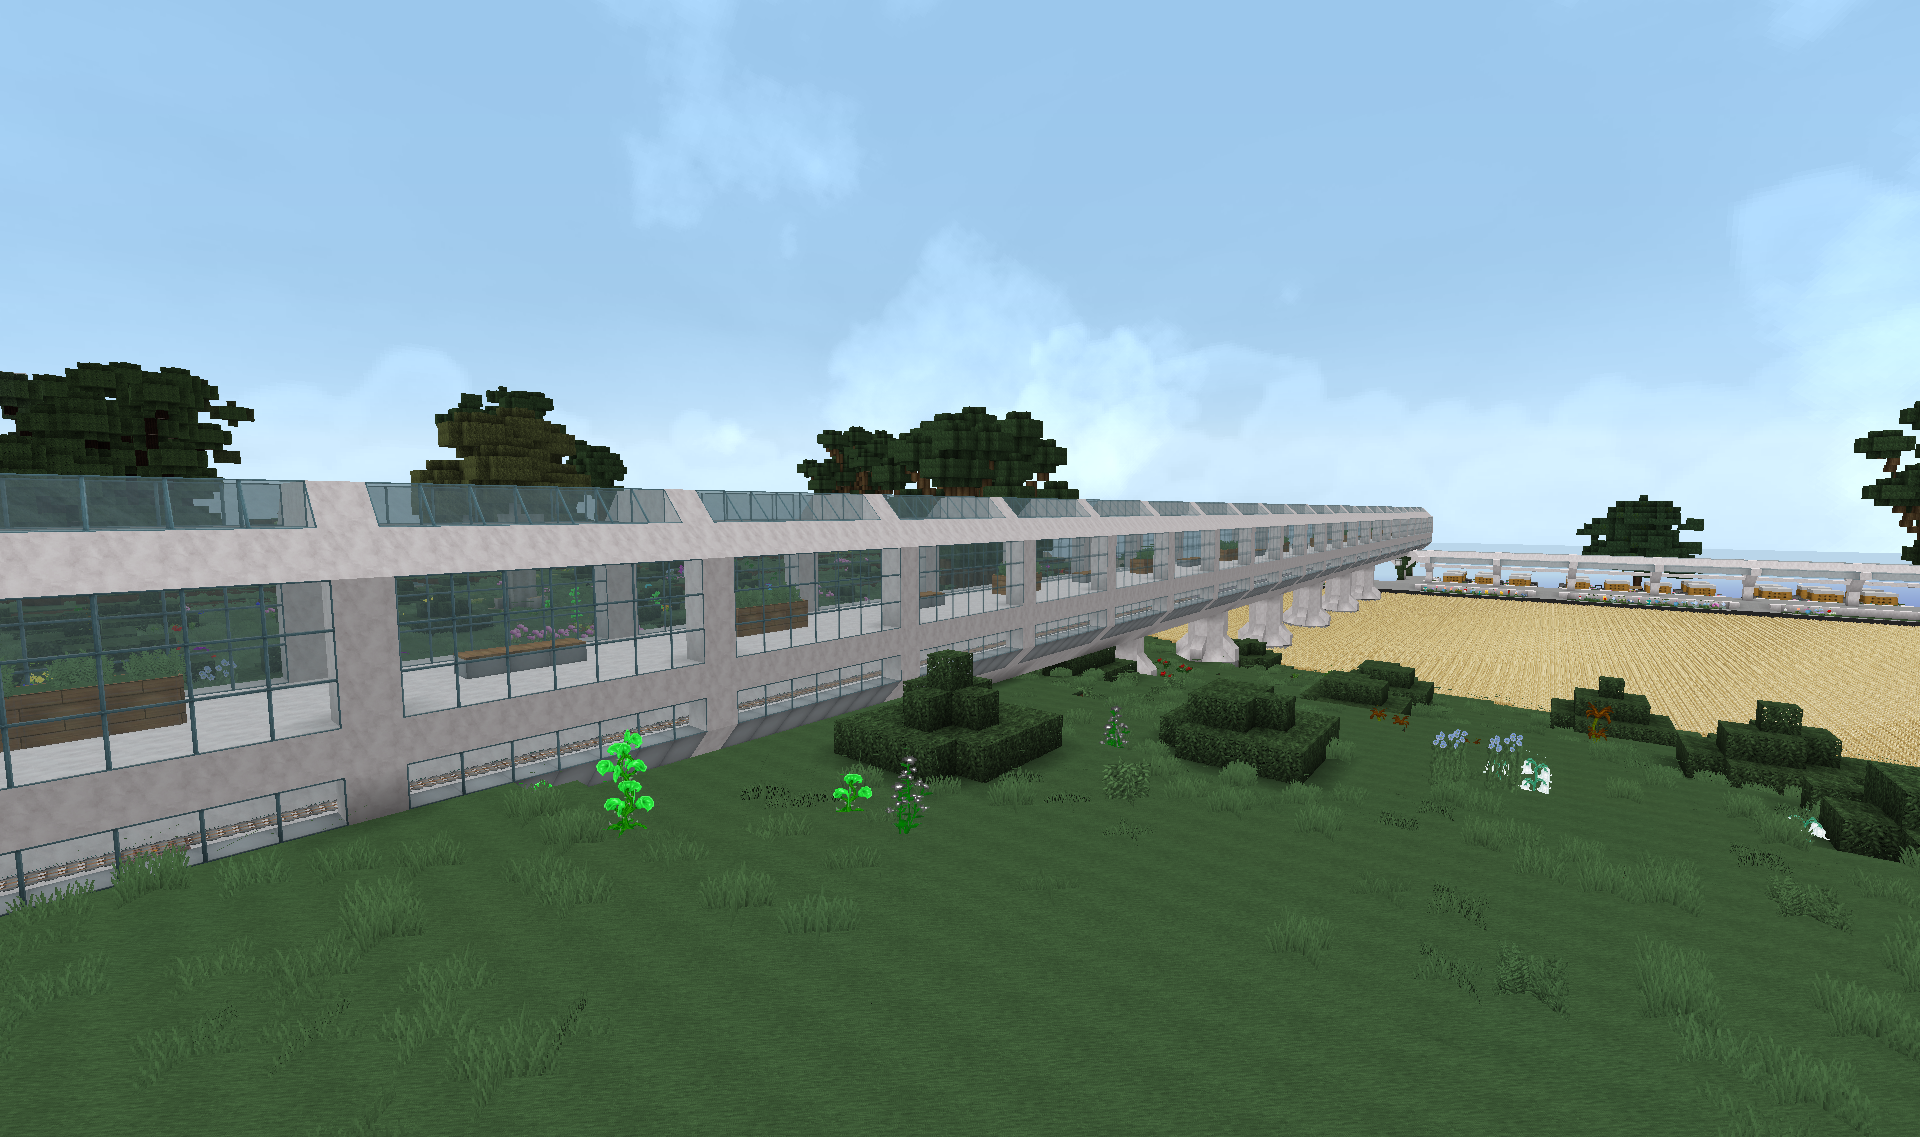
Pic is taken with the space centre directly behind me. The main tower is off in the distance to the right. The walkway is the extension of one of the "spokes" of the tower.
The walkway carries both walking personnel up top, and the train network below.
The walkway links up to the space centre at the train station:
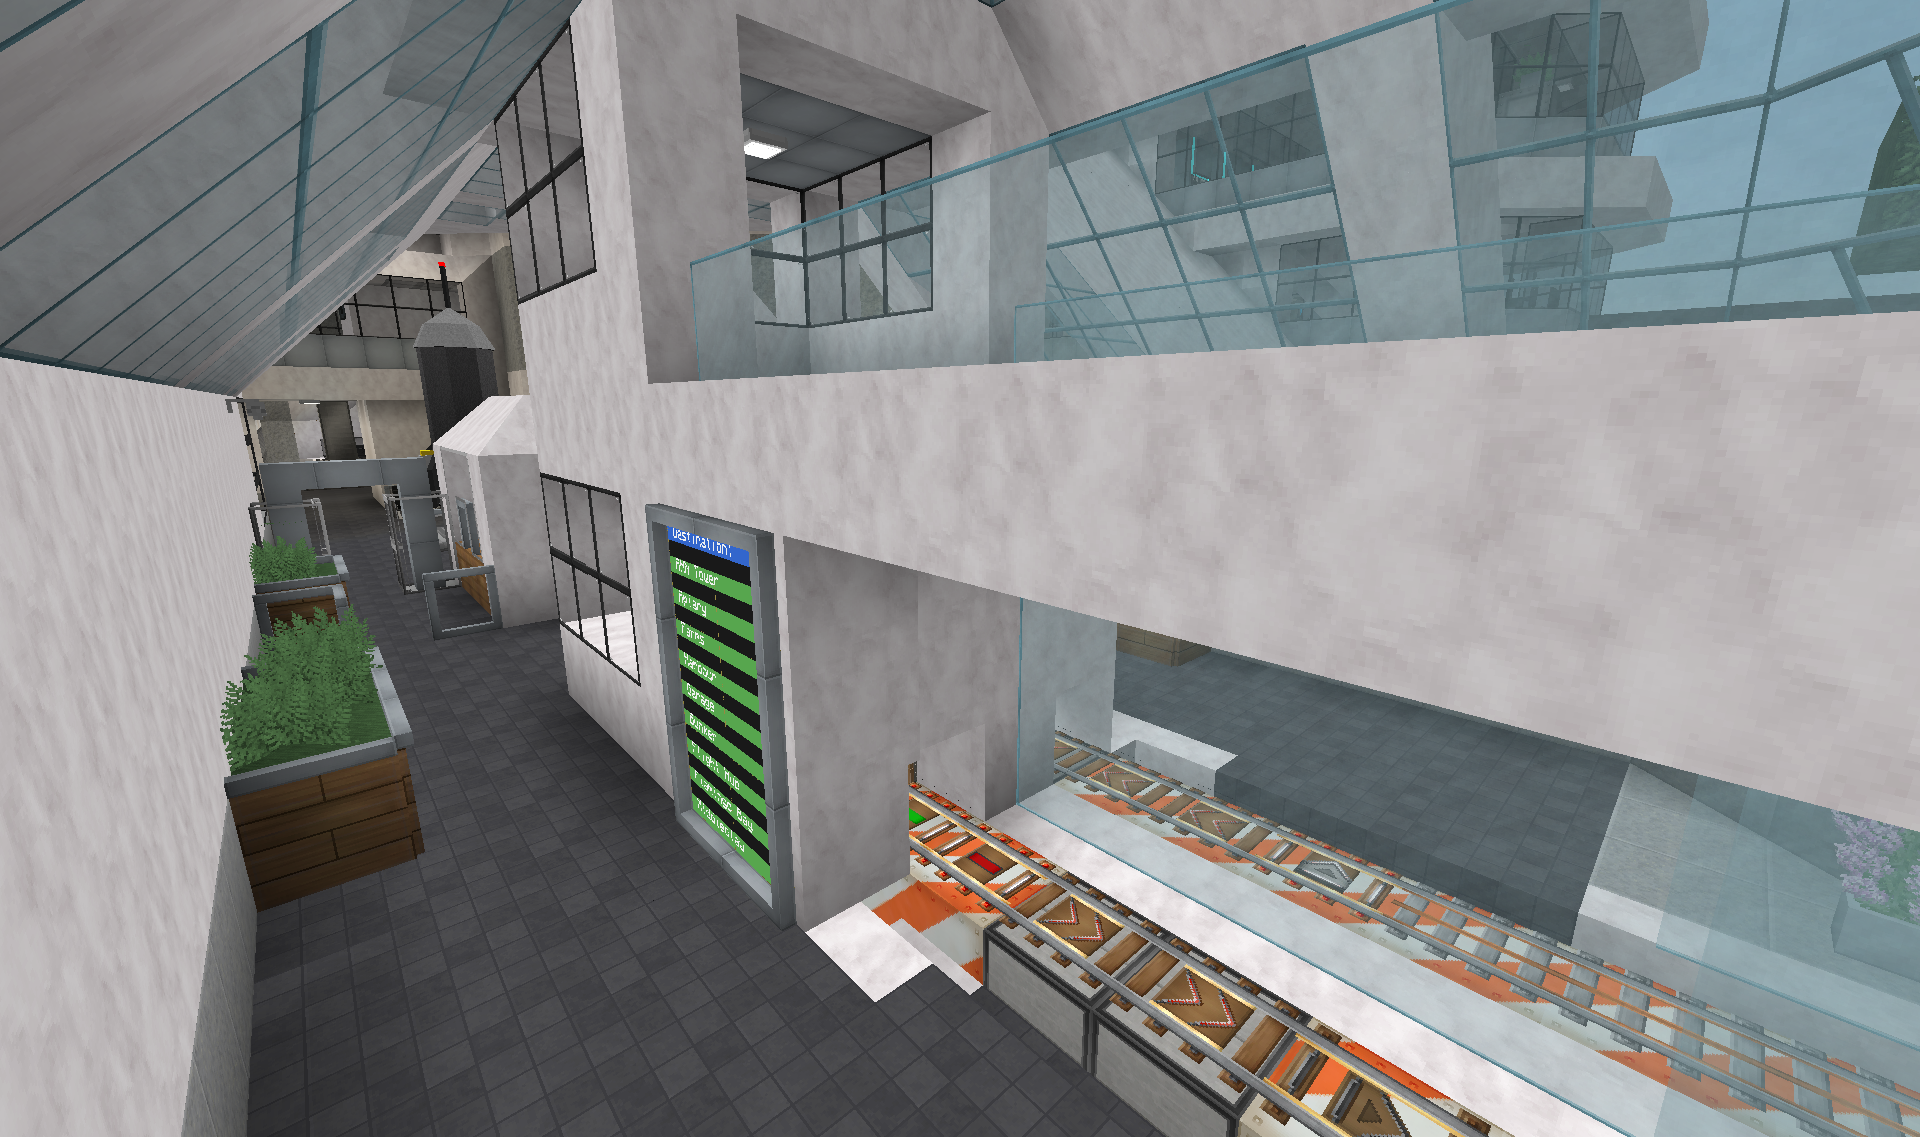
Again, the personnel walkway up top(elevator down) and train stations for arrival and departure on either side below it.
Security checkpoint:
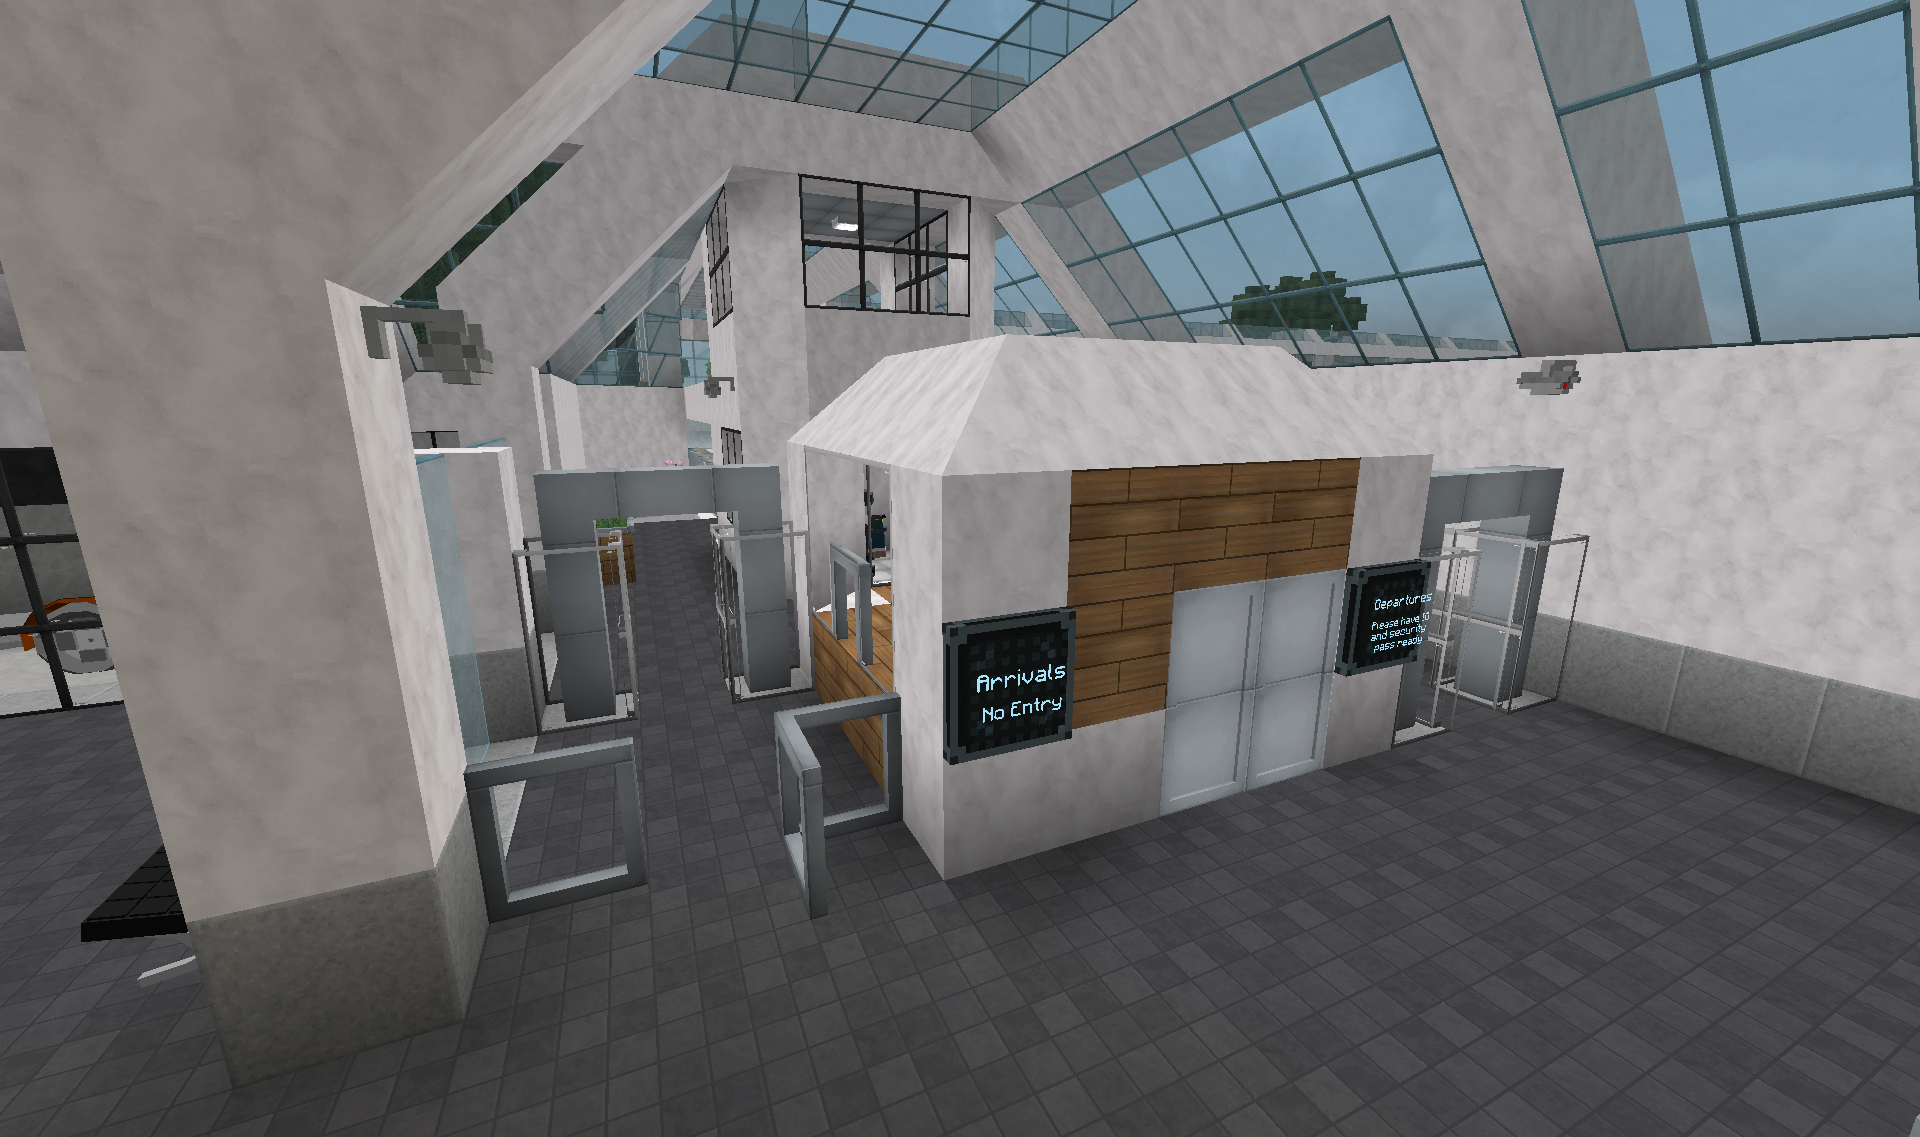
Since the space centre is both on the outer boundary of the whole network, as well as housing a lot of sensitive stuff, security checks both arrivals and departures.
The large hall at the train station serves as both waiting area and space museum, showing off some key steps in the nations space travel history!
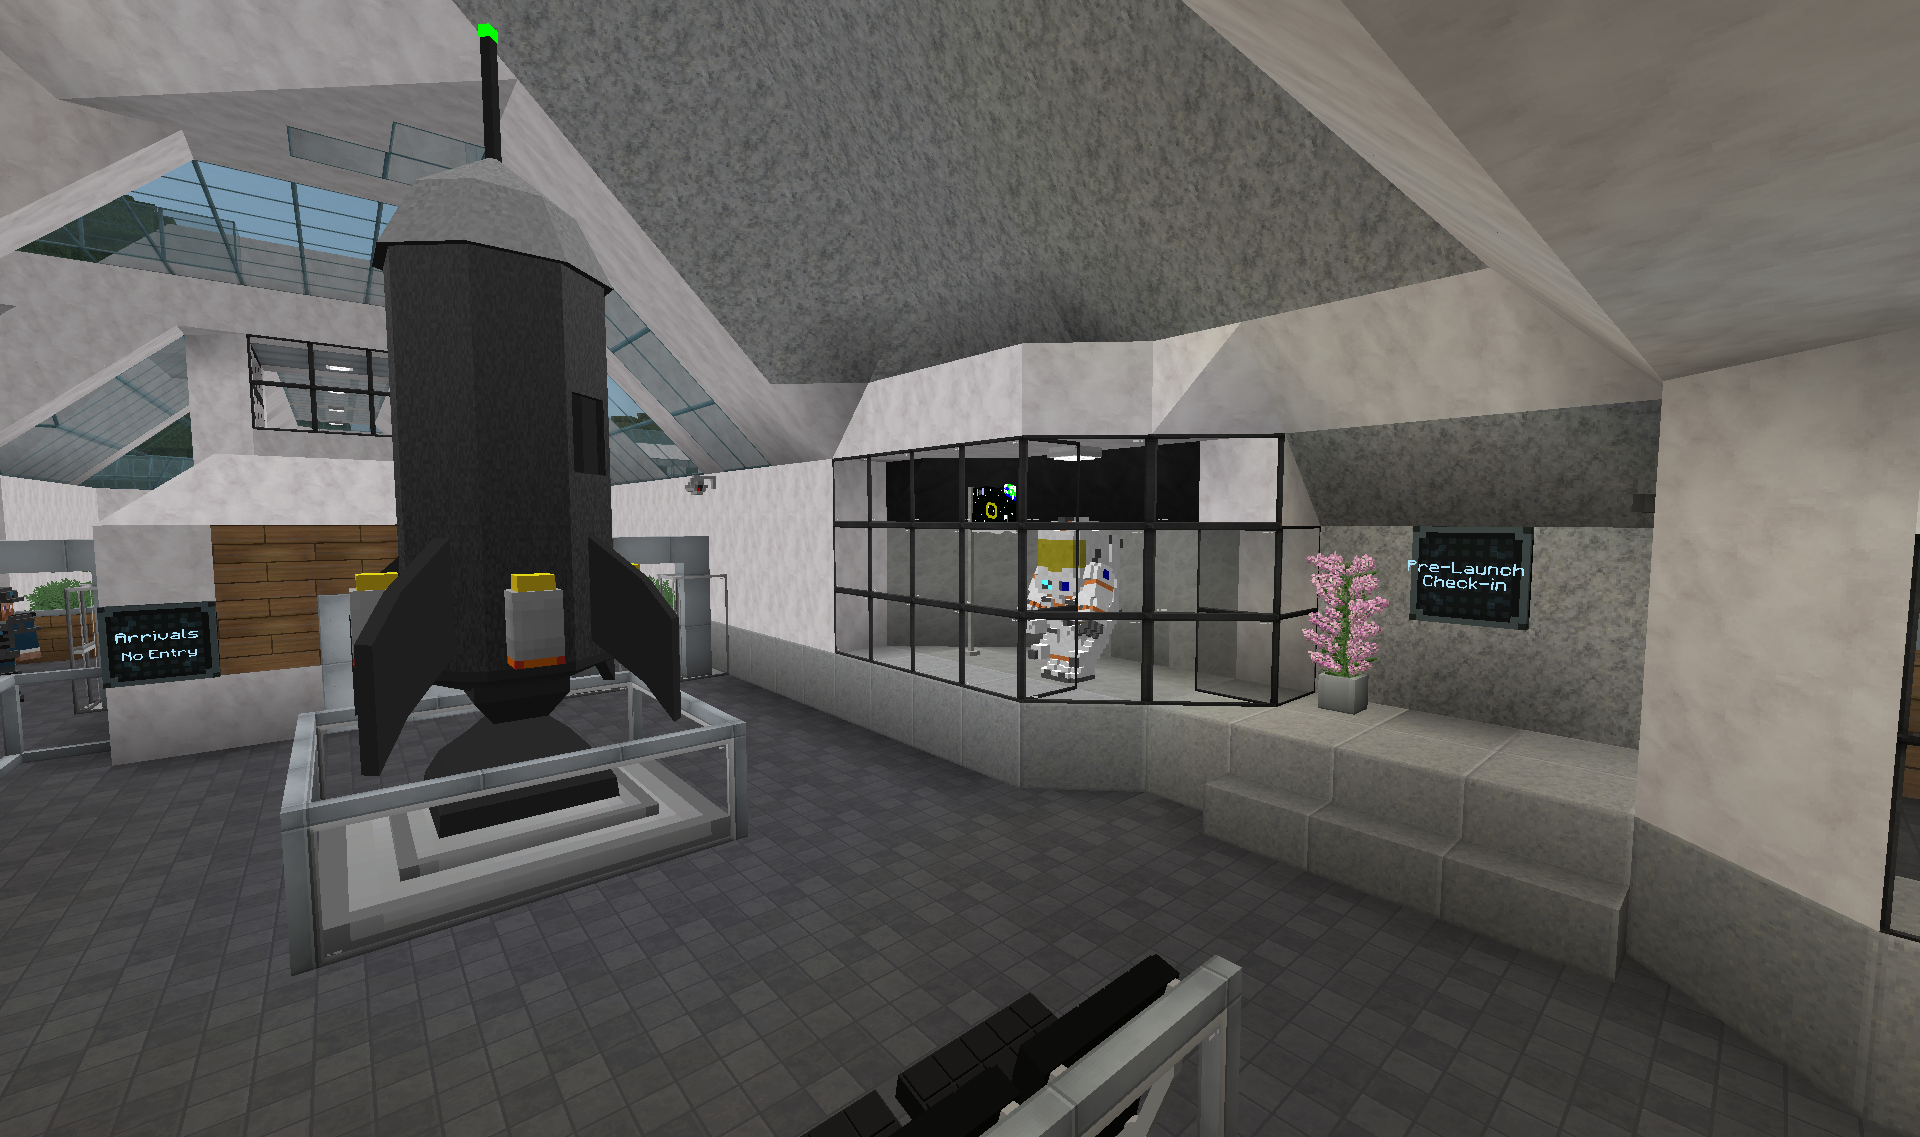
Visitors to the space station will go through pre-launch preparations up the stairs to the right.
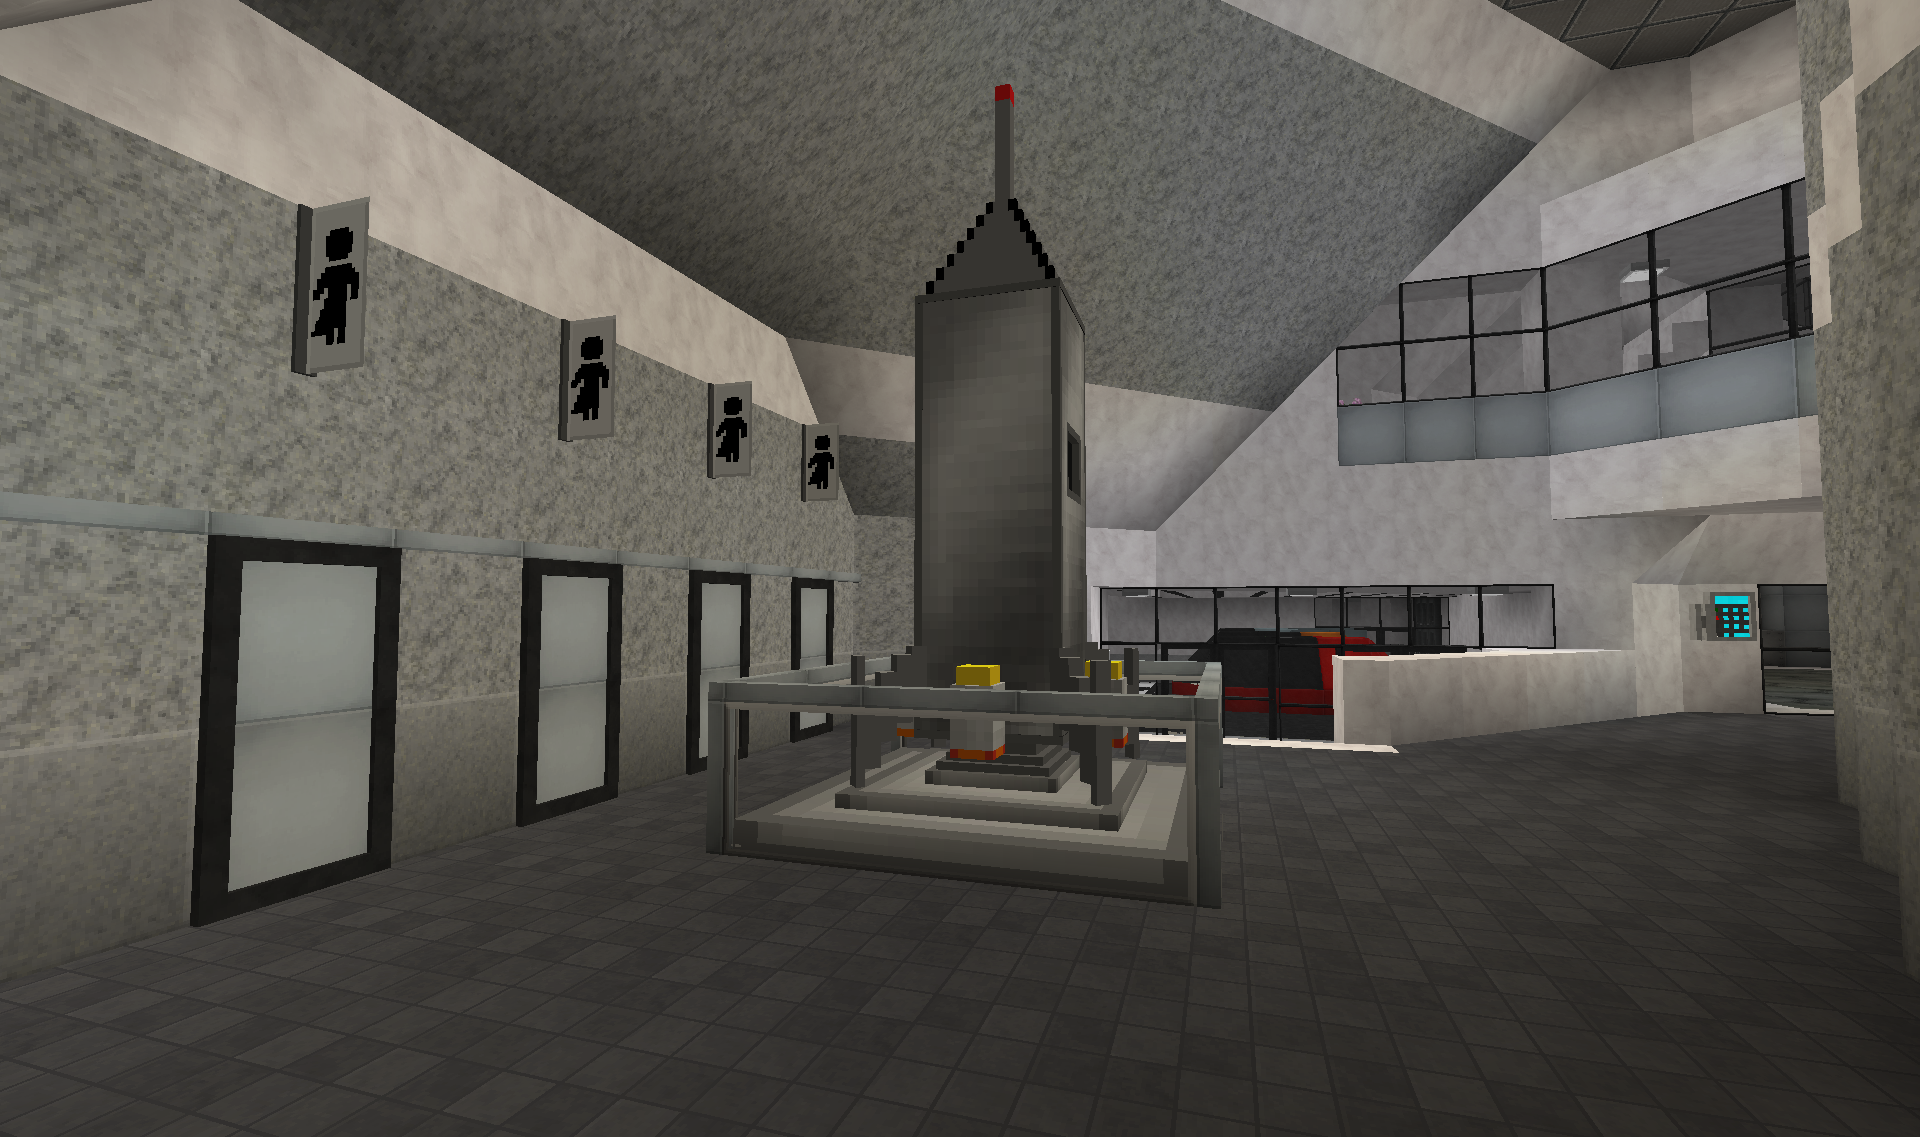
Bathrooms on the left, external exit to employee car park ahead, and access to the workshop/factory part on the right(more on that in later post).
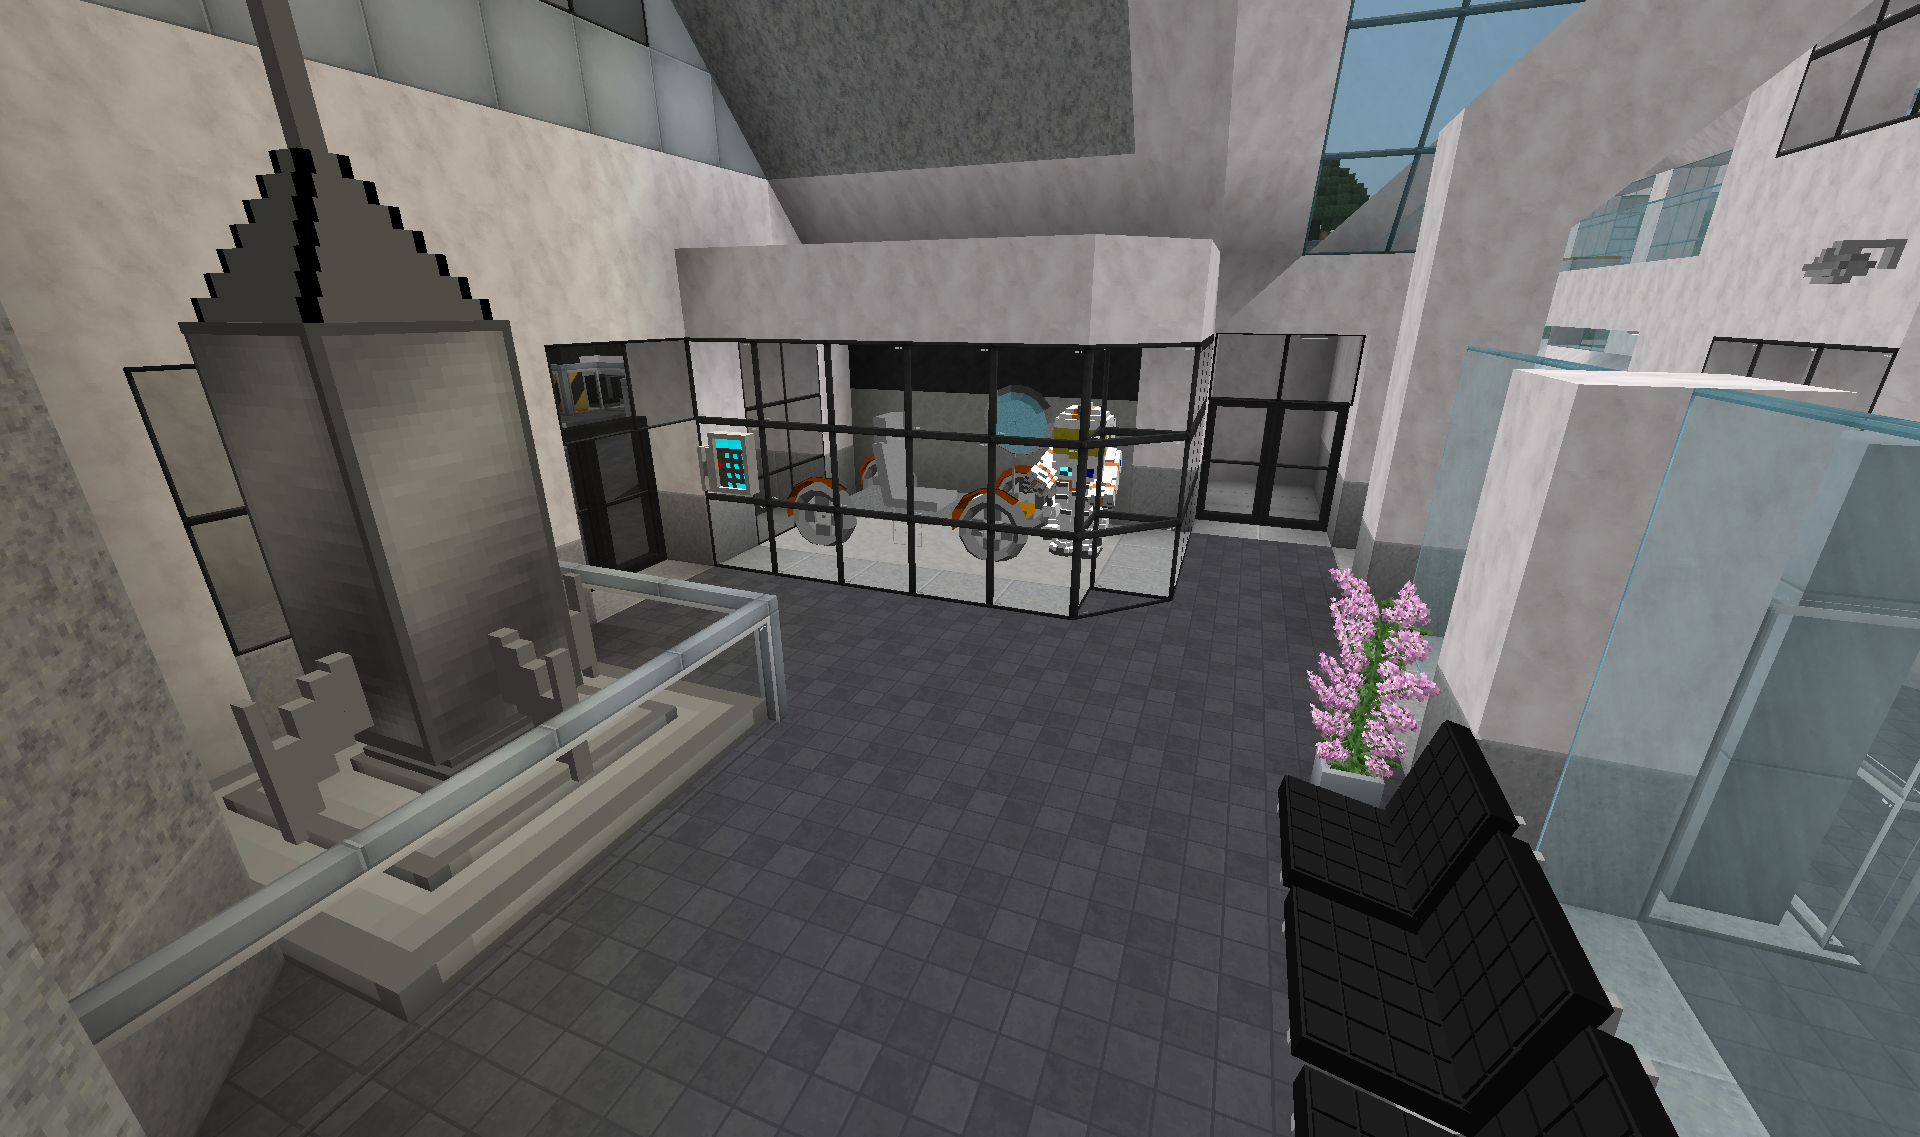
Doors on the left lead into the utility section of the space centre(handling and housing various technical aspects of keeping the whole thing running). More on that in part 3.
Doors directly ahead leads to a small closed off garden area for visitors, school outings etc:
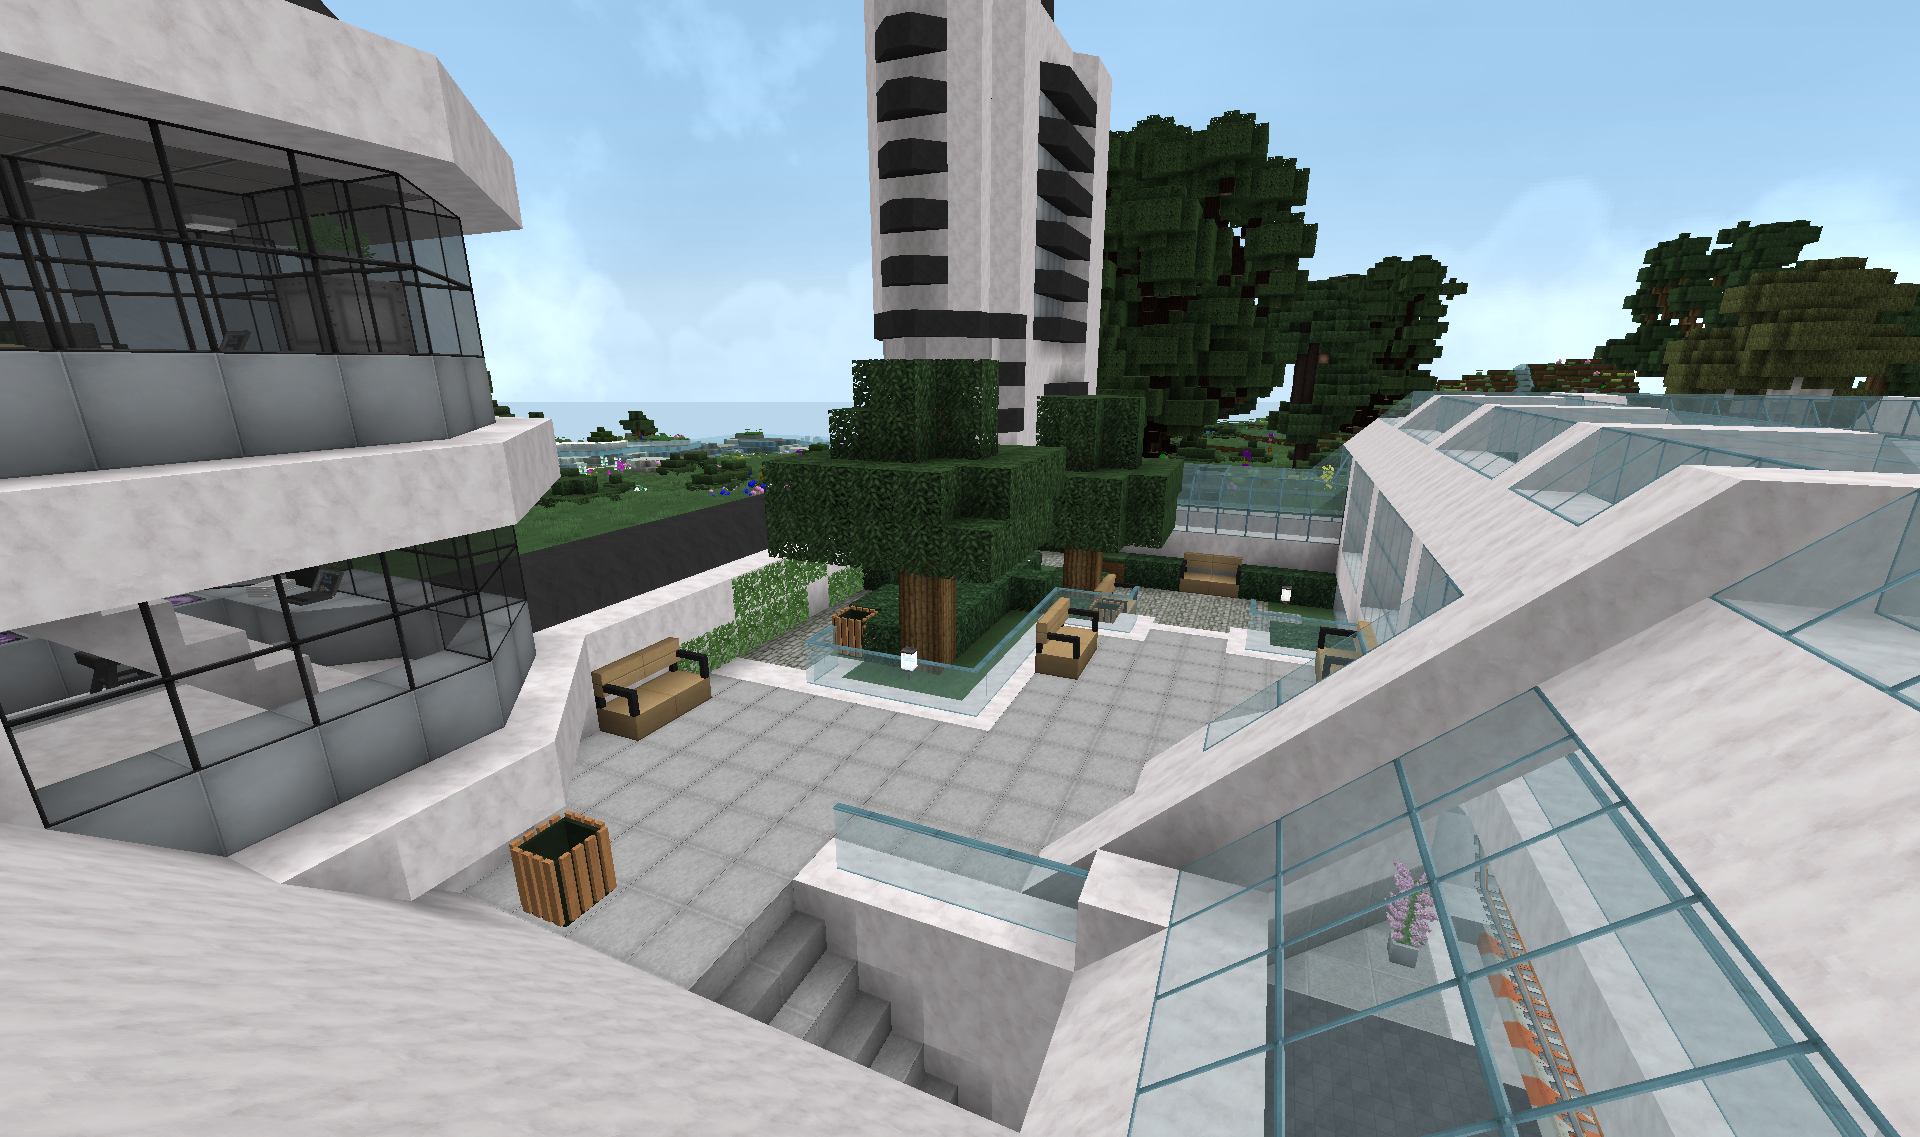
Visitors to the space station first go through a check-in. This happens in one of the side buildings to the space centre:
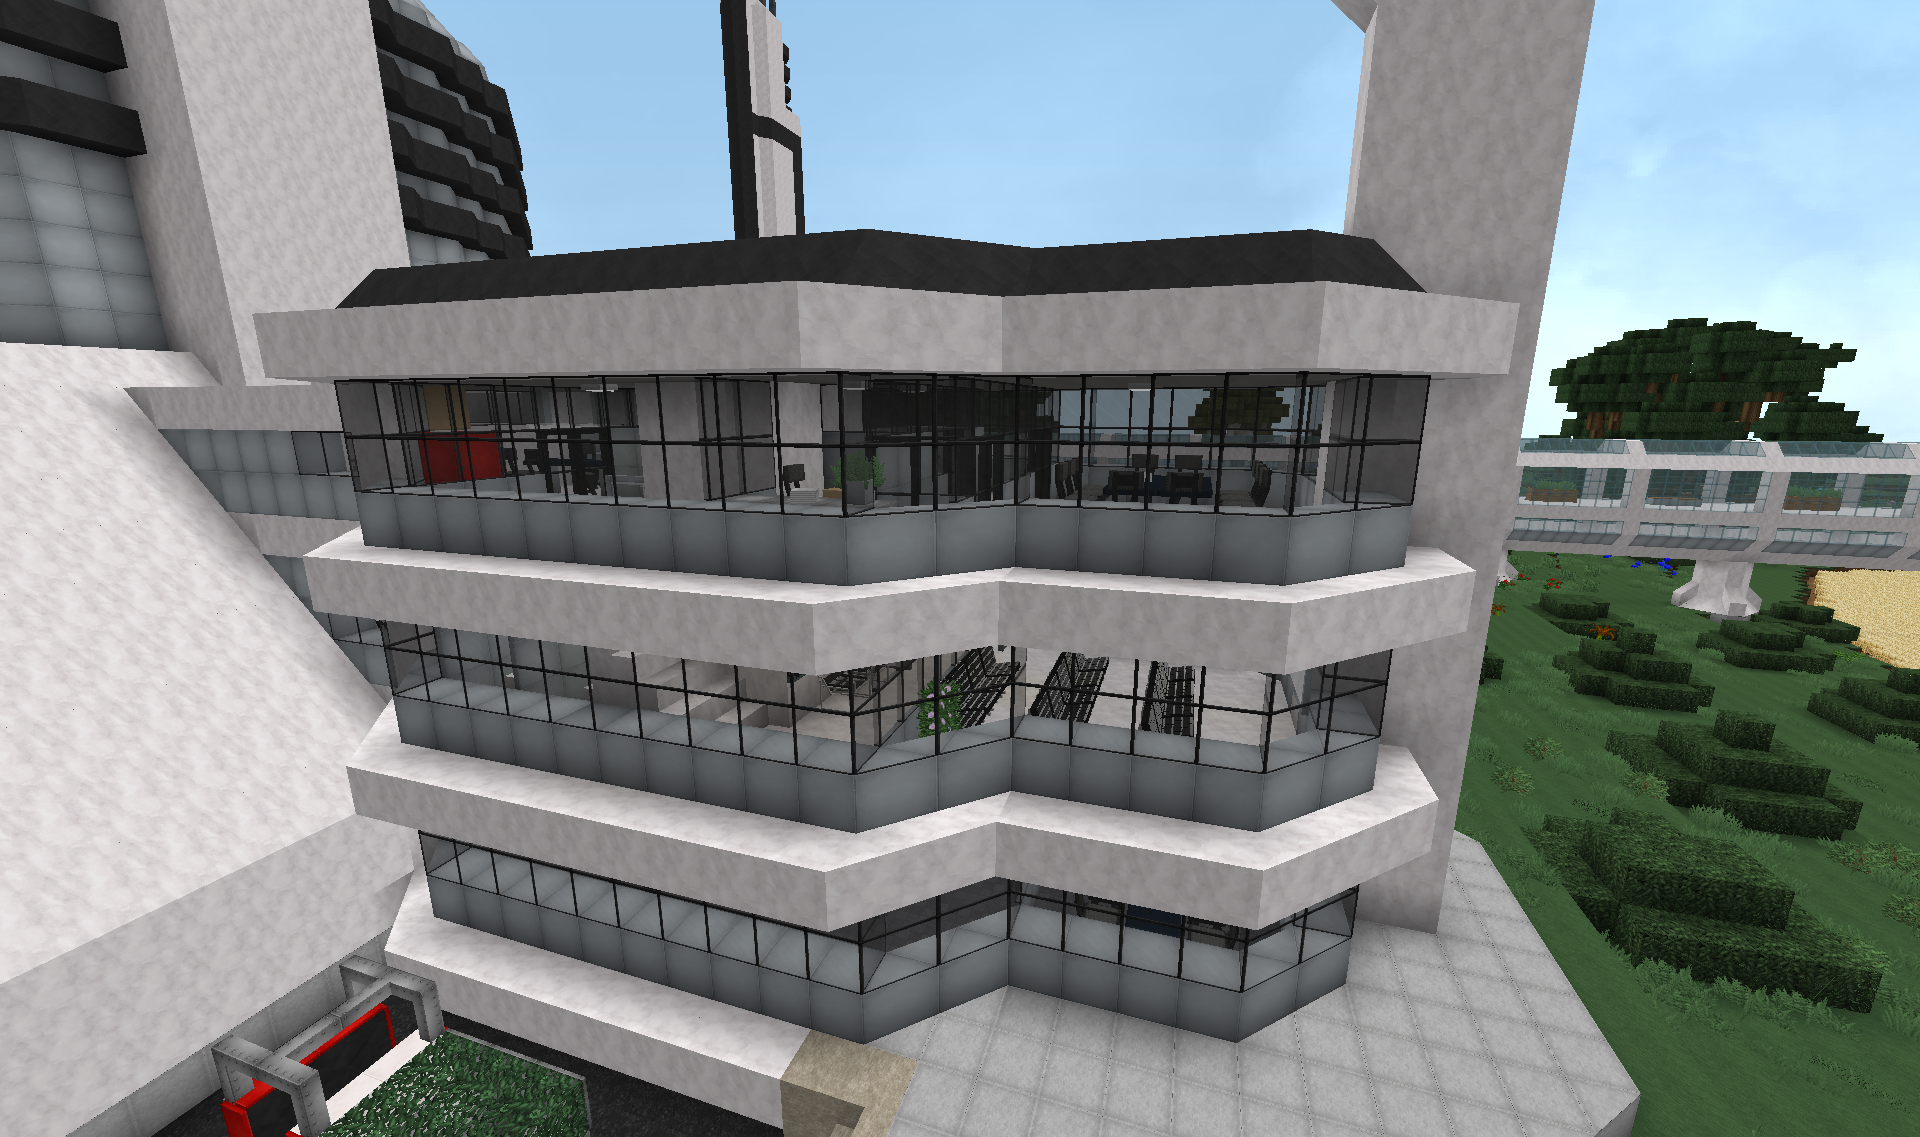
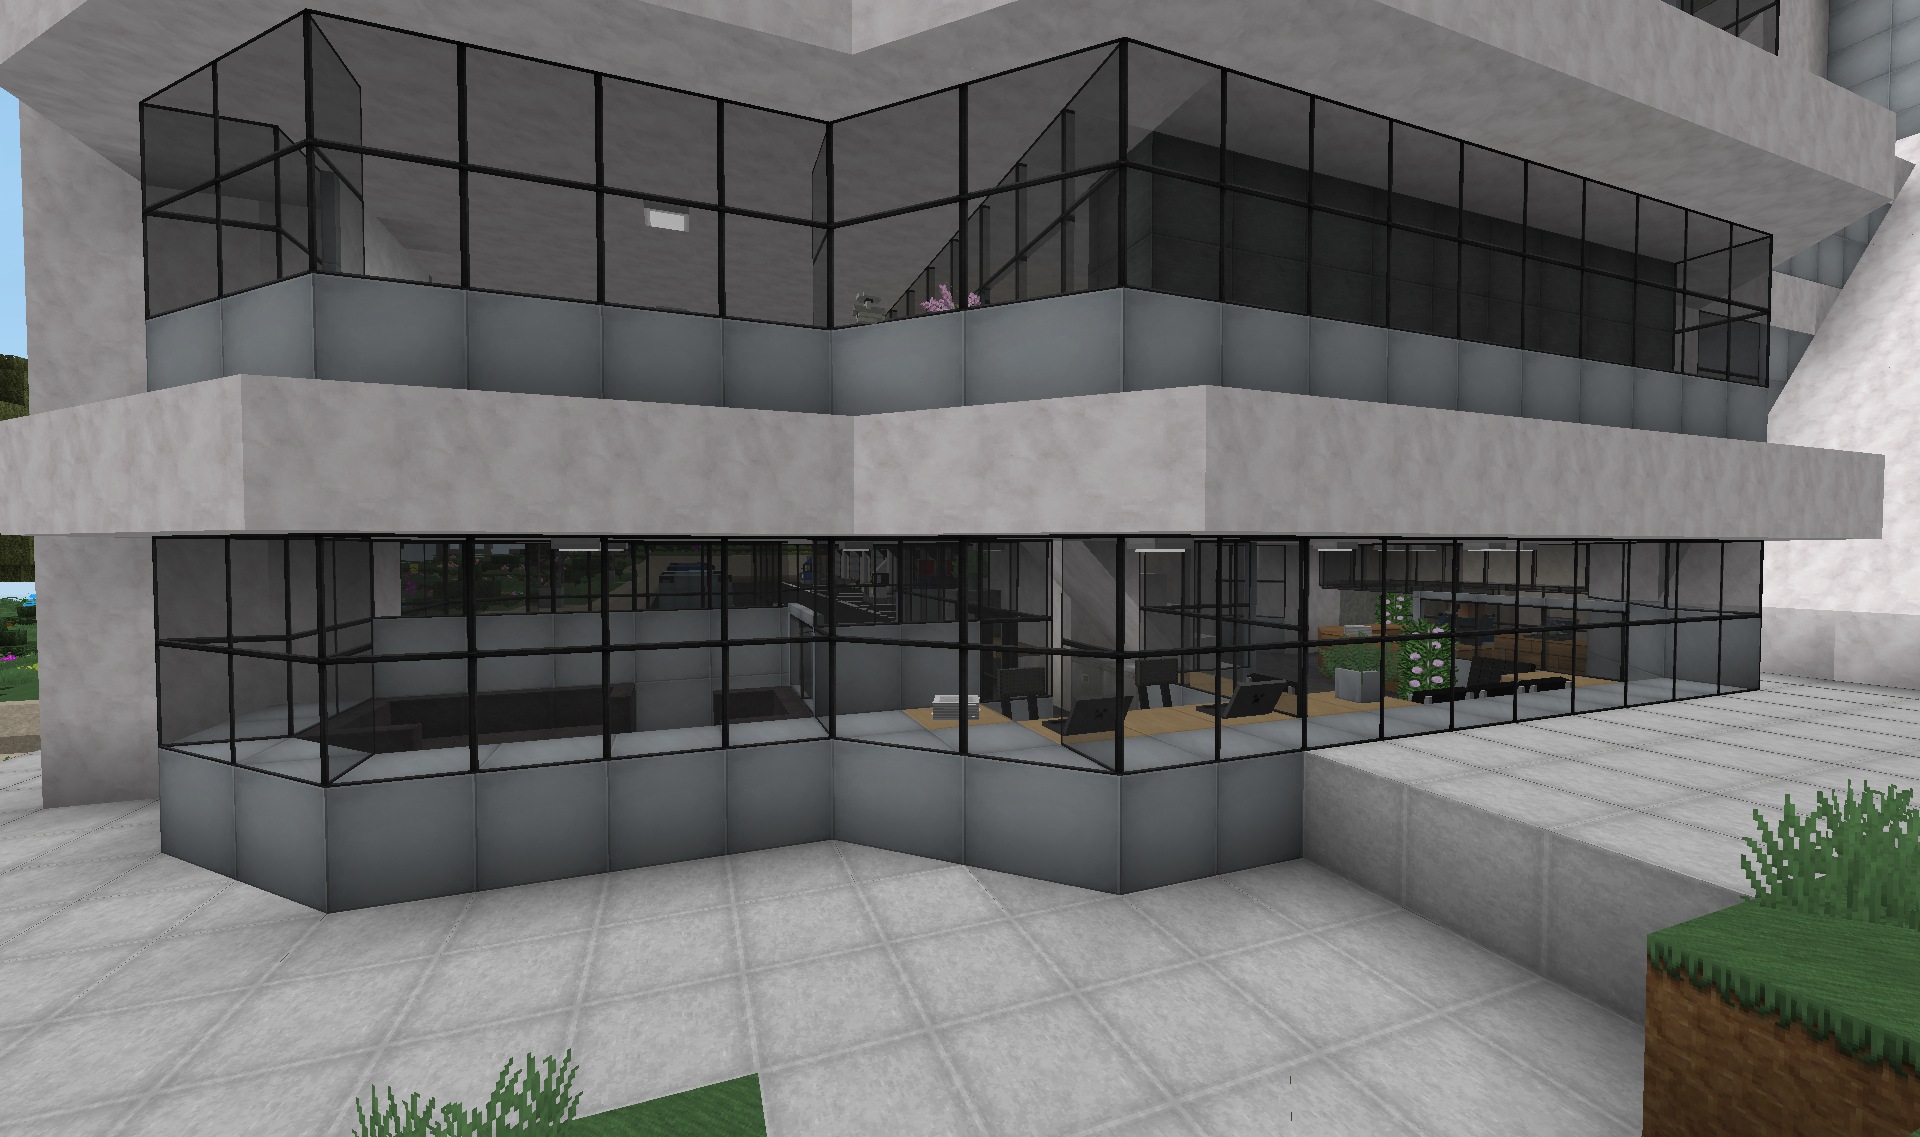
It also houses a bunch of offices, meeting rooms and break rooms for staff.
First up is the actual check-in:
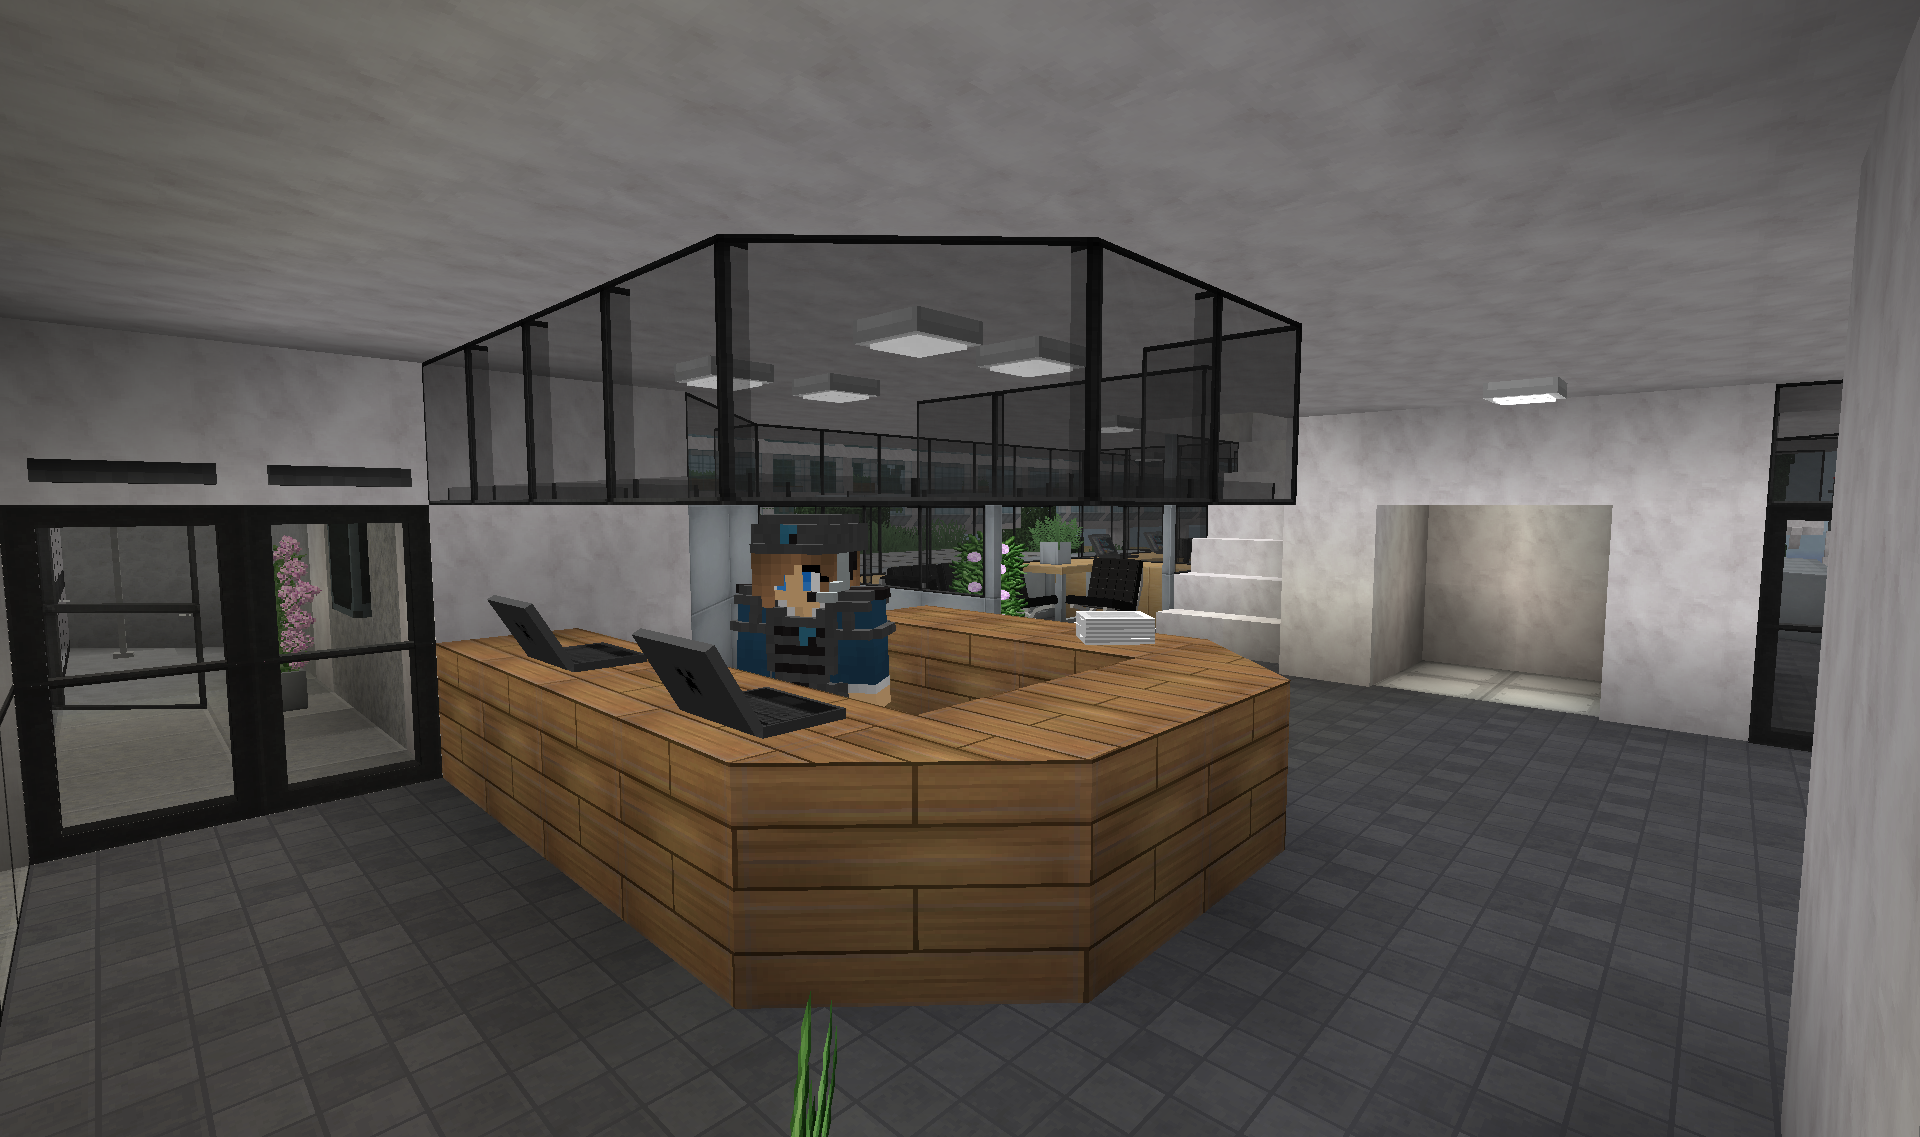
Next they go up the stairs for a pre-launch briefing:
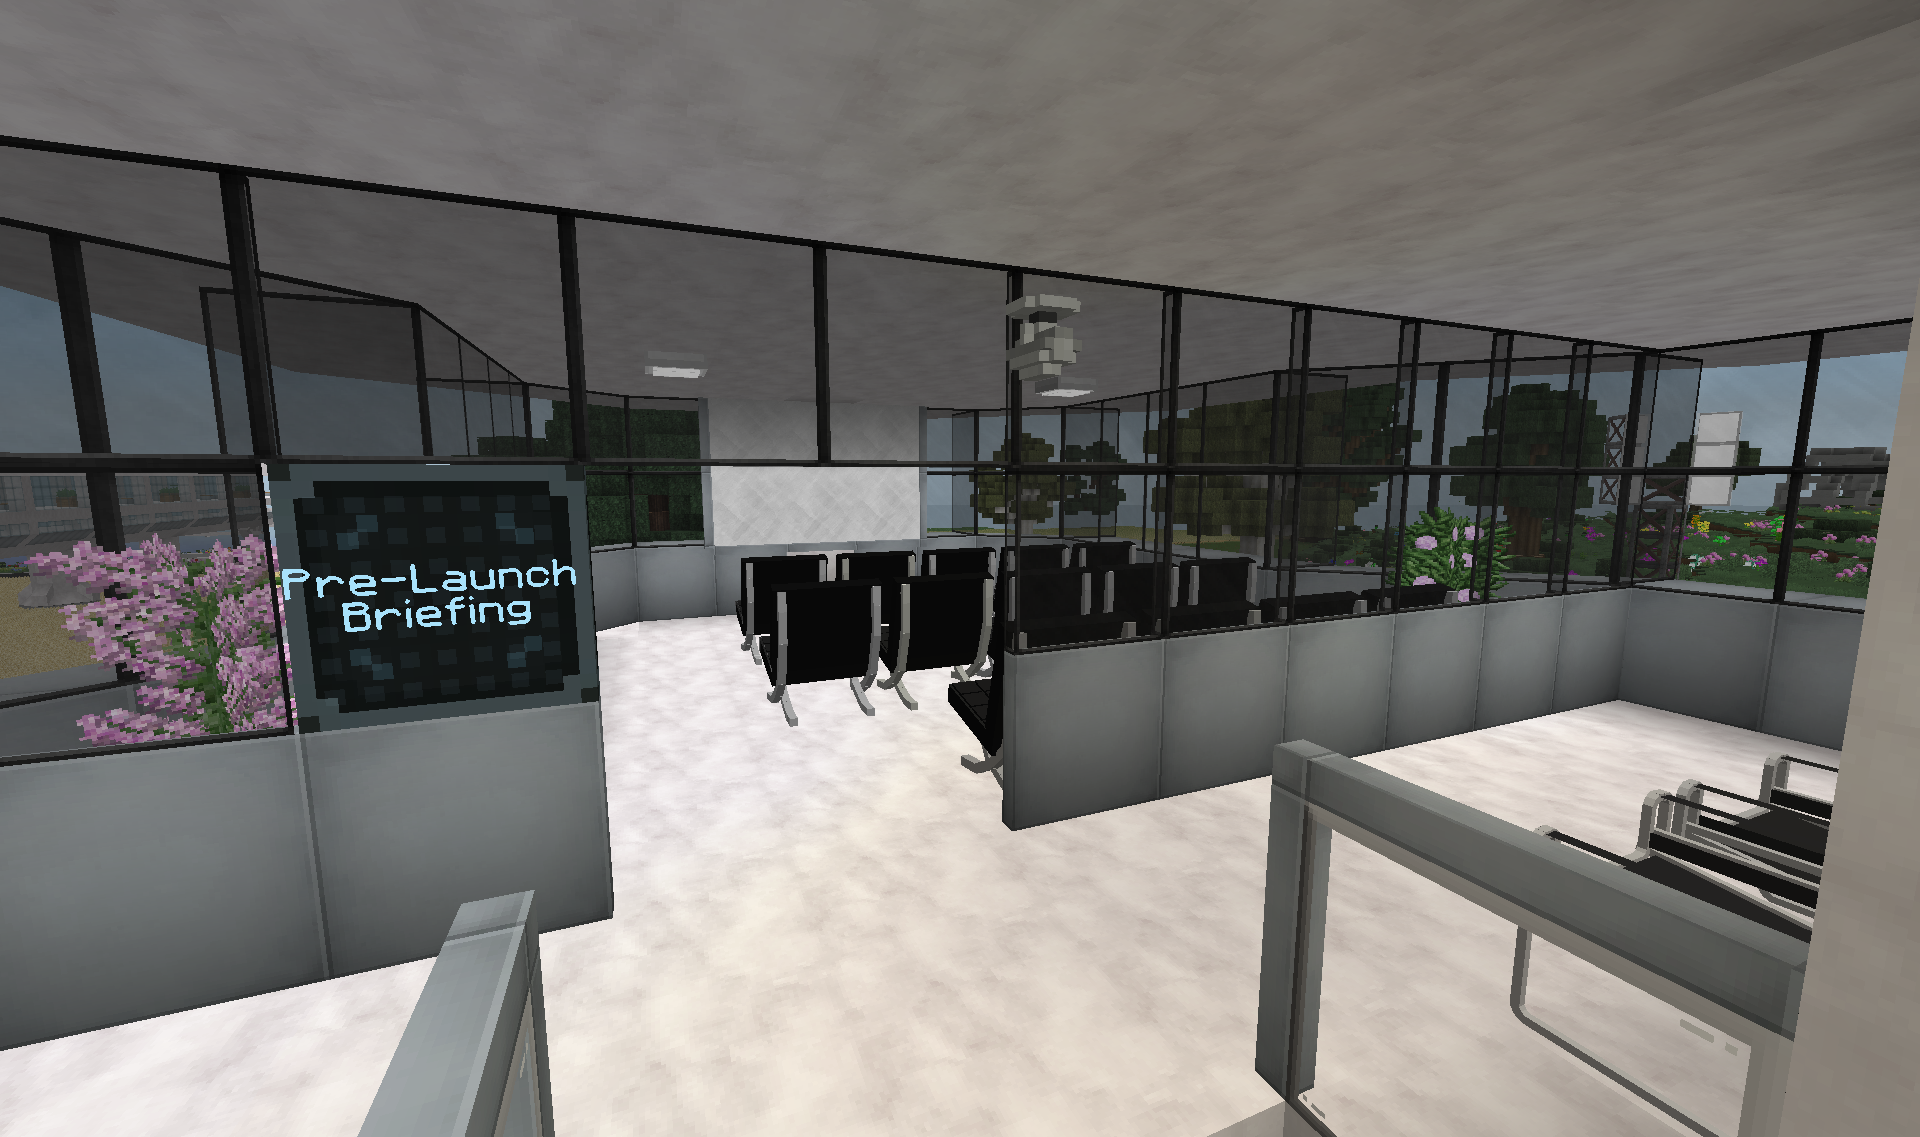
Then through the locker area where they can store items not allowed/needed on the space station, as well as dispensary of safety equipment:
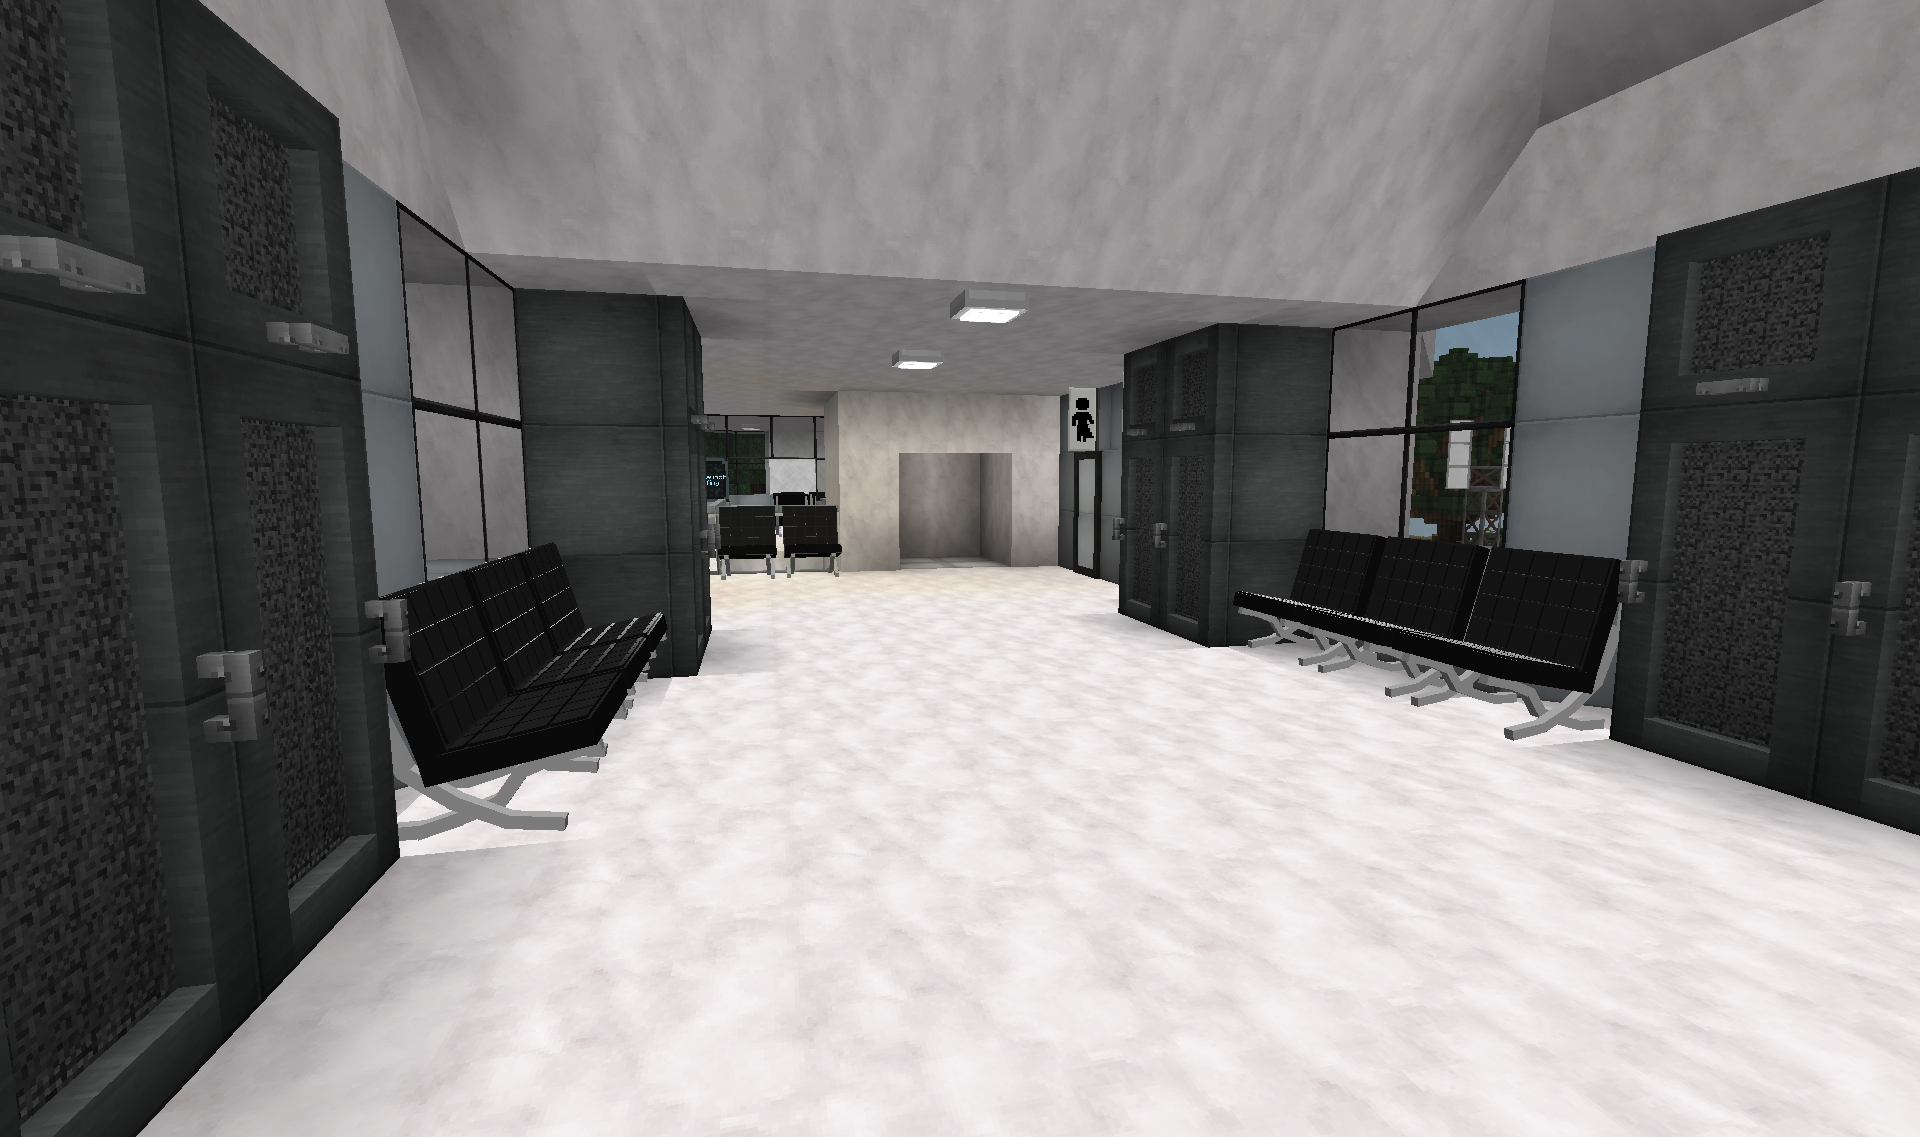
Also added a couple "last minute" bathrooms for the nervous
Once ready, they go into the elevator located behind the above picture, up to the Space elevator:
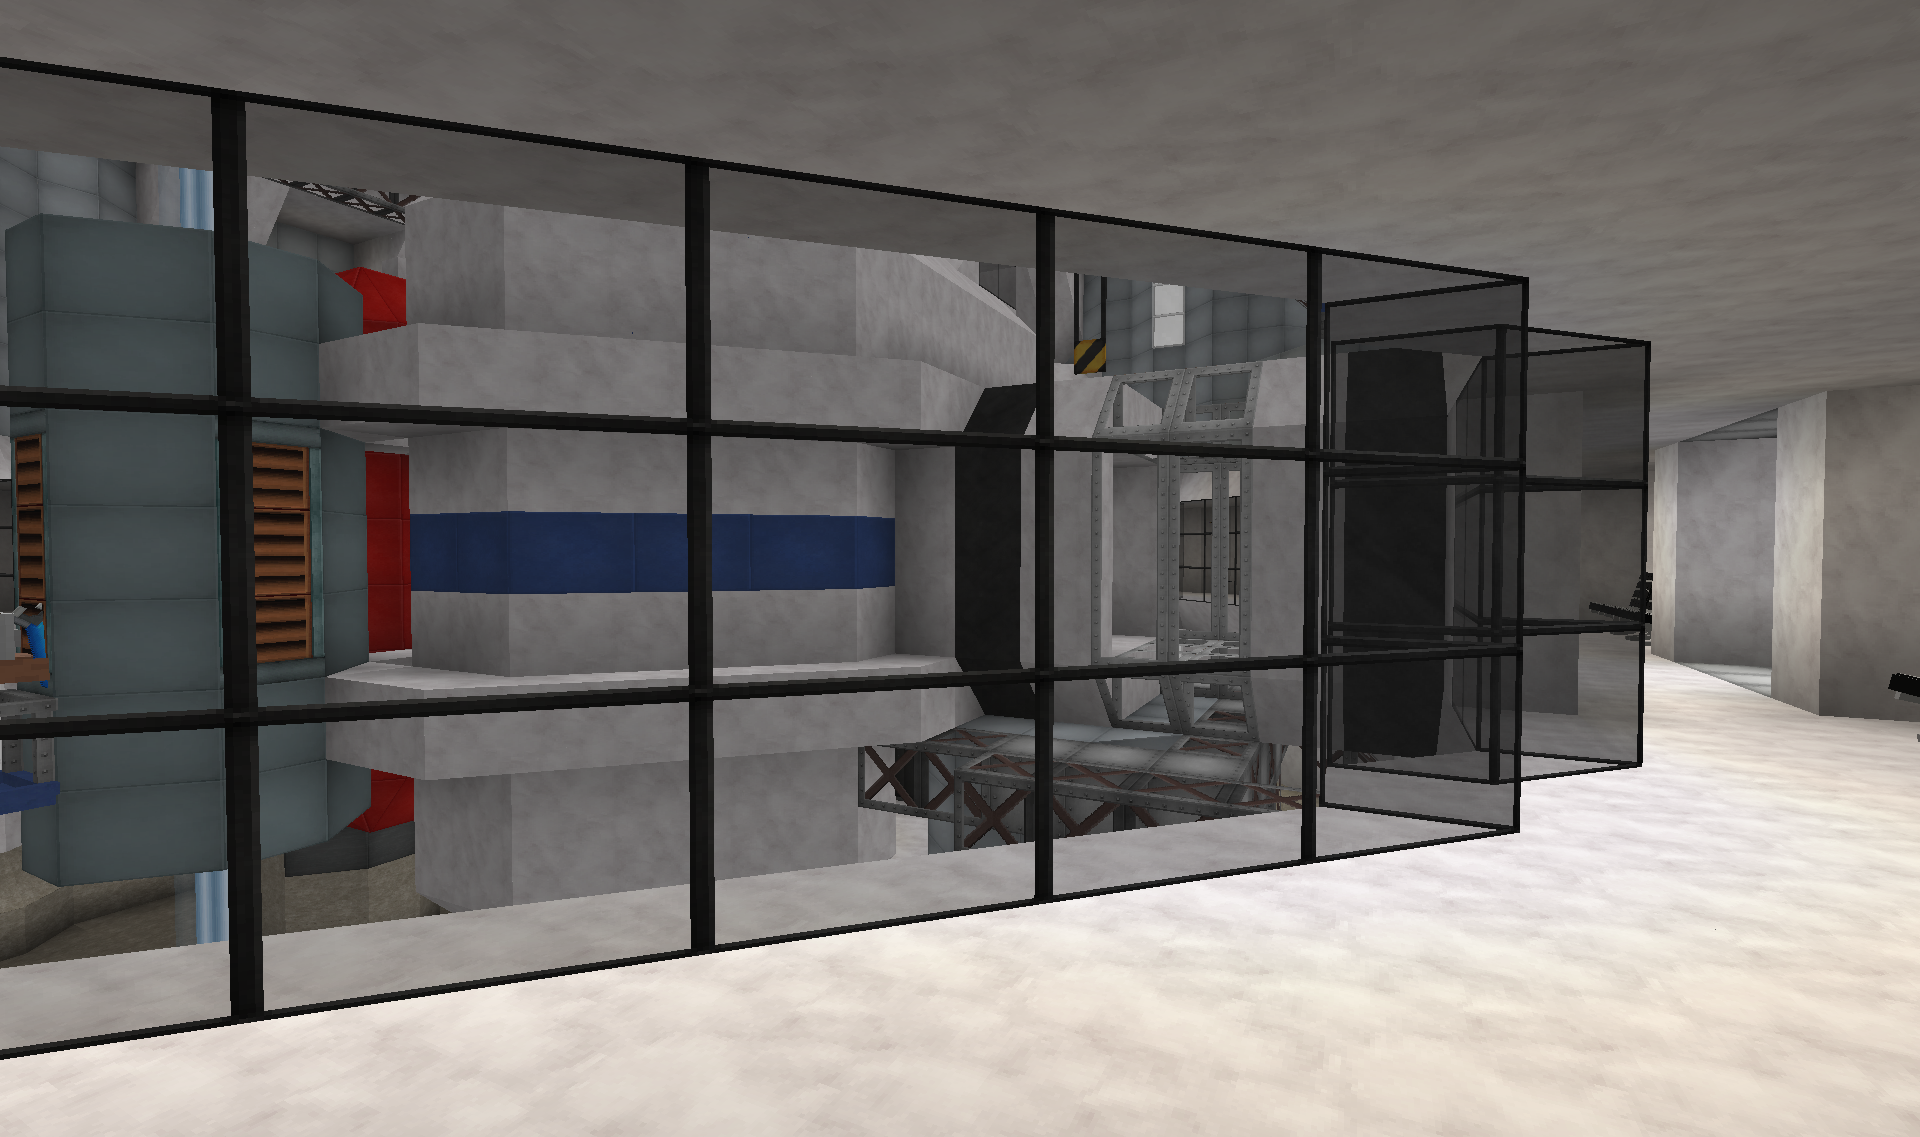
Waiting/observation area with near 360 view of the Space elevator, before embarking through the umbilical to the cab.
Inside the cab on the first floor are seating arrangements for passengers:
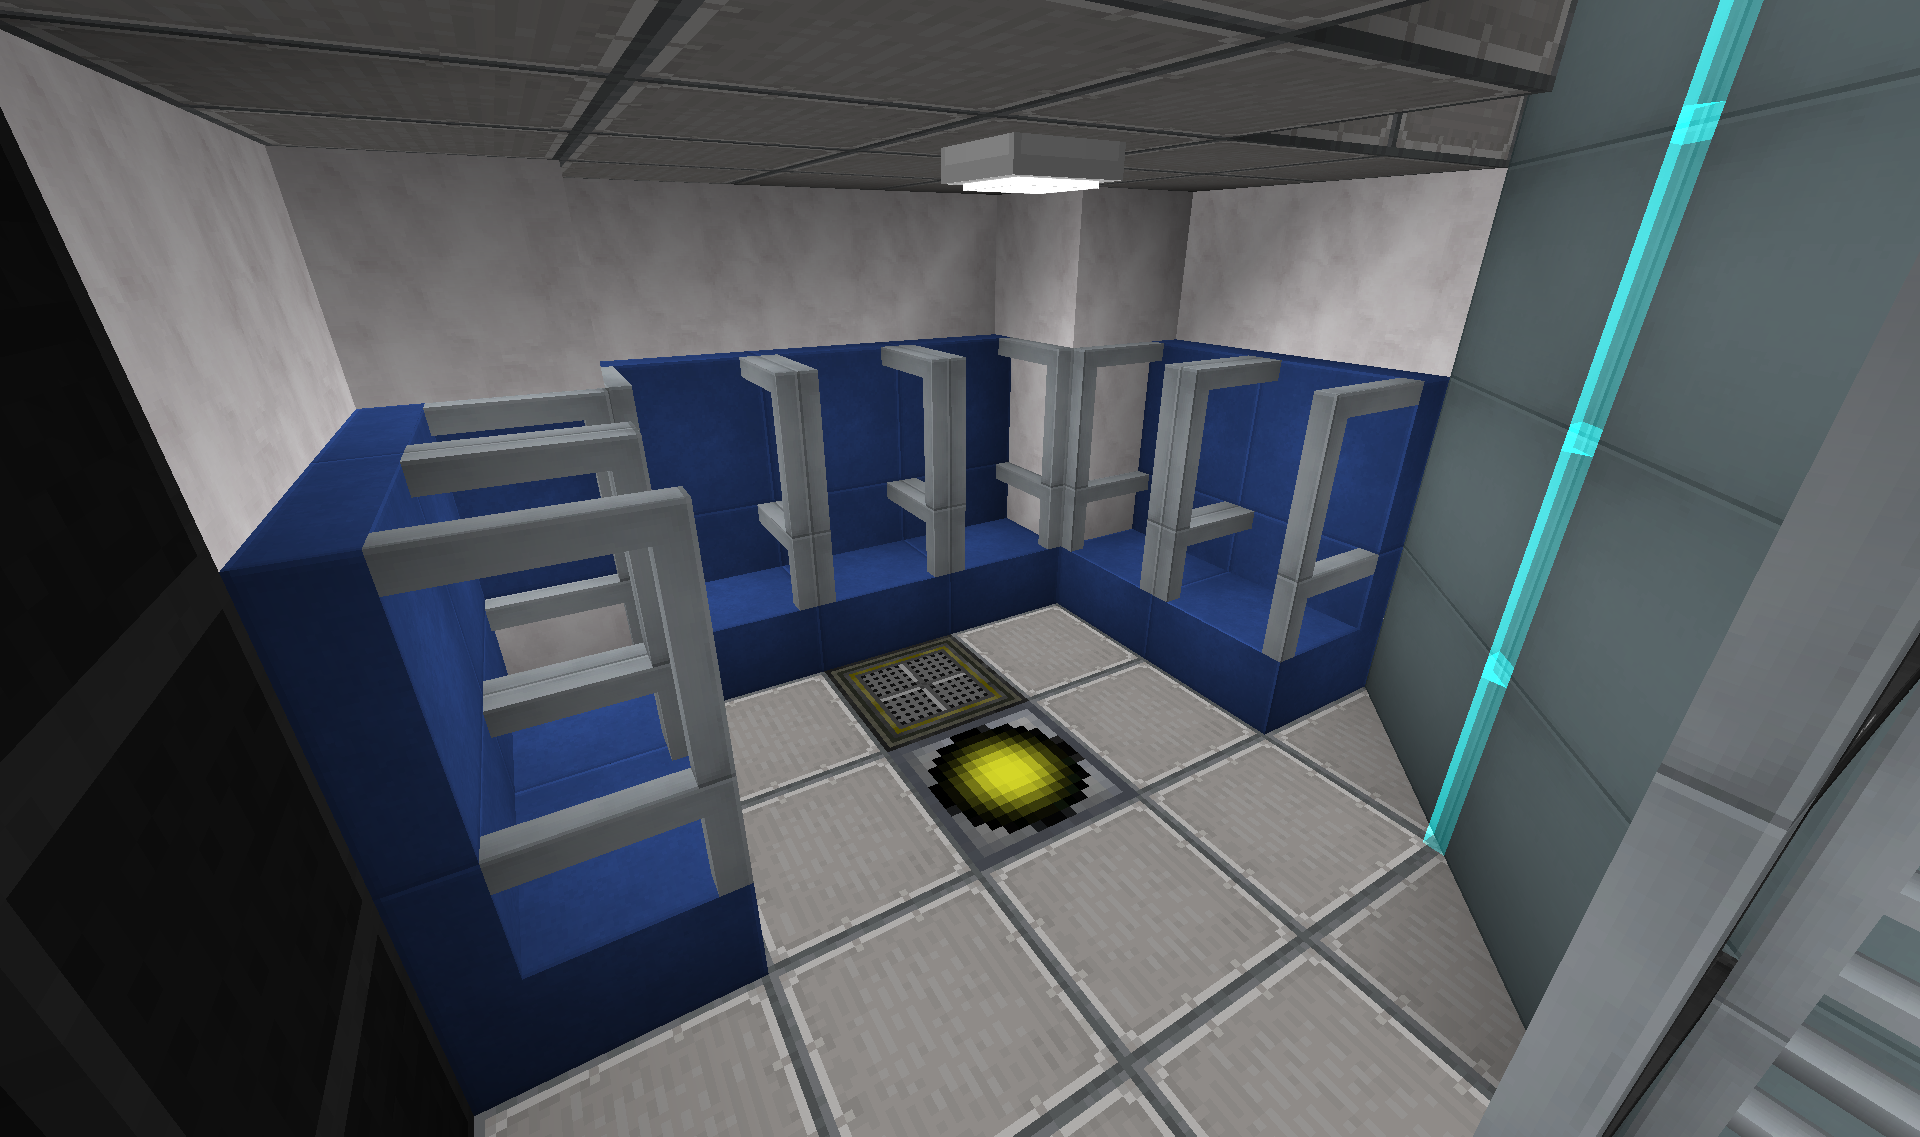
This bit is the actual working part of the space elevator. Beneath each of these seats are RFTools teleporters. All players have to do to travel to the space station, is go "sit" in one of the seats.
The receiver for travellers from the space station is the yellow bit on the floor.
The first floor of the cab also has a storage section for various loose cargo:
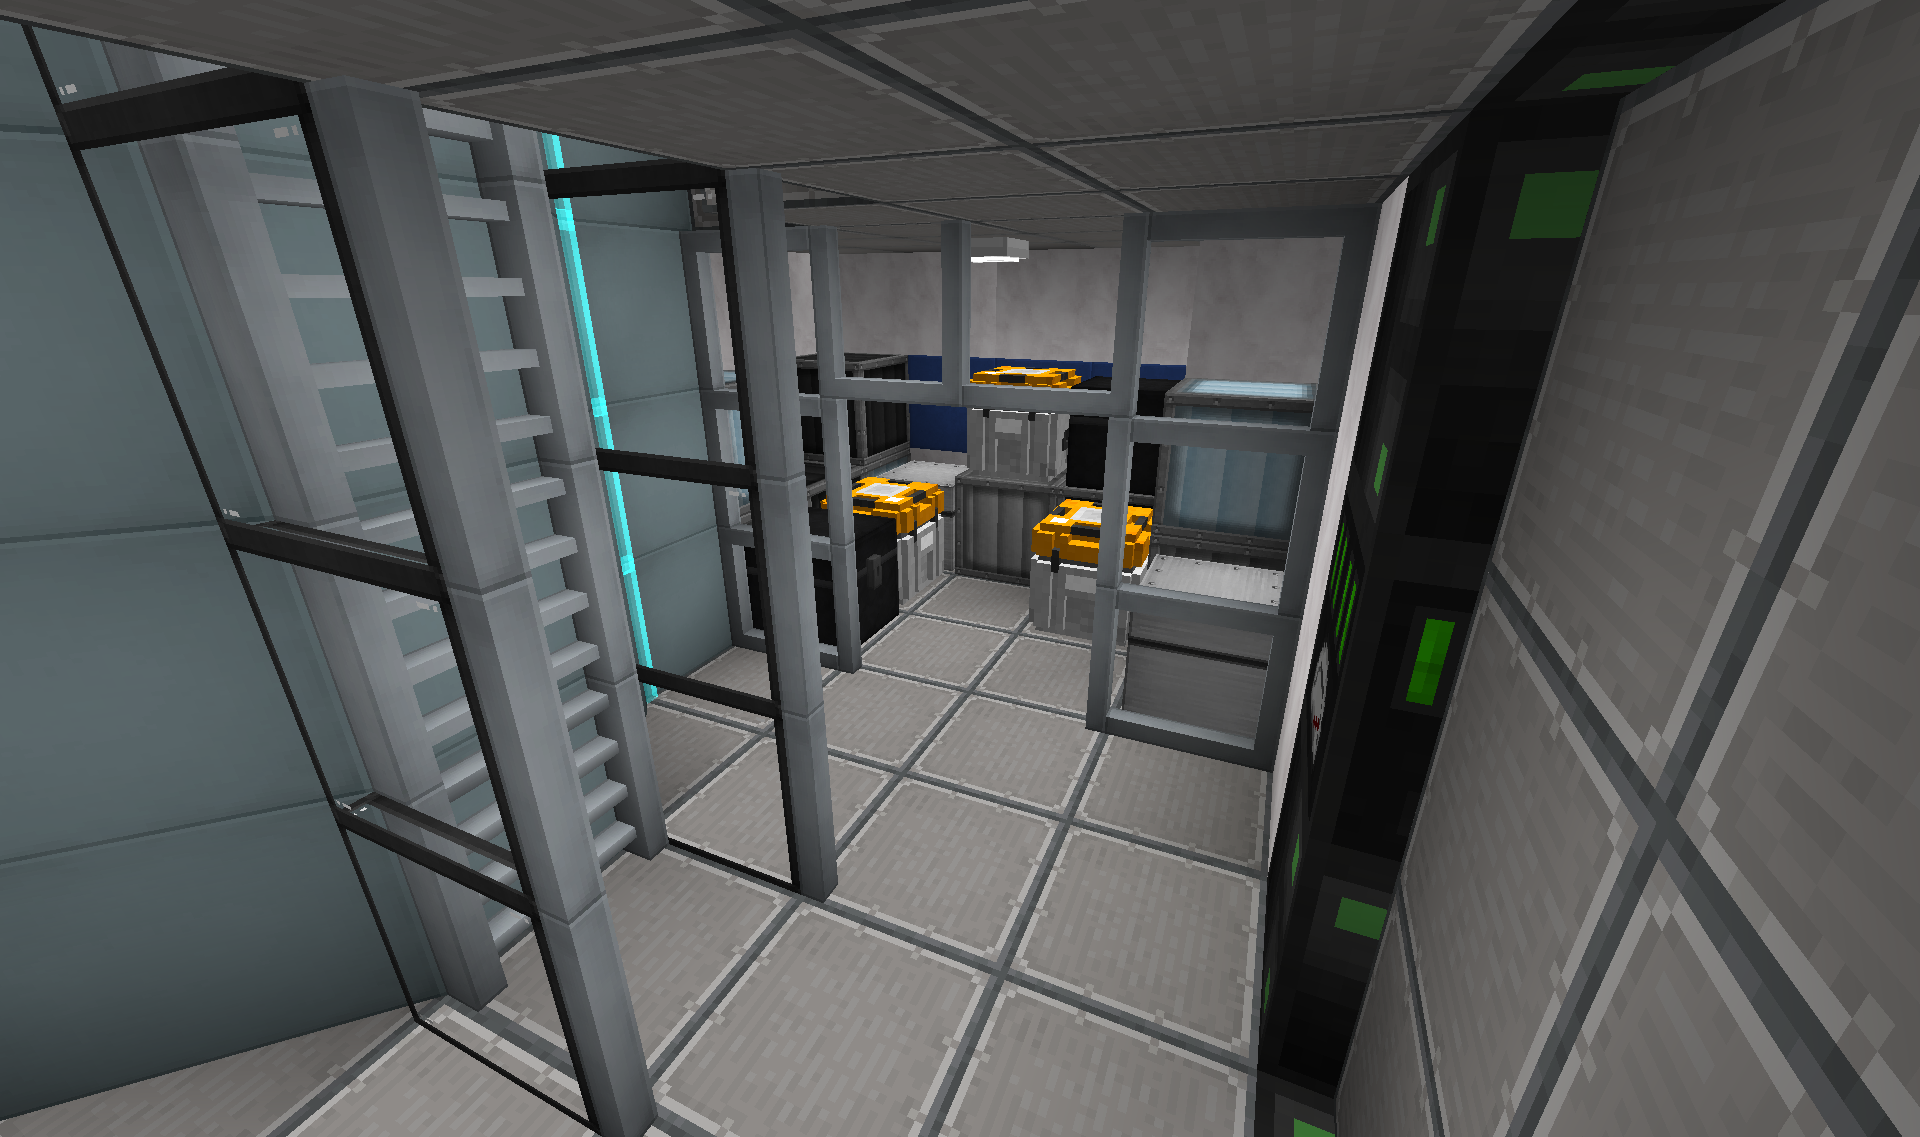
Up the ladder leads to the second floor of the cab, which have more seats:
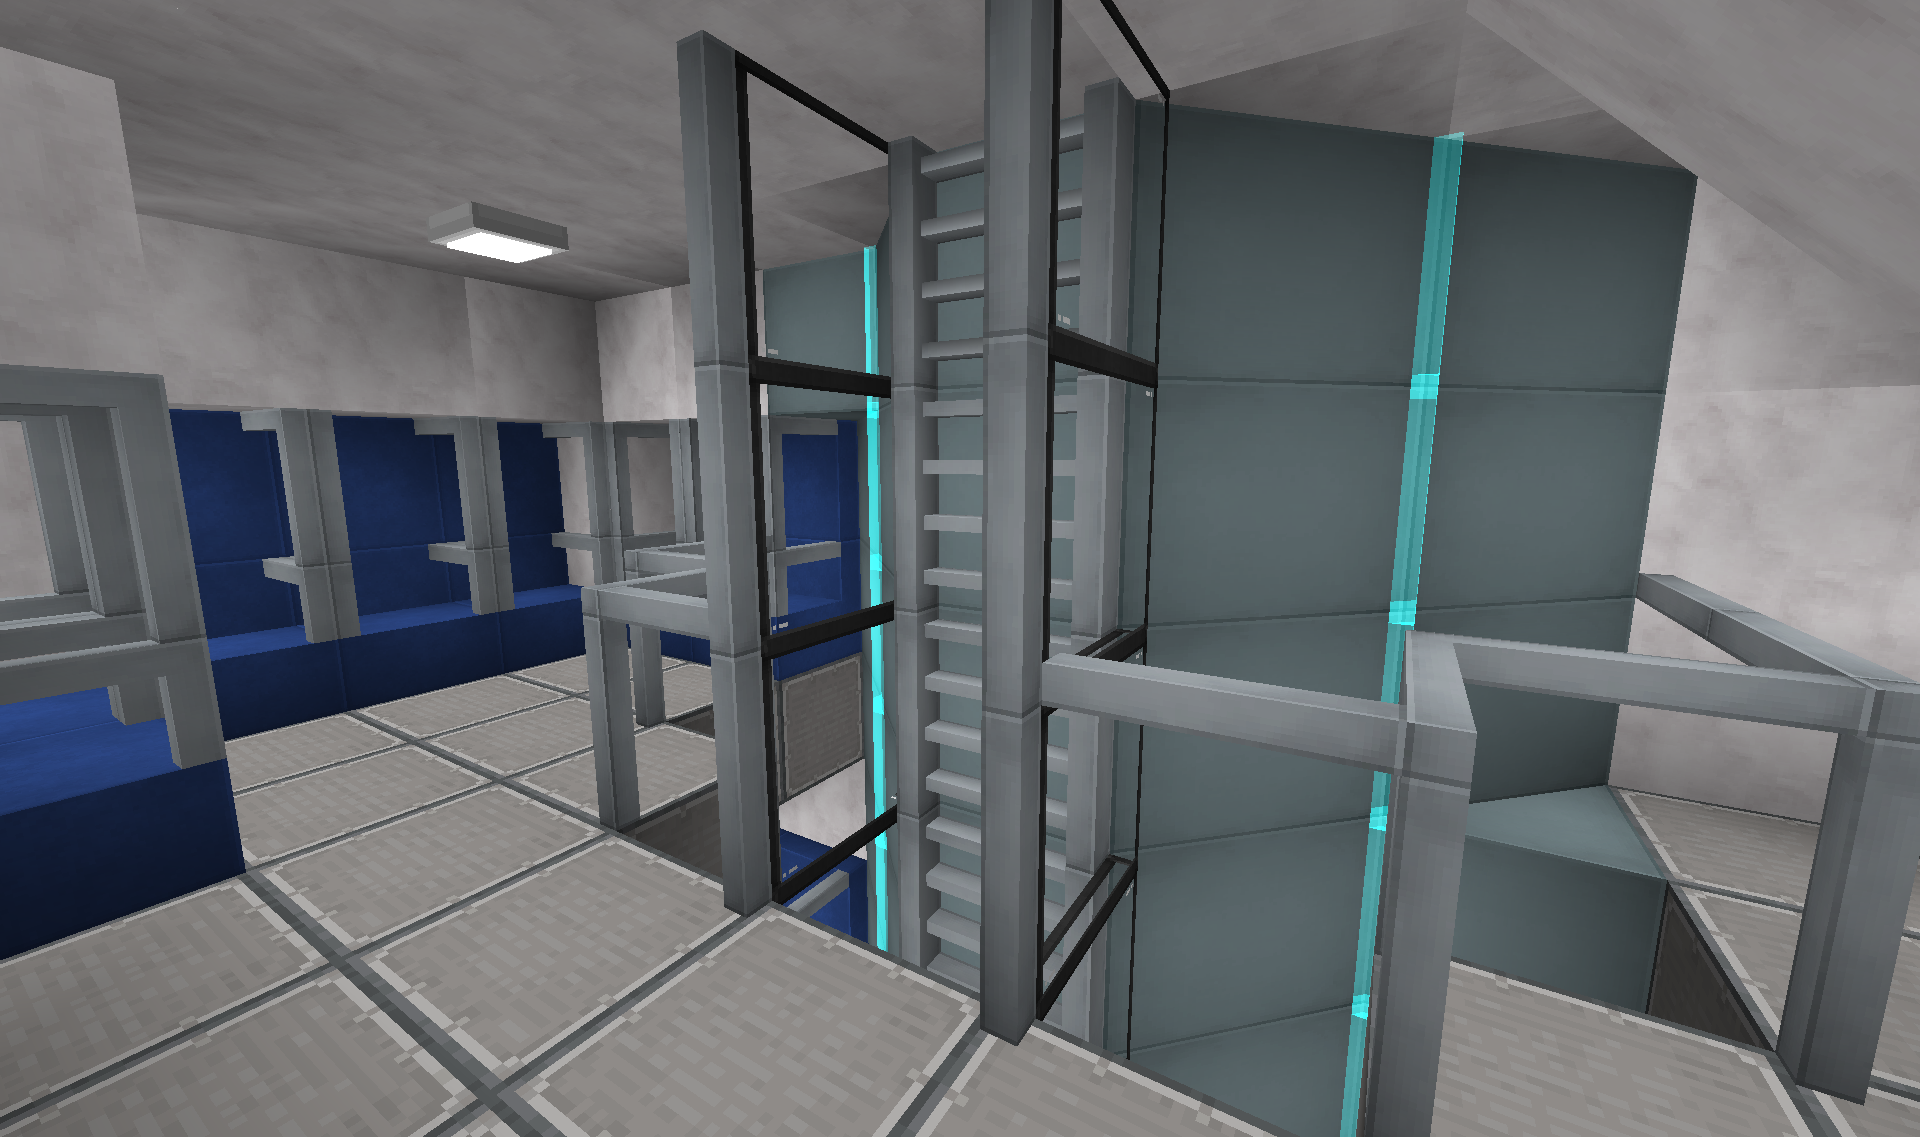
These don't have teleporters however. On the right out of picture is a ladder leading up to the cockpit of the cab(it can be seen on some of the pictures in previous posts).
As mentioned in last post, I have been working on the interior of the space centre.
The main access point to the space centre is through this suspended walkway:

Pic is taken with the space centre directly behind me. The main tower is off in the distance to the right. The walkway is the extension of one of the "spokes" of the tower.
The walkway carries both walking personnel up top, and the train network below.
The walkway links up to the space centre at the train station:

Again, the personnel walkway up top(elevator down) and train stations for arrival and departure on either side below it.
Security checkpoint:

Since the space centre is both on the outer boundary of the whole network, as well as housing a lot of sensitive stuff, security checks both arrivals and departures.
The large hall at the train station serves as both waiting area and space museum, showing off some key steps in the nations space travel history!

Visitors to the space station will go through pre-launch preparations up the stairs to the right.

Bathrooms on the left, external exit to employee car park ahead, and access to the workshop/factory part on the right(more on that in later post).

Doors on the left lead into the utility section of the space centre(handling and housing various technical aspects of keeping the whole thing running). More on that in part 3.
Doors directly ahead leads to a small closed off garden area for visitors, school outings etc:

Visitors to the space station first go through a check-in. This happens in one of the side buildings to the space centre:


It also houses a bunch of offices, meeting rooms and break rooms for staff.
First up is the actual check-in:

Next they go up the stairs for a pre-launch briefing:

Then through the locker area where they can store items not allowed/needed on the space station, as well as dispensary of safety equipment:

Also added a couple "last minute" bathrooms for the nervous
Once ready, they go into the elevator located behind the above picture, up to the Space elevator:

Waiting/observation area with near 360 view of the Space elevator, before embarking through the umbilical to the cab.
Inside the cab on the first floor are seating arrangements for passengers:

This bit is the actual working part of the space elevator. Beneath each of these seats are RFTools teleporters. All players have to do to travel to the space station, is go "sit" in one of the seats.
The receiver for travellers from the space station is the yellow bit on the floor.
The first floor of the cab also has a storage section for various loose cargo:

Up the ladder leads to the second floor of the cab, which have more seats:

These don't have teleporters however. On the right out of picture is a ladder leading up to the cockpit of the cab(it can be seen on some of the pictures in previous posts).
Last edited:
Part 2
The space centre factory have gotten a few new additions:
The parking lot now have vehicles and containers:
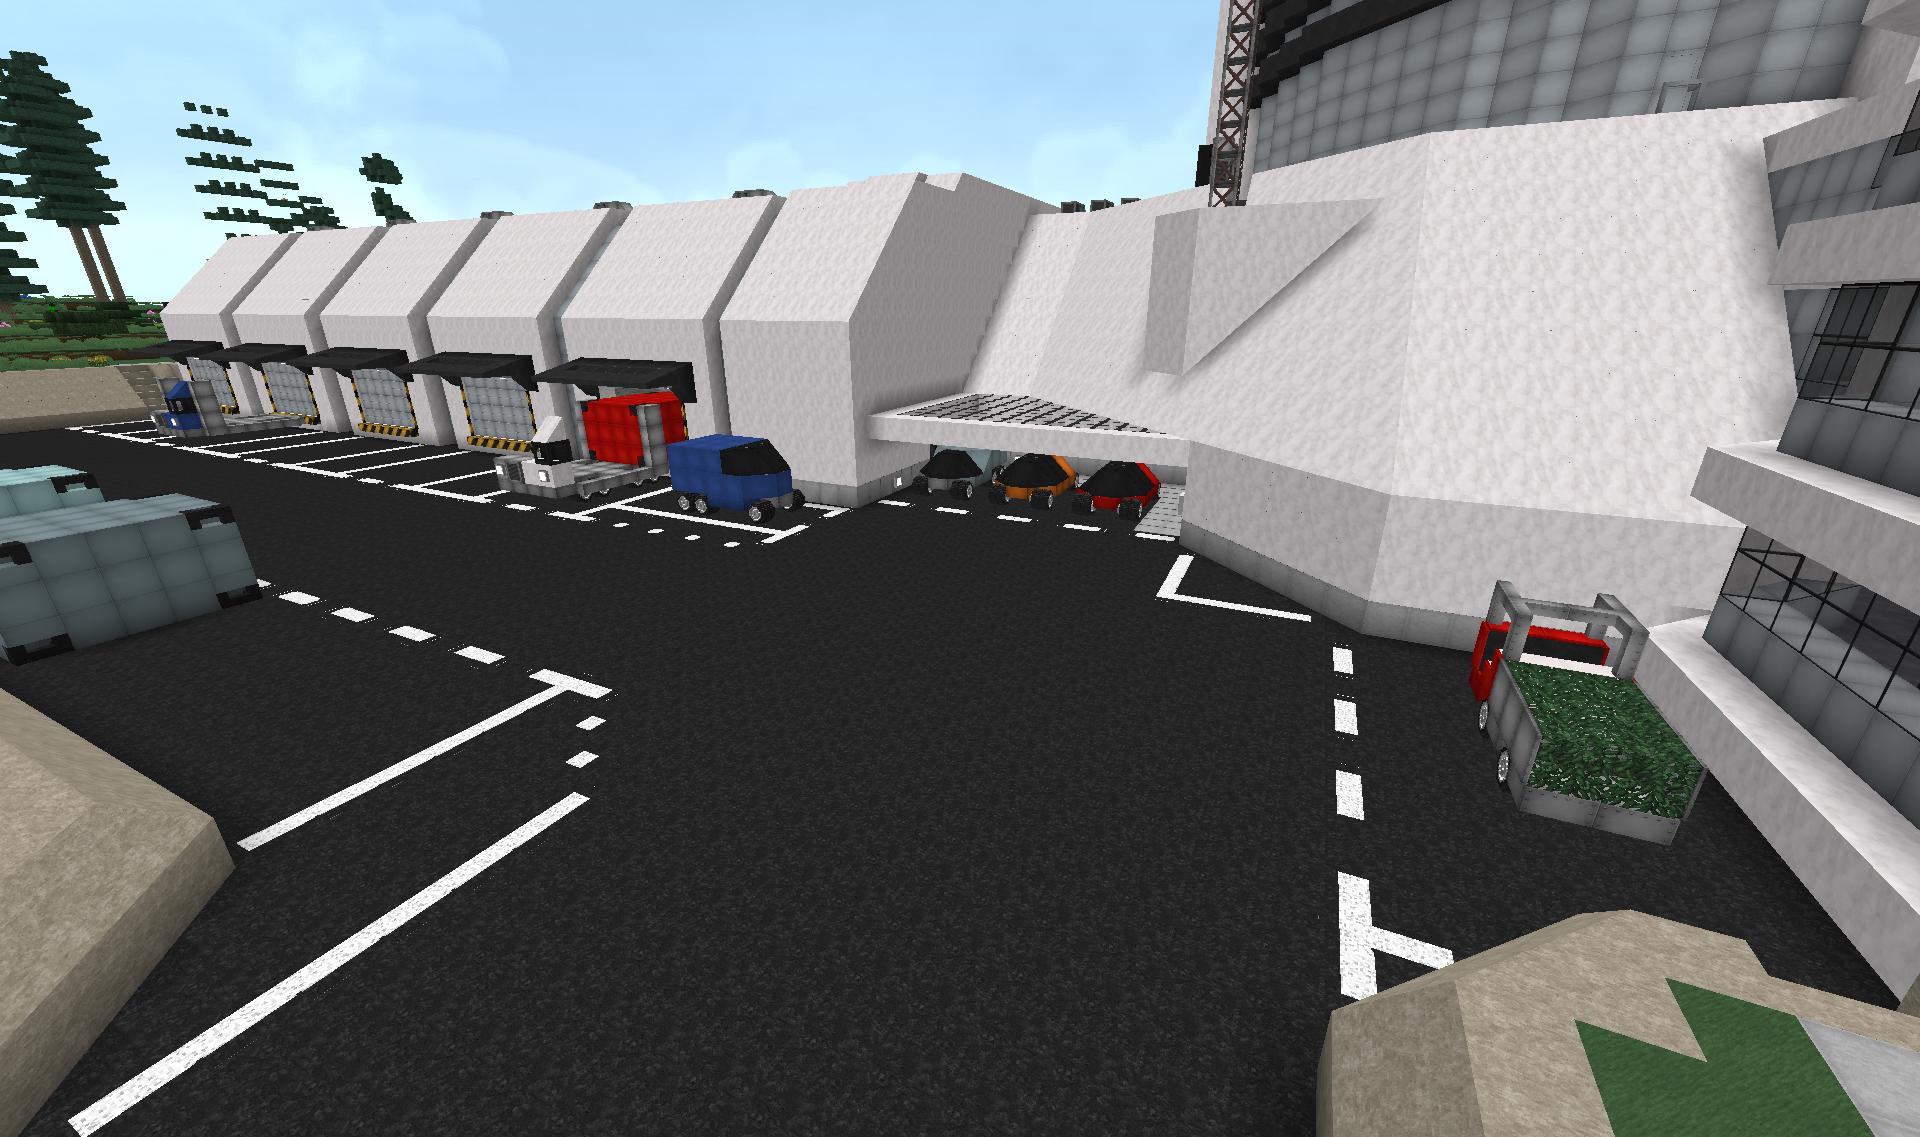
The gardeners are also on the grounds today it seems, their truck parked to the right
A truck is currently unloading a container:
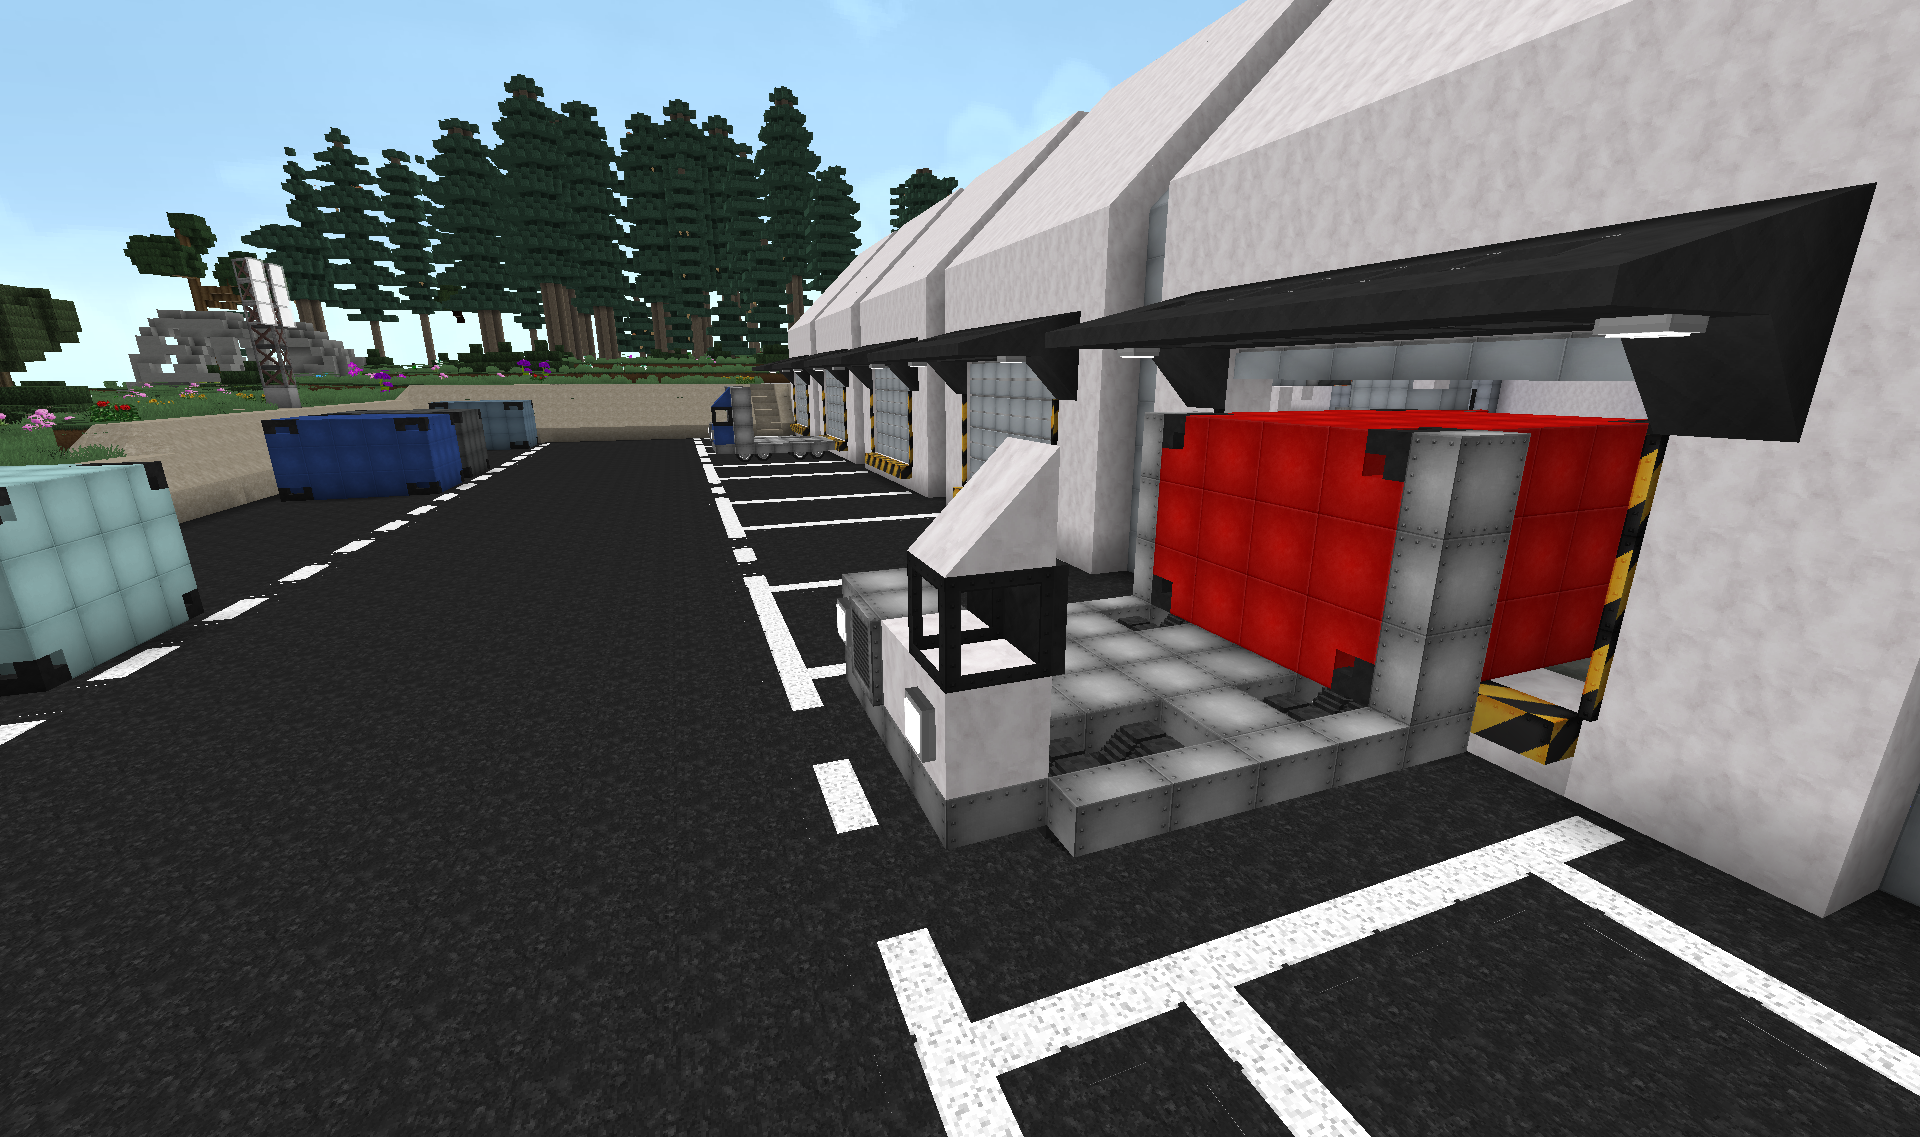
I had originally planned that the trucks would just be parked outside with the container, but it didn't work out well. And seemed an awful waste of trucks to just have them sit there while the containers are (un)loaded. So made it so the trucks deposit the containers into the factory.
The inside of the factory is still a bit empty:
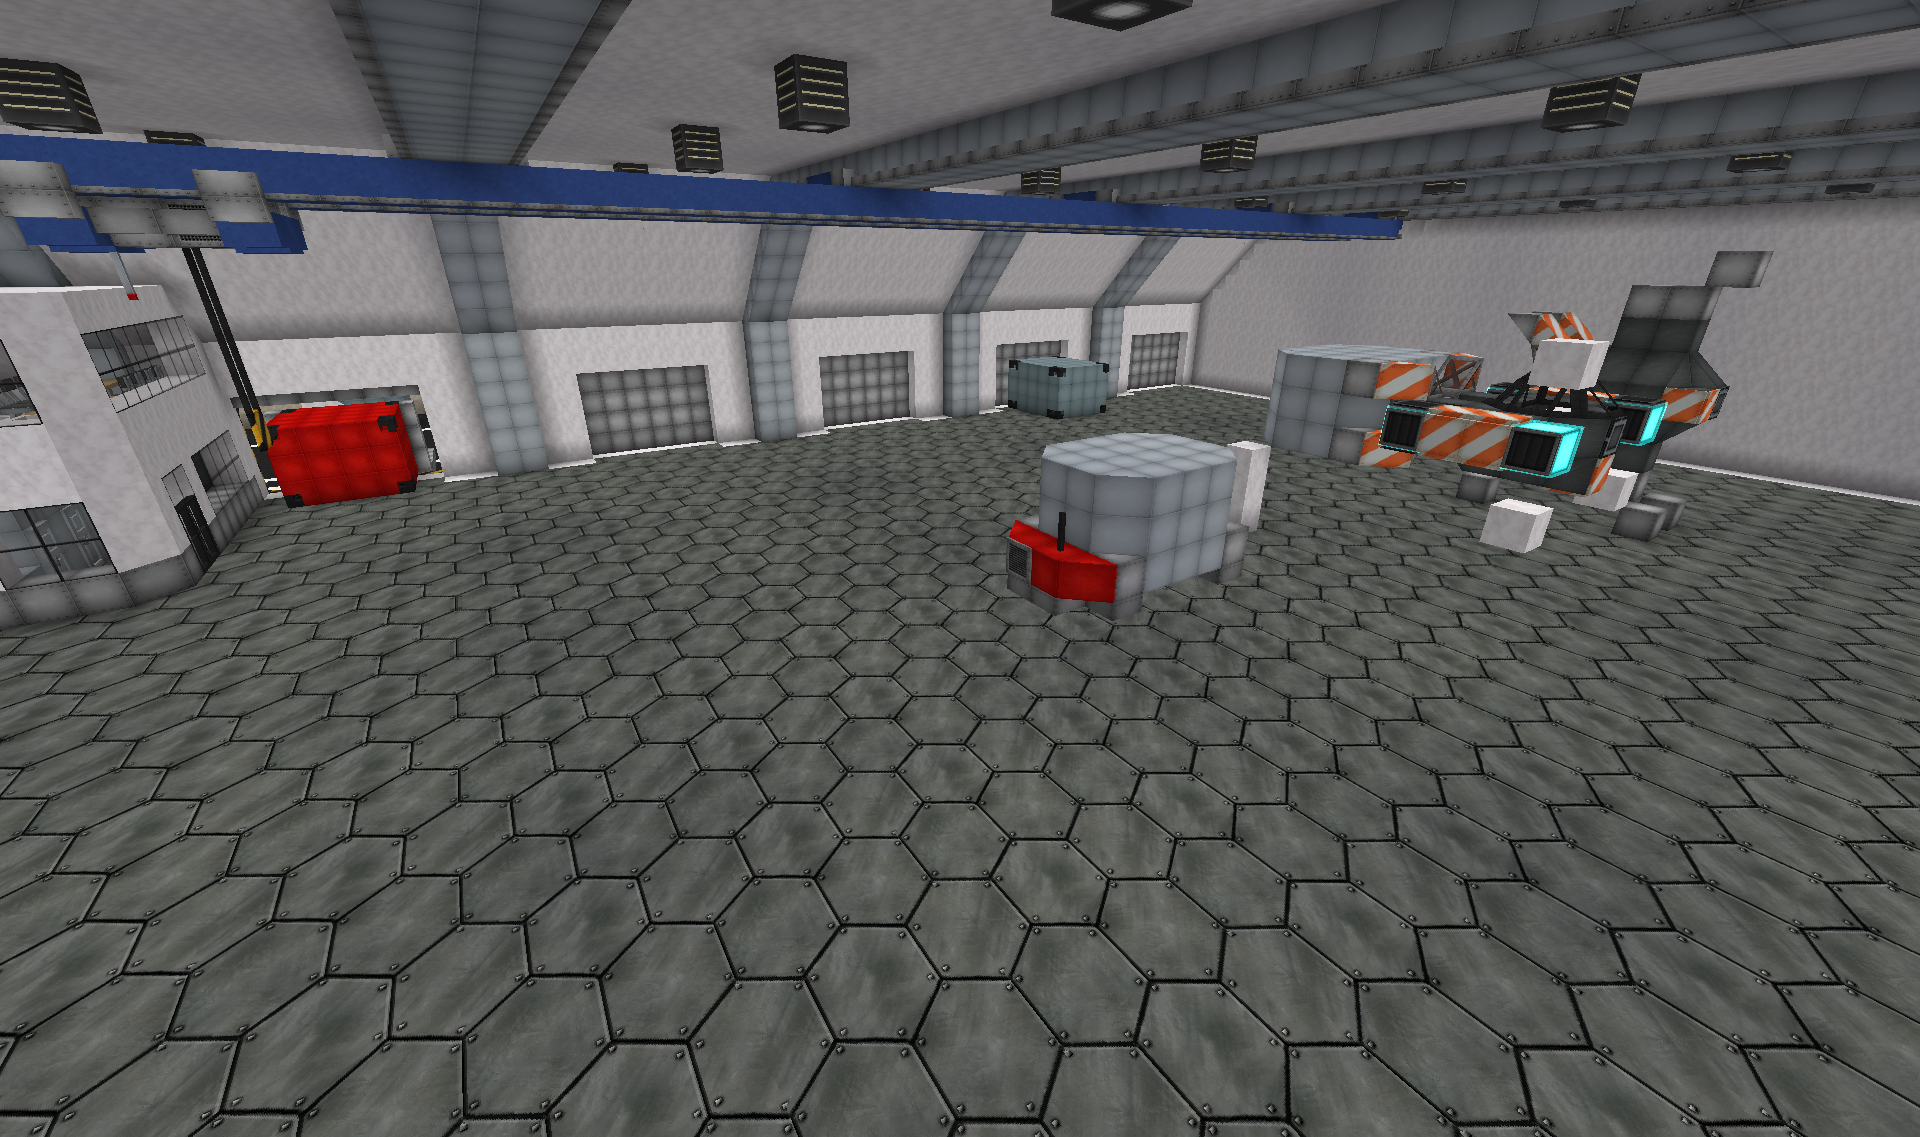
Added a few containers. Might add more.
I also used the space for building a few models for a couple of vehicles(for use with the BC builder). The one in the foreground is small remote controlled cargo container carrier, for use around the space centre(missing its wheels). The other ones will remain a secret for a bit(perhaps the astute can figure it out already ).
).
The end of the factory hall, the one towards the rest of the space centre, had this raised part over the 3 gates:
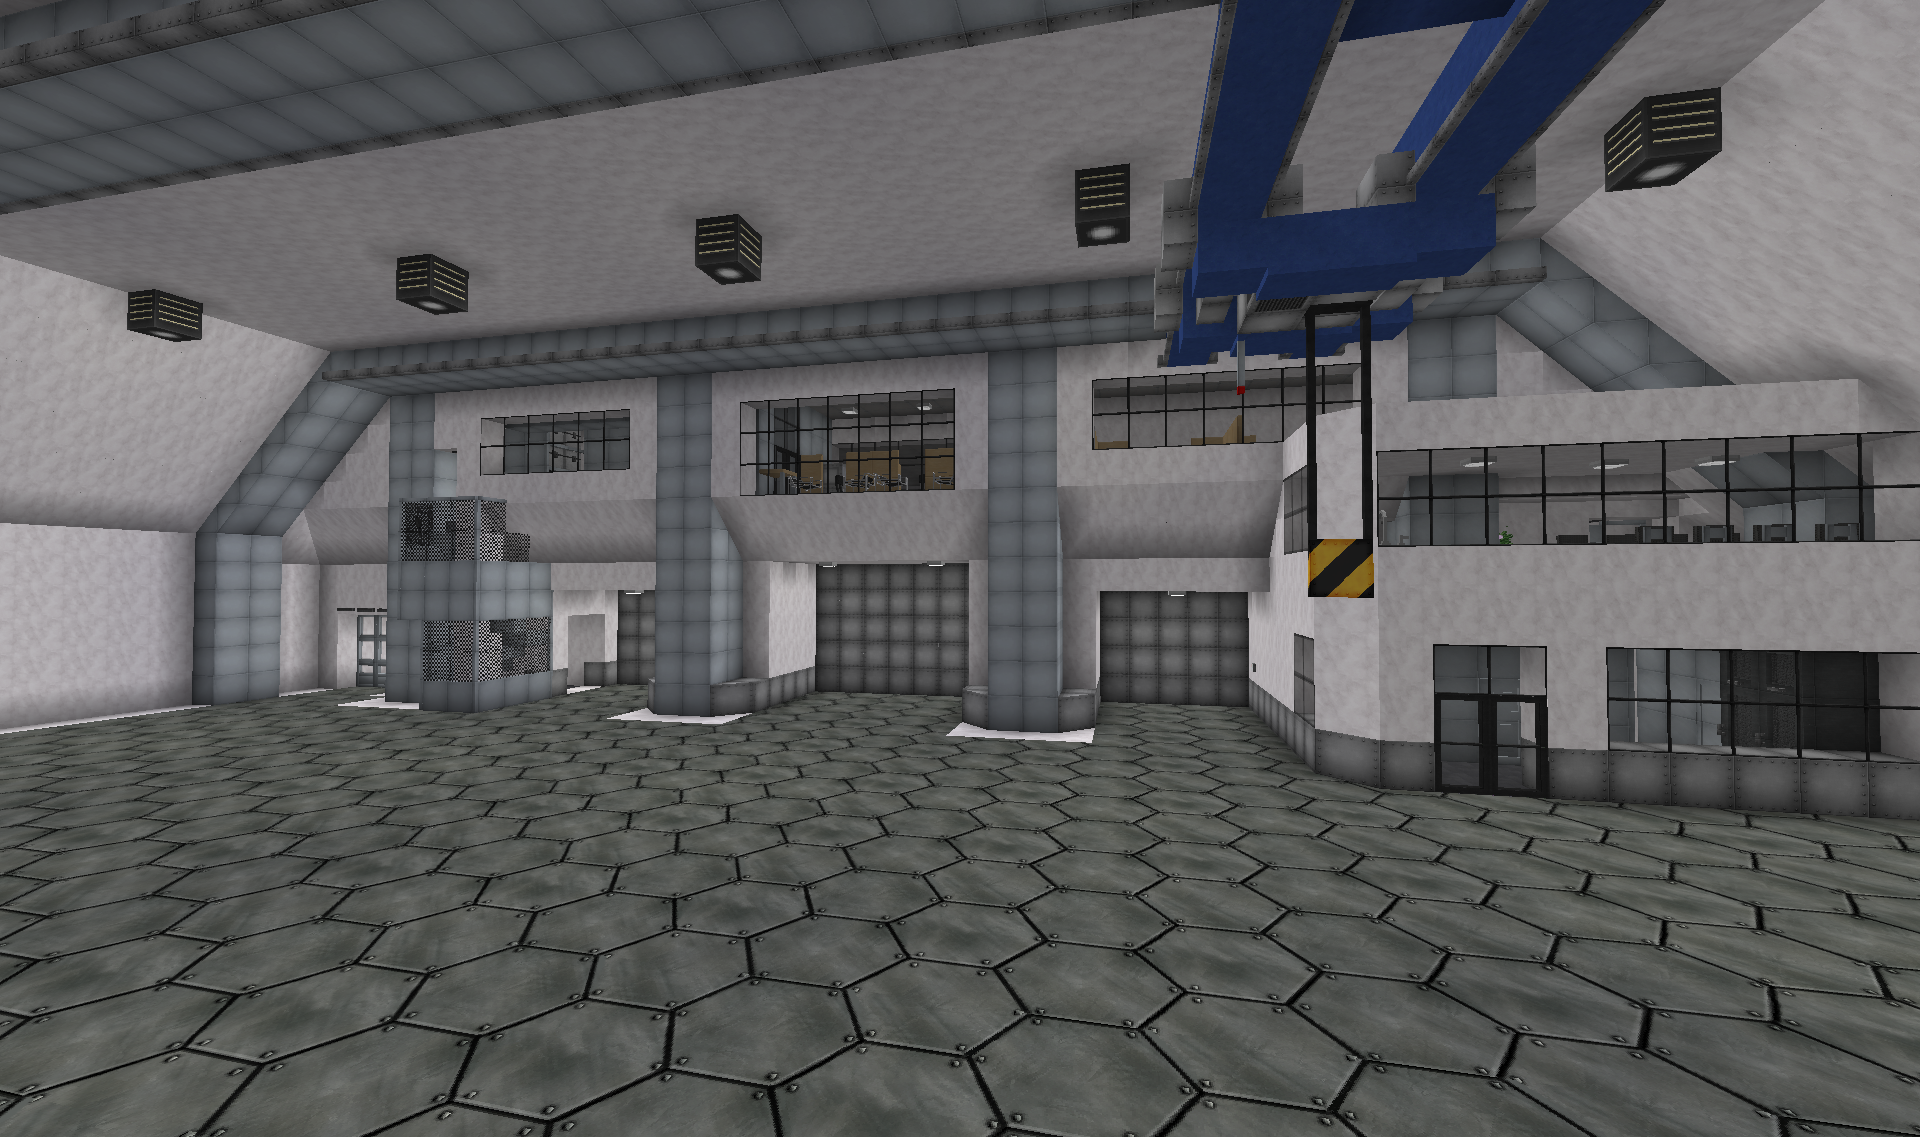
I decided to use this space for a couple different things.
Firstly I added a small pavilion to the corner:
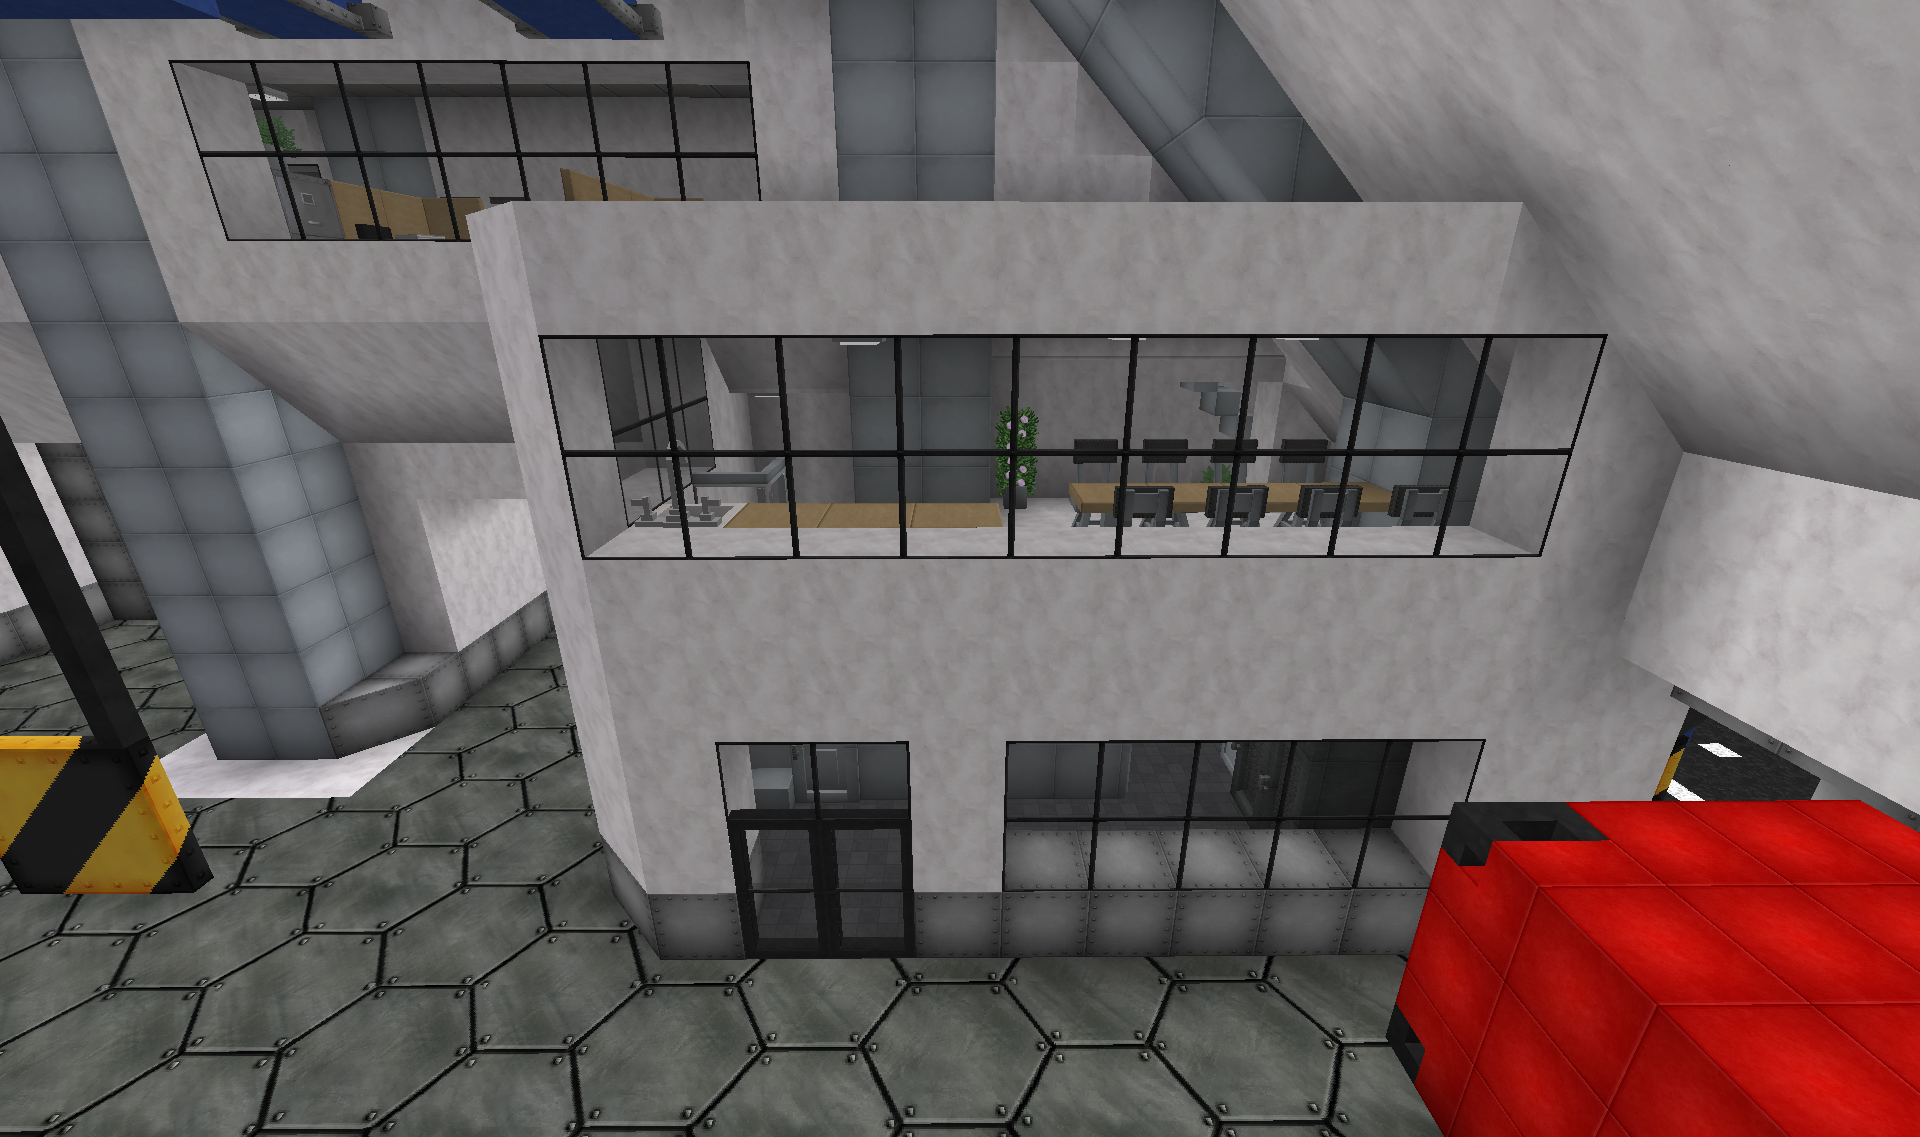
This has bathrooms, showers, lockers for the workers, as well as a break room upstairs.
Taking the stairs up from the break room you arrive at the design/drawing office:
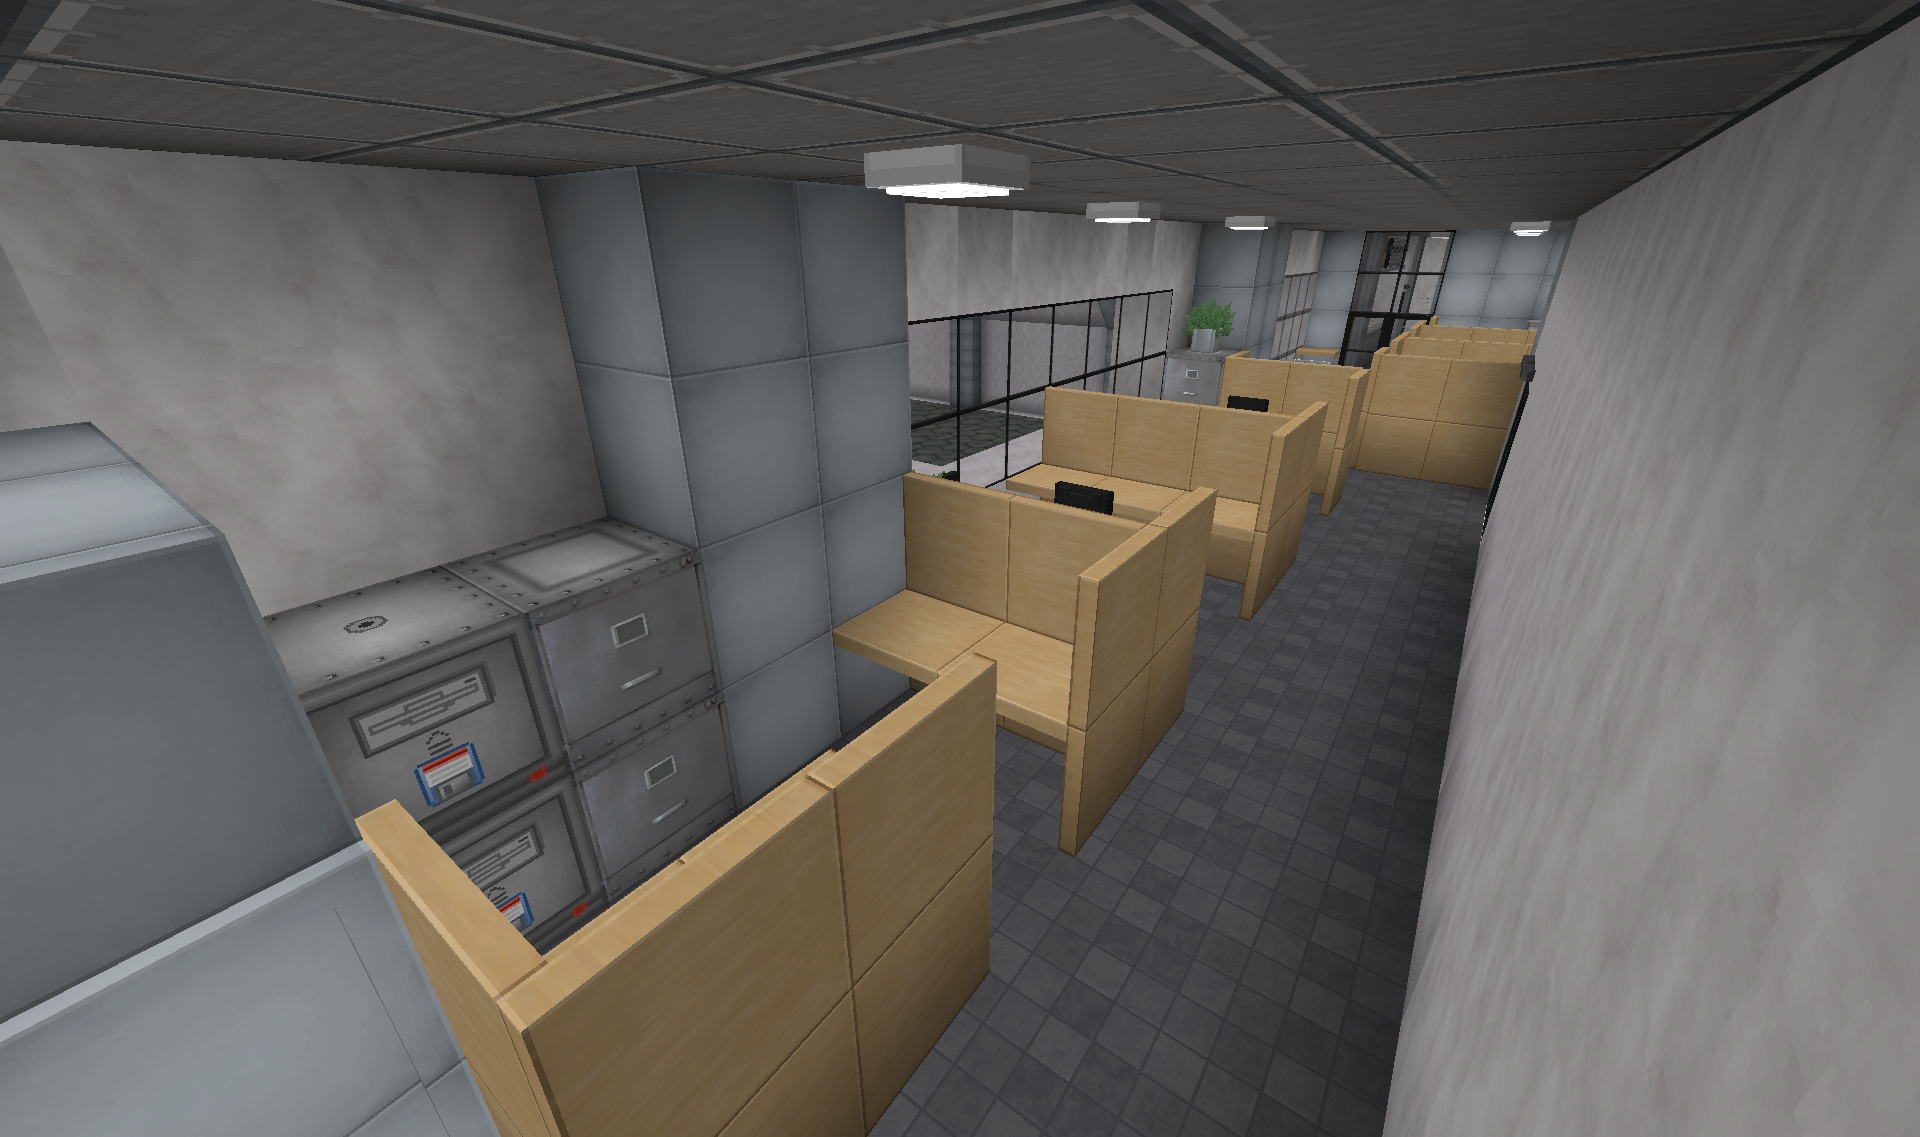
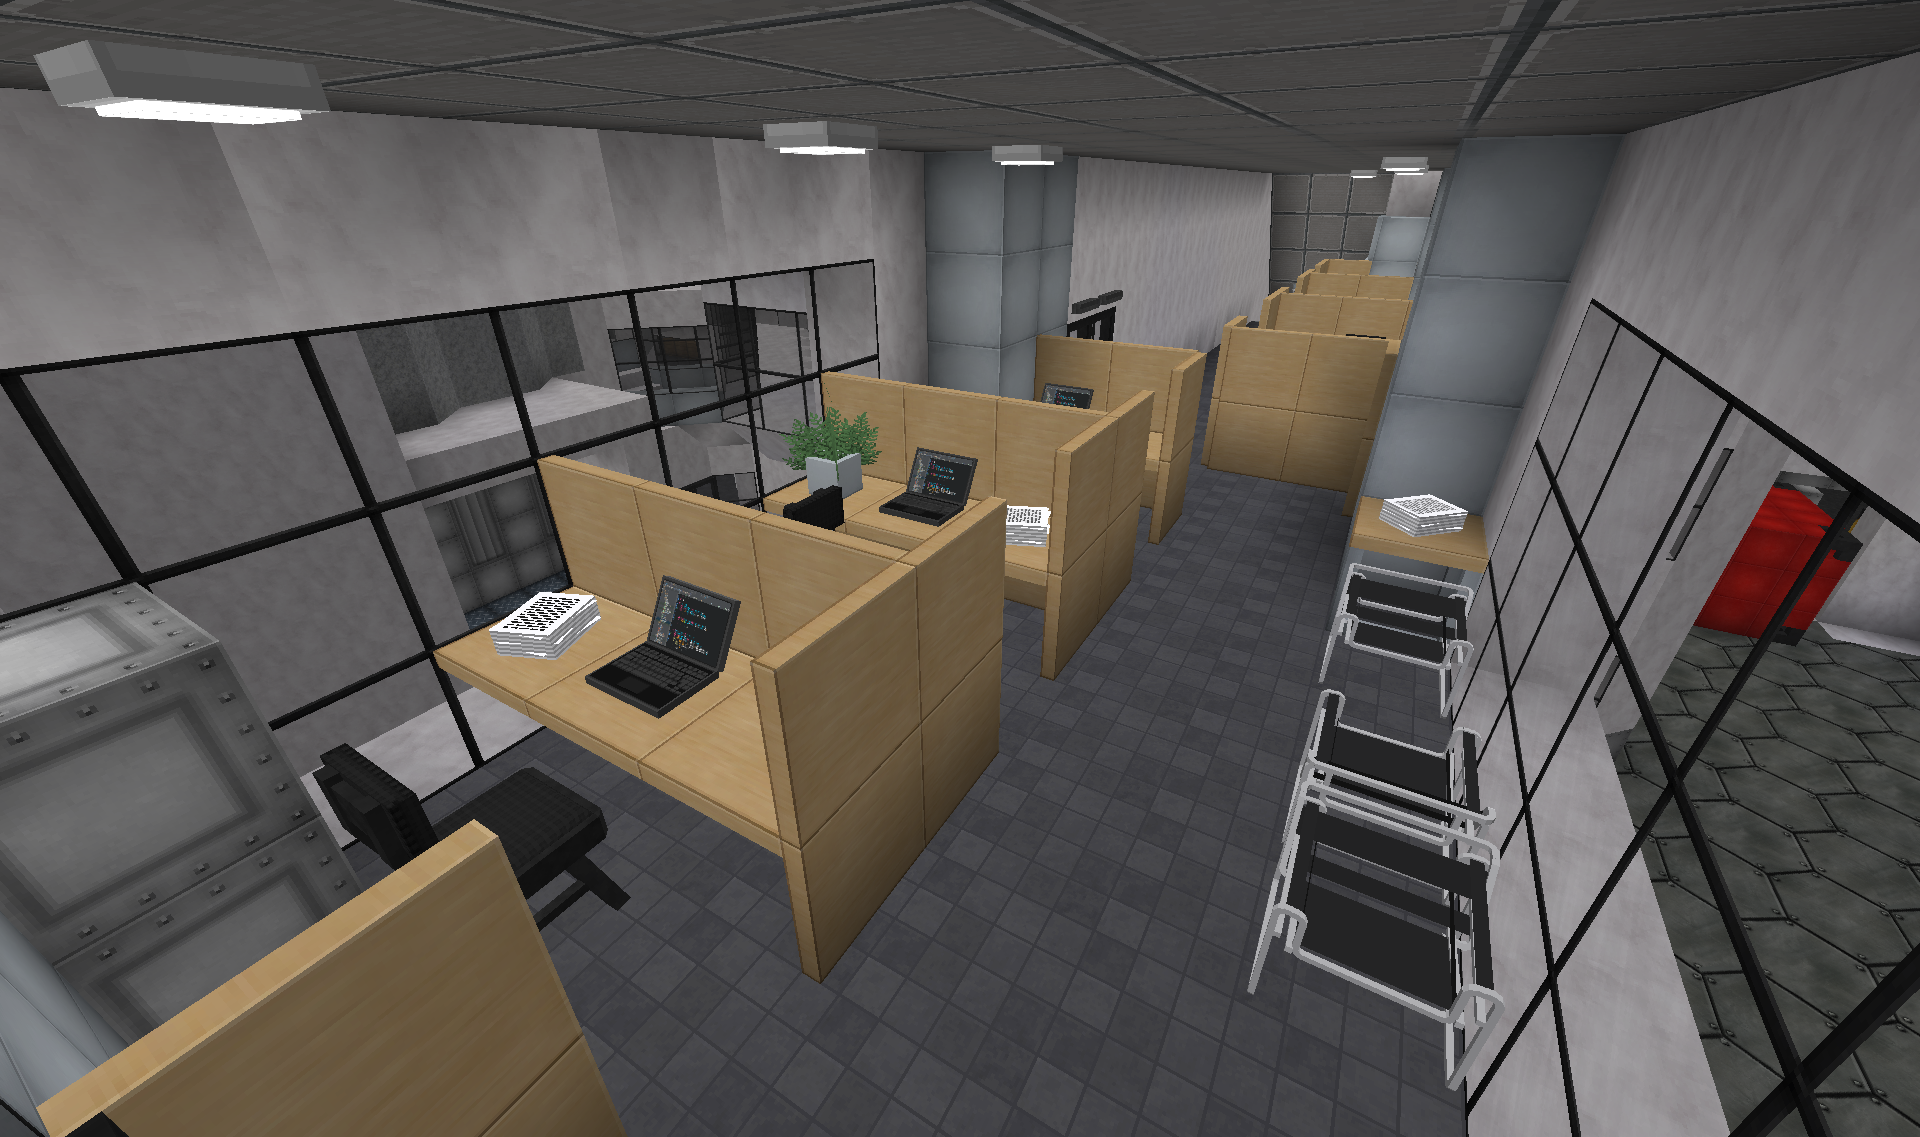
This area was meant for the engineers to design and process schematics for things that get produced down on the factory floor.
I also had room for a little storage space up here:
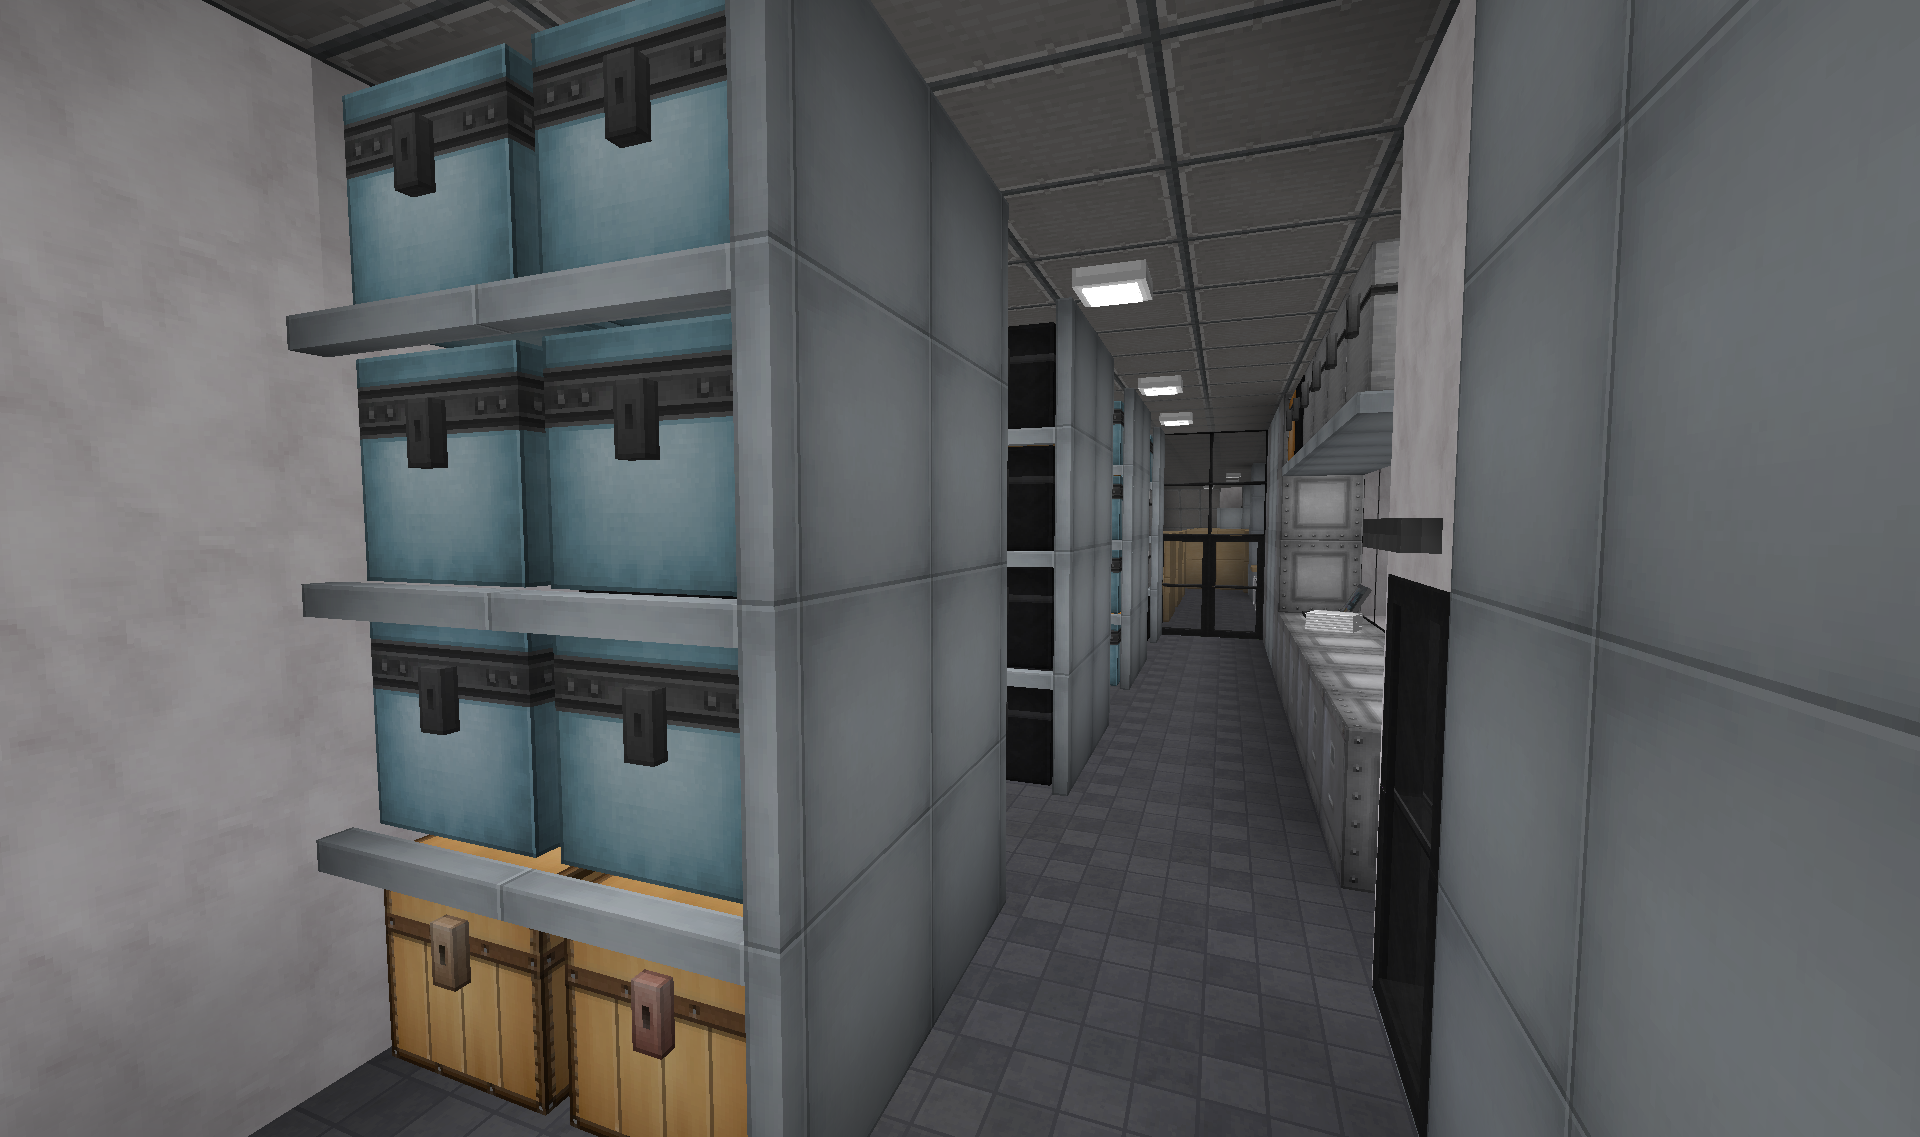
Just a little store room for various more sensitive/expensive bits and pieces, that you don't want down on the factory floor.
On the other side of the 3 large gates:
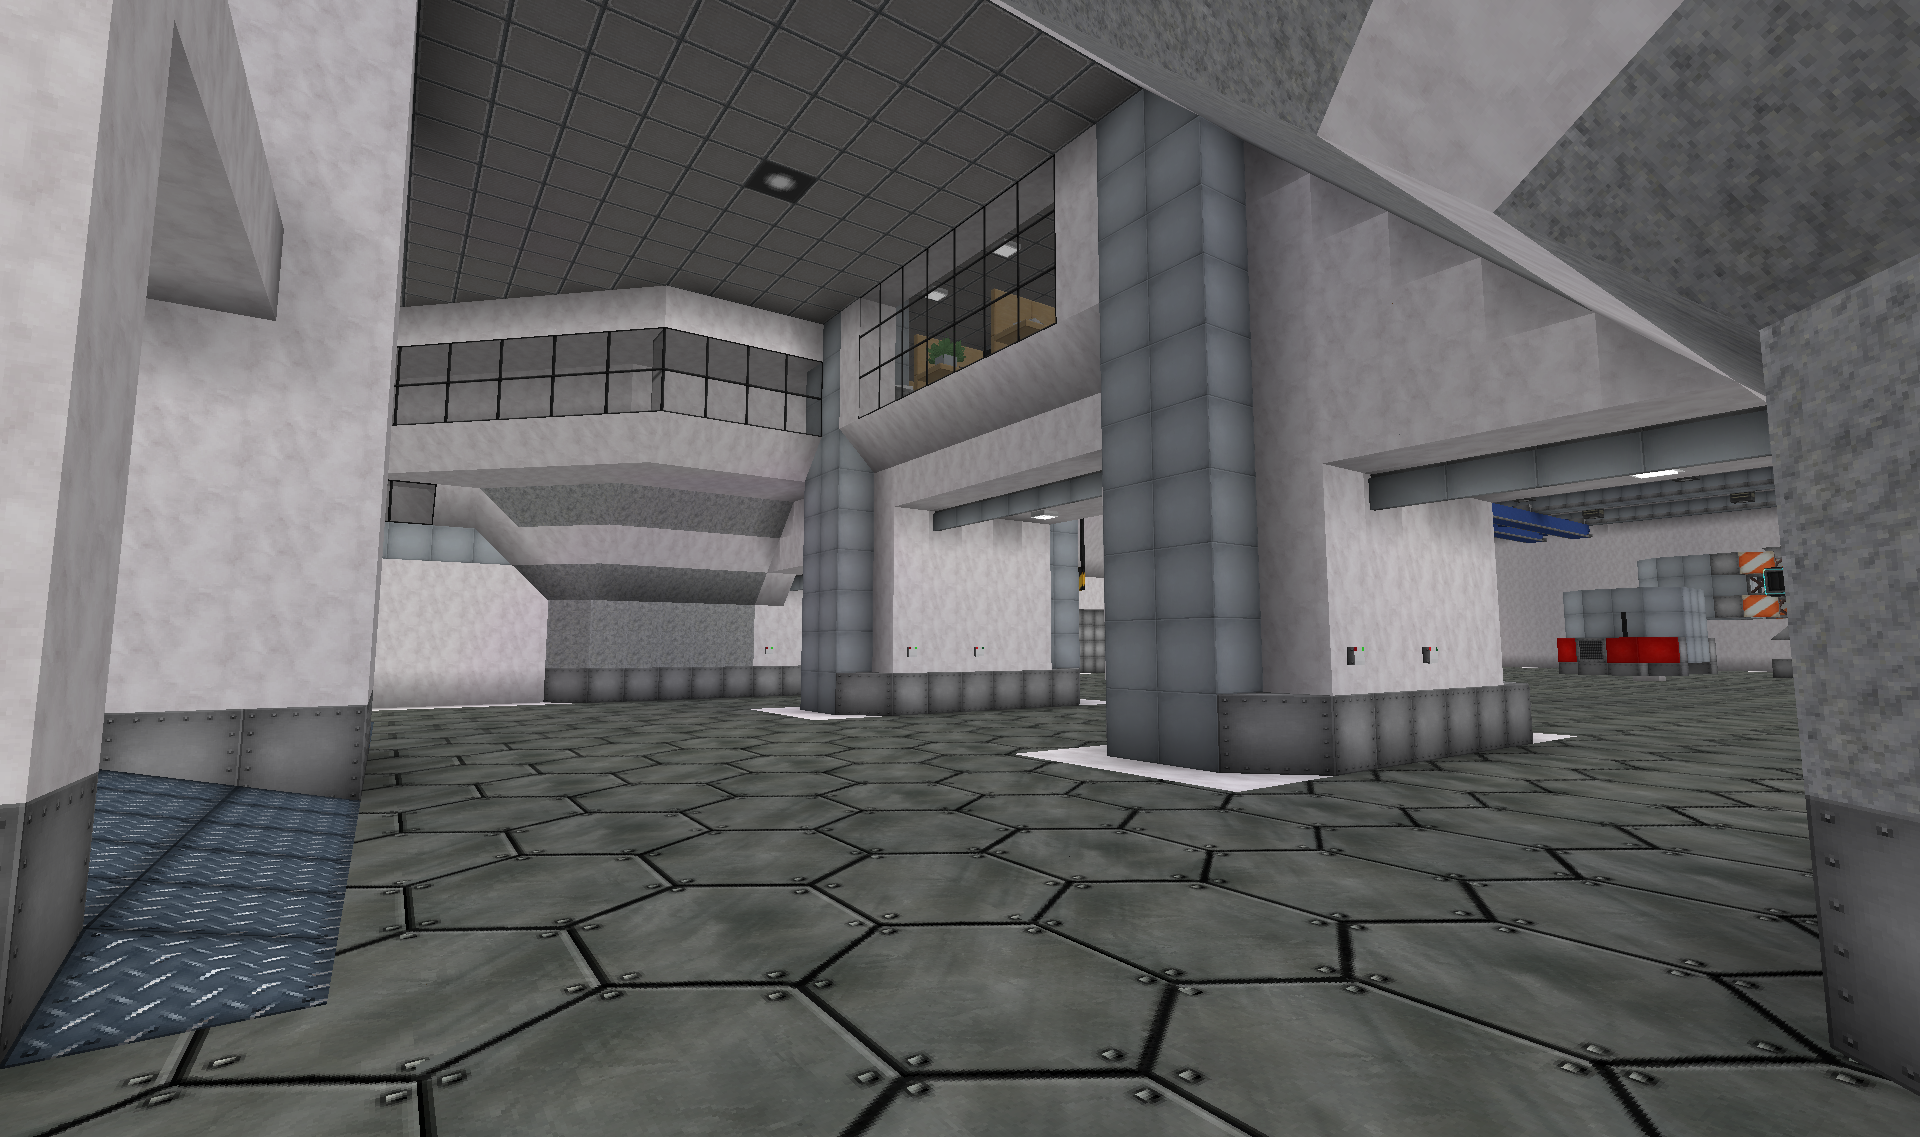
You can see the drawing office up above, with a walkway leading over to the other office sections of the space centre(to the side building that hold the pre-launch check-in in Part 1).
Seen from the middle gate:
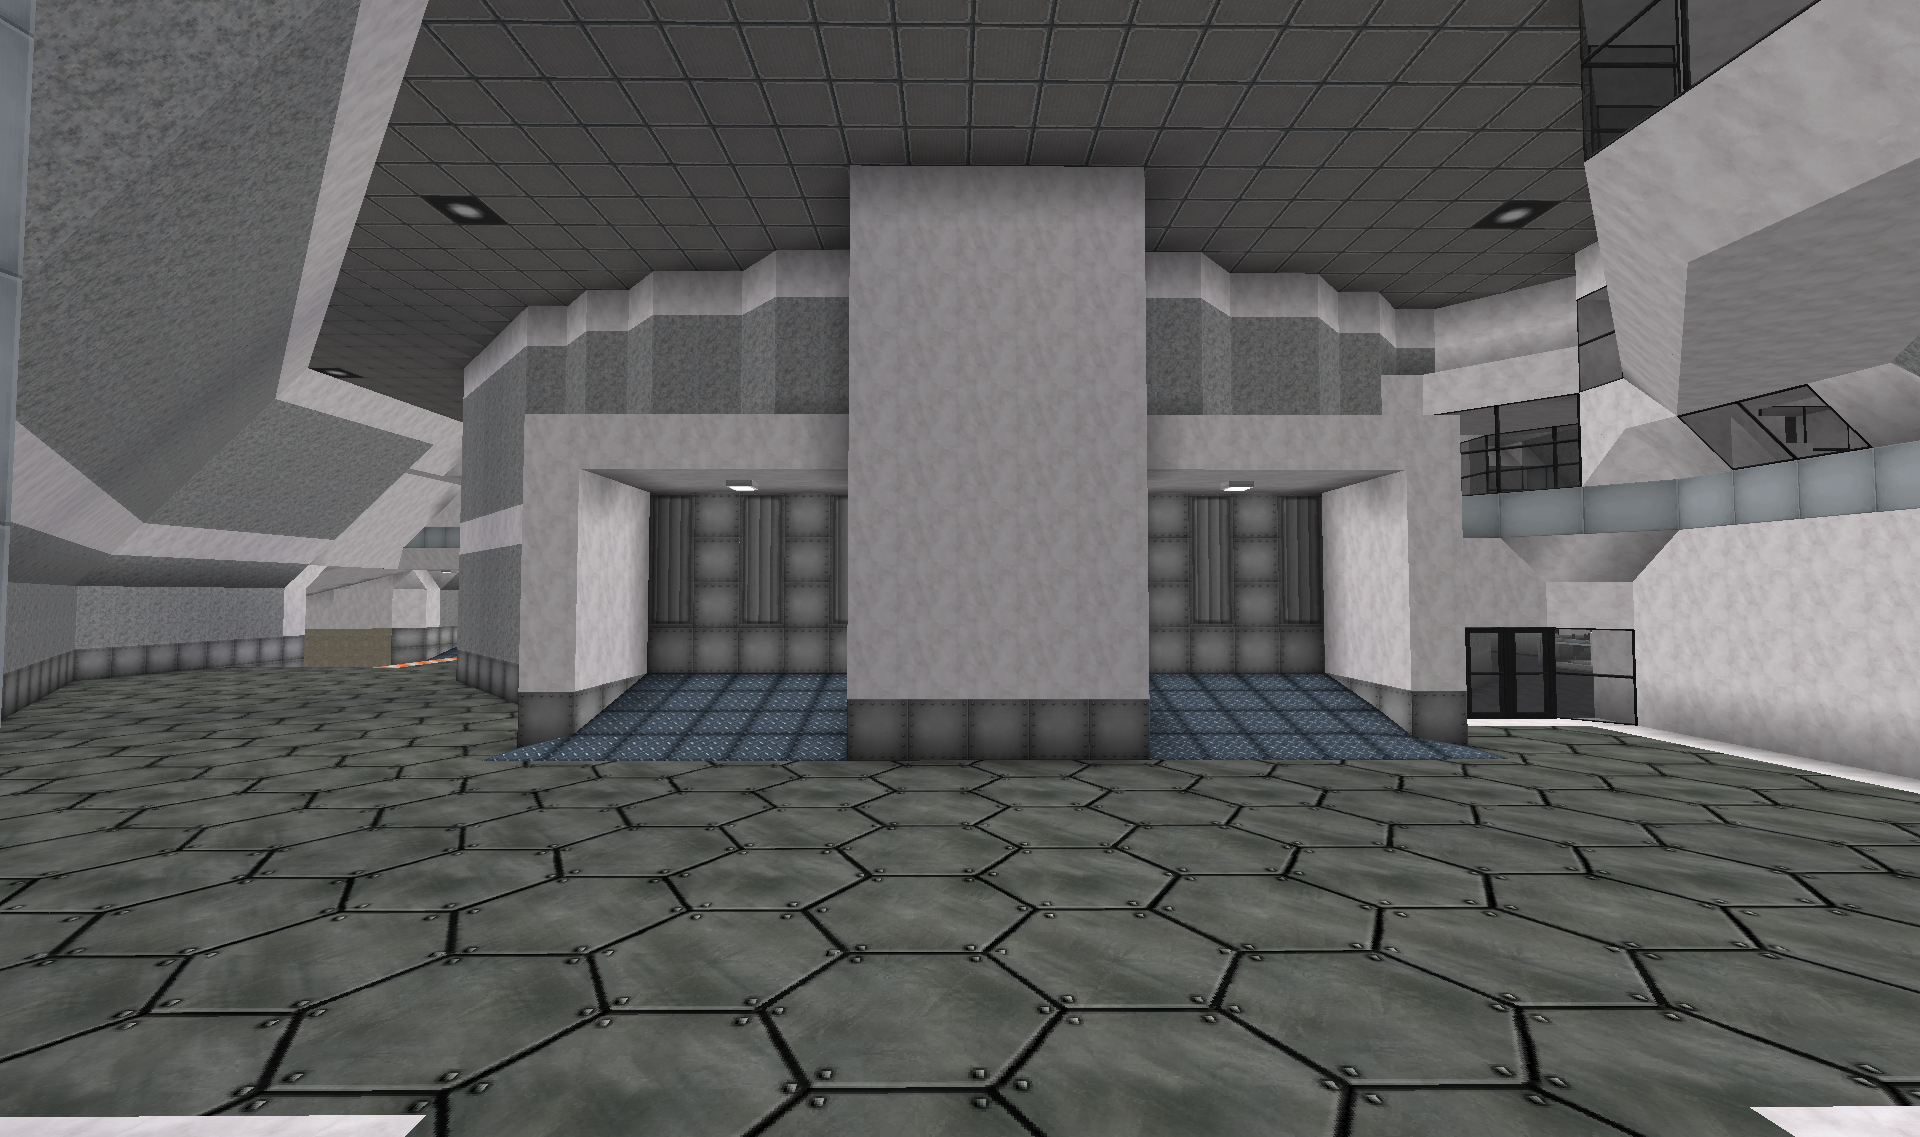
This space is meant to allow easy transport of various parts for the space elevator, rockets, cargo etc. to the different parts of the space centre.
Directly ahead are the two gates that lead up into the space elevator pit.
To the left leads over to the utility section of the space centre on the opposite side of the elevator pit, as well as down to the rocket launch pad out on the far left. More on those in Part 3.
The doors to the right lead into the visitor/museum section from Part 1.
In the process of building all this, I made a startling realisation: I have completely forgotten to create facilities for transport of bulk cargo to the space station! Oh no...
After puzzling with this problem, I realised that I had actually made preparations for this long ago. The bottom of the elevator cab has a semi large empty cavity below the passenger floors. Straight away I went to check on this space, and it did indeed have quite a bit of space. The cab on the space station side had some oxygen production located in it, but that could be compacted a lot. Eureka! There was just enough space for the cargo containers that I have already been adding to the space station(more on that later )!!!
)!!!
So, I give you the new cargo system for the space elevator:
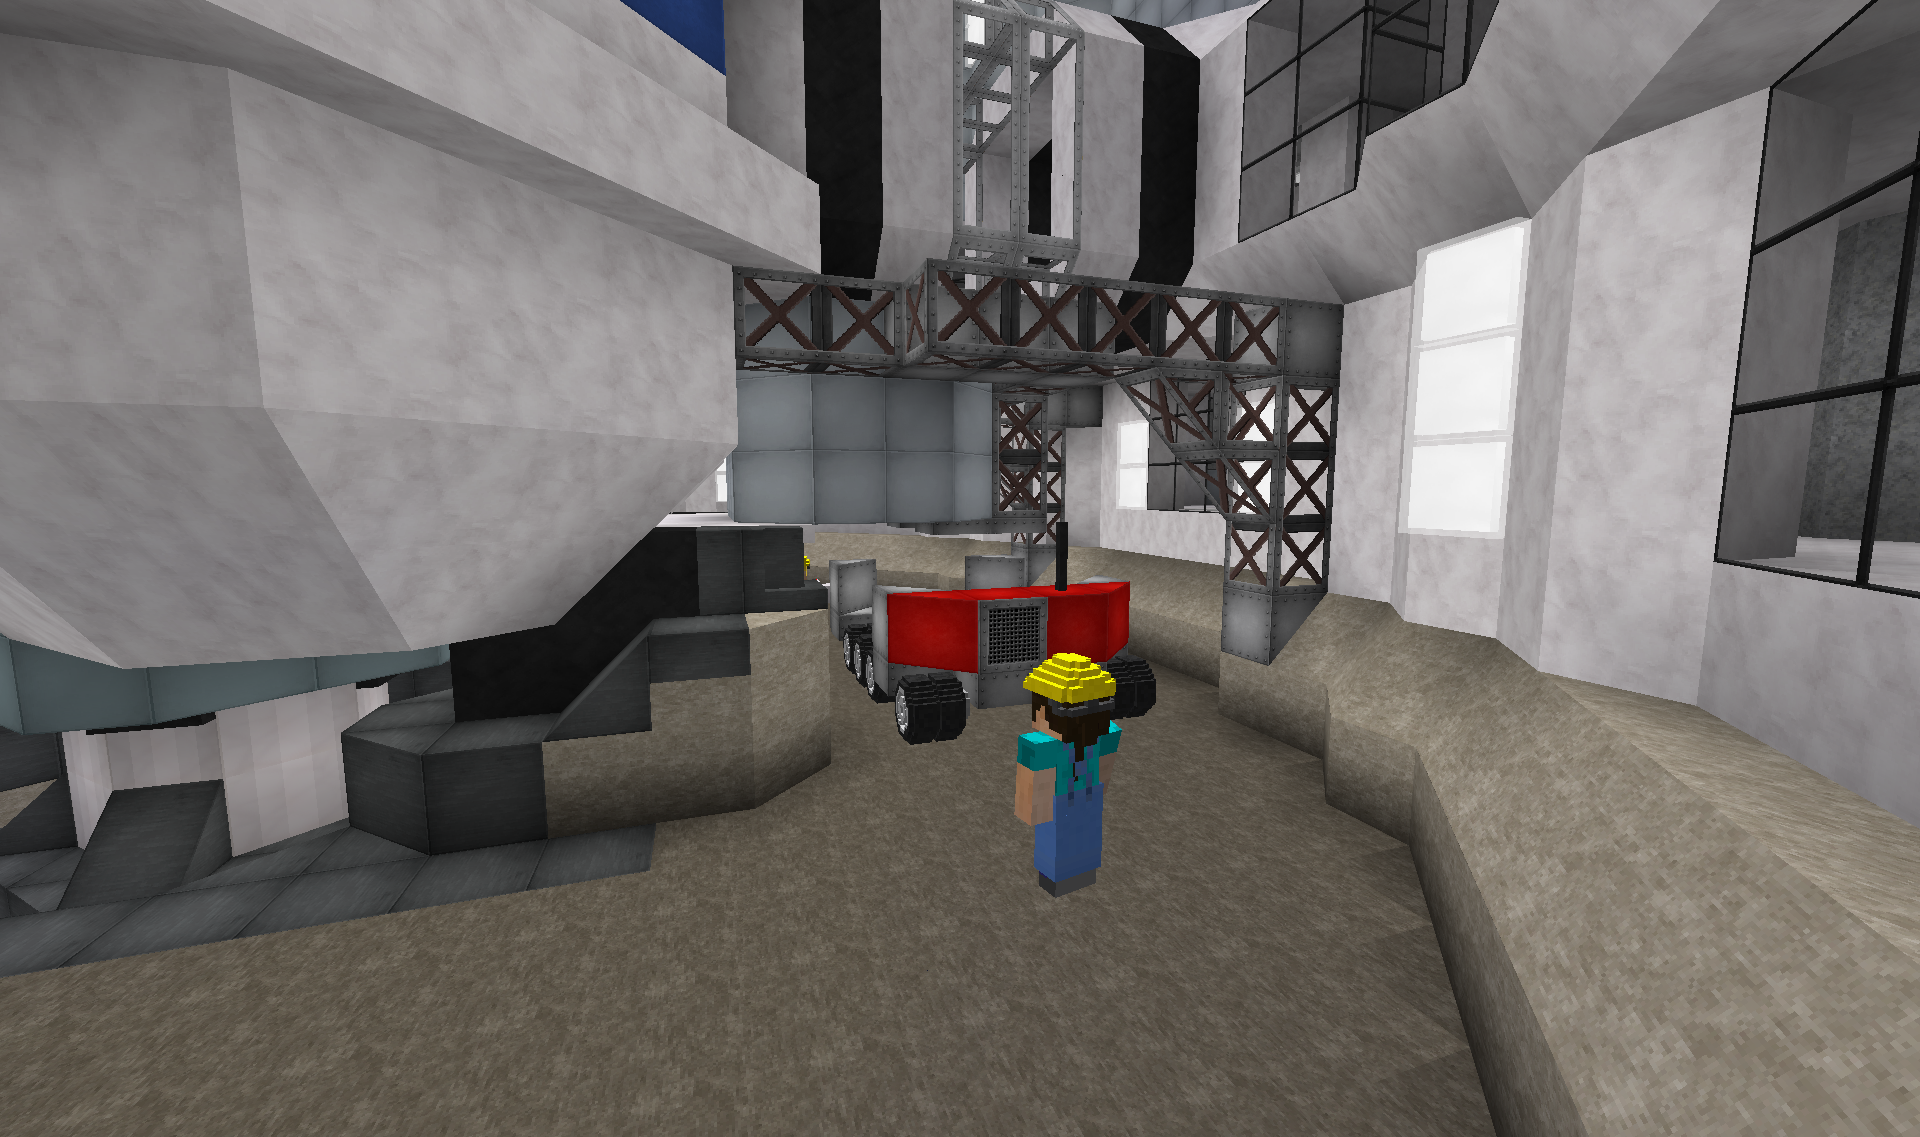
Once the elevator cab has arrived, the crane gantry can be extended.
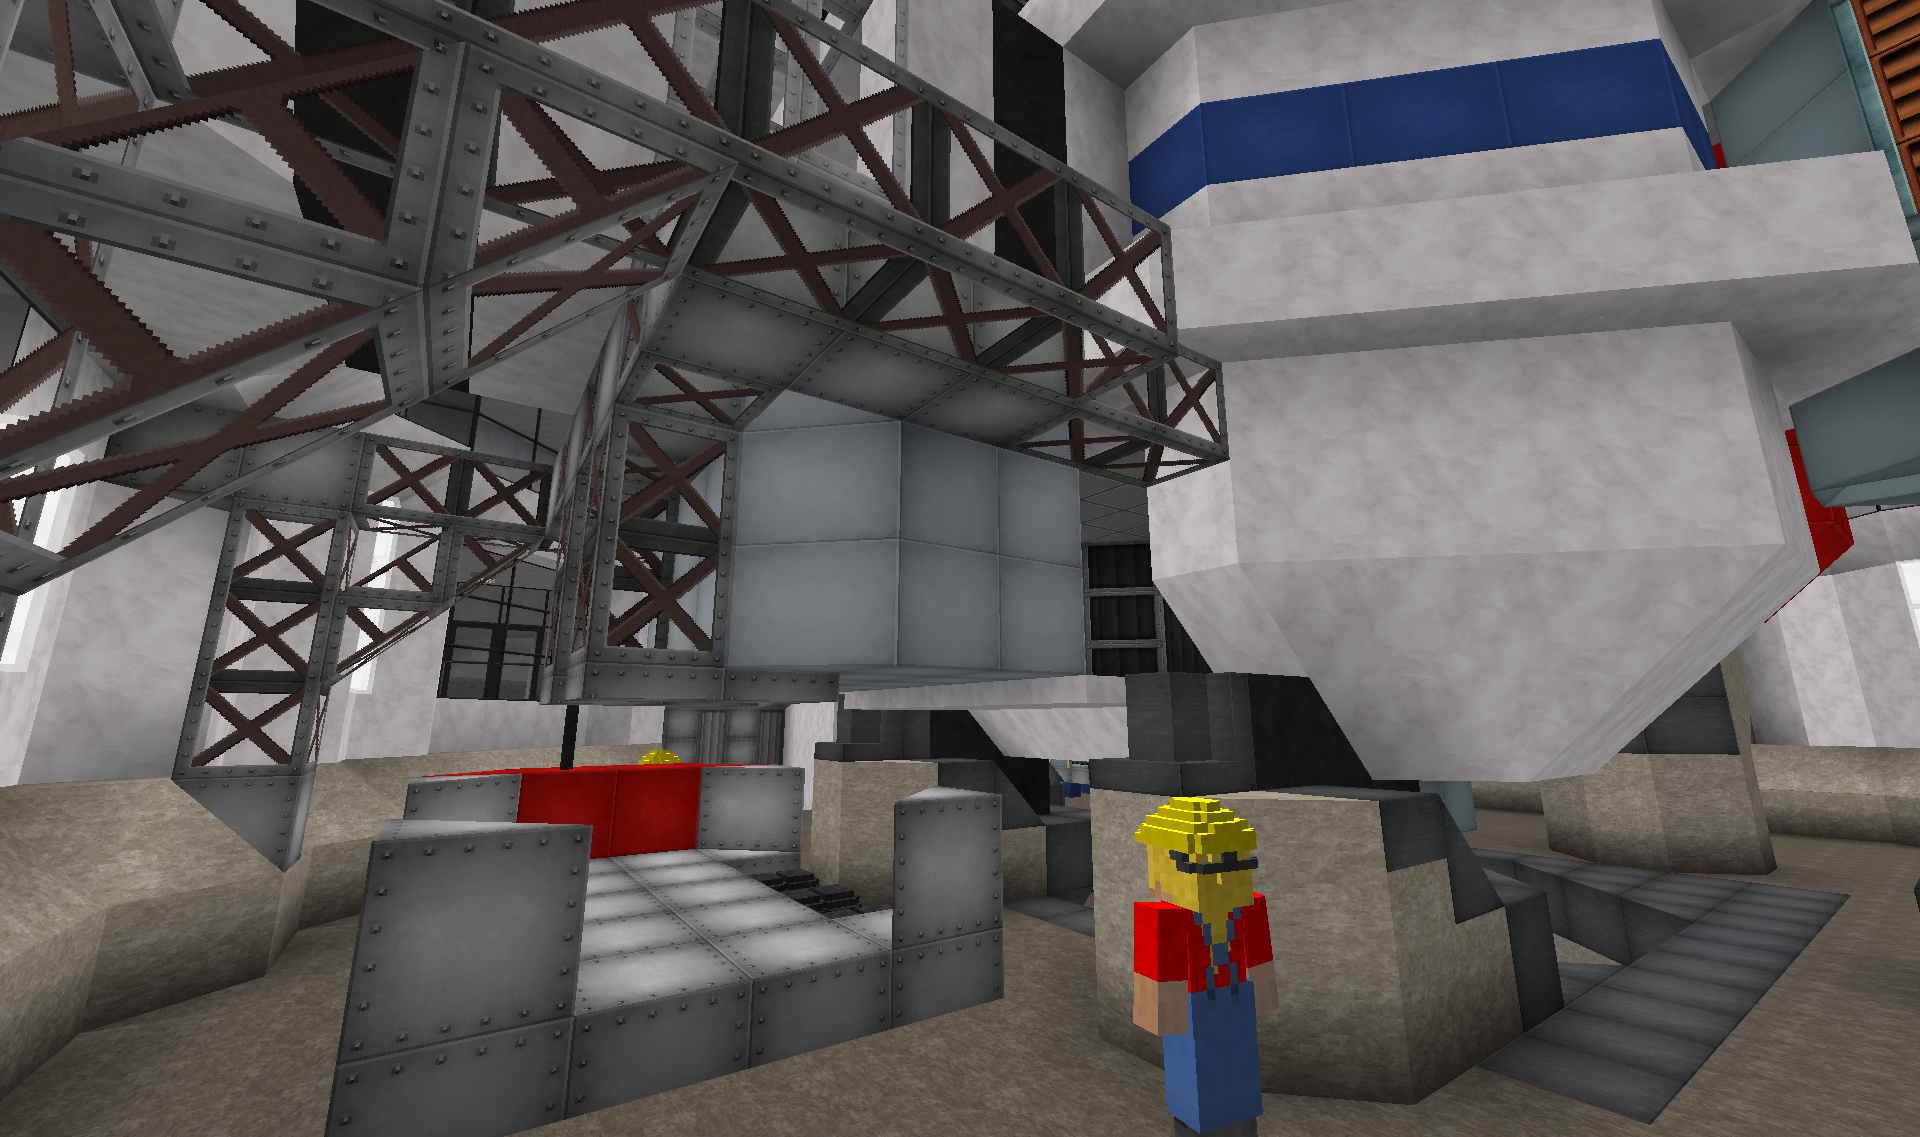
Here a container is being loaded from the remote controlled cargo carrier and into the lower section of the space elevator cab.
For reference to where this actually is located:
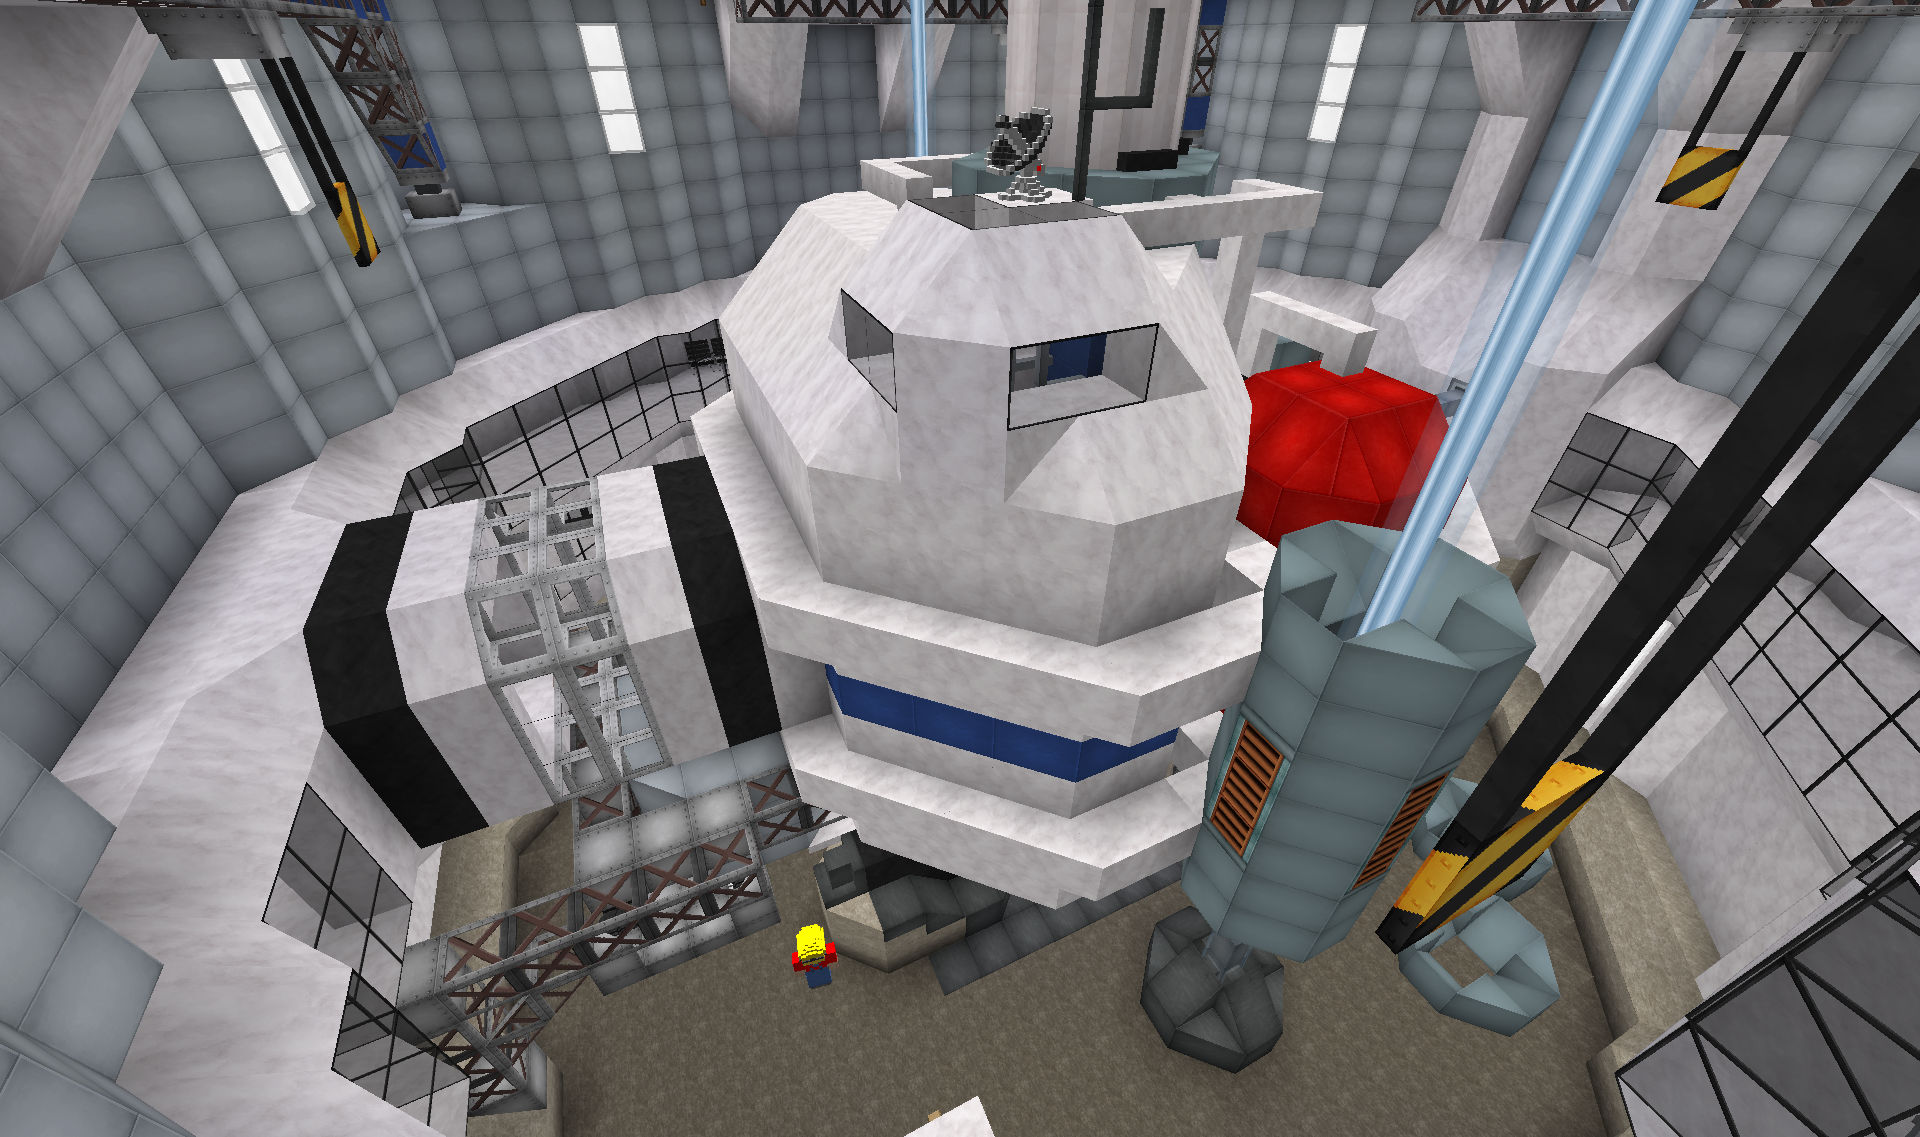
It is just under the umbilical to the elevator cab.
You can also see the cockpit for the cab mentioned in the Part 1.
This change however meant that I had to remove the worker that in previous posts was working on an open panel in just this section of the cab. I intended to just move him to somewhere else and rebuild the exact same setup. However there were now no good places where he would actually be able to reach from his small scaffold...
So, had to go and get him a new boom lift:
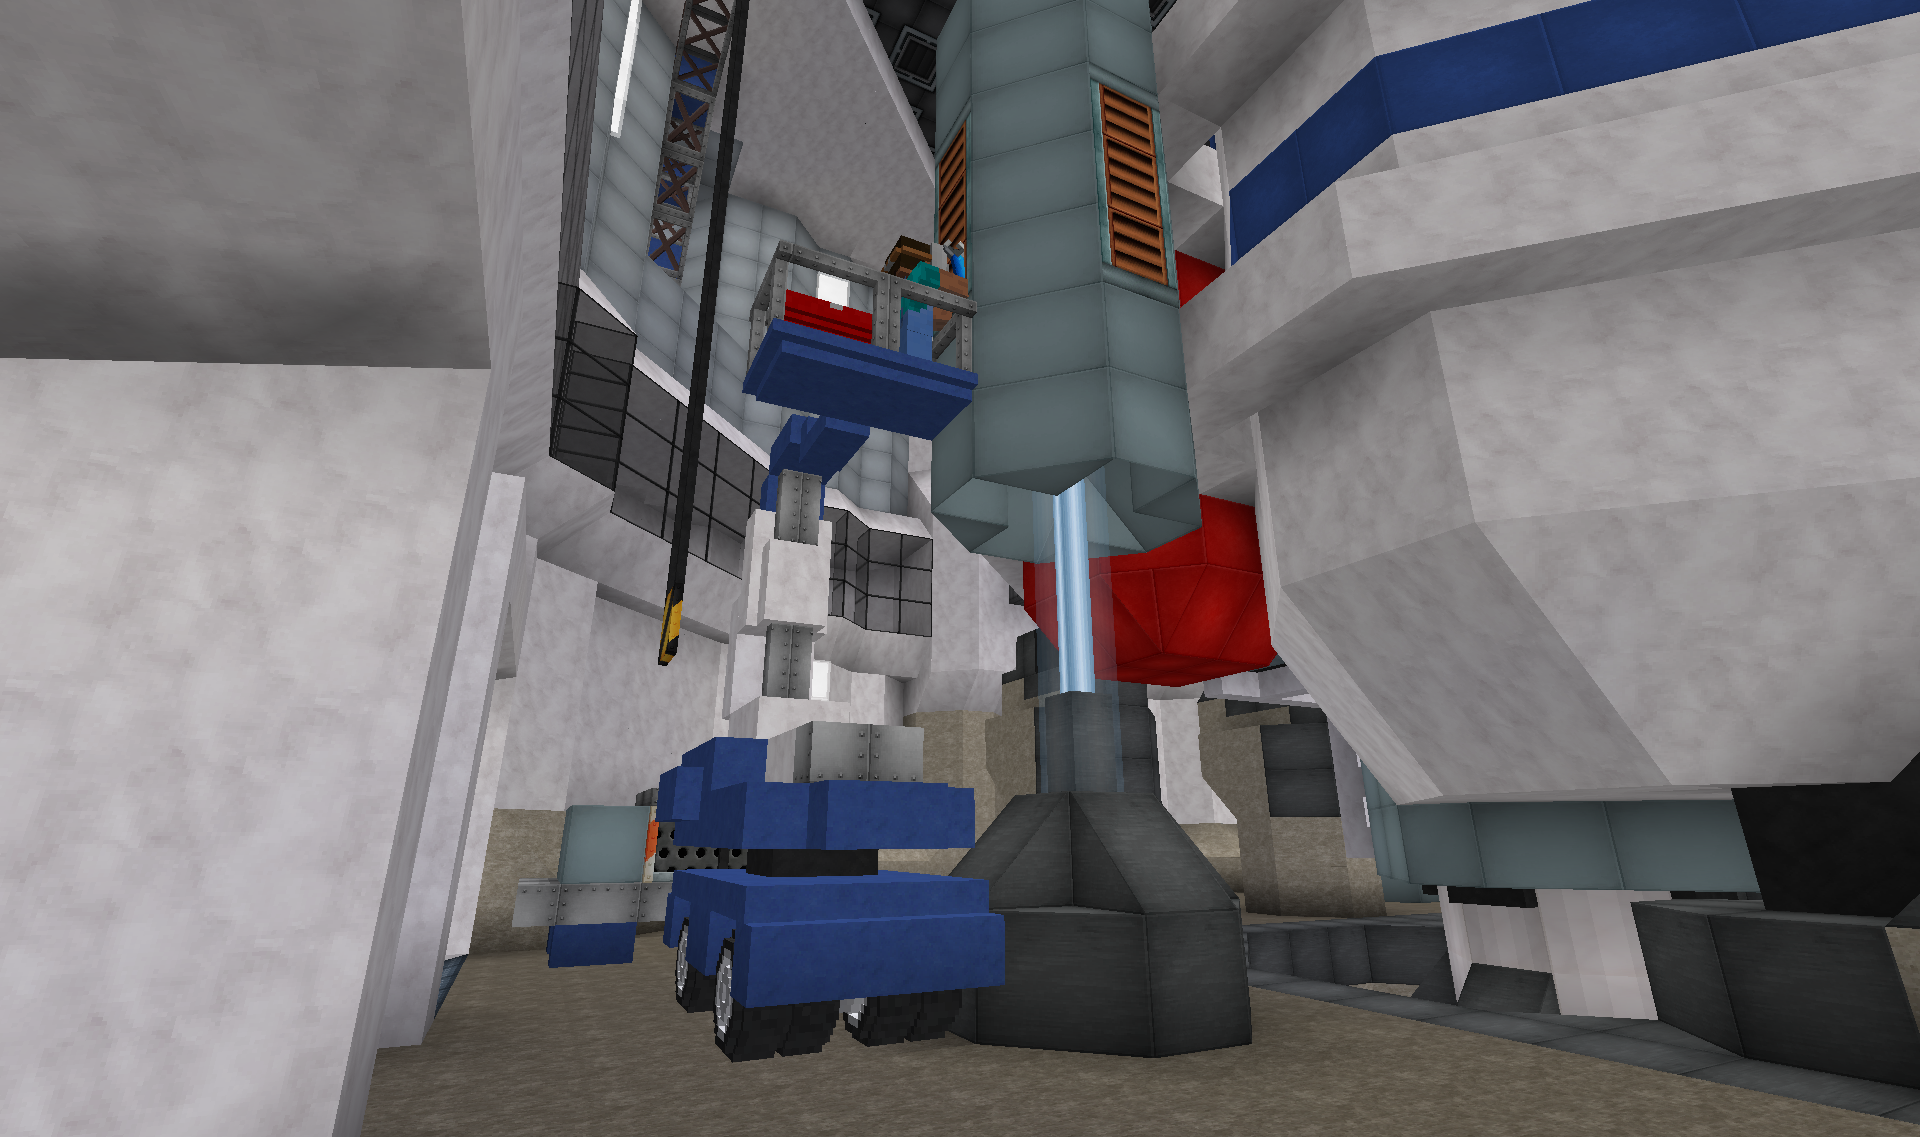
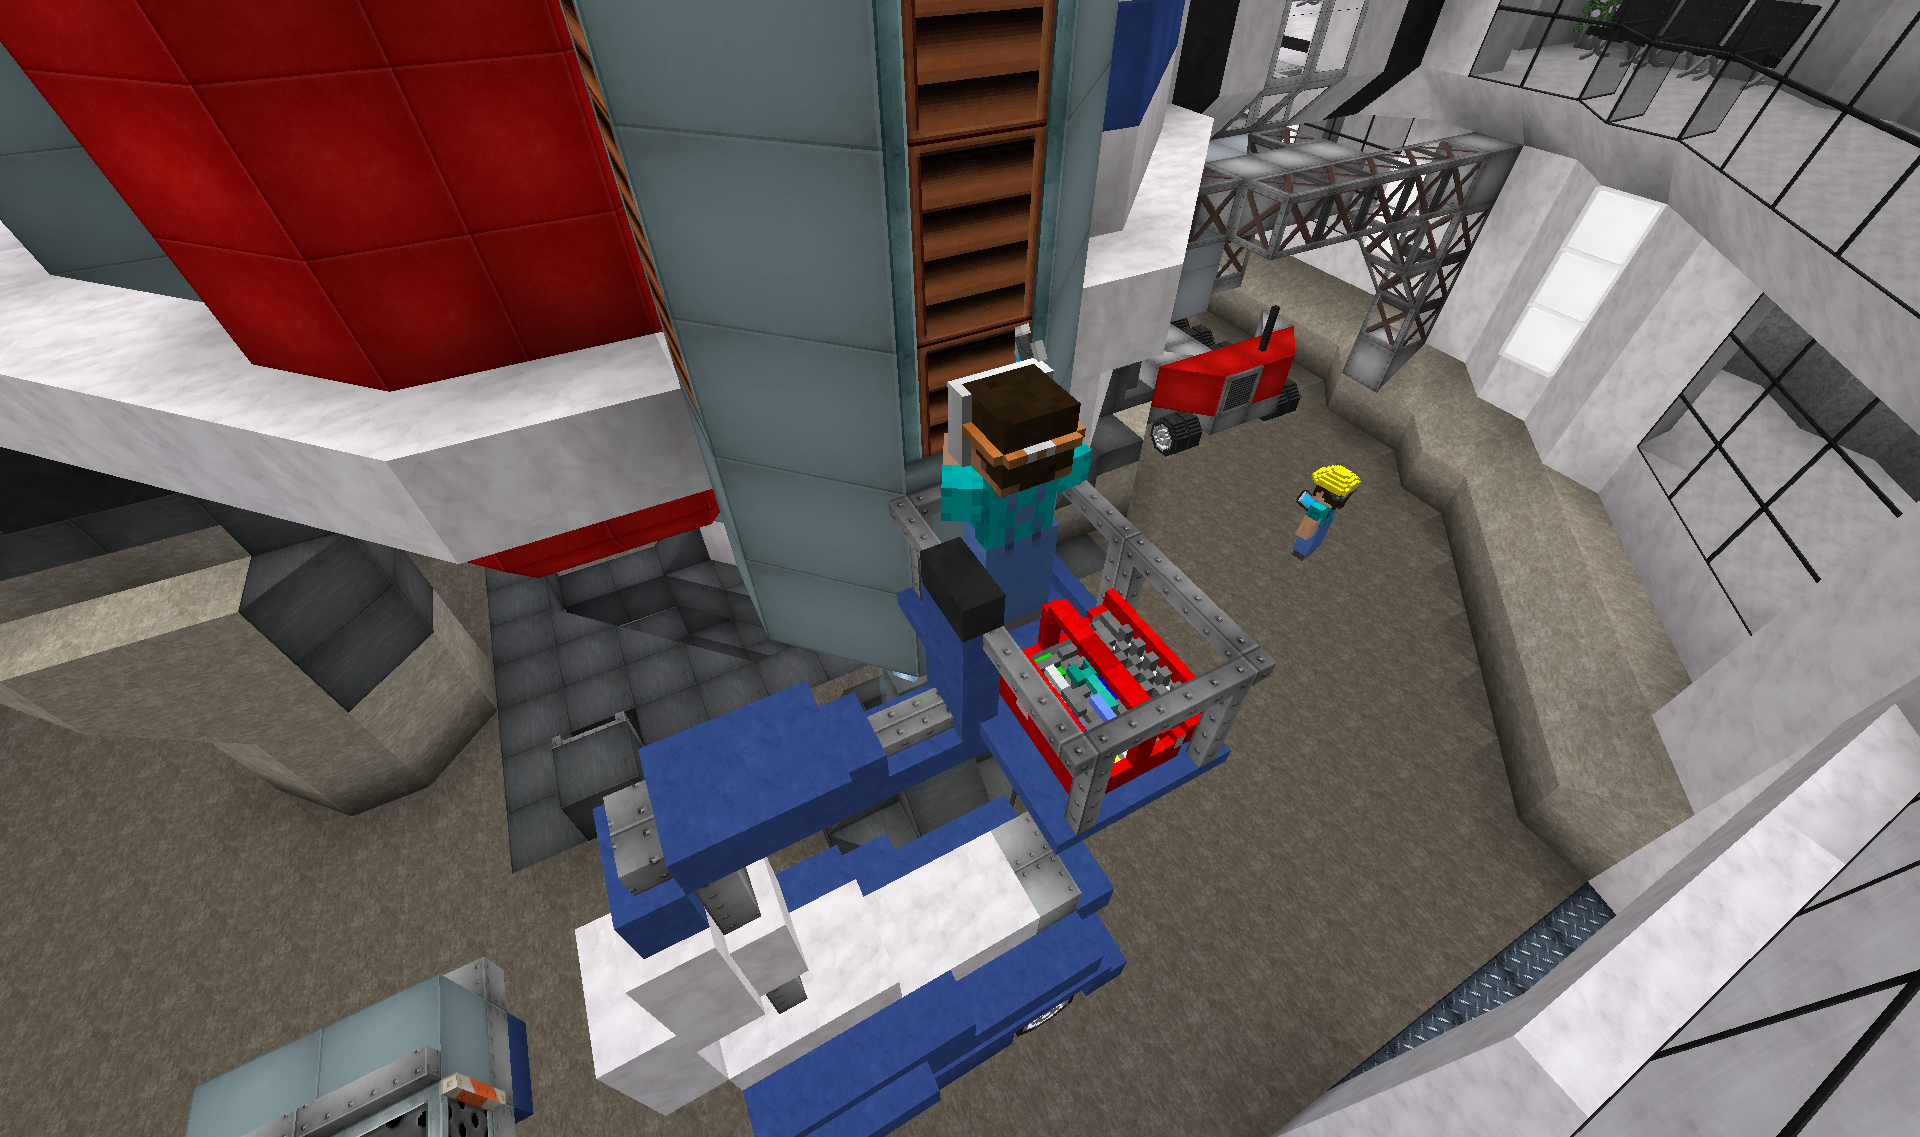
Honestly not quite sure why he is wearing a welding helmet, while using a wrench...
The space centre factory have gotten a few new additions:
The parking lot now have vehicles and containers:

The gardeners are also on the grounds today it seems, their truck parked to the right
A truck is currently unloading a container:

I had originally planned that the trucks would just be parked outside with the container, but it didn't work out well. And seemed an awful waste of trucks to just have them sit there while the containers are (un)loaded. So made it so the trucks deposit the containers into the factory.
The inside of the factory is still a bit empty:

Added a few containers. Might add more.
I also used the space for building a few models for a couple of vehicles(for use with the BC builder). The one in the foreground is small remote controlled cargo container carrier, for use around the space centre(missing its wheels). The other ones will remain a secret for a bit(perhaps the astute can figure it out already
The end of the factory hall, the one towards the rest of the space centre, had this raised part over the 3 gates:

I decided to use this space for a couple different things.
Firstly I added a small pavilion to the corner:

This has bathrooms, showers, lockers for the workers, as well as a break room upstairs.
Taking the stairs up from the break room you arrive at the design/drawing office:


This area was meant for the engineers to design and process schematics for things that get produced down on the factory floor.
I also had room for a little storage space up here:

Just a little store room for various more sensitive/expensive bits and pieces, that you don't want down on the factory floor.
On the other side of the 3 large gates:

You can see the drawing office up above, with a walkway leading over to the other office sections of the space centre(to the side building that hold the pre-launch check-in in Part 1).
Seen from the middle gate:

This space is meant to allow easy transport of various parts for the space elevator, rockets, cargo etc. to the different parts of the space centre.
Directly ahead are the two gates that lead up into the space elevator pit.
To the left leads over to the utility section of the space centre on the opposite side of the elevator pit, as well as down to the rocket launch pad out on the far left. More on those in Part 3.
The doors to the right lead into the visitor/museum section from Part 1.
In the process of building all this, I made a startling realisation: I have completely forgotten to create facilities for transport of bulk cargo to the space station! Oh no...
After puzzling with this problem, I realised that I had actually made preparations for this long ago. The bottom of the elevator cab has a semi large empty cavity below the passenger floors. Straight away I went to check on this space, and it did indeed have quite a bit of space. The cab on the space station side had some oxygen production located in it, but that could be compacted a lot. Eureka! There was just enough space for the cargo containers that I have already been adding to the space station(more on that later
So, I give you the new cargo system for the space elevator:

Once the elevator cab has arrived, the crane gantry can be extended.

Here a container is being loaded from the remote controlled cargo carrier and into the lower section of the space elevator cab.
For reference to where this actually is located:

It is just under the umbilical to the elevator cab.
You can also see the cockpit for the cab mentioned in the Part 1.
This change however meant that I had to remove the worker that in previous posts was working on an open panel in just this section of the cab. I intended to just move him to somewhere else and rebuild the exact same setup. However there were now no good places where he would actually be able to reach from his small scaffold...
So, had to go and get him a new boom lift:


Honestly not quite sure why he is wearing a welding helmet, while using a wrench...
Last edited:
Part 3
Phew... Almost there now...
In Part 2 I mentioned the access road leading to the utility section as well as rocket launch pad:
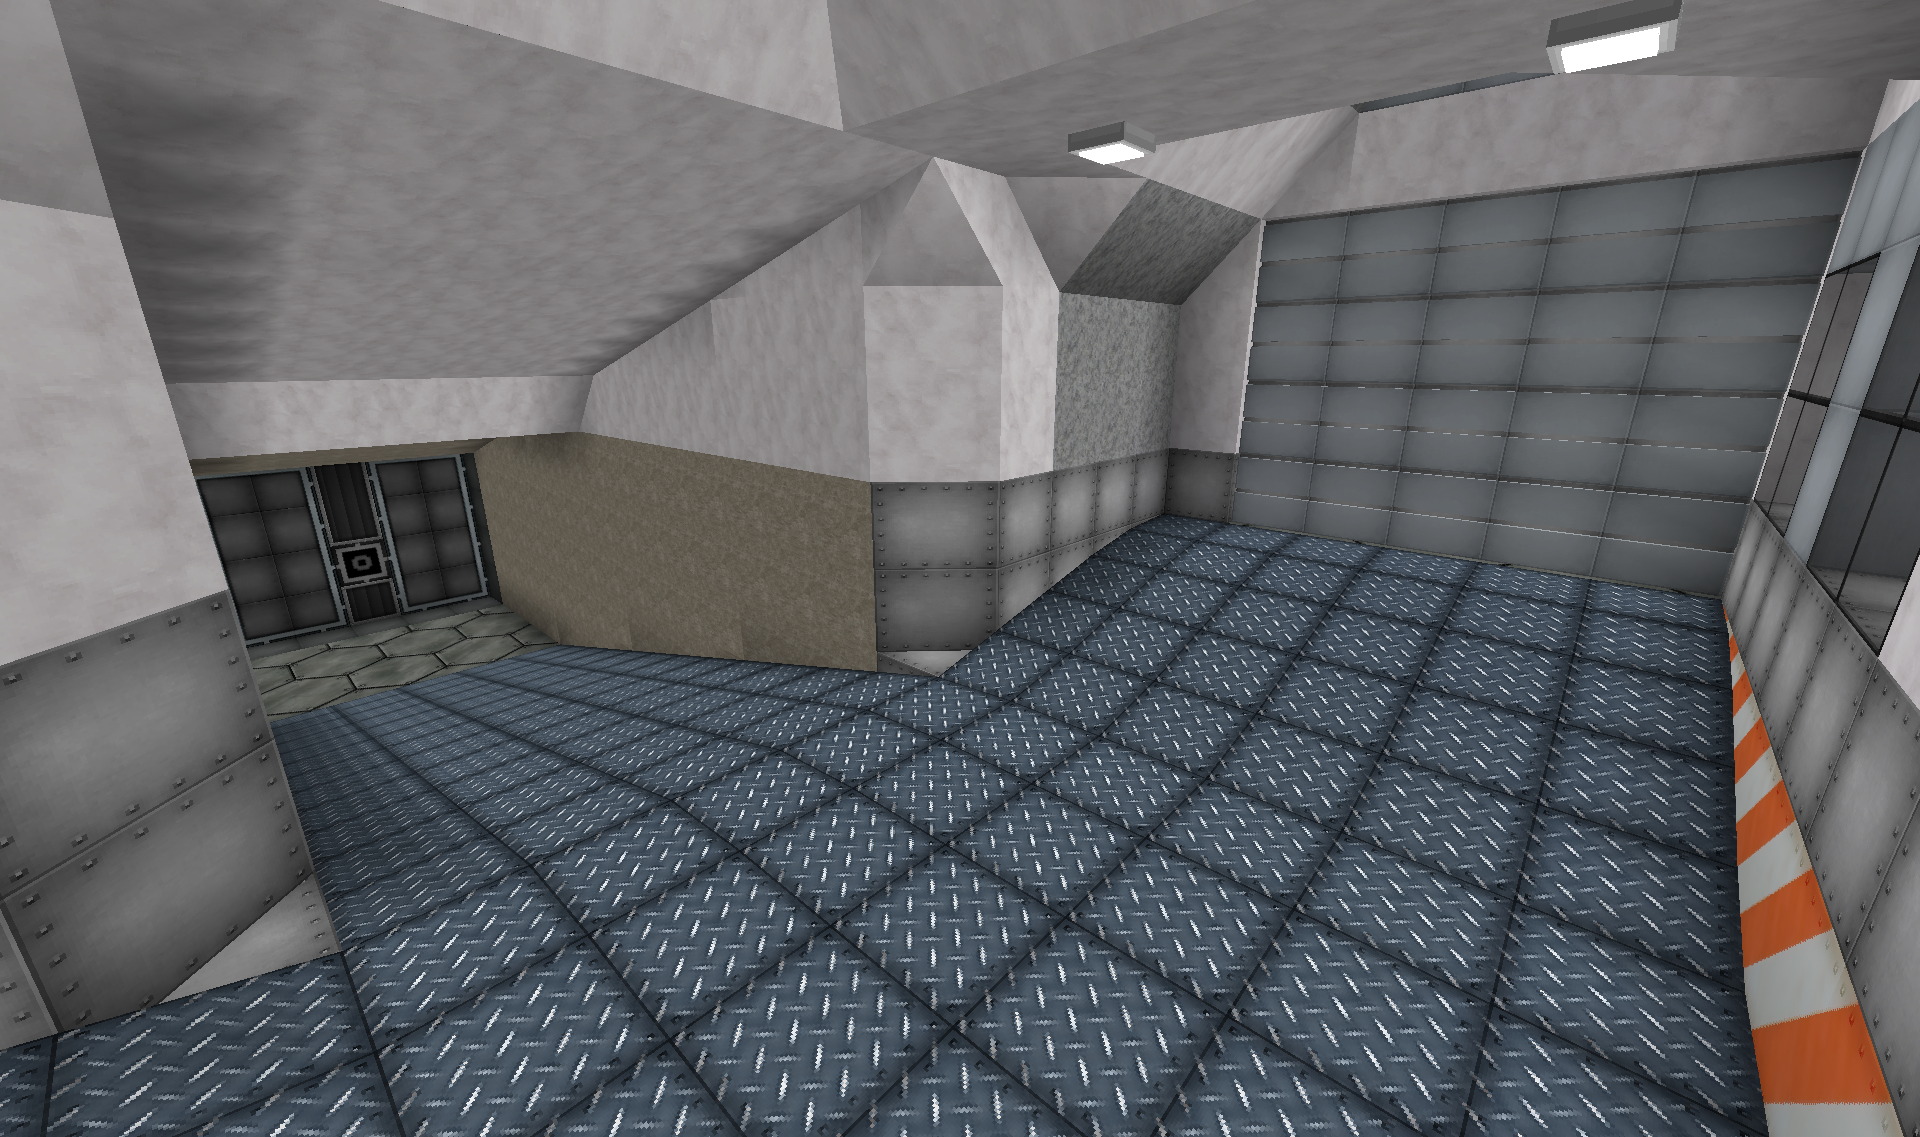
Utility section to the right behind the gate, launch pad to the left behind the blast door.
Blast doors open up out to the launch pad:
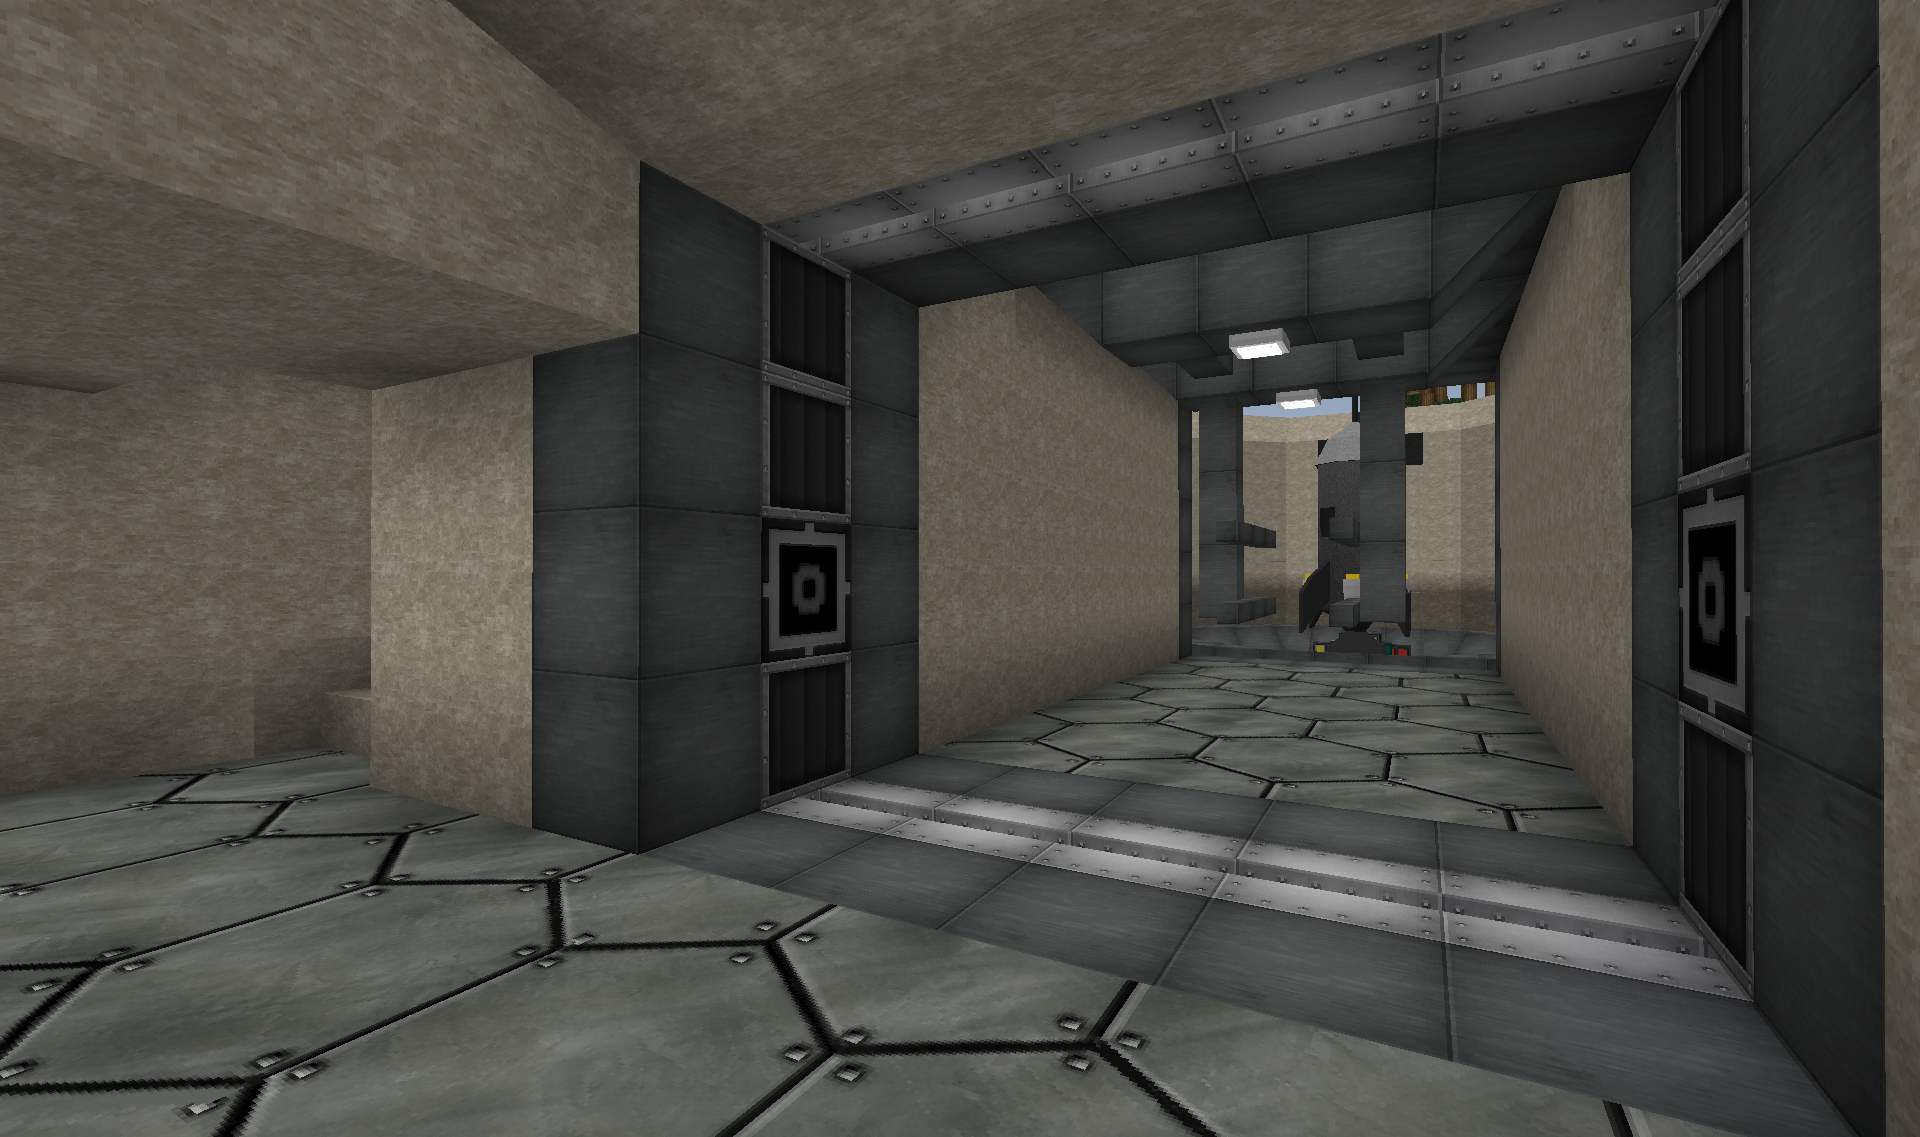
Crane will then pick rocket up off truck(probably a modified version of the remove controlled cargo carrier), and place it on the launch pad.
This is a working Galacticraft rocket pad, and so far my main access to the moon/mars/asteroids. But I plan on adding access to (some of) those from the space station.
The utility section houses some misc machines(purely cosmetic):
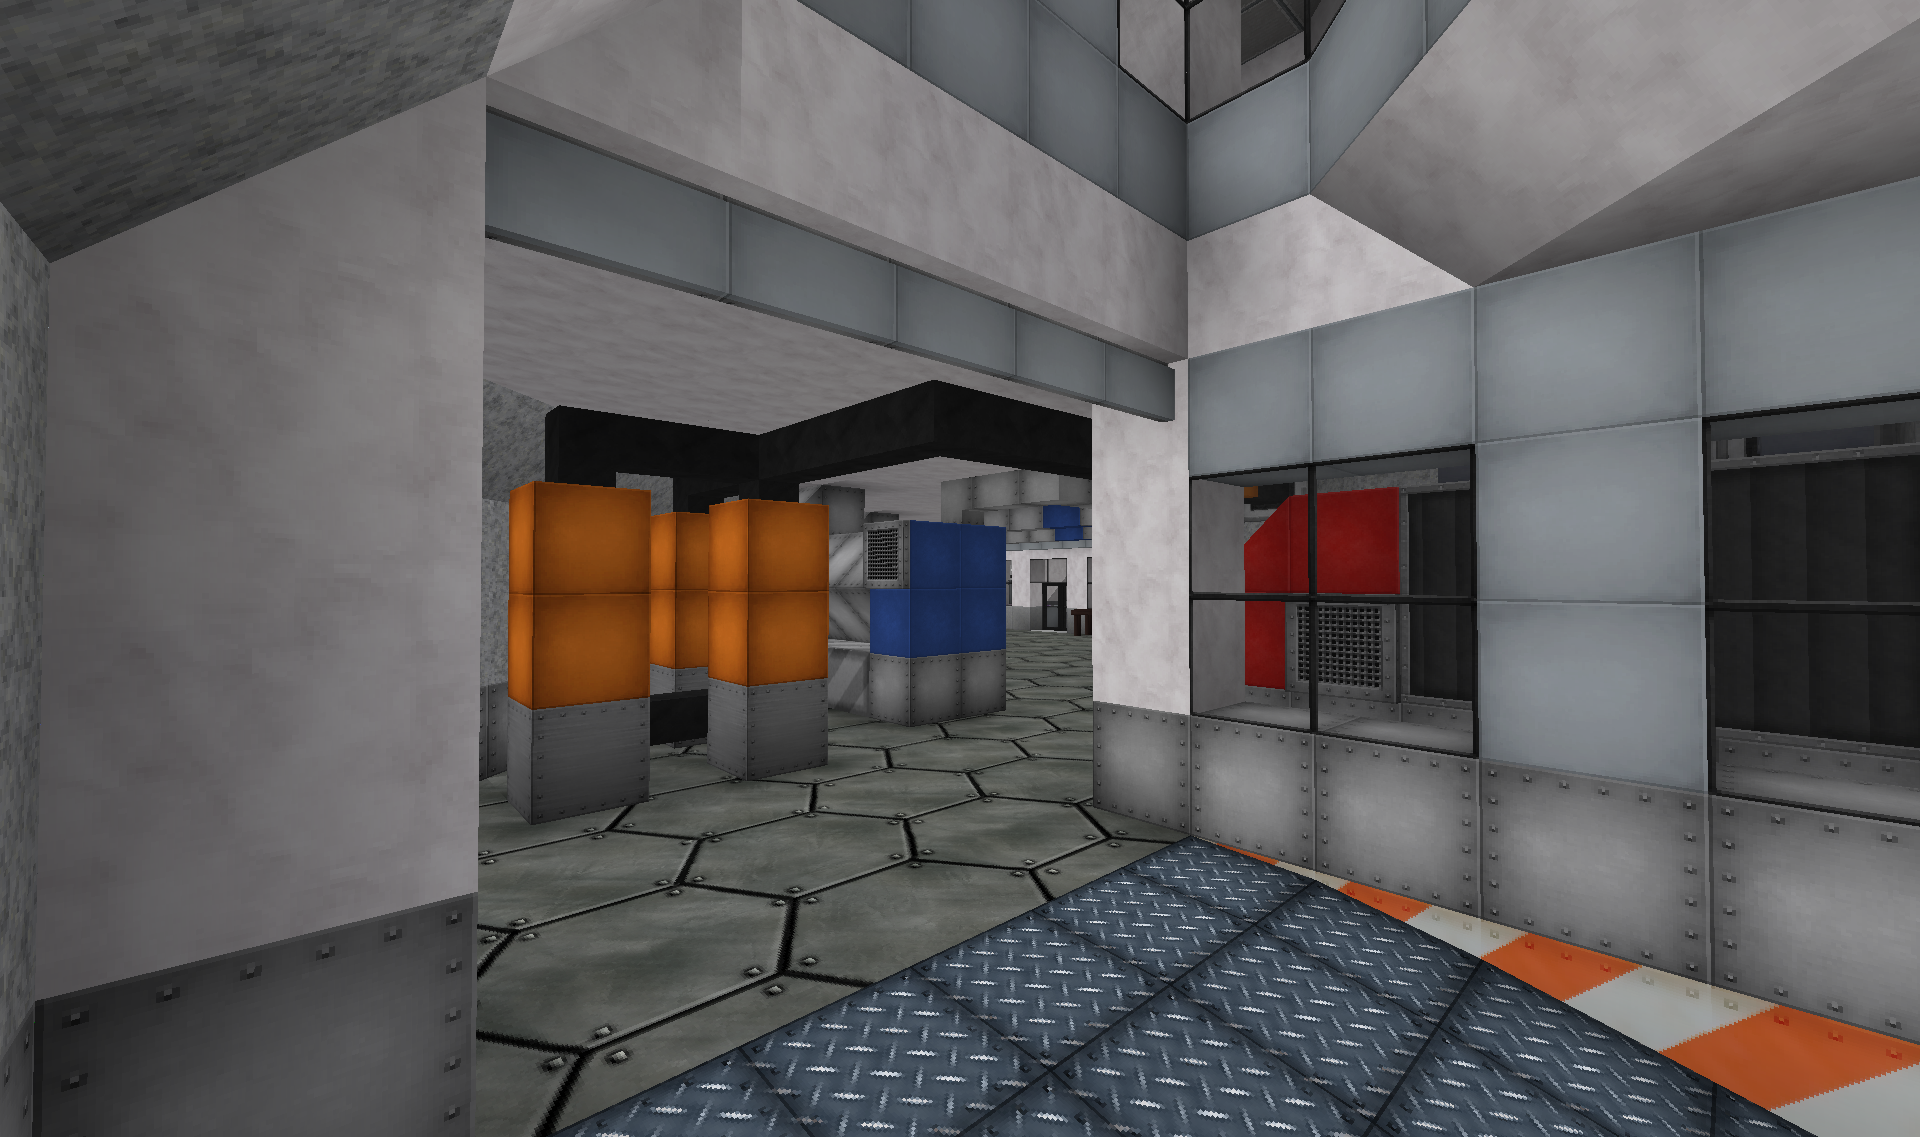
Processing of fuels, gasses and fluids for and from the space station. Stuff like that.
At the other end of this machine hall:
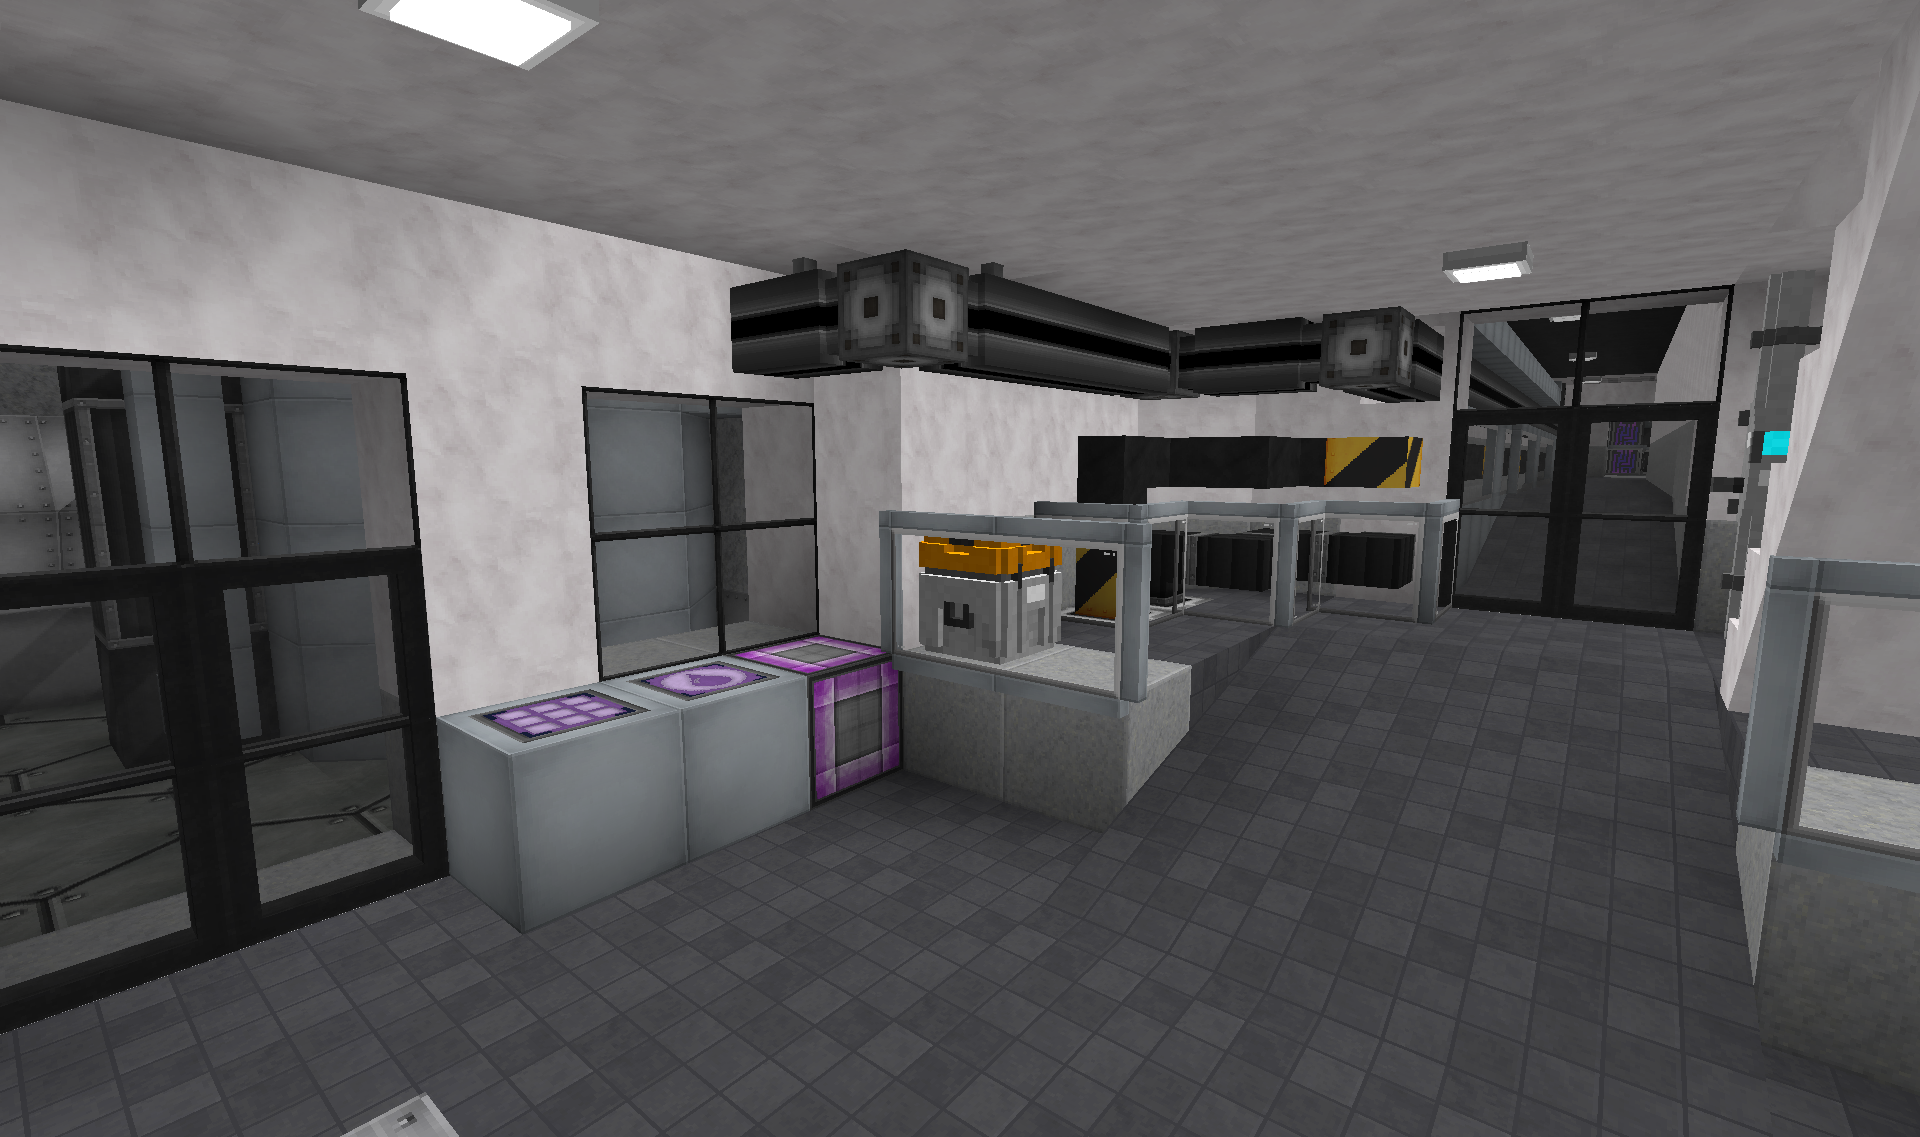
This is adjacent to the waiting room/museum in part 1(out of picture is the doors mentioned in part 1).
This lowest floor is mostly just for some random cargo, but it is also the hub between the space centre, the data/utility centre, and in turn the rest of the world. The doorway to the right is the corridor that leads to the data/utility centre.
For reference:
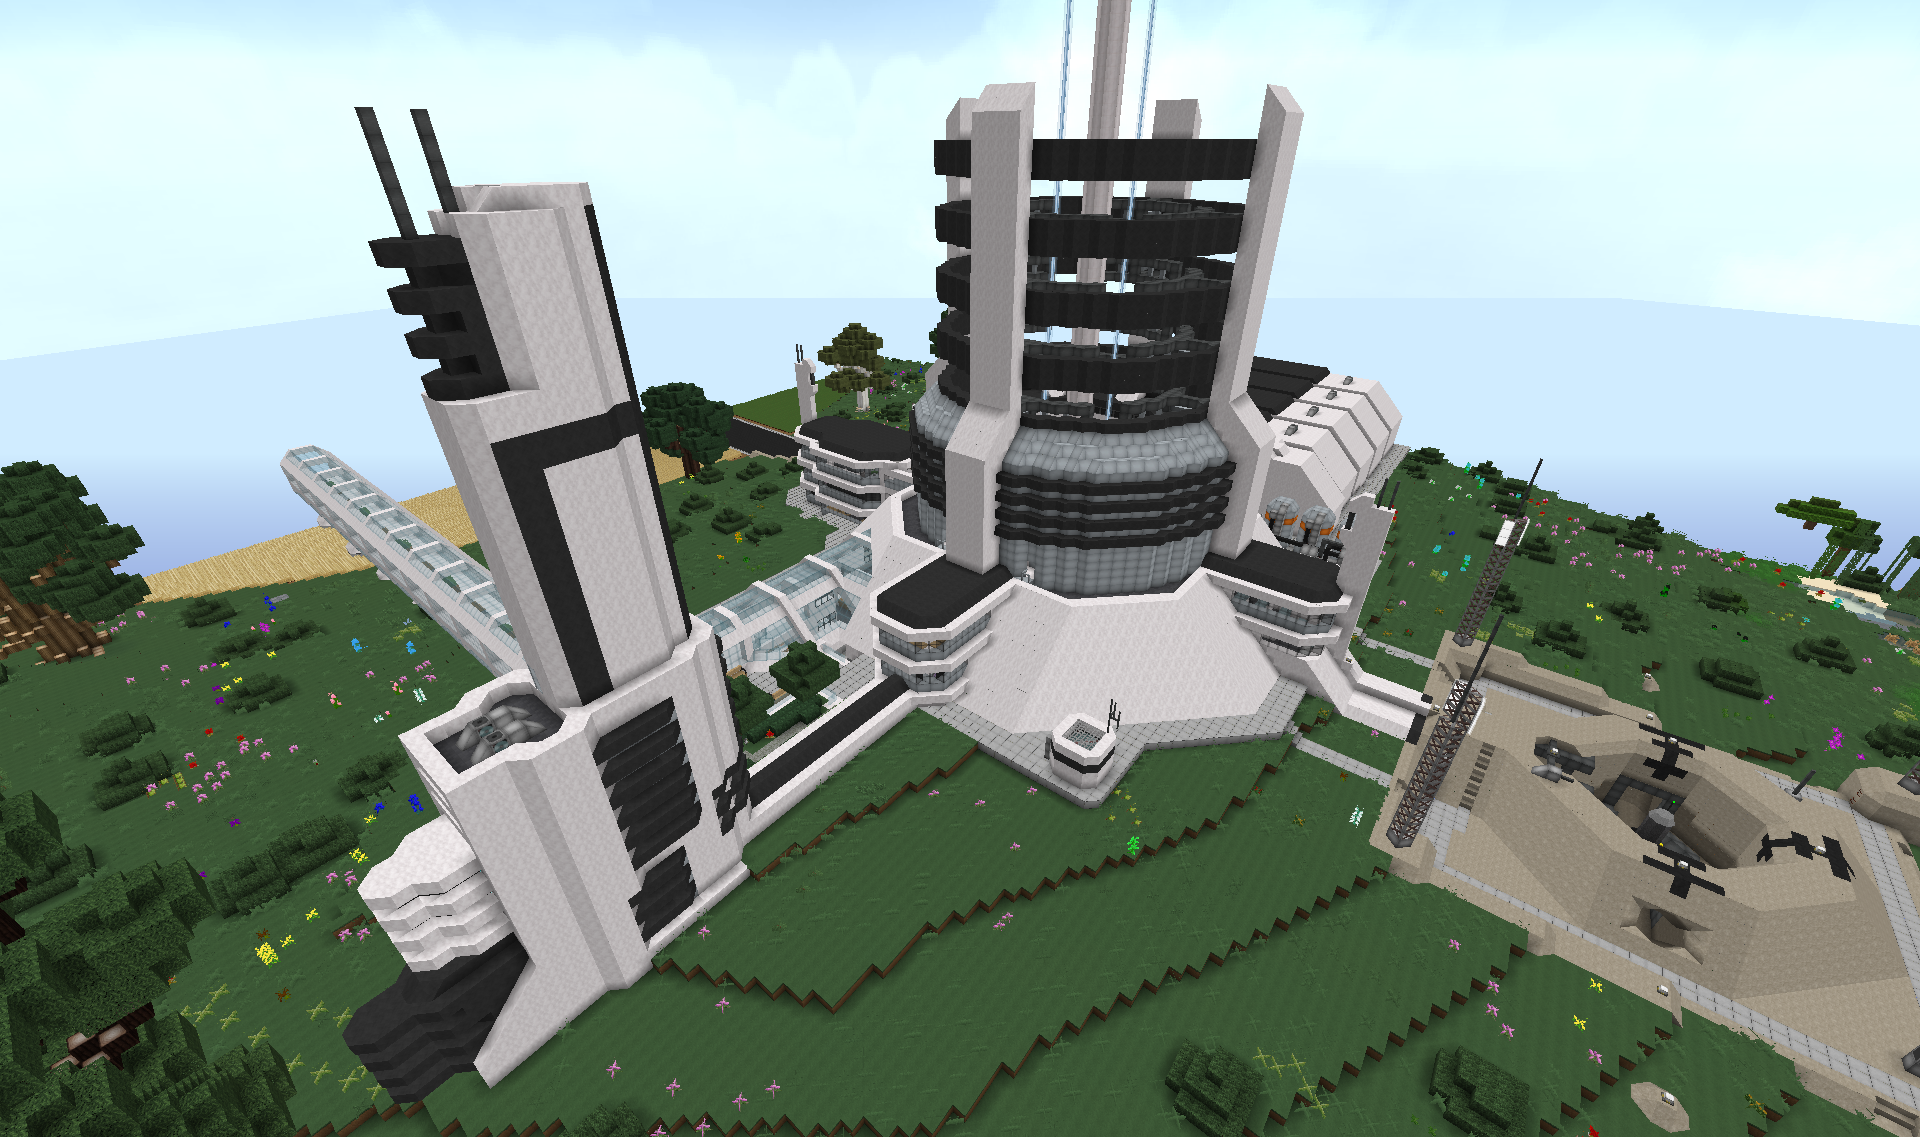
The previous picture was taking at the lowest floor of the side building at the base of the space elevator almost in the middle of the picture.
The corridor mentioned is the long thin black one besides the little park area, which goes to the tall spire like building.
The tall spire is the data/utility centre.
To the right you can see the launch pad, and the side building closest to that is the control centre.
Going up a floor:
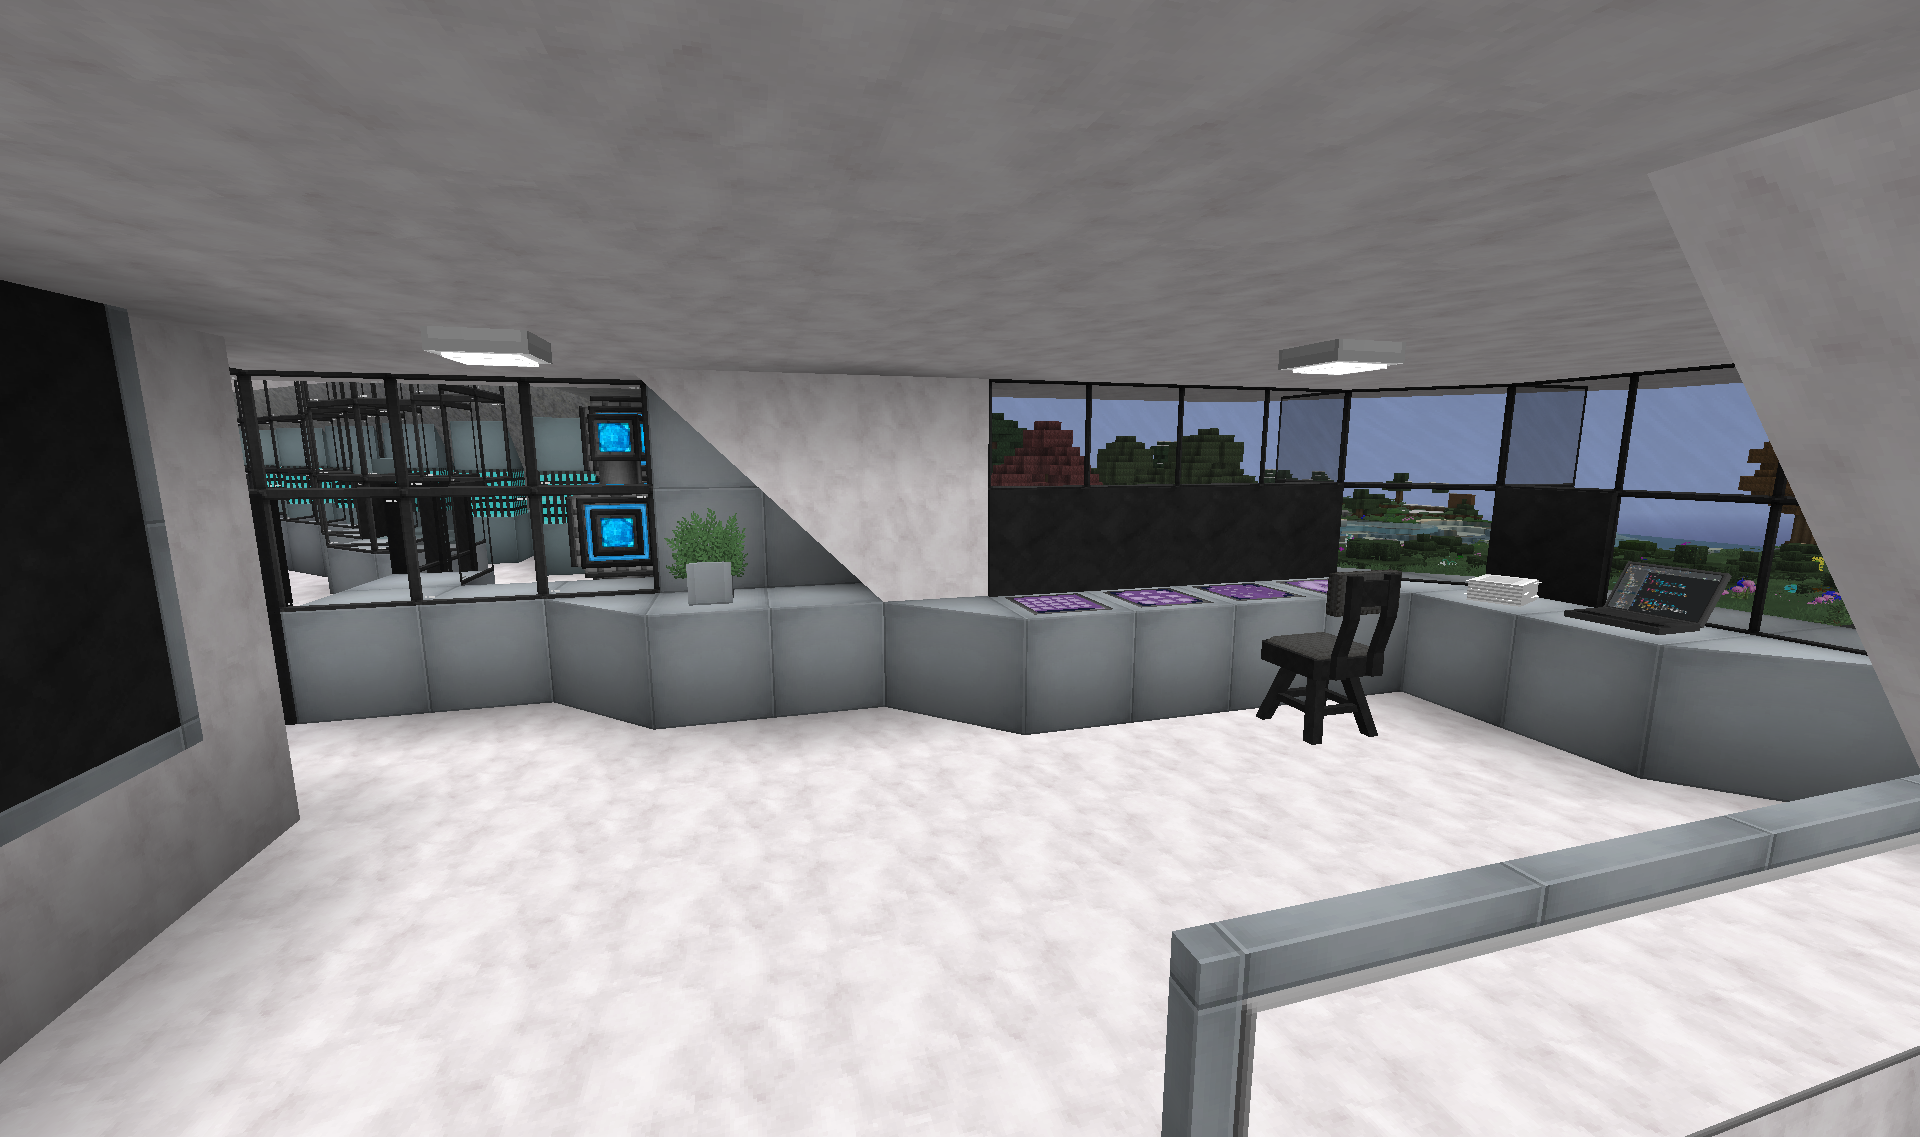
A little area for monitoring various power and other utility stuff.
I got tired of not having AE access out here, so made a small one chunk satellite network. The quantum bridge is visible through the window.
The area with the quantum bridge also houses some various computer banks:
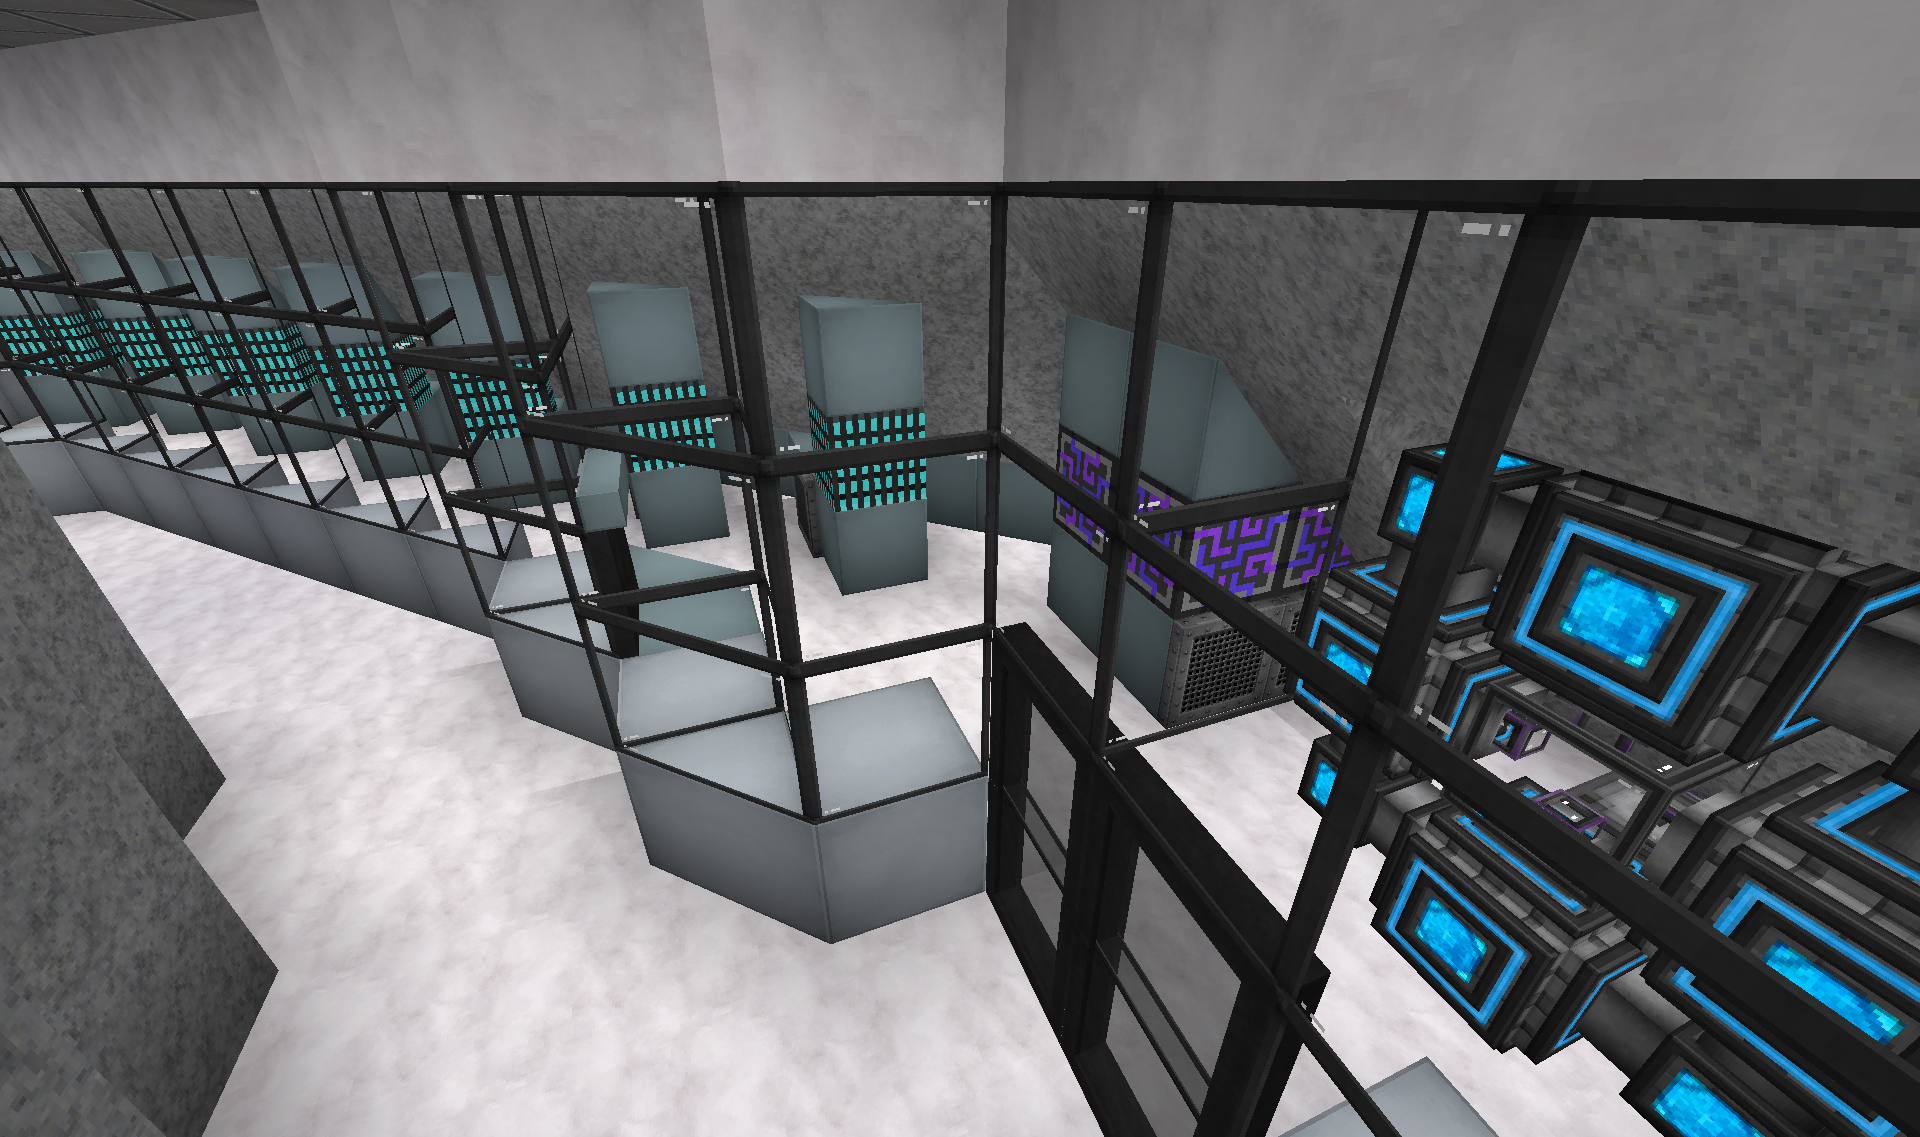
Located at the end of this corridor is the control centre:
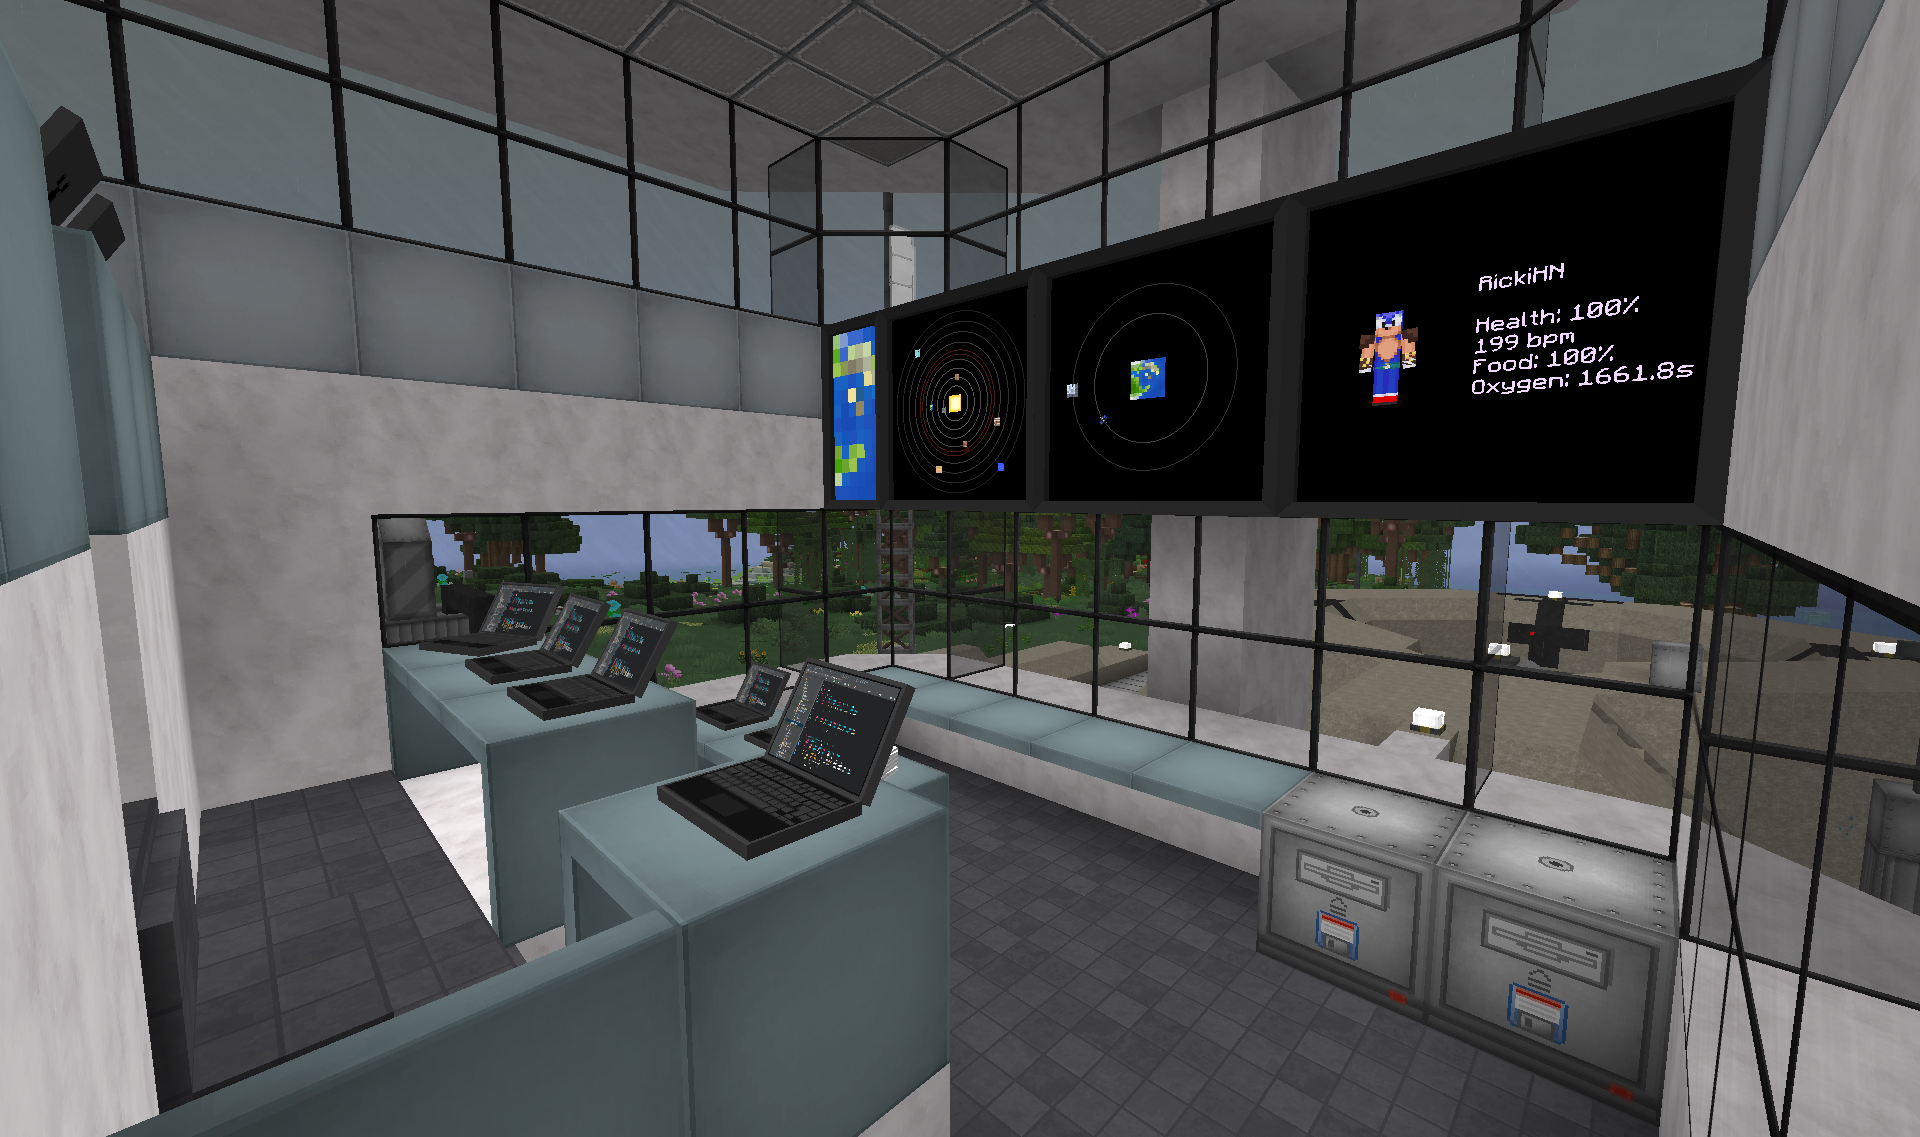
The launch pad is visible out the window.
Going back and up a floor:
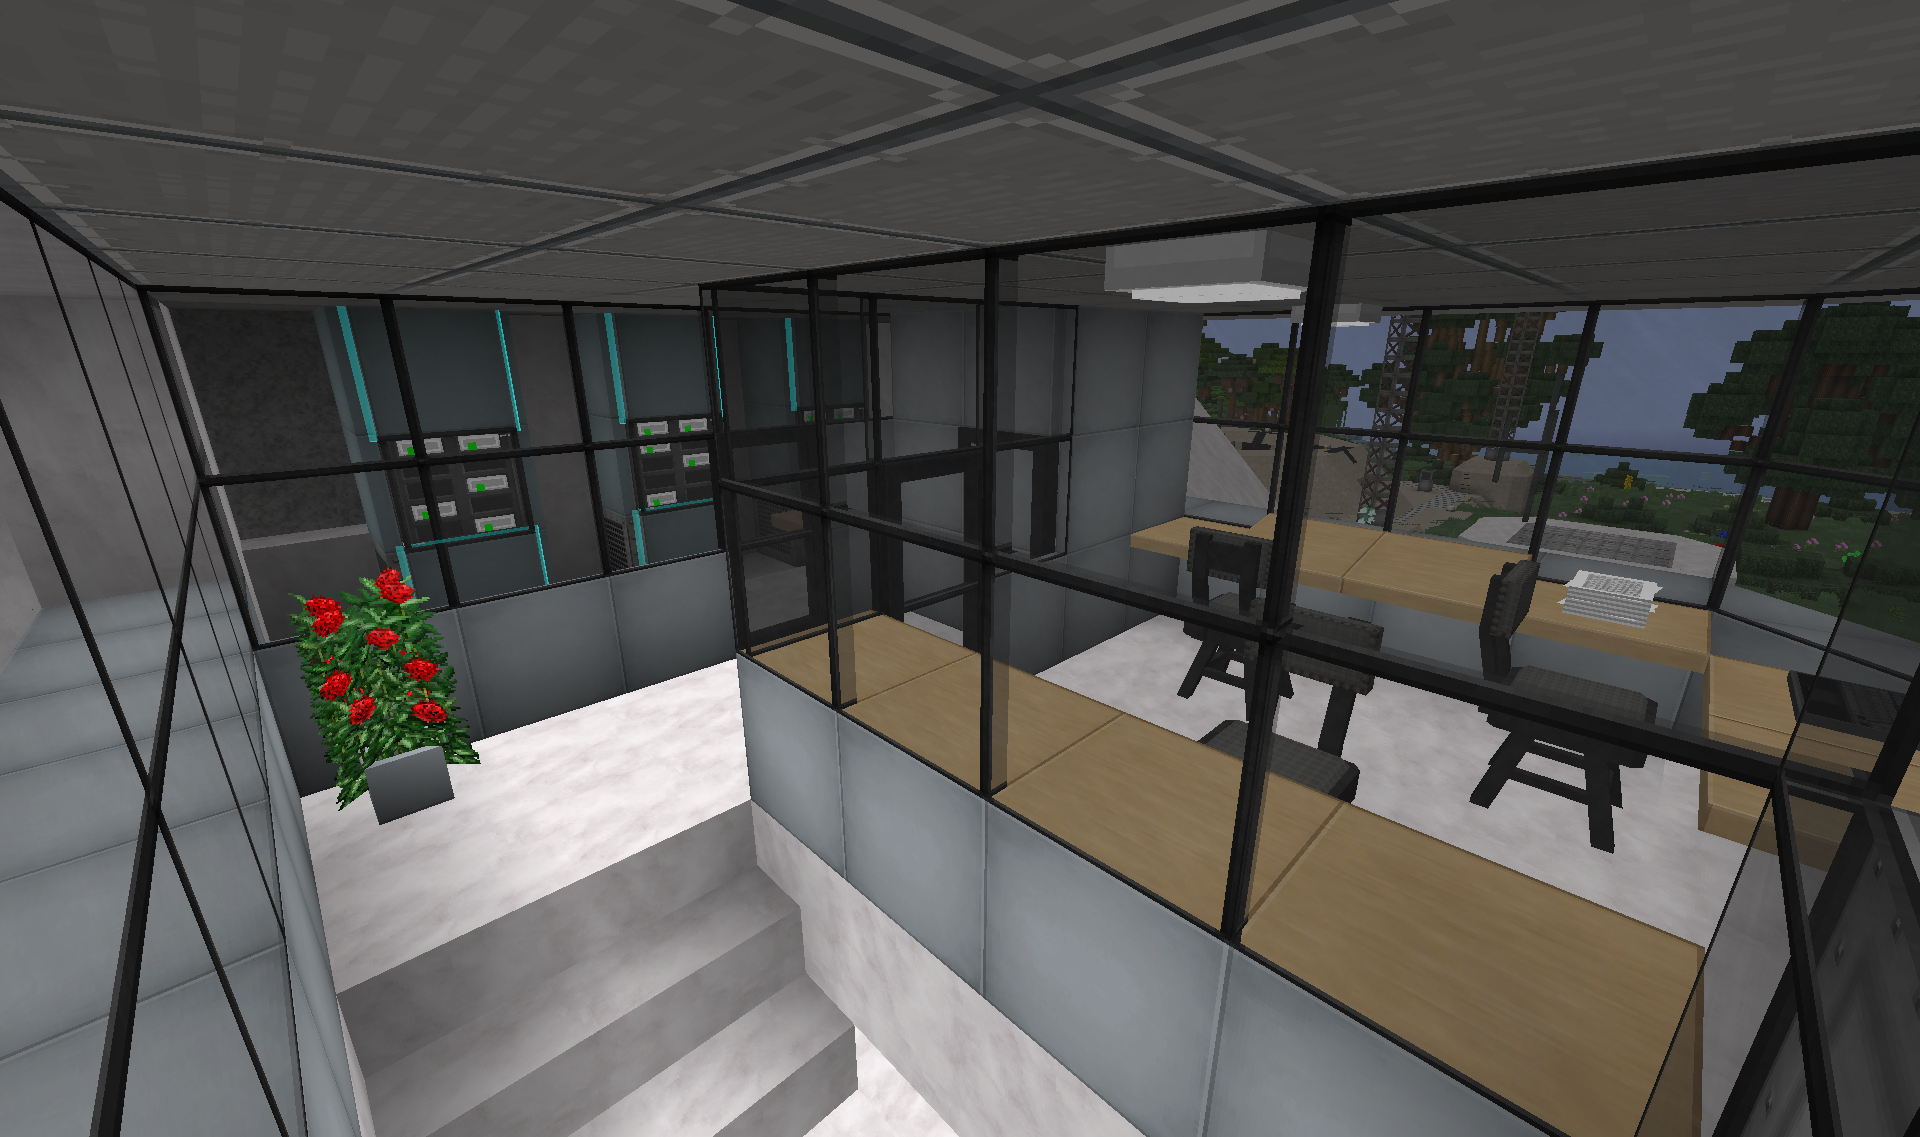
More computer banks, as well as the IT department office.
Going instead towards the data/utility centre:
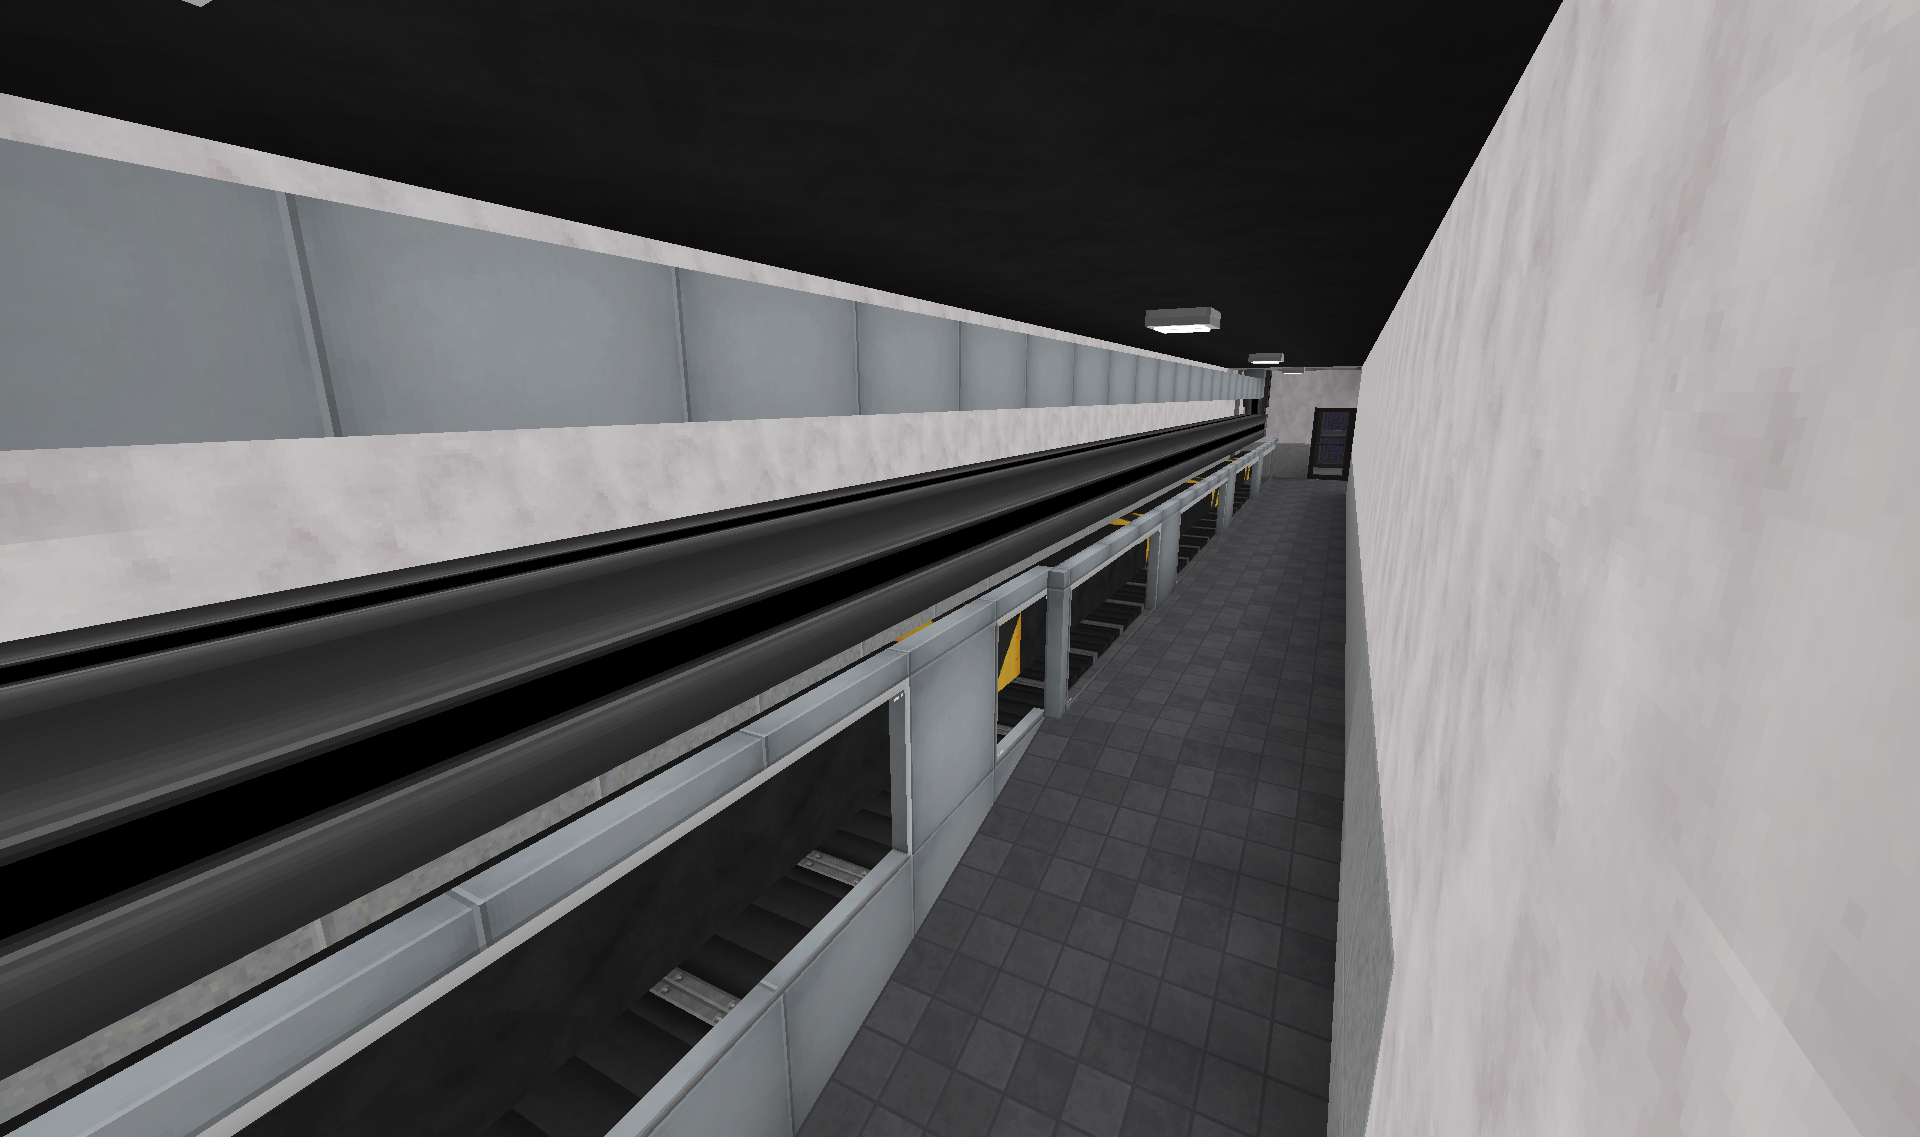
This access tunnel offers both easy access, as well as housing various cables and pipes.
At the end of the tunnel, inside the tall spire building, is first a small booth:
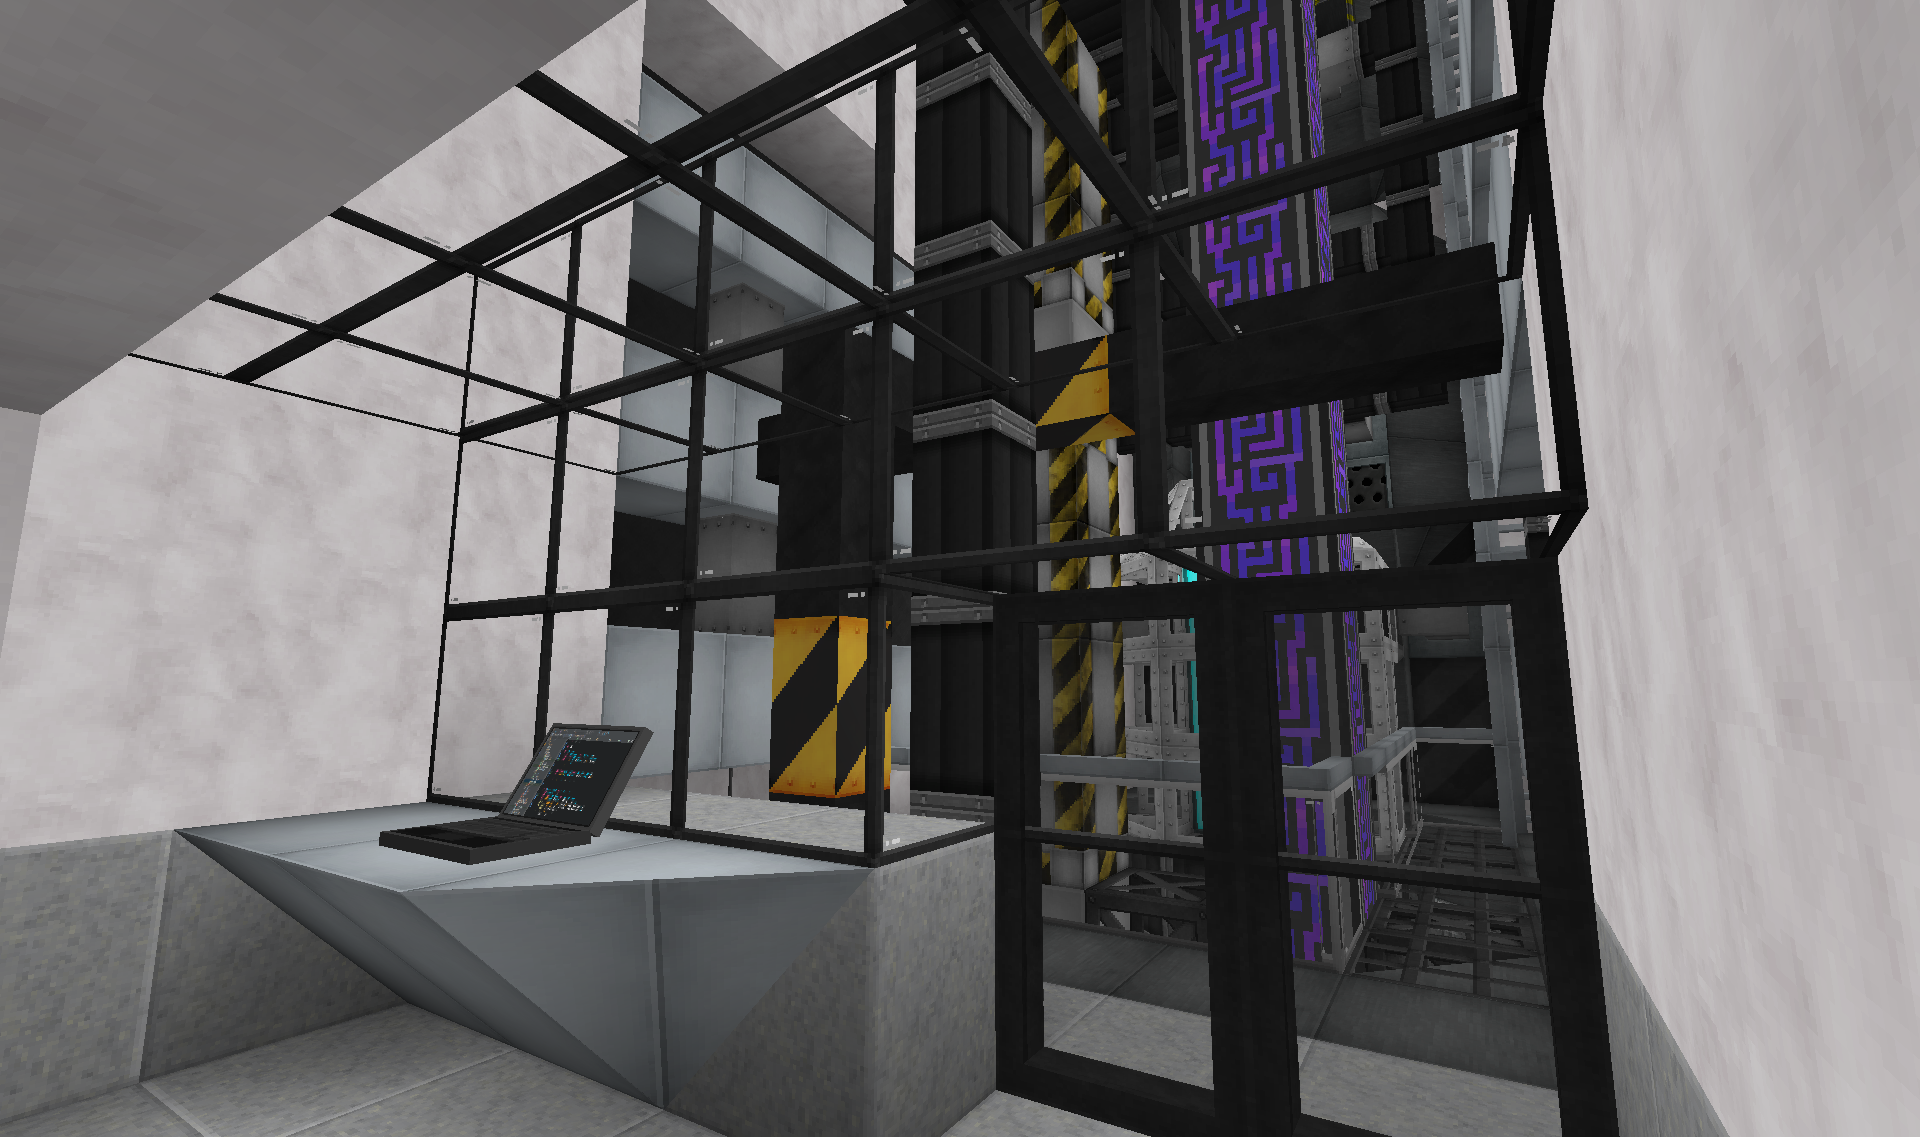
Deeper inside, the main landline connection to the tower and bunker:
Same design as the utility tunnel between the tower and bunker, which this links up to(well, almost. Distance was too far and I faked the part of the stretch ).
).
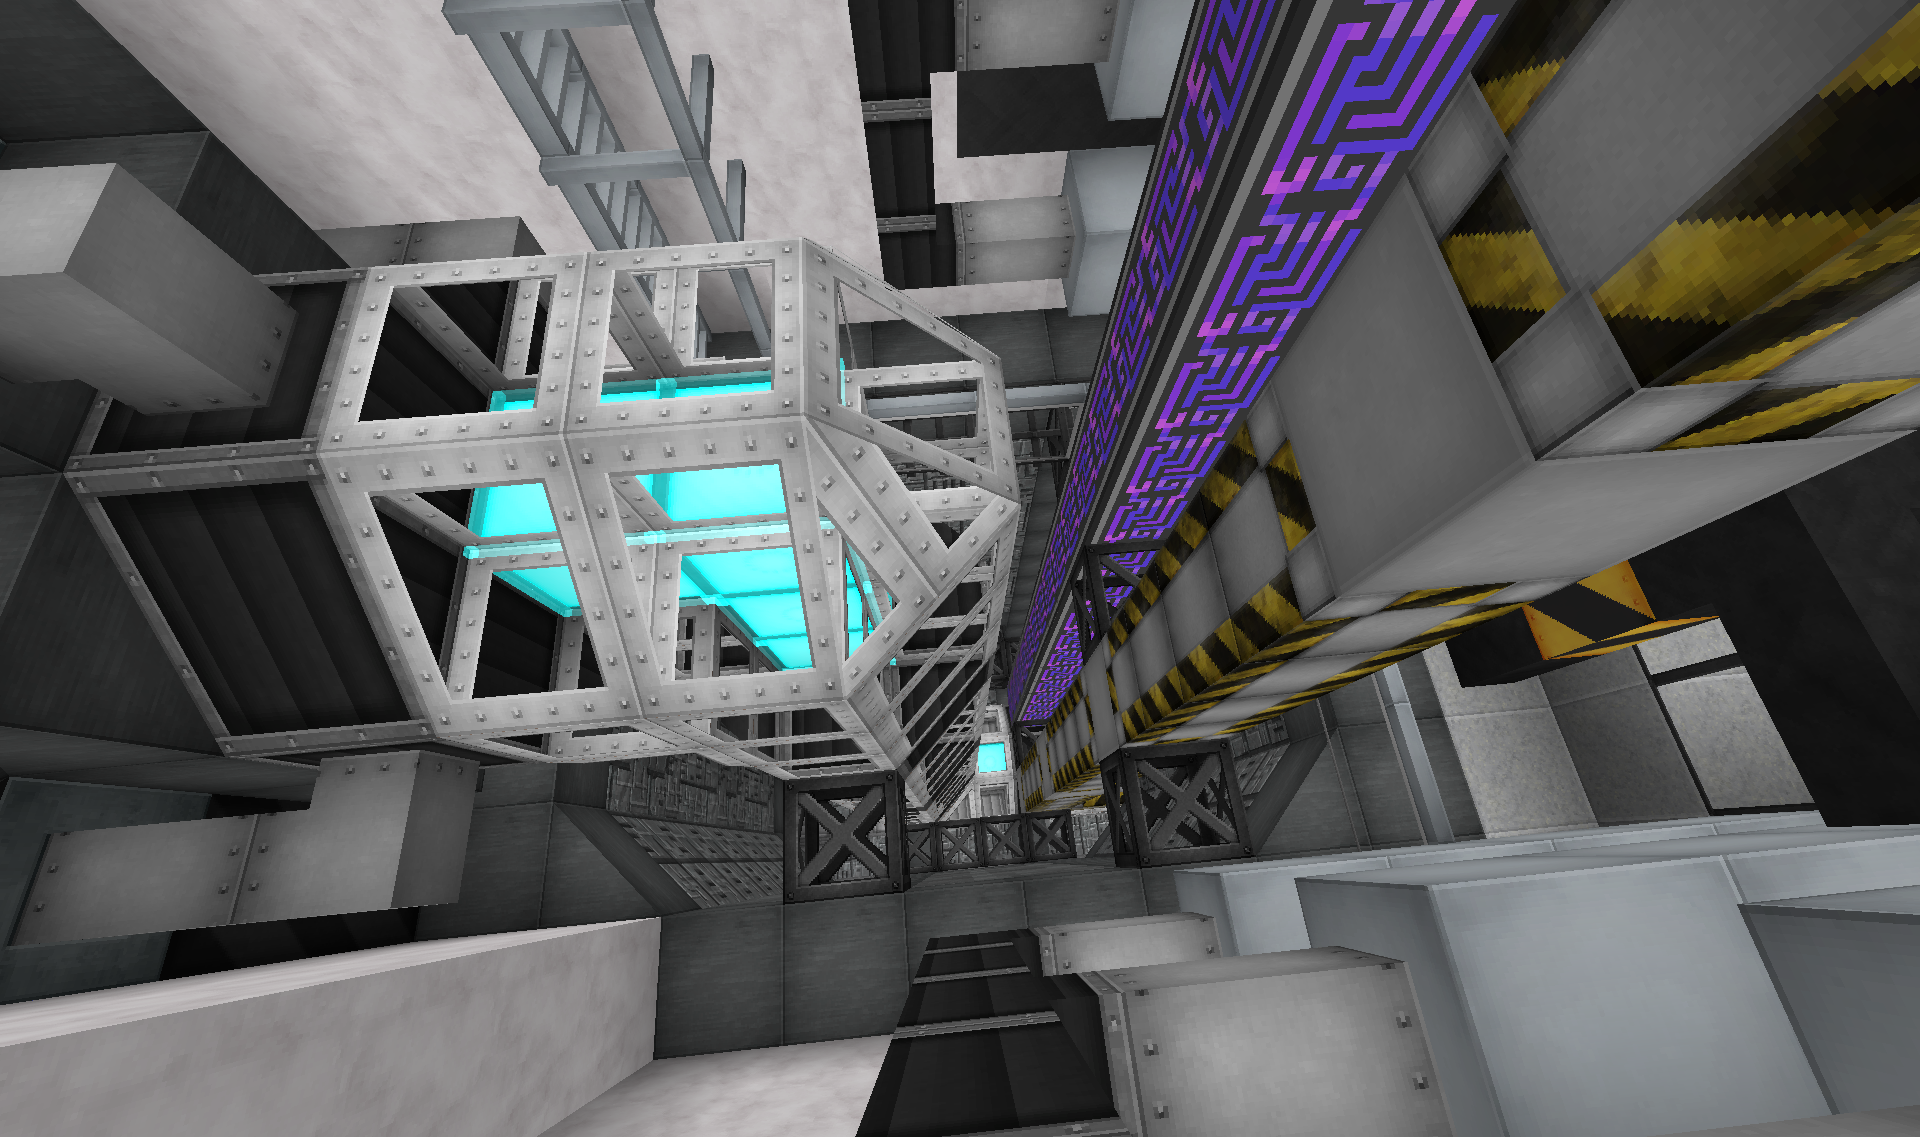
This space is pretty cramped with cables and wires everywhere, so pictures are a bit hard to take. But a few shots of it all:
Power transformer thingy:
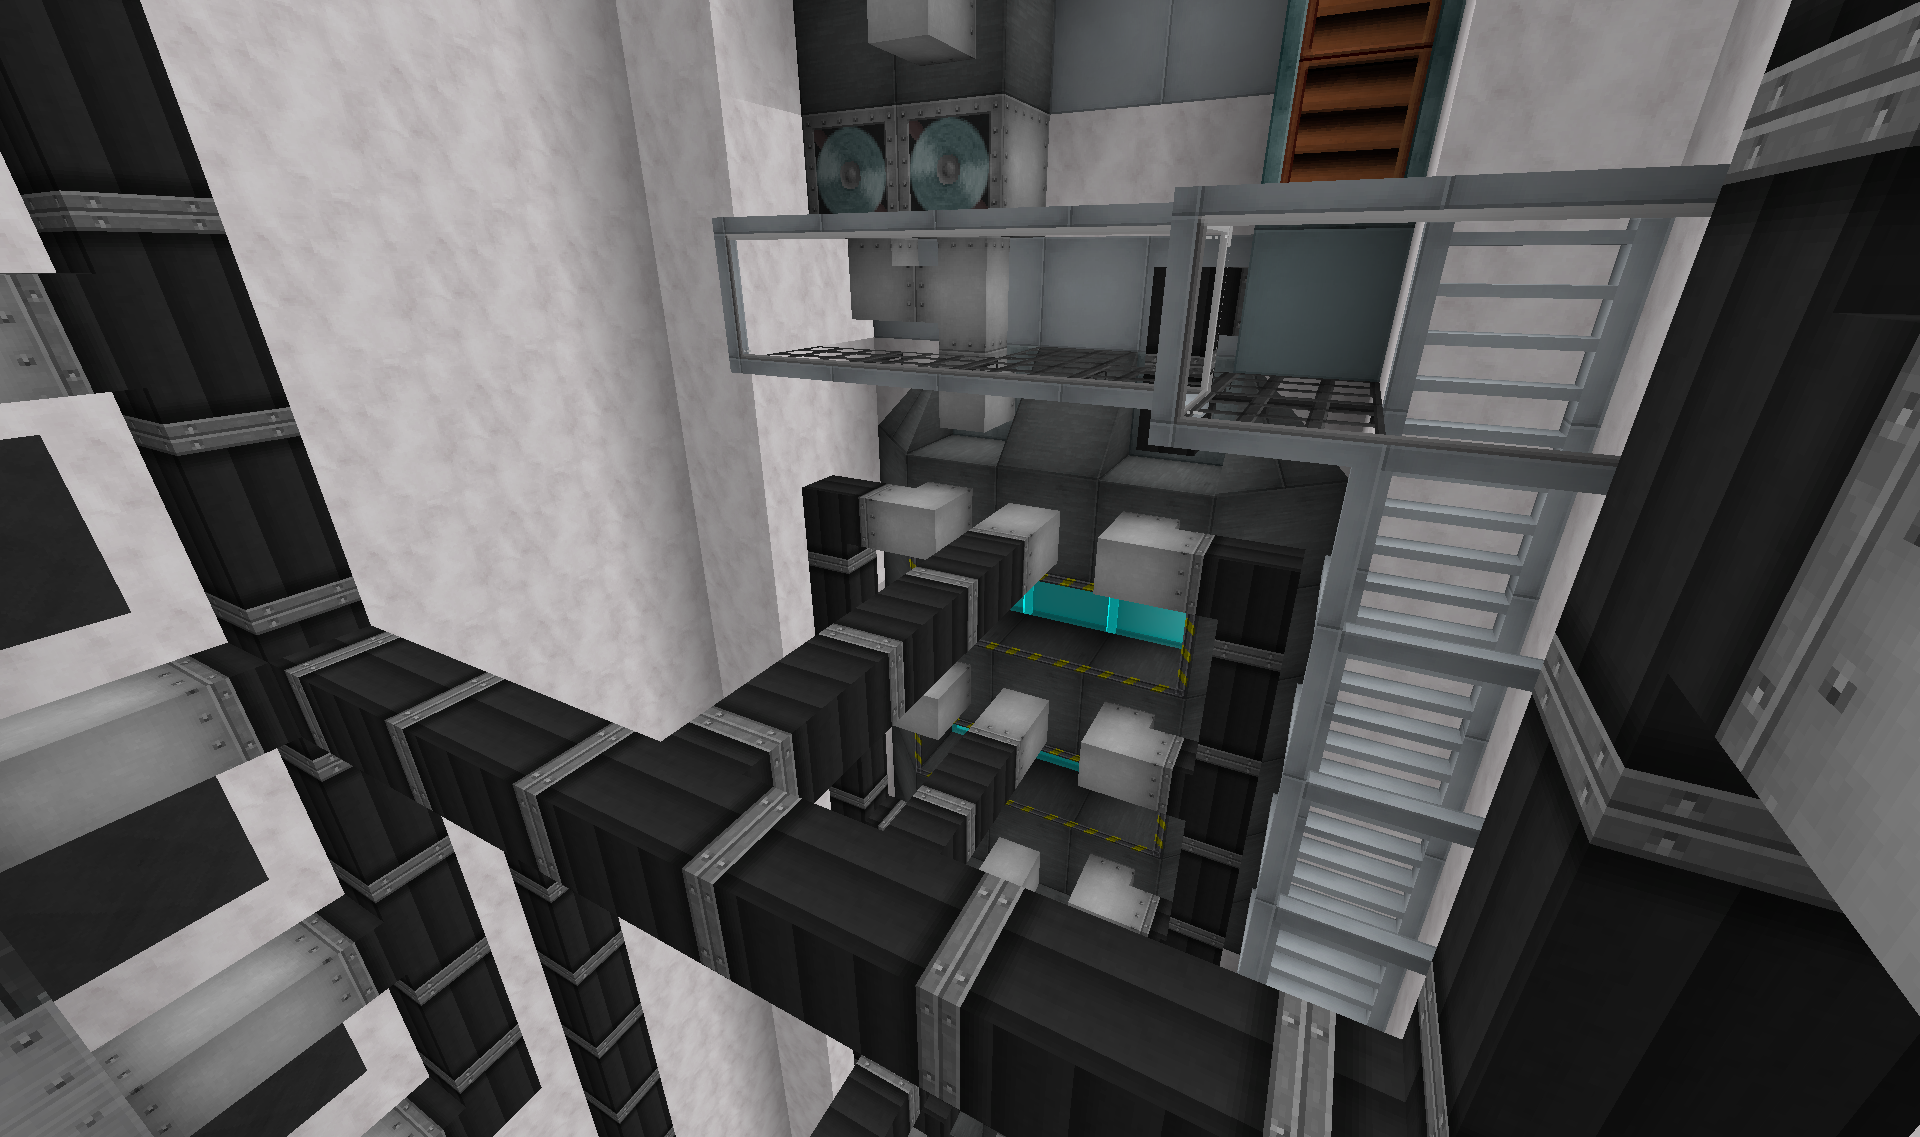
Some other power transformer thingy:
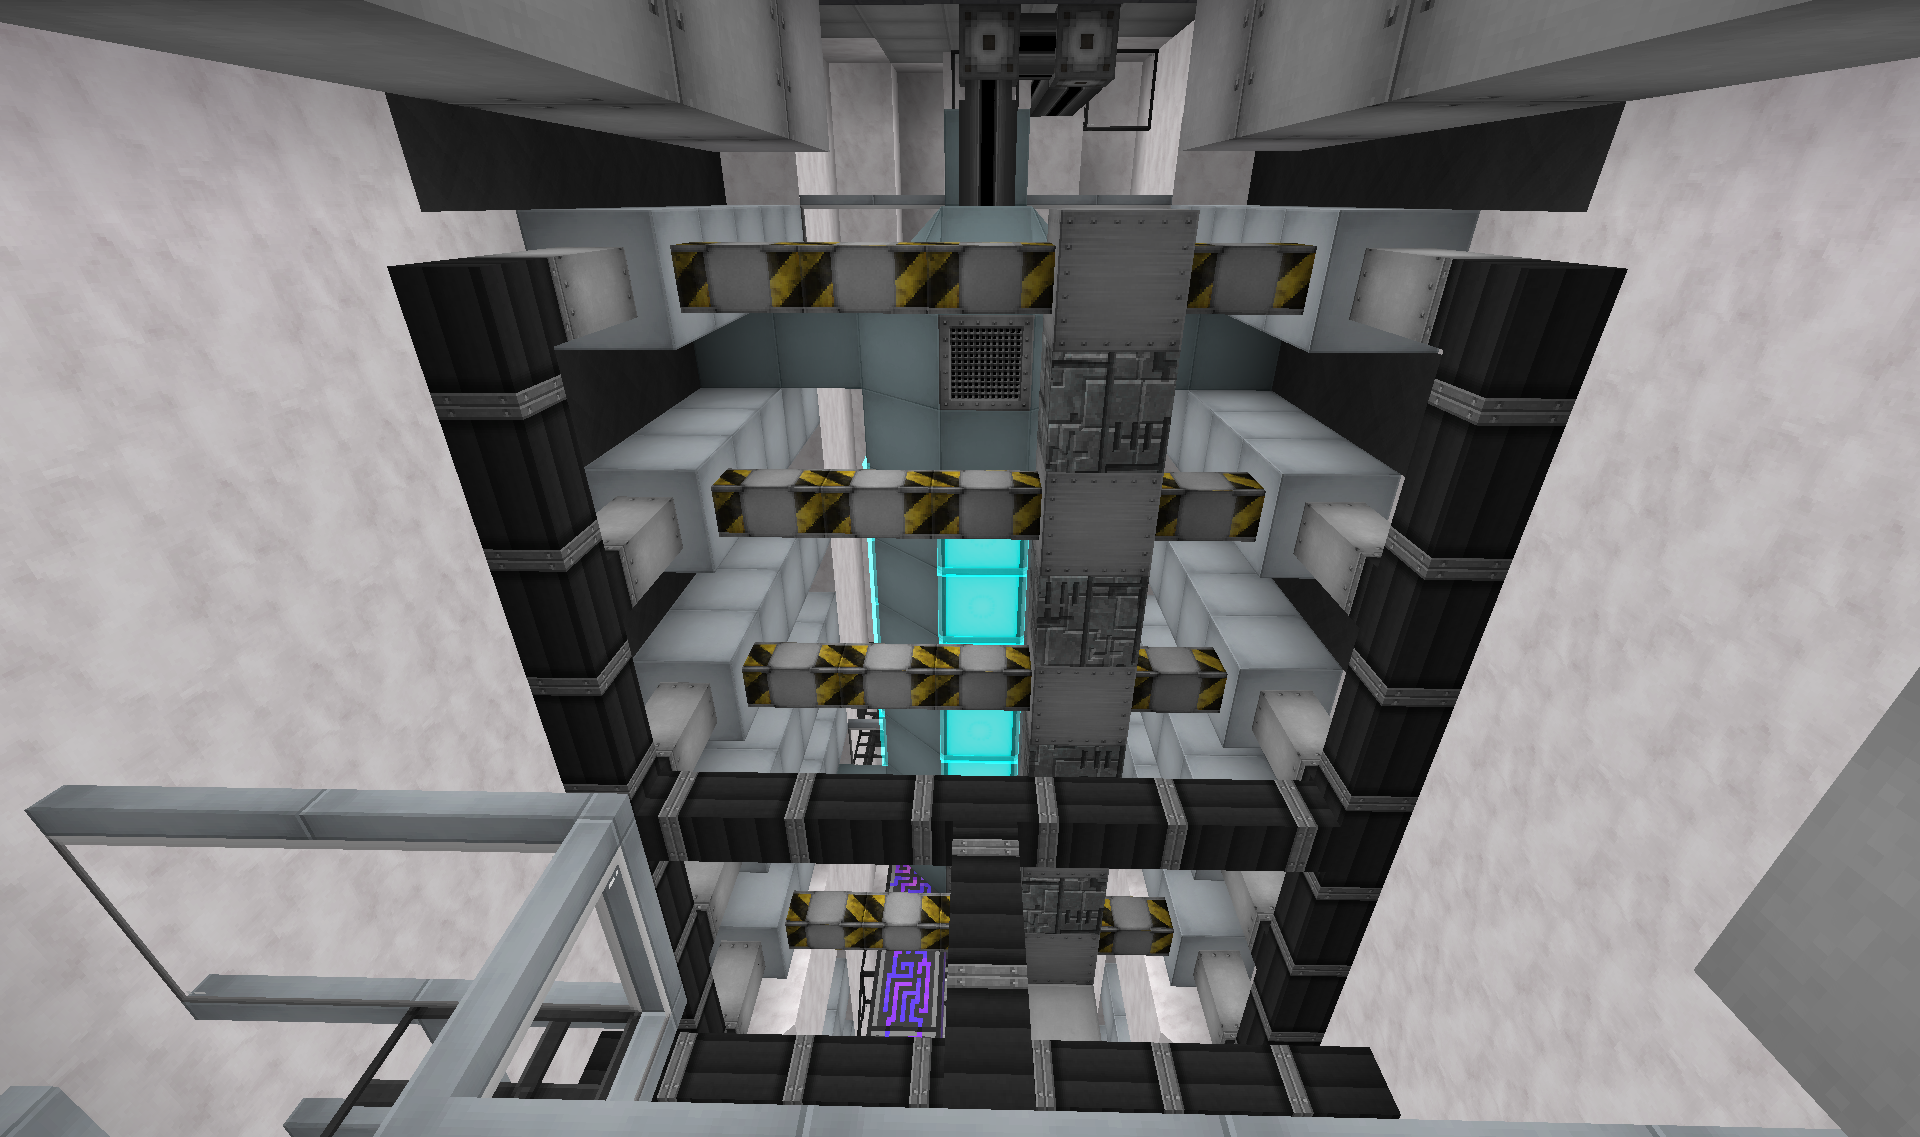
These connects to the ribs on the outside of the tower. For... cooling I guess
Computer thingy:
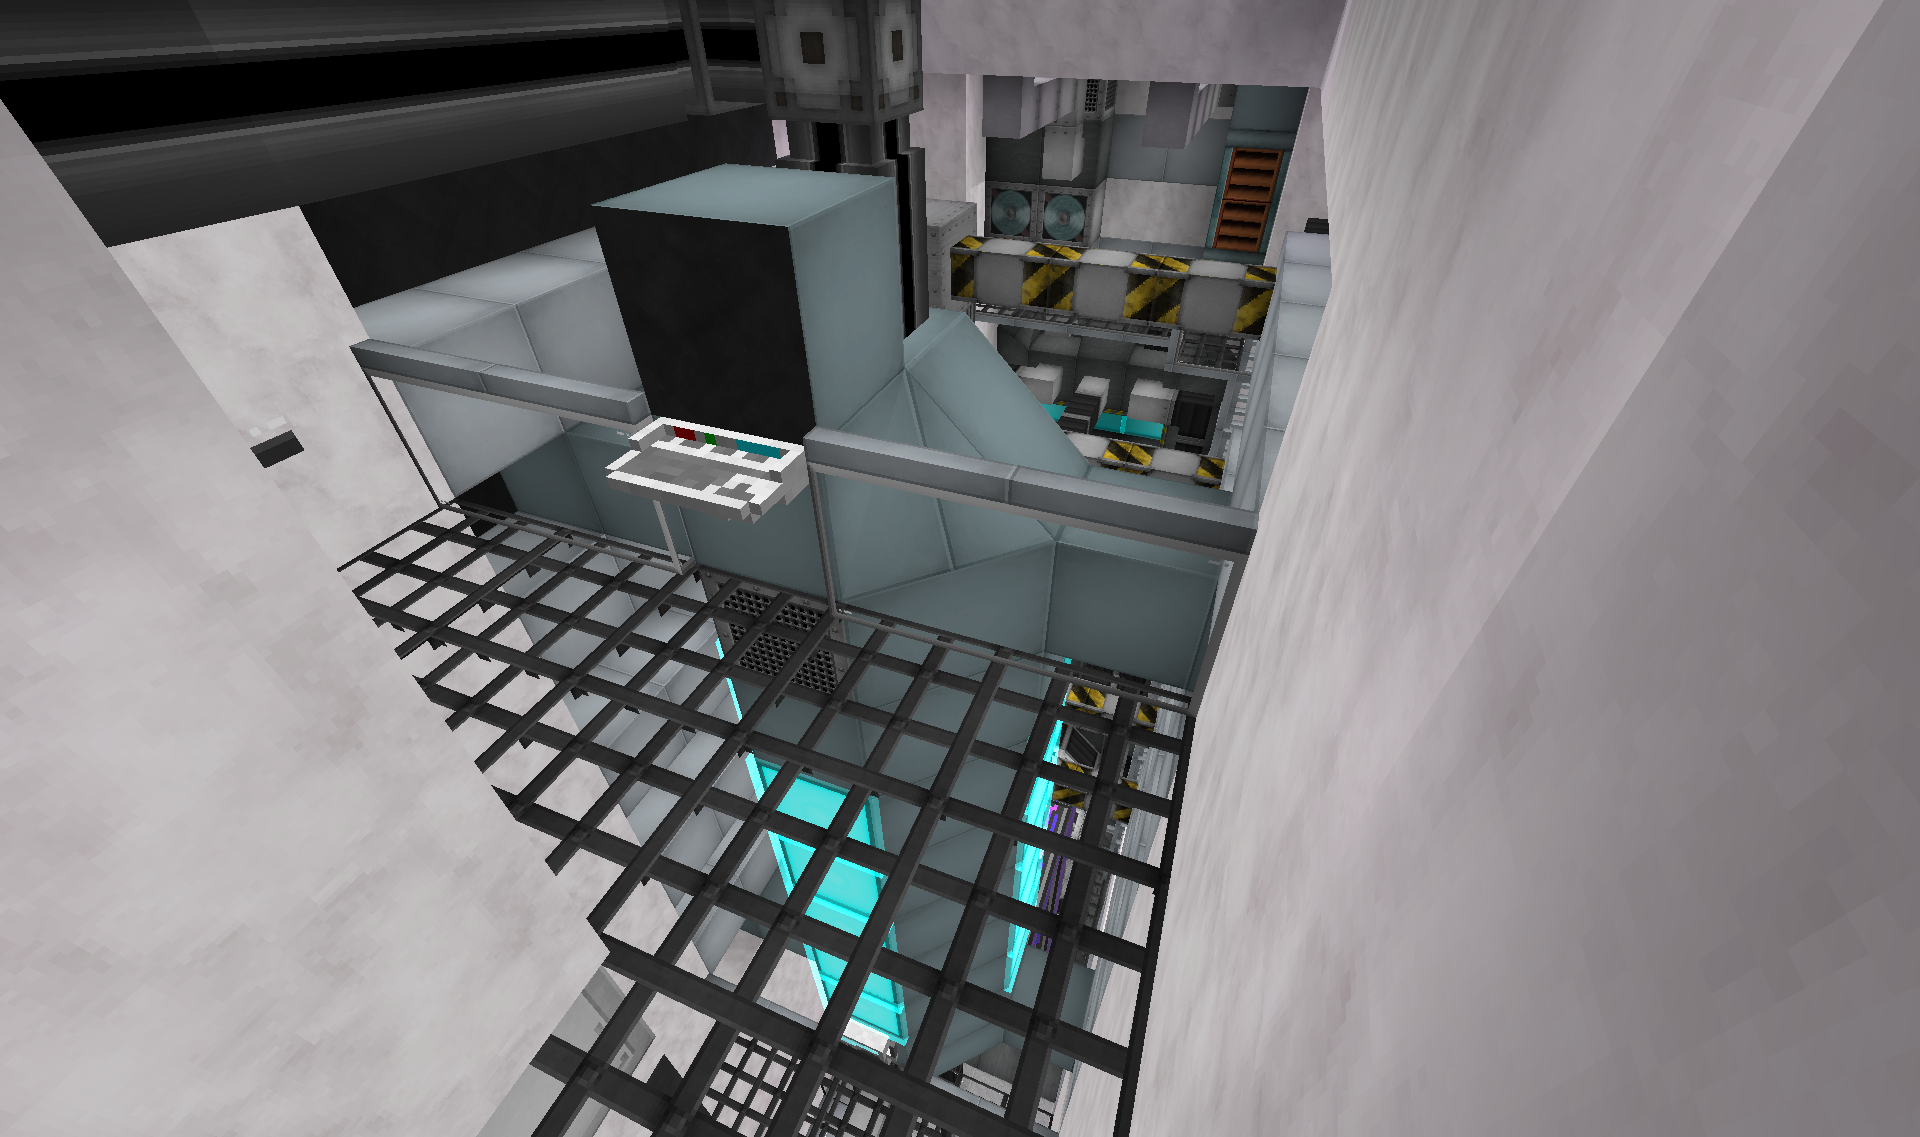
Designed to match the style of the AE computer centre at the tower. This purely cosmetic of course.
All this at the bottom of the spire was meant as various utility stuff like power. The narrower part at the top of the tower is meant to be various wireless communications stuff, but so far it is just empty.
Phew... Almost there now...
In Part 2 I mentioned the access road leading to the utility section as well as rocket launch pad:

Utility section to the right behind the gate, launch pad to the left behind the blast door.
Blast doors open up out to the launch pad:

Crane will then pick rocket up off truck(probably a modified version of the remove controlled cargo carrier), and place it on the launch pad.
This is a working Galacticraft rocket pad, and so far my main access to the moon/mars/asteroids. But I plan on adding access to (some of) those from the space station.
The utility section houses some misc machines(purely cosmetic):

Processing of fuels, gasses and fluids for and from the space station. Stuff like that.
At the other end of this machine hall:

This is adjacent to the waiting room/museum in part 1(out of picture is the doors mentioned in part 1).
This lowest floor is mostly just for some random cargo, but it is also the hub between the space centre, the data/utility centre, and in turn the rest of the world. The doorway to the right is the corridor that leads to the data/utility centre.
For reference:

The previous picture was taking at the lowest floor of the side building at the base of the space elevator almost in the middle of the picture.
The corridor mentioned is the long thin black one besides the little park area, which goes to the tall spire like building.
The tall spire is the data/utility centre.
To the right you can see the launch pad, and the side building closest to that is the control centre.
Going up a floor:

A little area for monitoring various power and other utility stuff.
I got tired of not having AE access out here, so made a small one chunk satellite network. The quantum bridge is visible through the window.
The area with the quantum bridge also houses some various computer banks:

Located at the end of this corridor is the control centre:

The launch pad is visible out the window.
Going back and up a floor:

More computer banks, as well as the IT department office.
Going instead towards the data/utility centre:

This access tunnel offers both easy access, as well as housing various cables and pipes.
At the end of the tunnel, inside the tall spire building, is first a small booth:

Deeper inside, the main landline connection to the tower and bunker:

Same design as the utility tunnel between the tower and bunker, which this links up to(well, almost. Distance was too far and I faked the part of the stretch
This space is pretty cramped with cables and wires everywhere, so pictures are a bit hard to take. But a few shots of it all:
Power transformer thingy:

Some other power transformer thingy:

These connects to the ribs on the outside of the tower. For... cooling I guess
Computer thingy:

Designed to match the style of the AE computer centre at the tower. This purely cosmetic of course.
All this at the bottom of the spire was meant as various utility stuff like power. The narrower part at the top of the tower is meant to be various wireless communications stuff, but so far it is just empty.
Collapsible blocks yeah. If you place them on a ceiling from below, they will allow you to change their gradient on the underside. You can only slope them on one side, dependant on how you placed them.@rhn How do you get the shallower slopes on the undersides of blocks? Do collapsible blocks allow you to do that?? I thought you could only do the gradient from the top face!
Wish it worked on vertical surfaces too...
Ah, maybe that’s where I was having trouble! this changes everythingCollapsible blocks yeah. If you place them on a ceiling from below, they will allow you to change their gradient on the underside. You can only slope them on one side, dependant on how you placed them.
Wish it worked on vertical surfaces too...
So, something weird has happened in my head it seems. I was absolutely certain that I had posted some initial stuff about the space station a while back. So I have been holding back until I had some more finished things to show. Now looking back through the thread I can see practically nothing about it, and I am puzzled. This must be rectified!
To compliment the space elevator in Overworld, I had decided to build a space station on the end of the tether(technically halfway up). The background story is that this space station serves as a first stepping stone to the final frontier(outer space and other planets). The space elevator makes it cheaper, safer and more efficient to transport people and materials into space.
In addition to being a transport hub, the space station also houses various research labs, for an excellent compromise between convenience of earth resources and access to off-world materials etc.
The space station is generally still a work in progress, missing a bunch of detailing as well as several empty floors and rooms. But there is a bunch of stuff going on already, and I am beginning to forget some of the details of it already
So, to start with I think I will post a little tour of the exterior:
One of the key features is of course the space elevator cab:
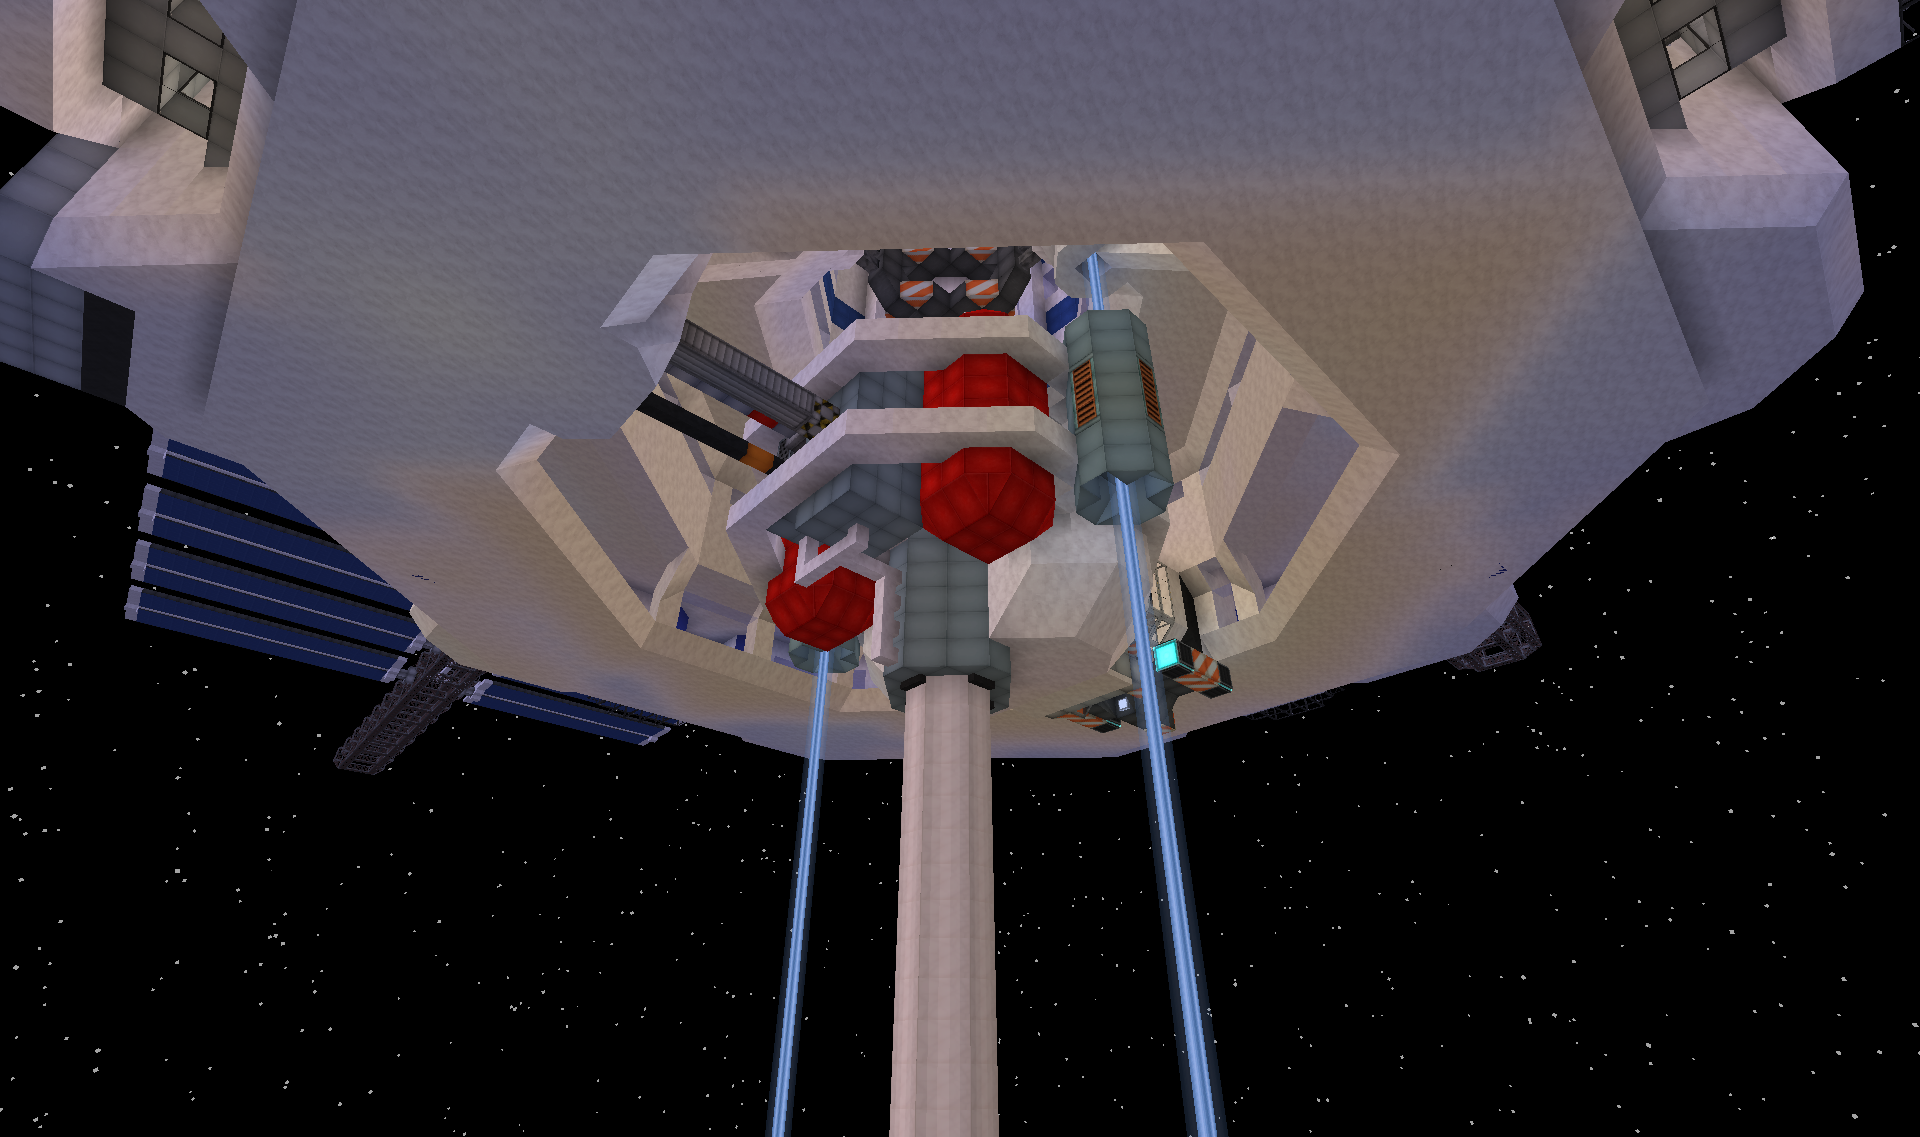
It is an identical copy of the one back at Overworld, so you can RP it actually having travelled up the tether. The travel is of course done with RFTools teleporters(mentioned in previous posts).
At arrival the cab is hooked up to the station with extended cables, for exchange of various resources like air and water for the station.
On the other side the umbilical is extended for passengers to transfer:
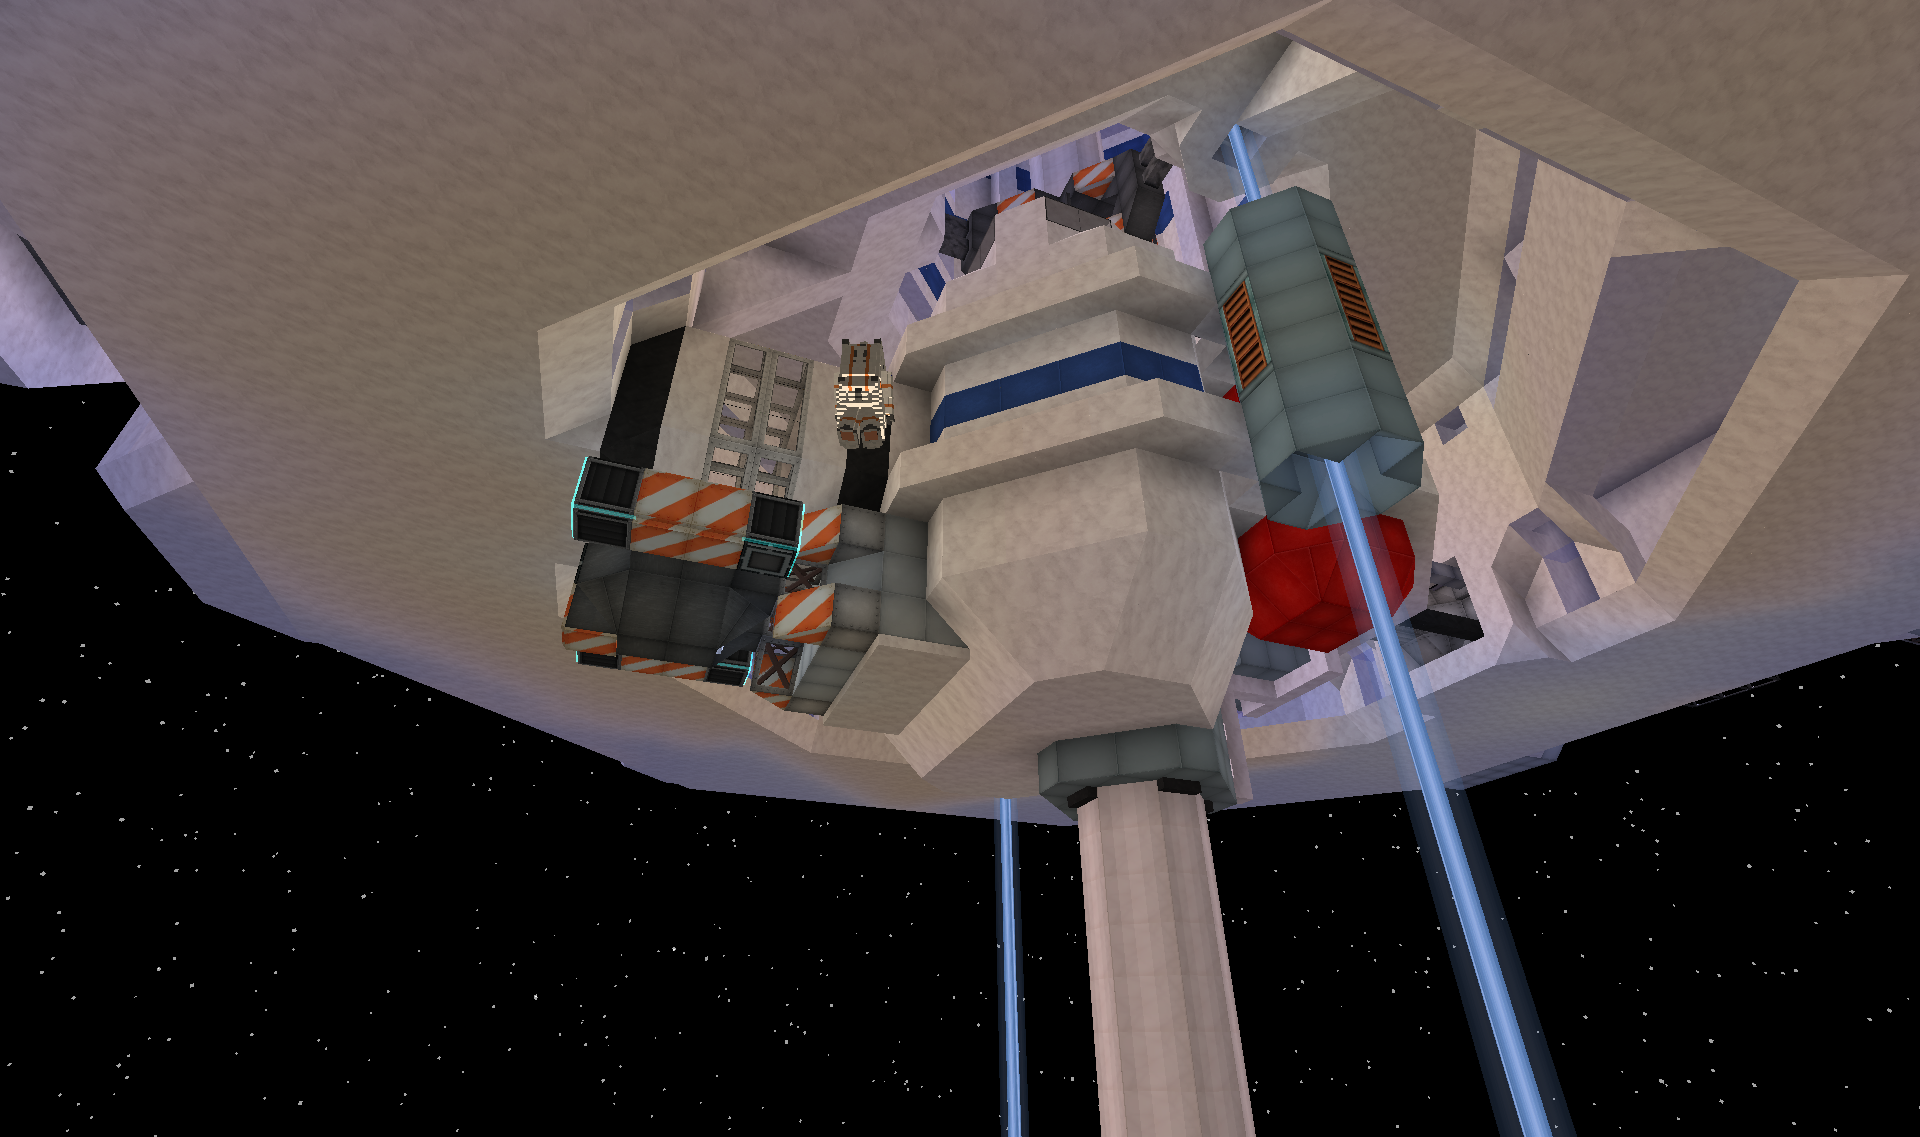
As detailed in the previous post on the space centre, the cab now also carries cargo containers for bulk cargo both for the station and other destinations.
Small cargo tug ship currently exchanging containers under supervision from worker in EVA suit:
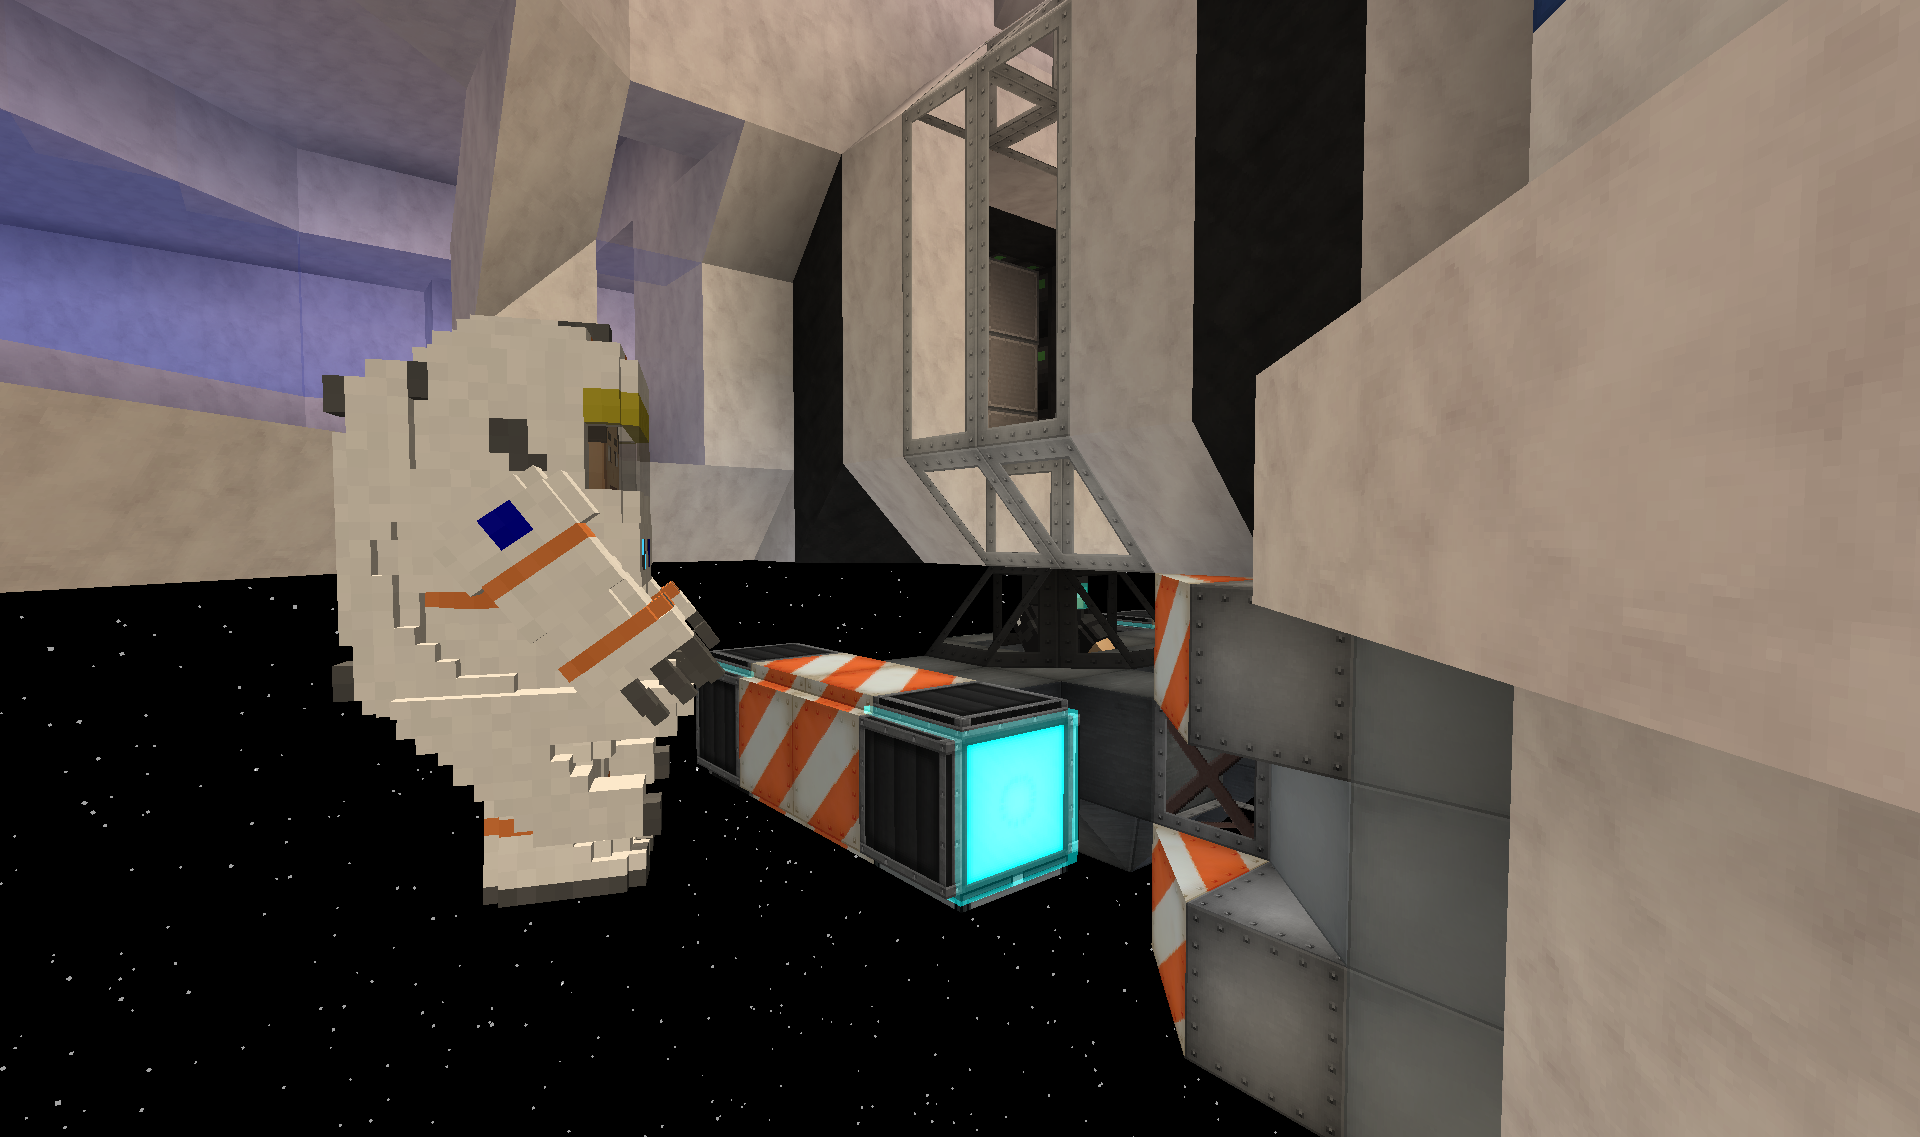
Designed the EVA suit with Armourer's Workshop, as it didn't feel right to swoop around zero gravity in normal armour. I have never worn it yet myself, but it makes for some nice scenery
The space station is approximately 50 blocks in diameter, based on a hexagon shape:
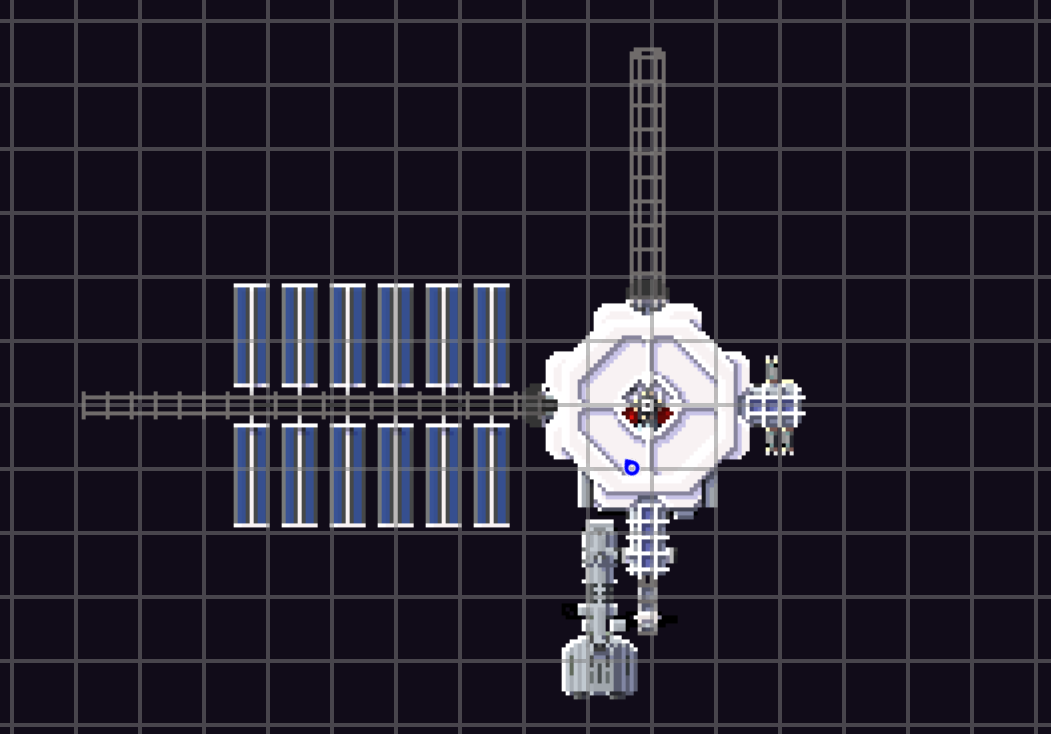
The grid shows the chunk boundaries.
The station has a total of 6 levels/floors.
Attached on four of the sides are various features.
Solar panels for power:
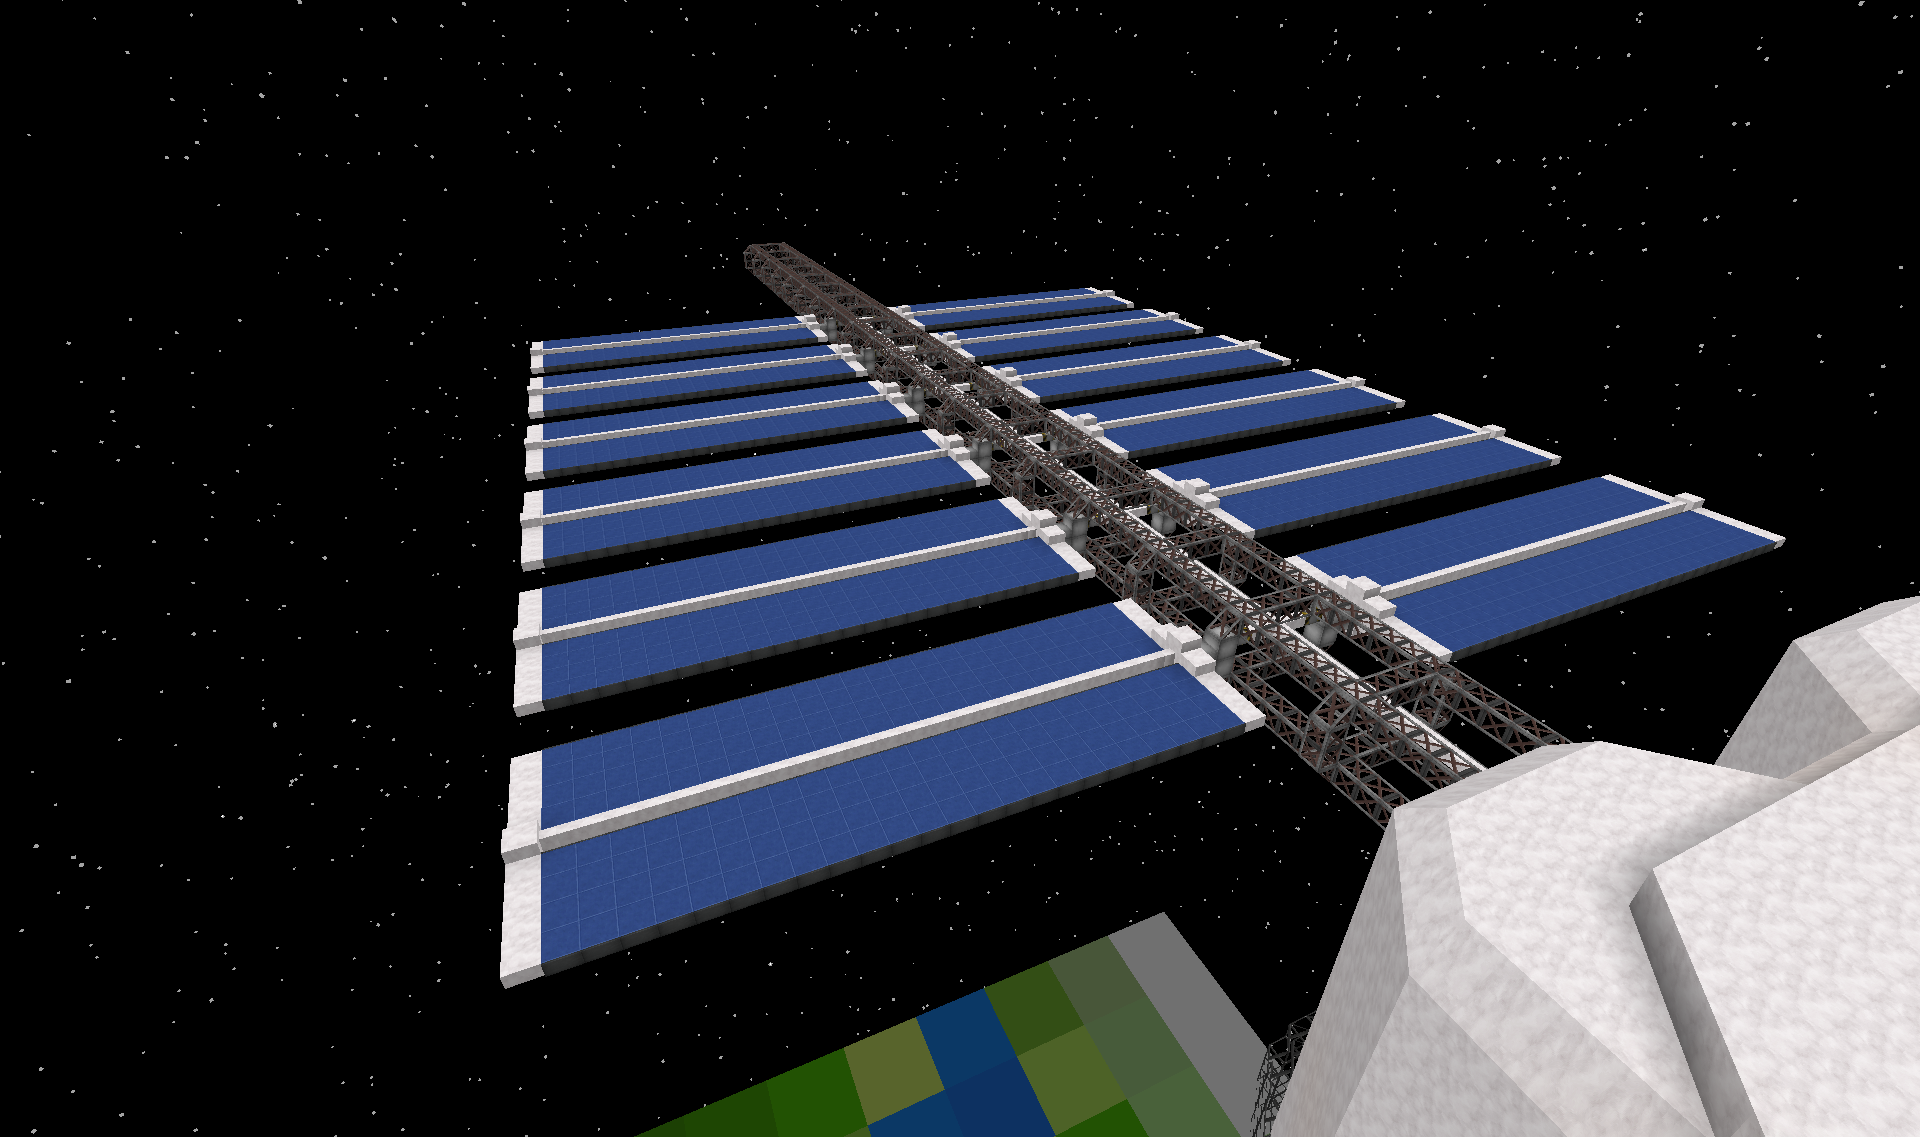
Those are purely cosmetic, but at the base of the strut I have added 4 "Order Infused Triple Compressed Solar Panels"(Electro-magic tools), producing roughly 33k RF. It is not enough to keep the station self reliant on power since a lot of power goes into producing and sealing the stations huge volume with oxygen. Currently have 50 Oxygen Sealers in use and still got one floor without oxygen
Next is the docks for interplanetary transports, which currently has one ship docked:
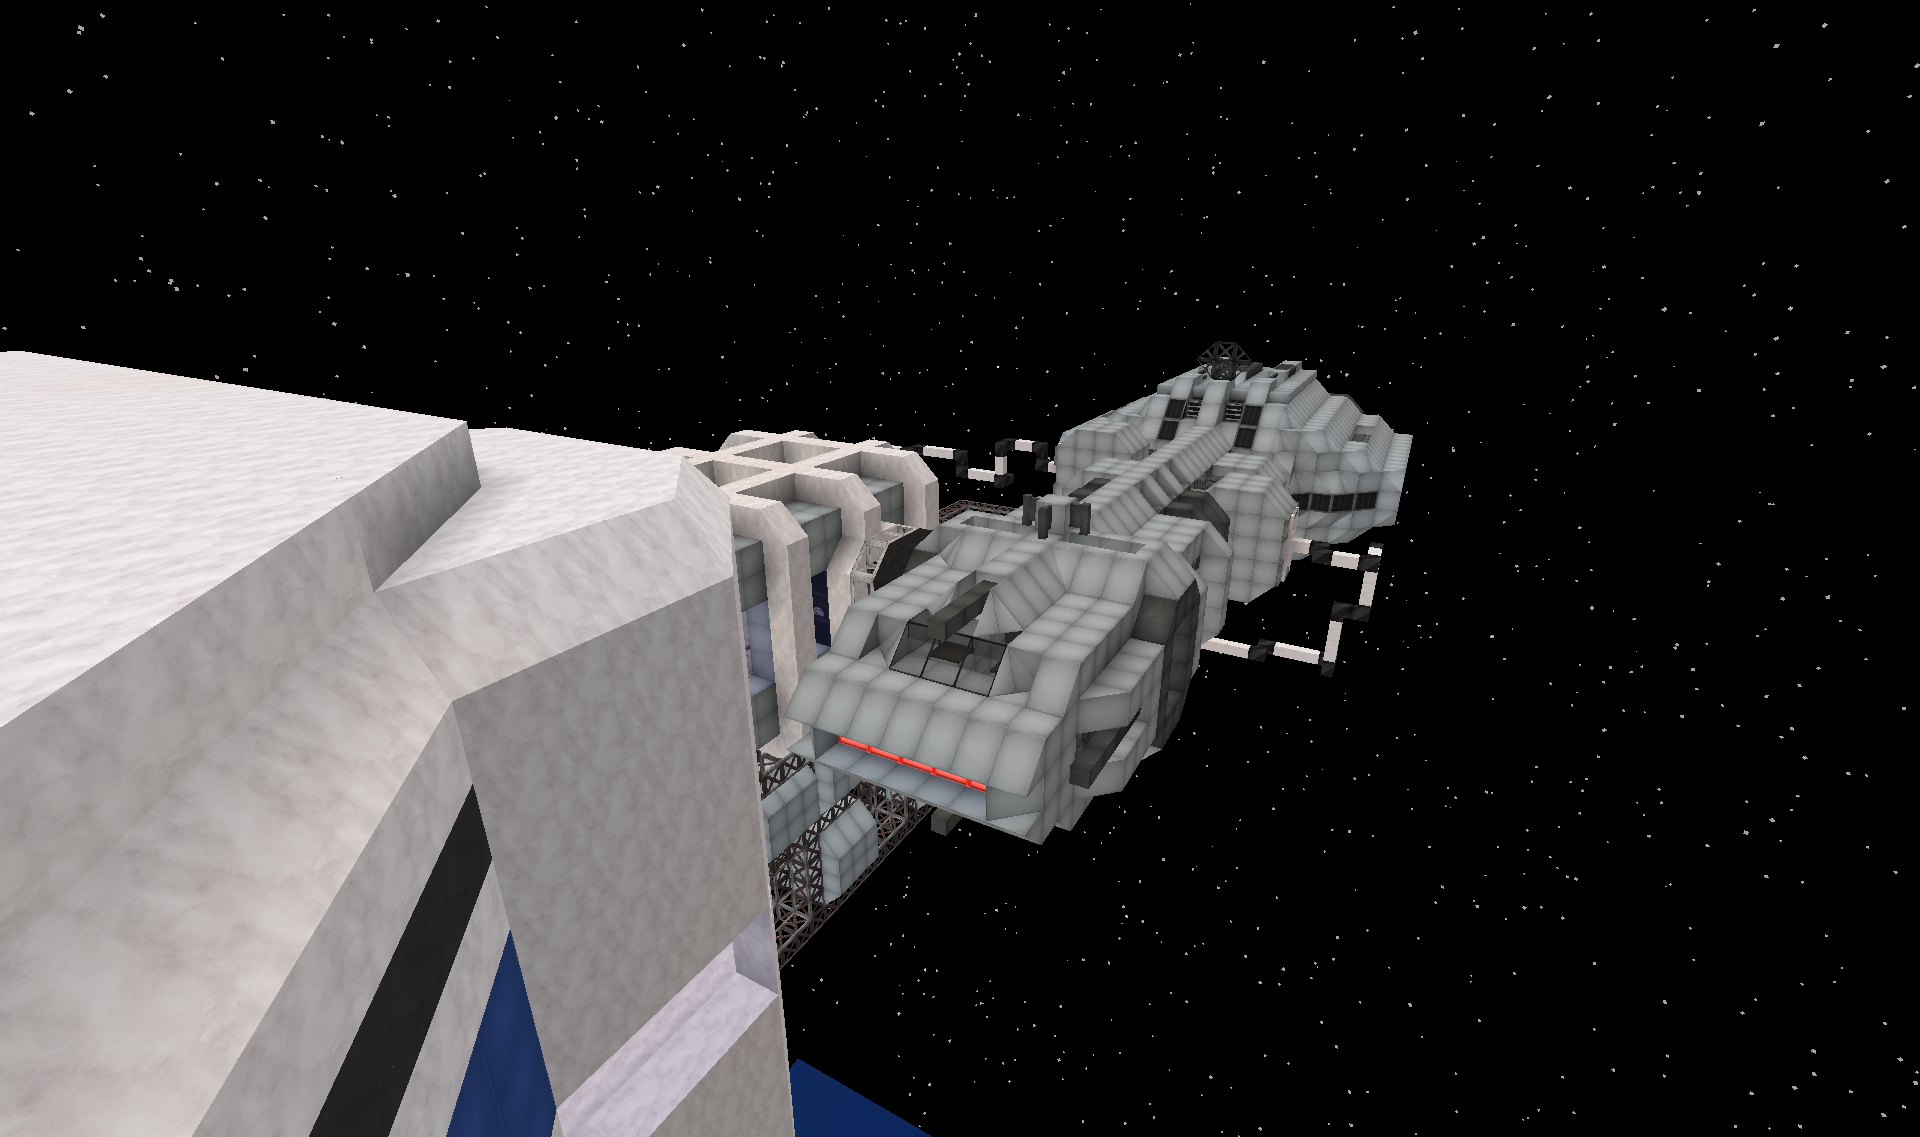
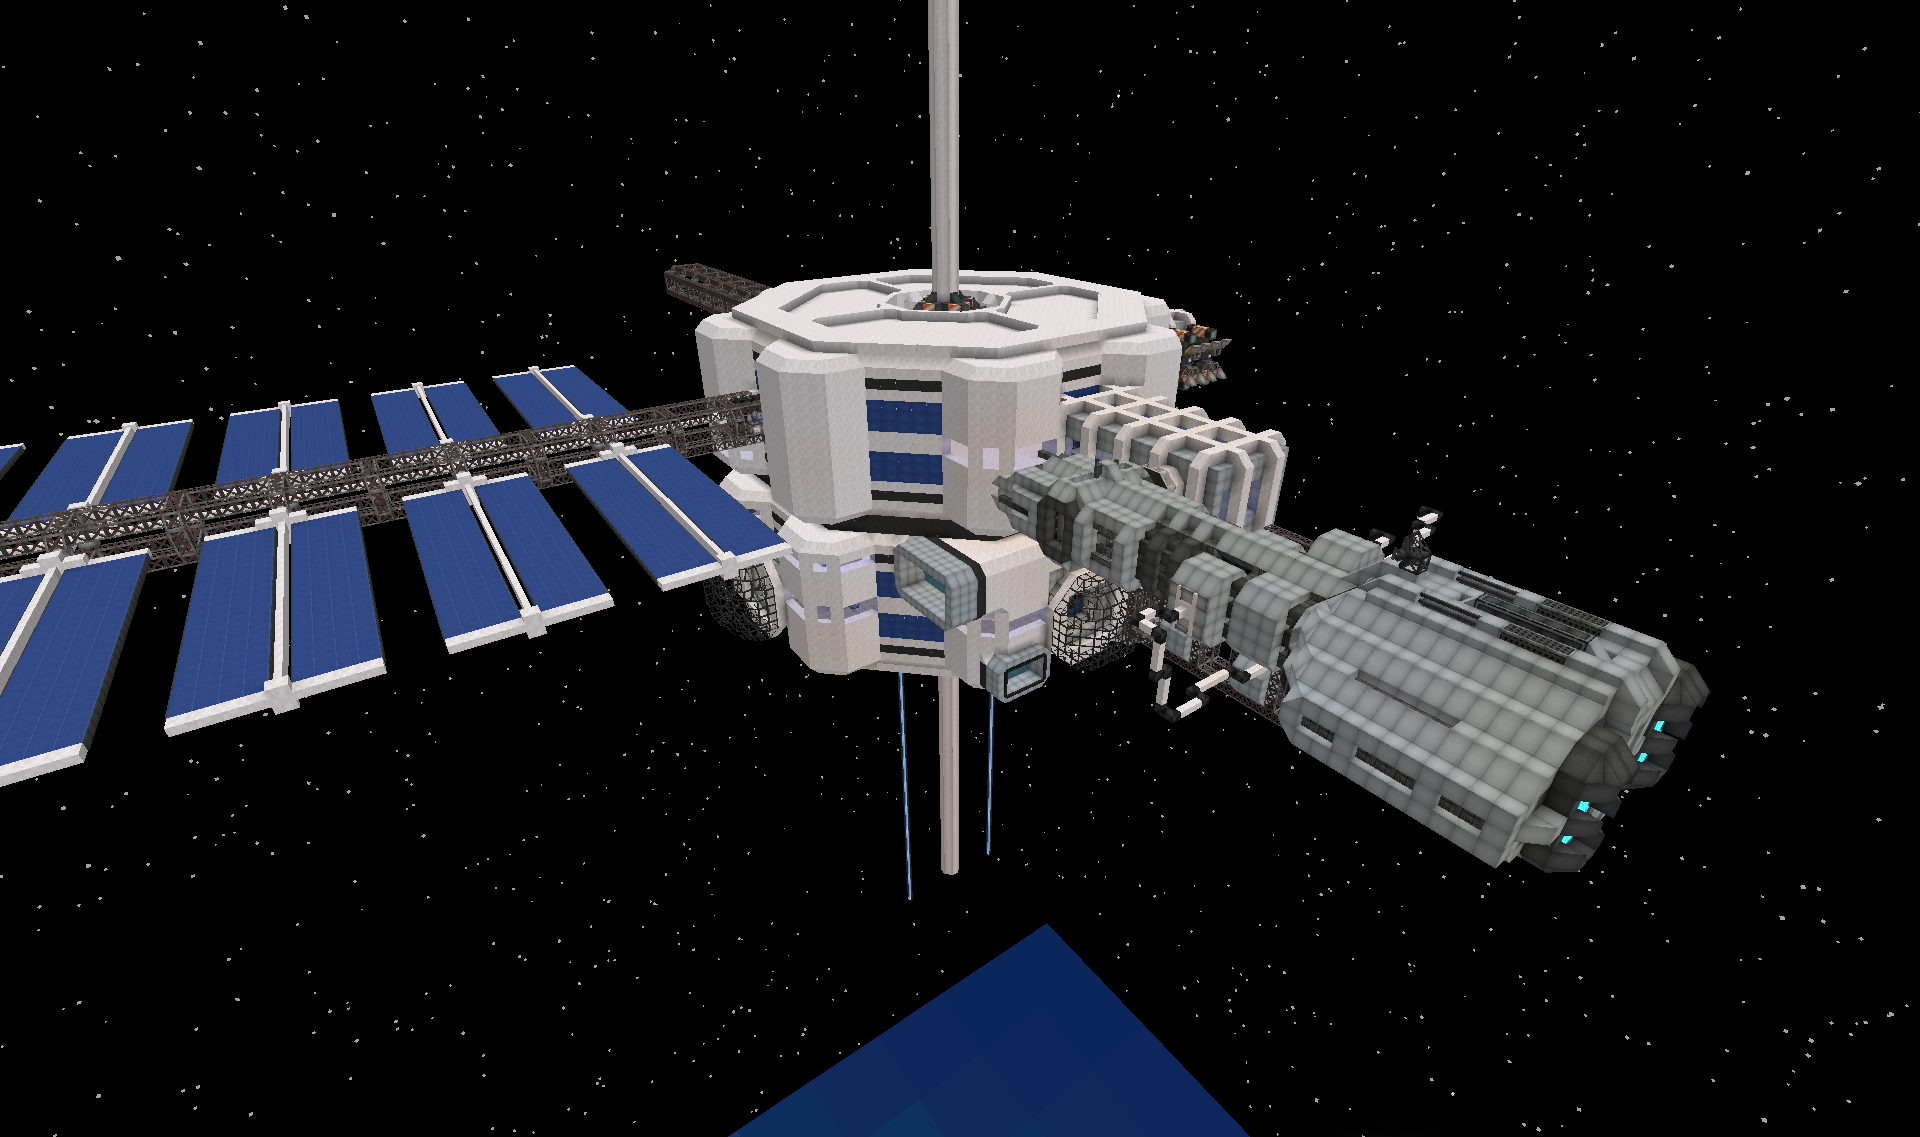
It is currently having its cargo containers exchanged by the robotic arms:
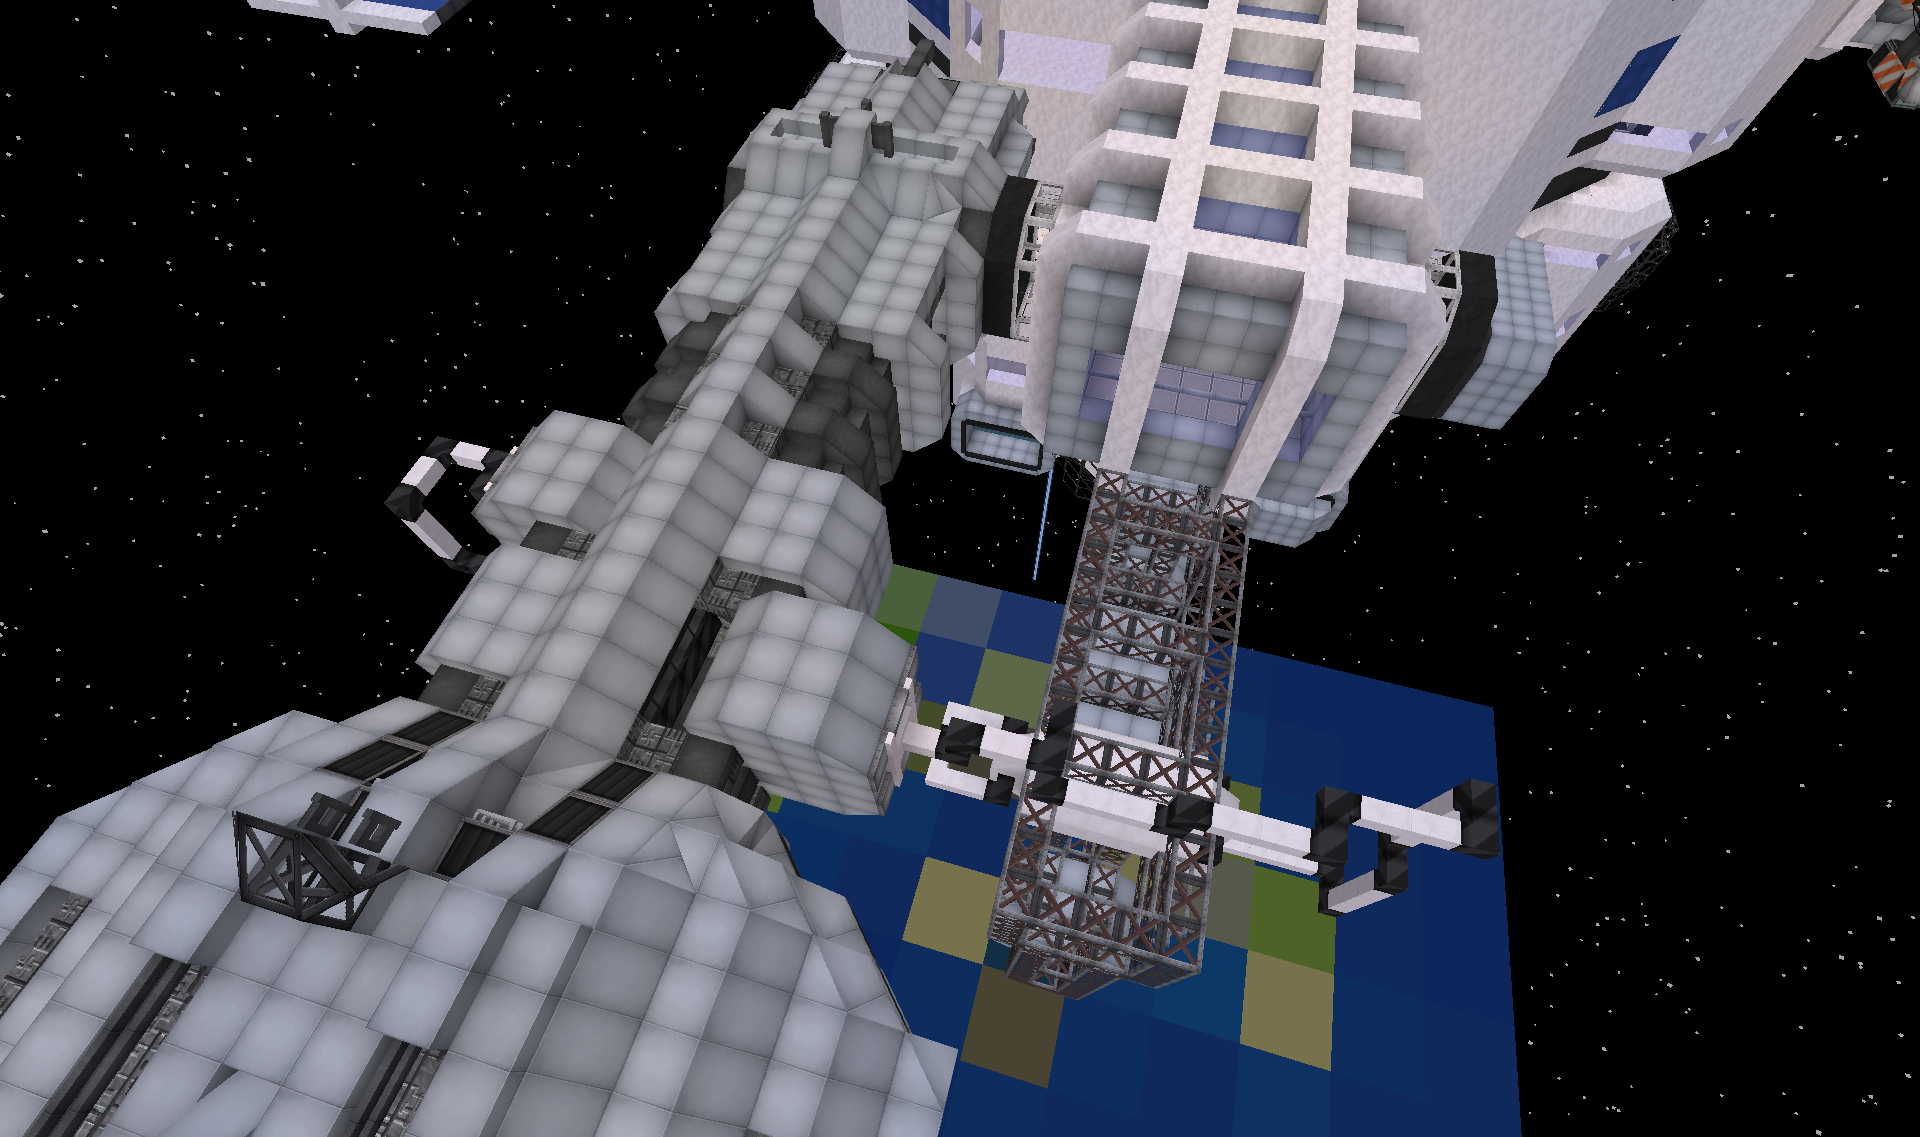
I had built this ship with its containers many months ago, and it was just luck that the containers fit perfectly into the space elevator when I realised I had forgotten to think of that. So now they all share the same container format, all the way from the space centres factory hall, to space station and eventually perhaps to other planets. That is the idea at least
Added a bit of temporary storage space for containers underneath:
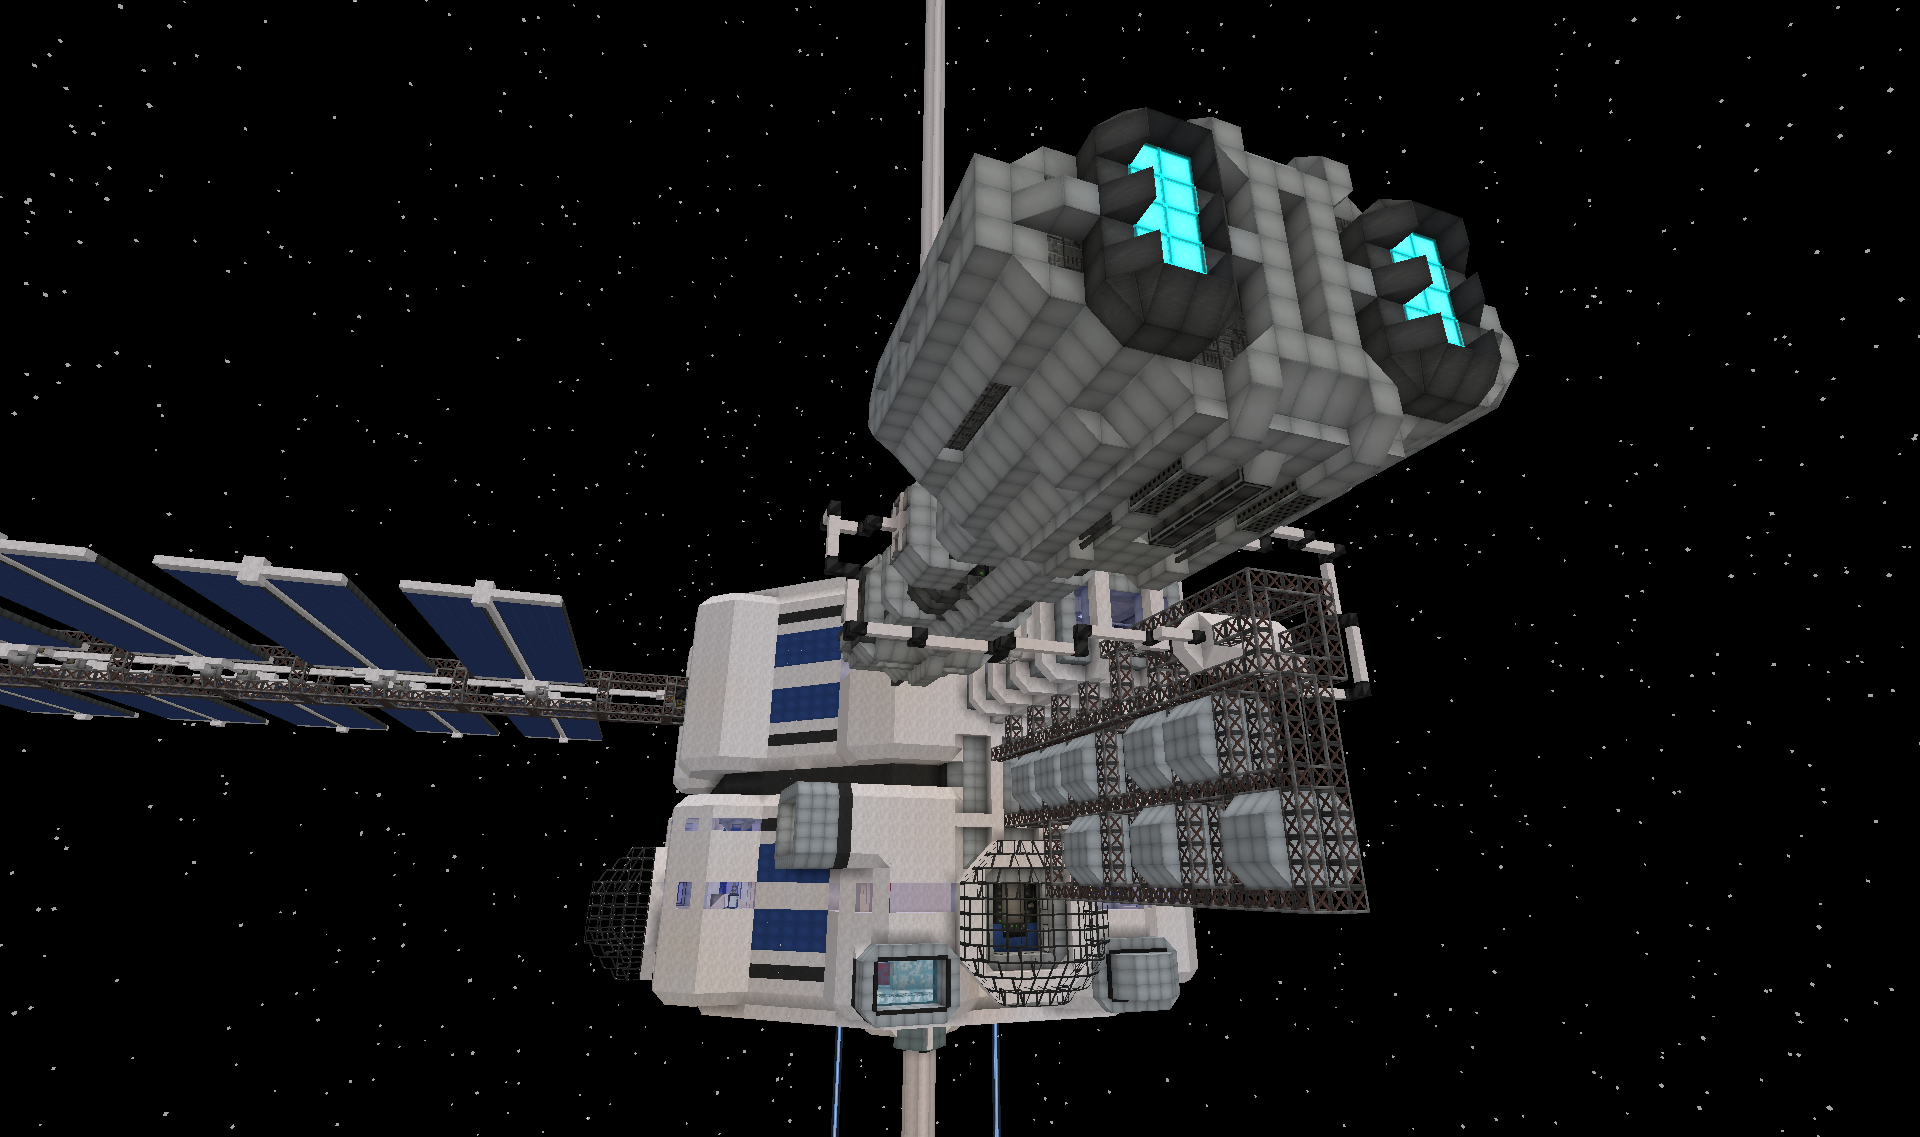
Next up a dock for smaller vessels:
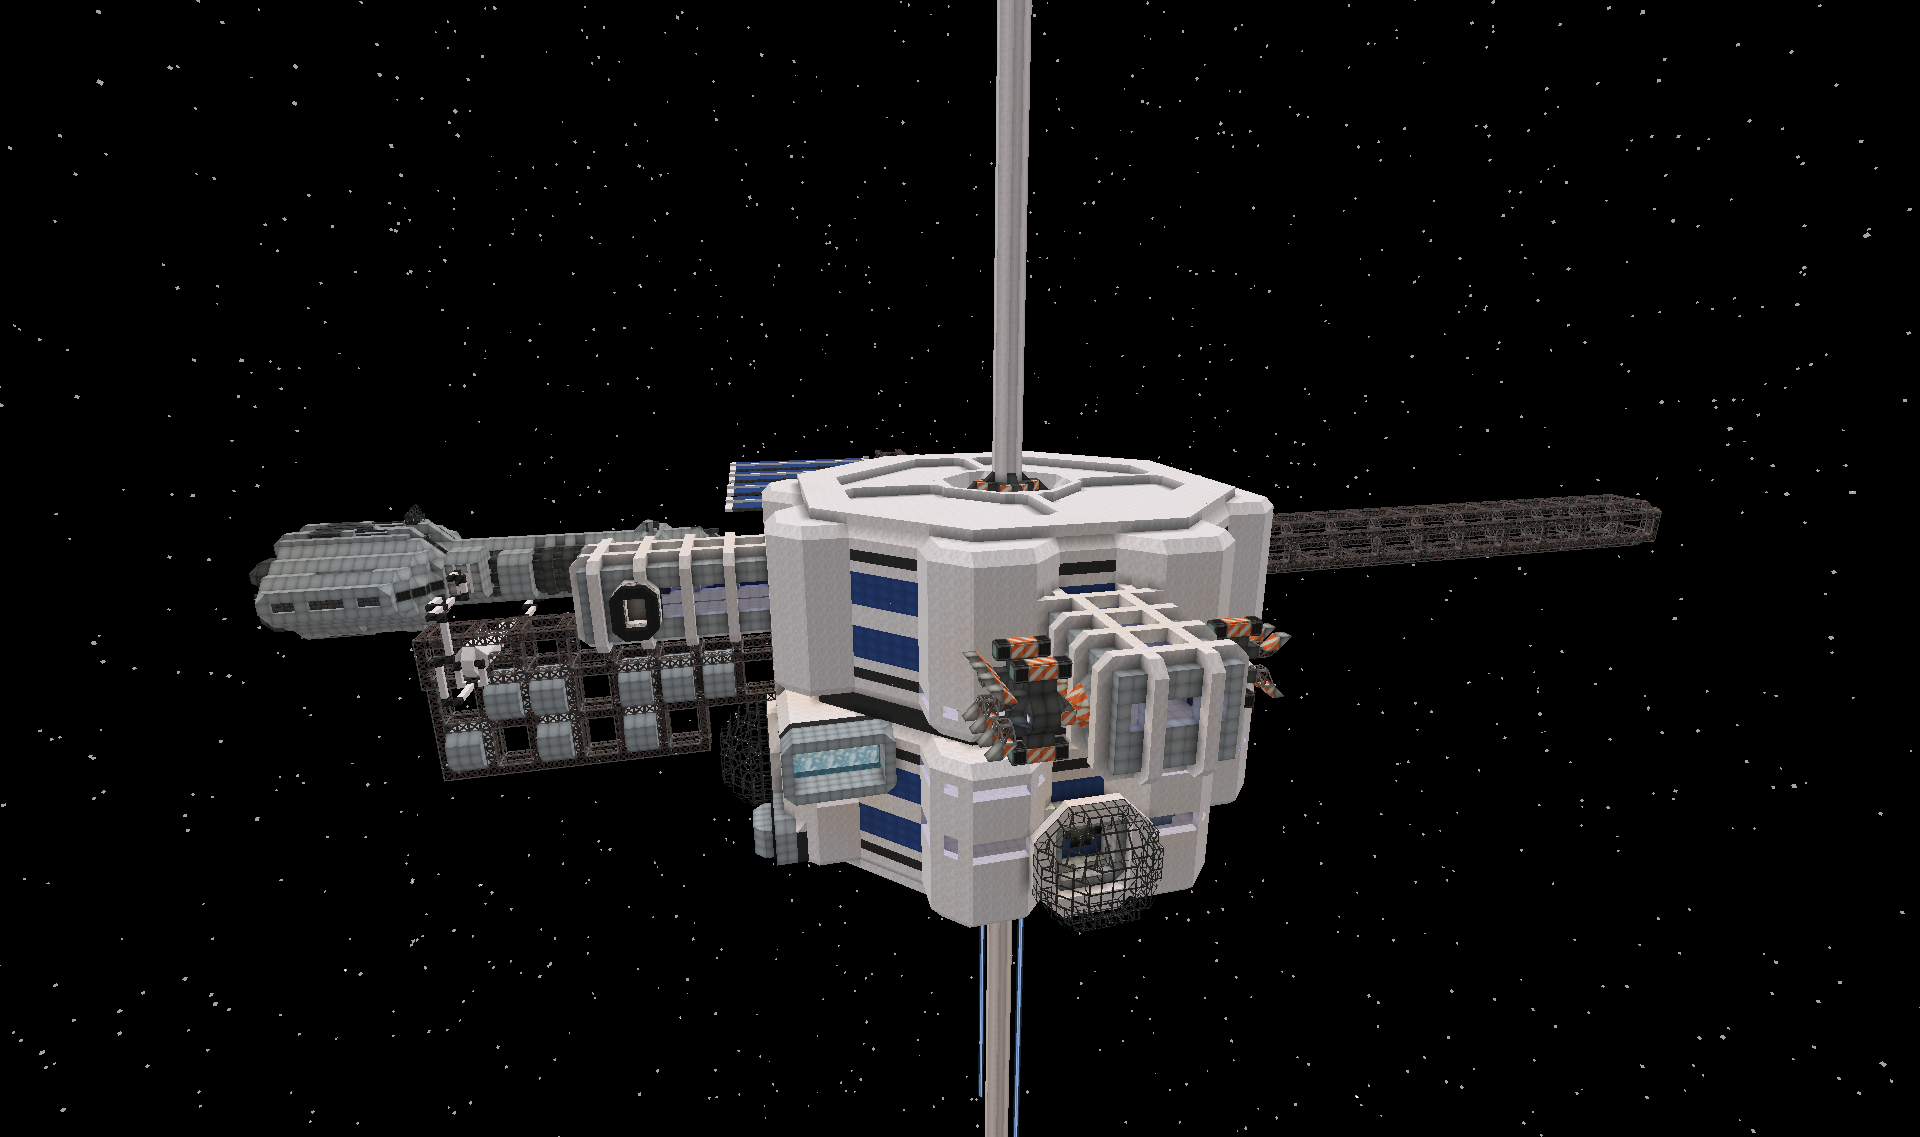
So far it holds berths for 4 cargo tugs:
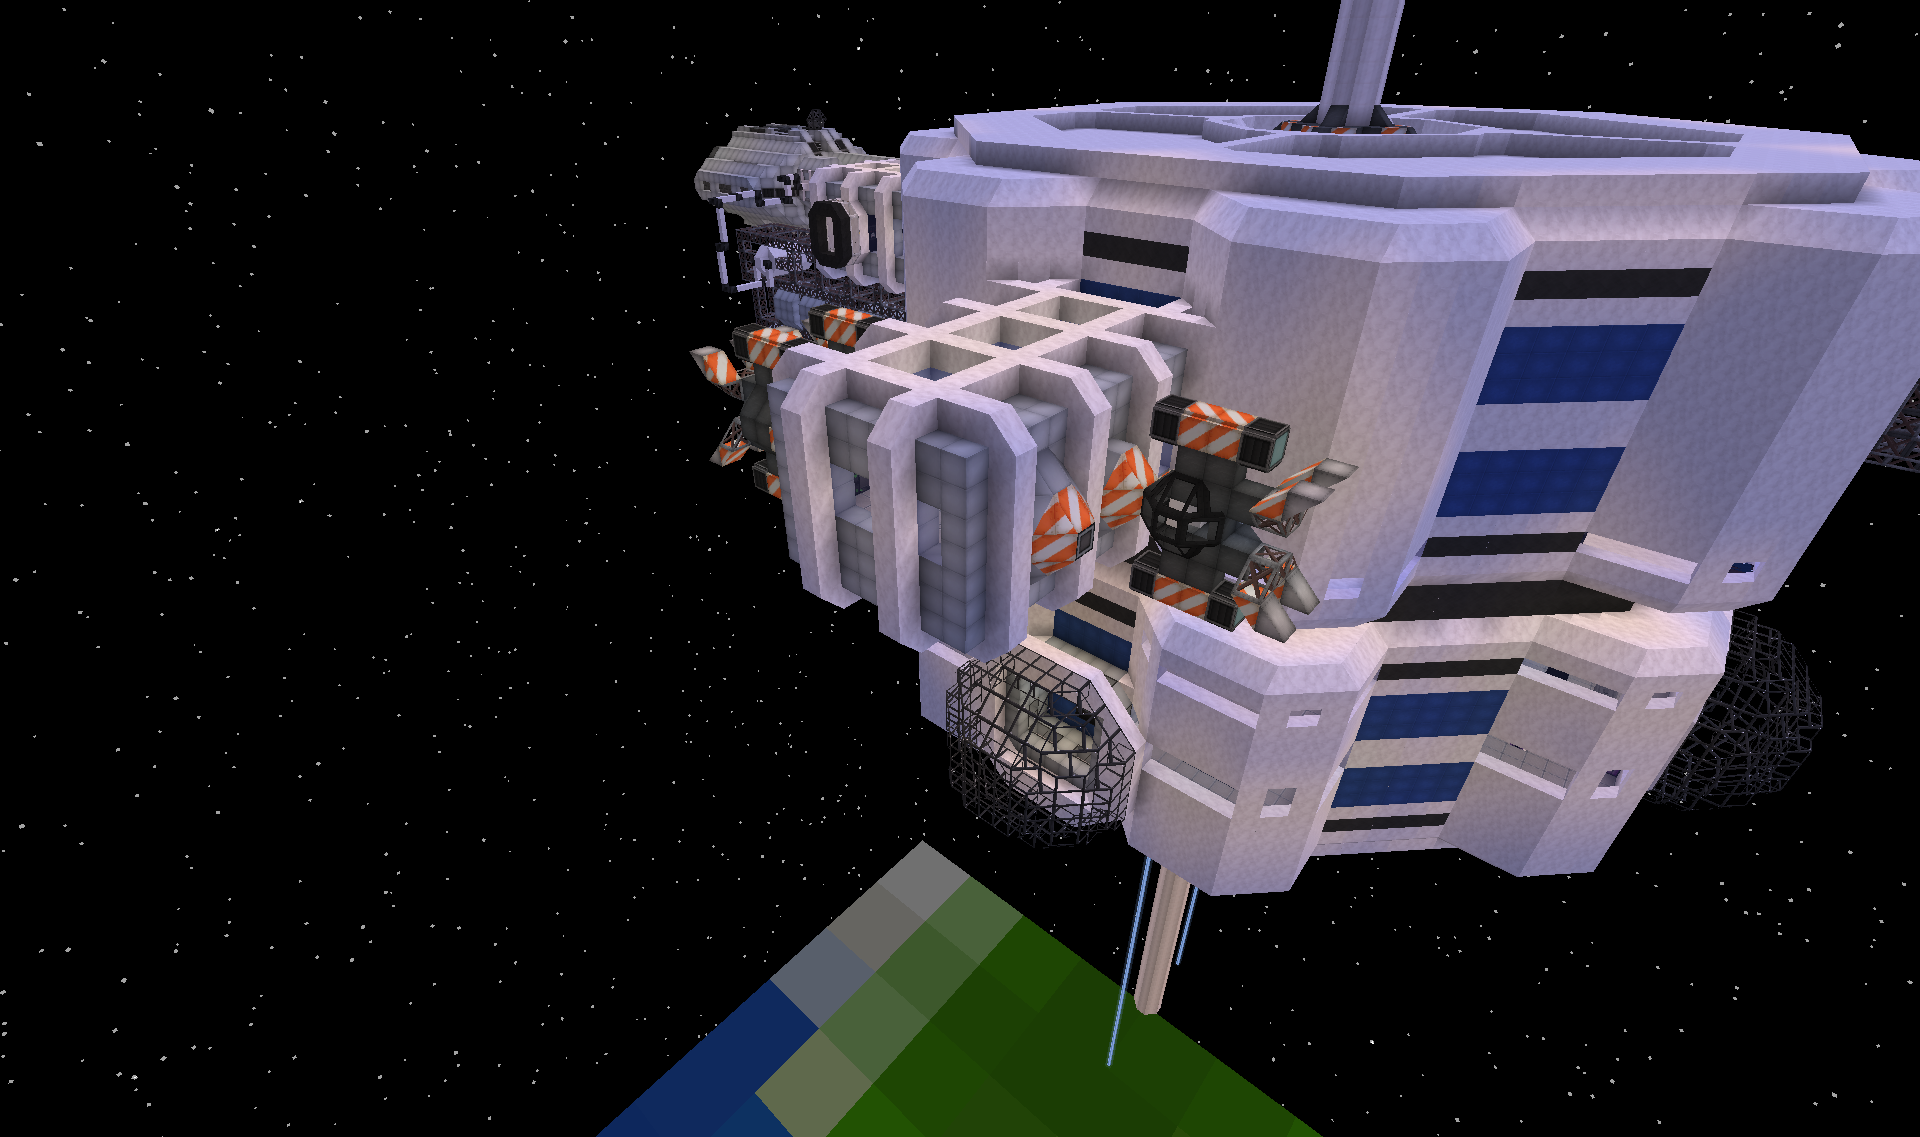
The one missing is of course the one currently exchanging the container down on the space elevator cab.
The last side currently just have an empty strut. I think I might add some different scientific equipment to it, if I eventually get around to it. Like telescopes, data collection arrays, communication equipment etc.
Some smaller features are:
There are 4 of these domes around the station:
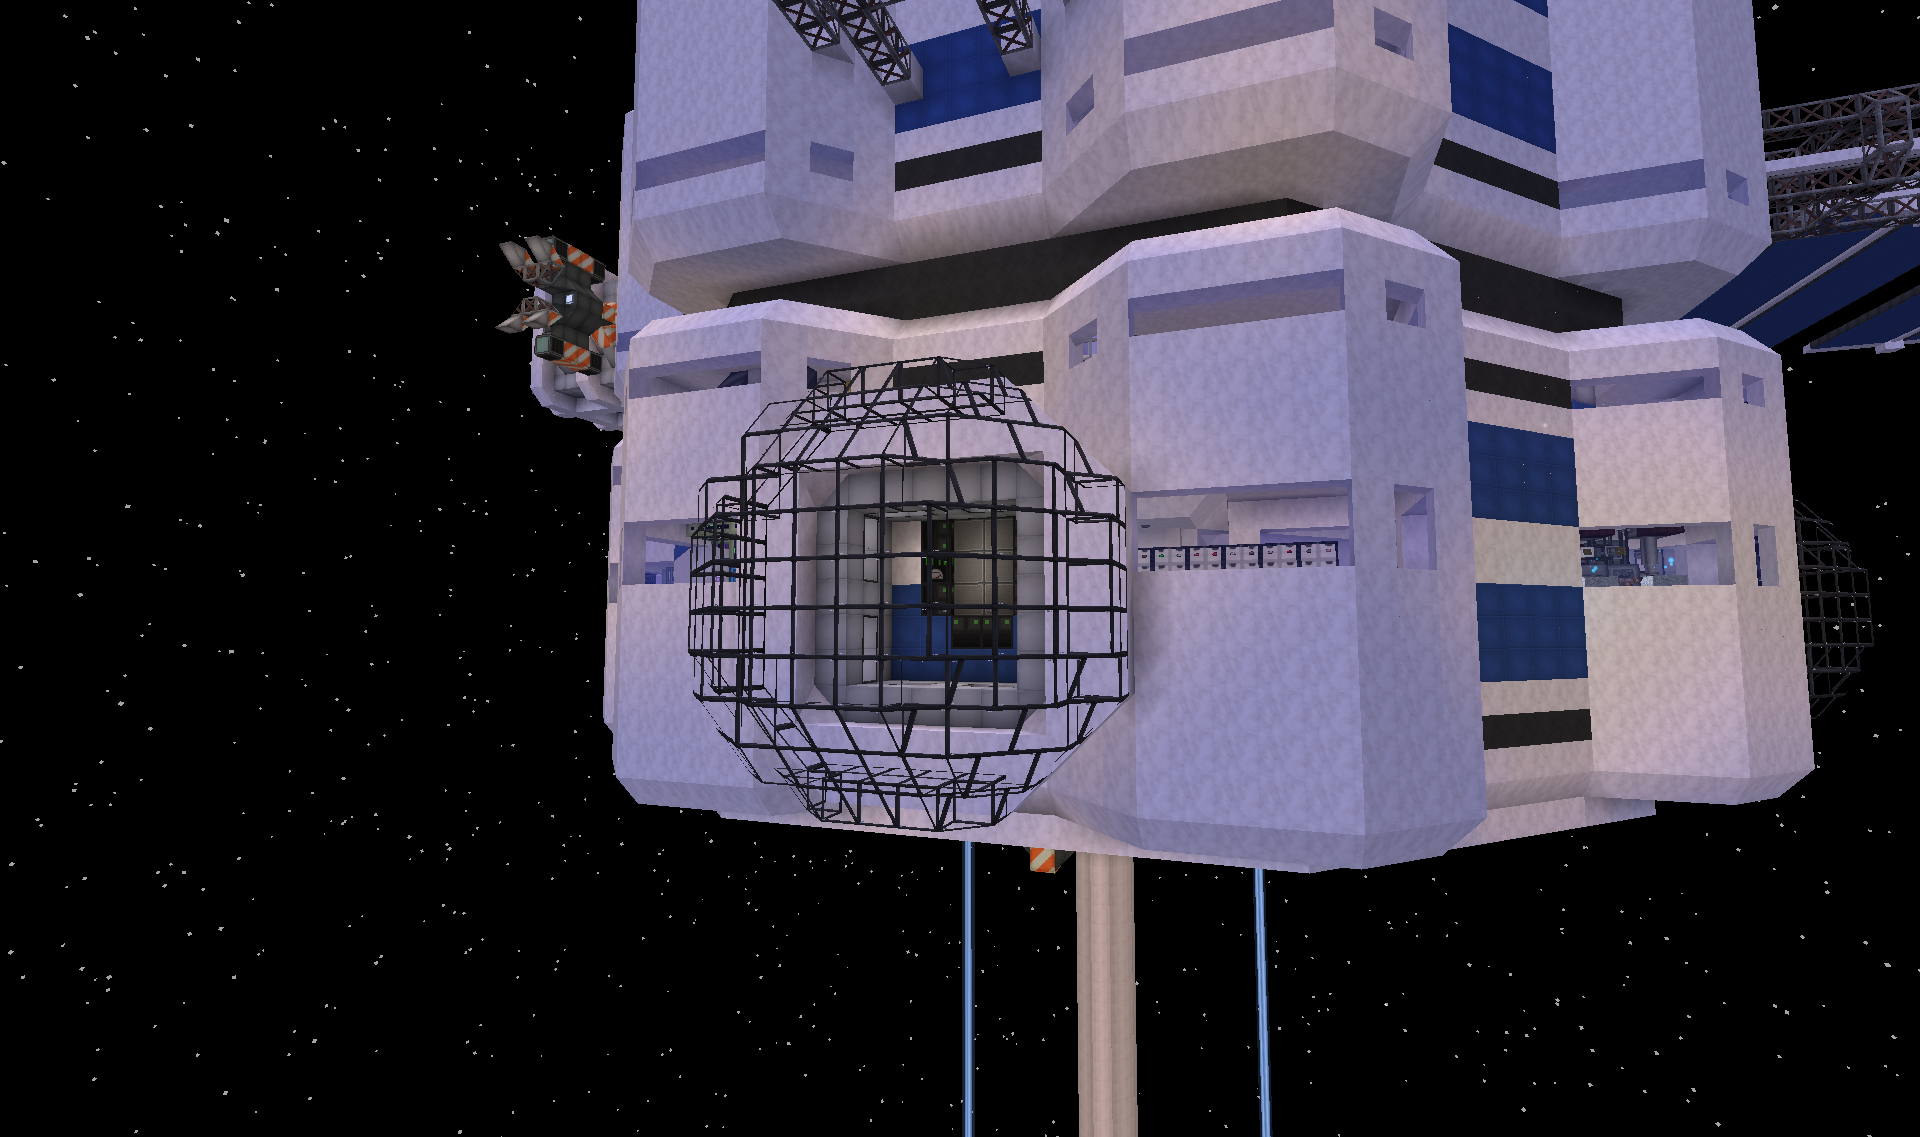
I intend to fill them with some various plants, as if they house greenhouses for oxygen producing plants. Maybe with the Galacticraft oxygen collectors. Currently just splitting water for oxygen using Mekanism.
The station also has a smaller hangar bay for smaller ships/shuttles:
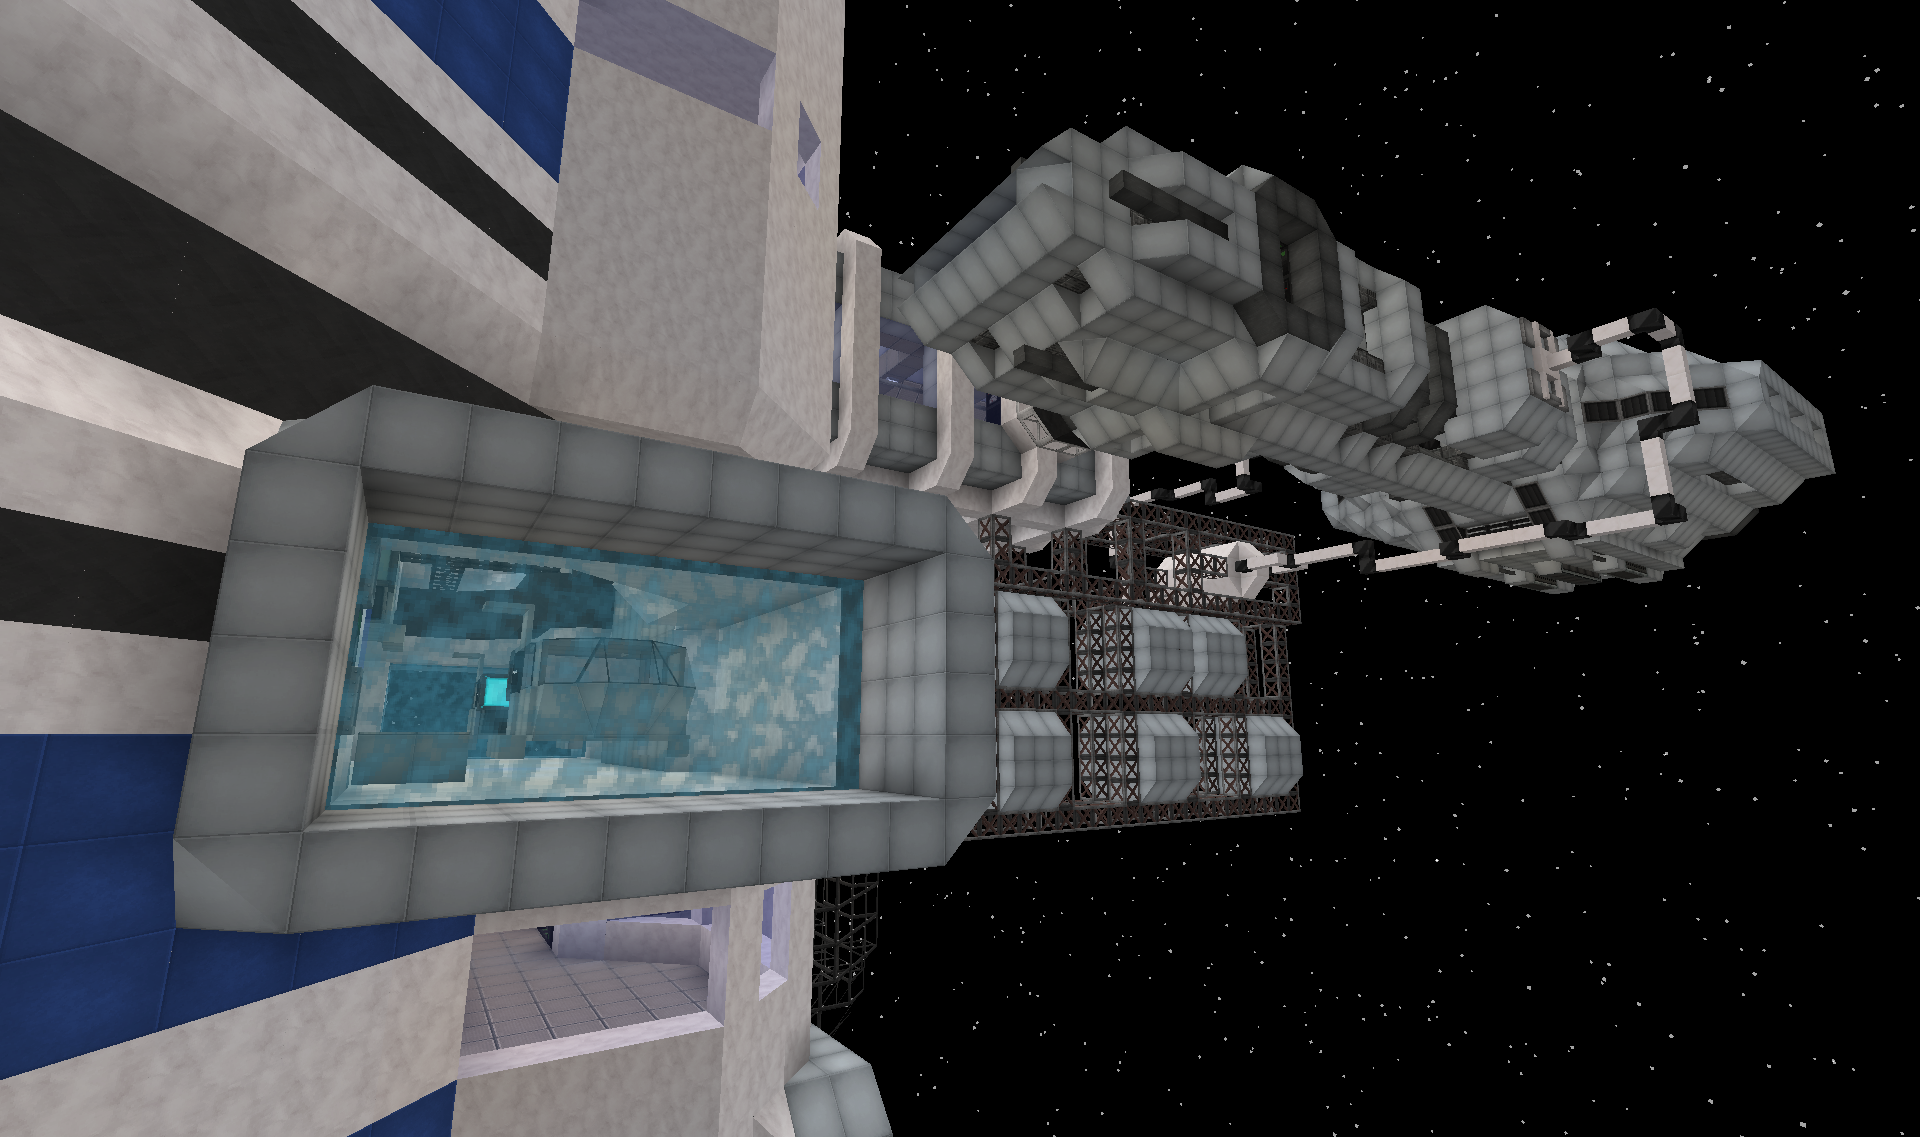
The hangar bay goes all the way through to the other side. It also has storage for a number of shuttles as well as a small workshop for maintaining smaller vessels(shuttles, tugs, external equipment etc.).
The space station is of course clamped to the tether:
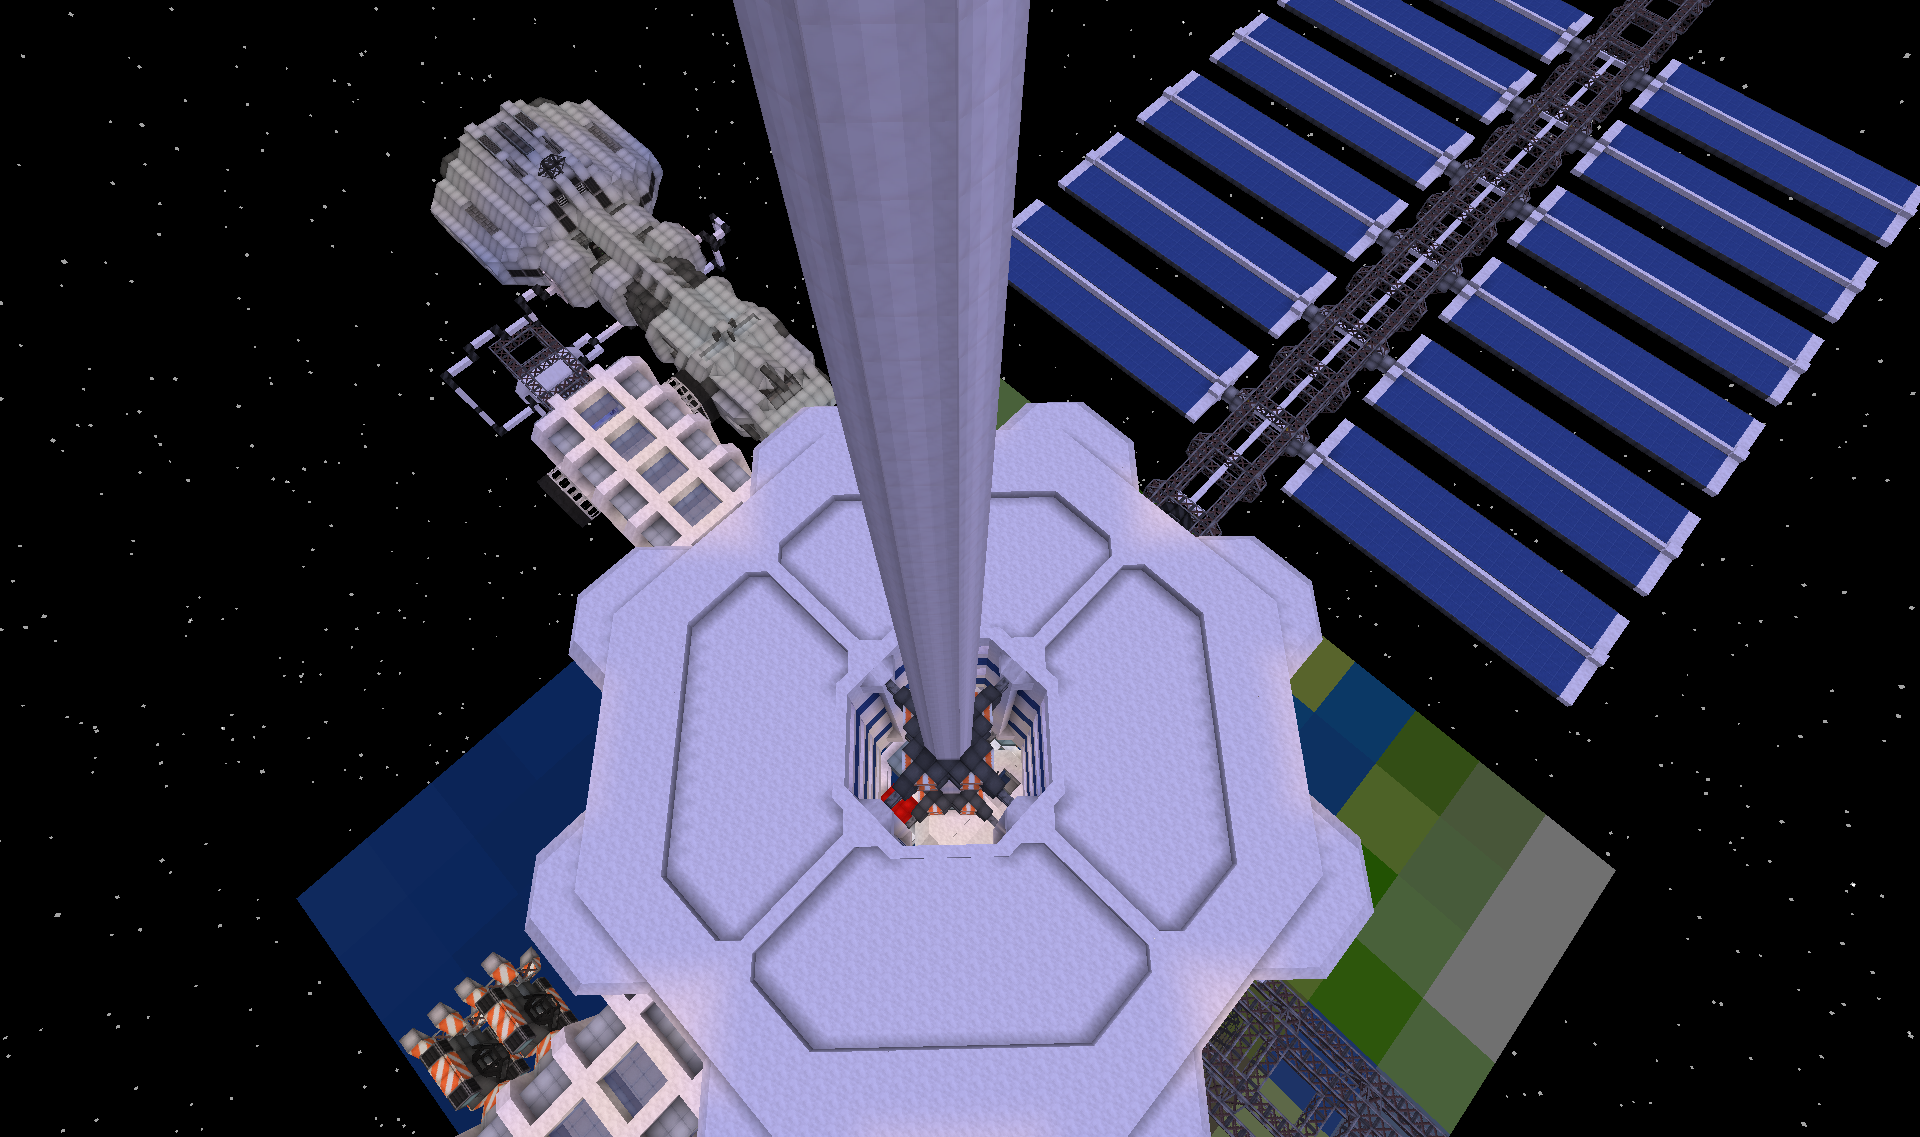
With a bit of space for movement and adjustments:
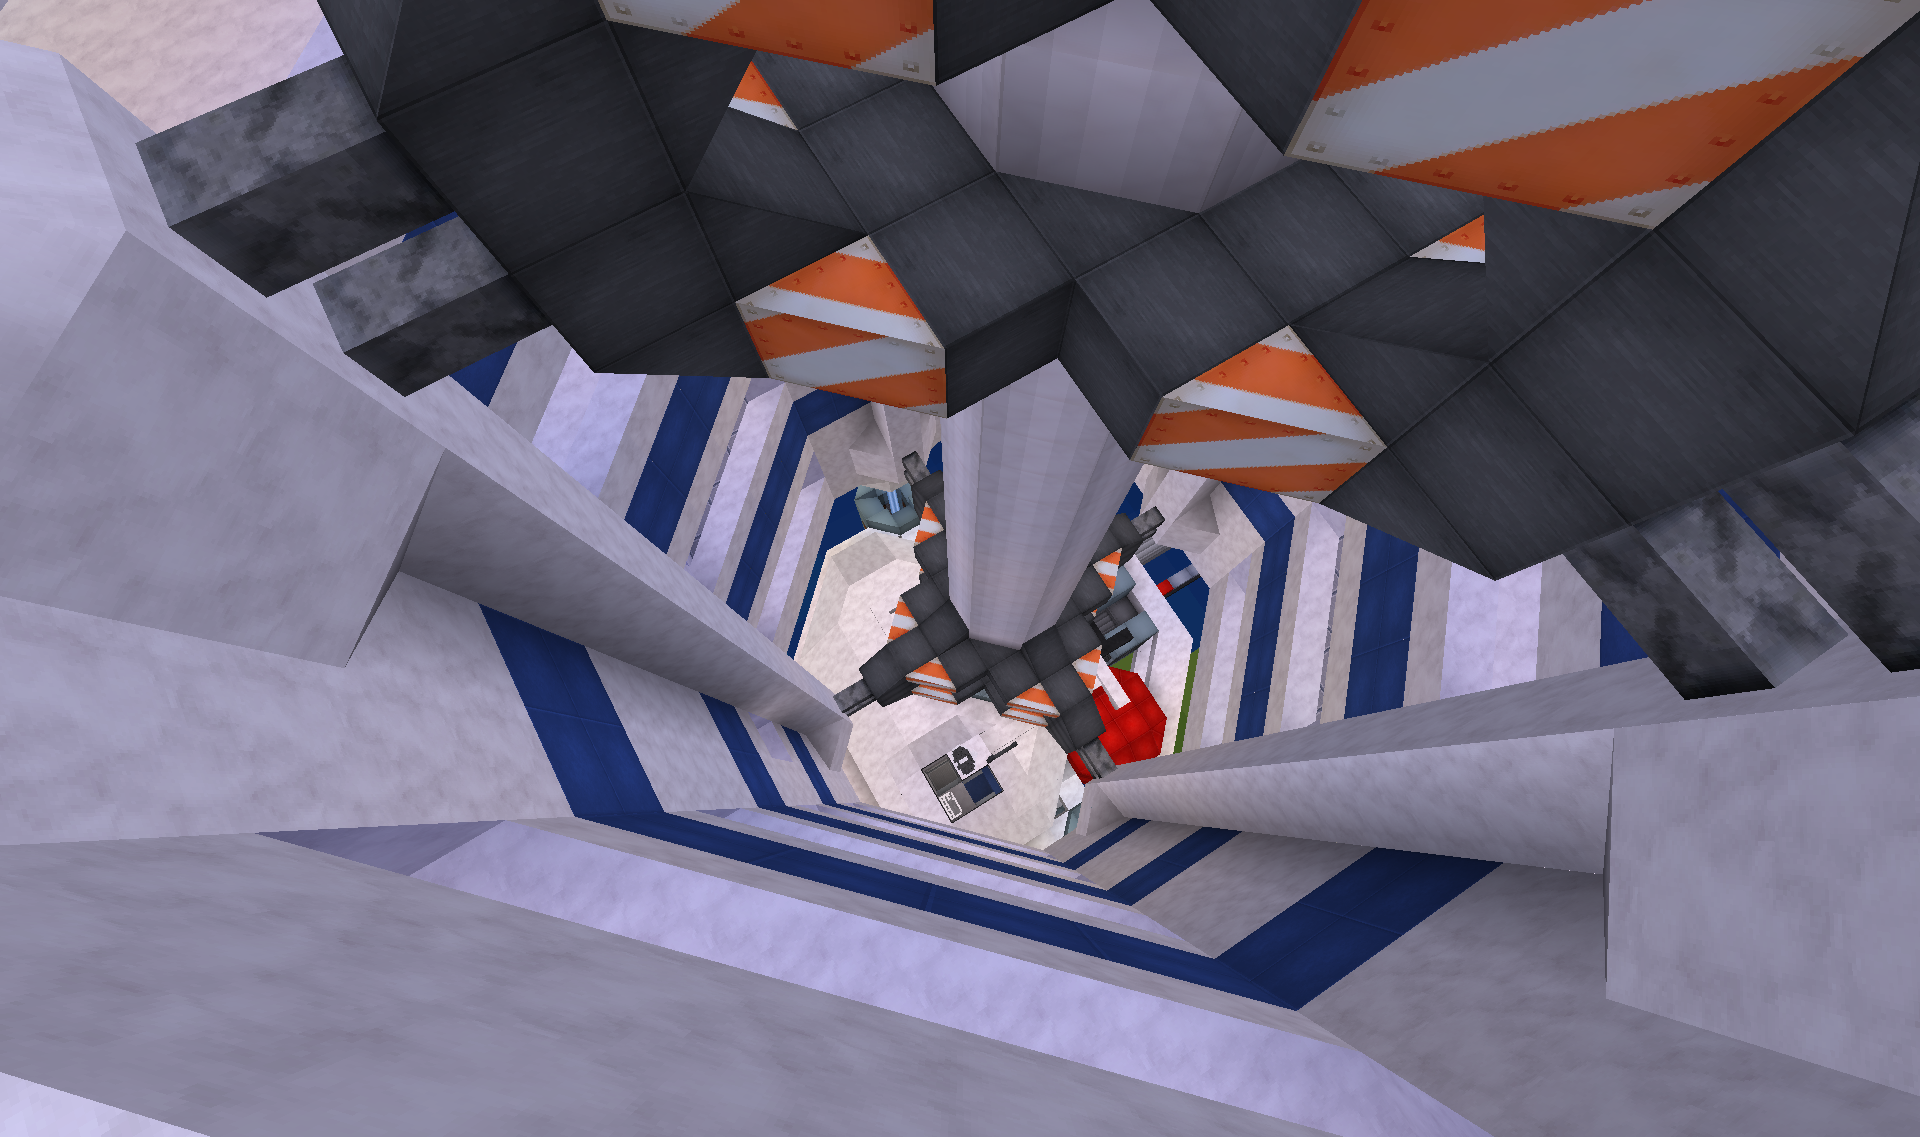
In the last image you can see the top of the elevator cab at the bottom.
More on the interior of the station later.
To compliment the space elevator in Overworld, I had decided to build a space station on the end of the tether(technically halfway up). The background story is that this space station serves as a first stepping stone to the final frontier(outer space and other planets). The space elevator makes it cheaper, safer and more efficient to transport people and materials into space.
In addition to being a transport hub, the space station also houses various research labs, for an excellent compromise between convenience of earth resources and access to off-world materials etc.
The space station is generally still a work in progress, missing a bunch of detailing as well as several empty floors and rooms. But there is a bunch of stuff going on already, and I am beginning to forget some of the details of it already
So, to start with I think I will post a little tour of the exterior:
One of the key features is of course the space elevator cab:

It is an identical copy of the one back at Overworld, so you can RP it actually having travelled up the tether. The travel is of course done with RFTools teleporters(mentioned in previous posts).
At arrival the cab is hooked up to the station with extended cables, for exchange of various resources like air and water for the station.
On the other side the umbilical is extended for passengers to transfer:

As detailed in the previous post on the space centre, the cab now also carries cargo containers for bulk cargo both for the station and other destinations.
Small cargo tug ship currently exchanging containers under supervision from worker in EVA suit:

Designed the EVA suit with Armourer's Workshop, as it didn't feel right to swoop around zero gravity in normal armour. I have never worn it yet myself, but it makes for some nice scenery
The space station is approximately 50 blocks in diameter, based on a hexagon shape:

The grid shows the chunk boundaries.
The station has a total of 6 levels/floors.
Attached on four of the sides are various features.
Solar panels for power:

Those are purely cosmetic, but at the base of the strut I have added 4 "Order Infused Triple Compressed Solar Panels"(Electro-magic tools), producing roughly 33k RF. It is not enough to keep the station self reliant on power since a lot of power goes into producing and sealing the stations huge volume with oxygen. Currently have 50 Oxygen Sealers in use and still got one floor without oxygen
Next is the docks for interplanetary transports, which currently has one ship docked:


It is currently having its cargo containers exchanged by the robotic arms:

I had built this ship with its containers many months ago, and it was just luck that the containers fit perfectly into the space elevator when I realised I had forgotten to think of that. So now they all share the same container format, all the way from the space centres factory hall, to space station and eventually perhaps to other planets. That is the idea at least
Added a bit of temporary storage space for containers underneath:

Next up a dock for smaller vessels:

So far it holds berths for 4 cargo tugs:

The one missing is of course the one currently exchanging the container down on the space elevator cab.
The last side currently just have an empty strut. I think I might add some different scientific equipment to it, if I eventually get around to it. Like telescopes, data collection arrays, communication equipment etc.
Some smaller features are:
There are 4 of these domes around the station:

I intend to fill them with some various plants, as if they house greenhouses for oxygen producing plants. Maybe with the Galacticraft oxygen collectors. Currently just splitting water for oxygen using Mekanism.
The station also has a smaller hangar bay for smaller ships/shuttles:

The hangar bay goes all the way through to the other side. It also has storage for a number of shuttles as well as a small workshop for maintaining smaller vessels(shuttles, tugs, external equipment etc.).
The space station is of course clamped to the tether:

With a bit of space for movement and adjustments:

In the last image you can see the top of the elevator cab at the bottom.
More on the interior of the station later.
Last edited: