[1.10.2] Age of Engineering

  • The FTB Forum is now read-only, and is here as an archive. To participate in our community discussions, please join our Discord! https://ftb.team/discord

WuffleFluffy

New Member
Jul 29, 2019
402
0
0
https://wiki.industrial-craft.net/index.php?title=Semifluid_Generator

I used one before I got my basic nukes running, I think I used fermented canola oil since it was cheap to mass produce but it only made 8 eu/t. I did not test out what other fluids were available but if the wiki is accurate top level ones will max out at 32 eu/t so I would start setting up some sort of auto miner and let it crank 24x7 on your server so you can just jump up to the next level of power production.

I do know that IE creosote does not work so that tank I saved of it is still just sitting there.

Thanks zBob :) I really appreciate it :)

I came across that site the other day and it is indeed incredibly useful.

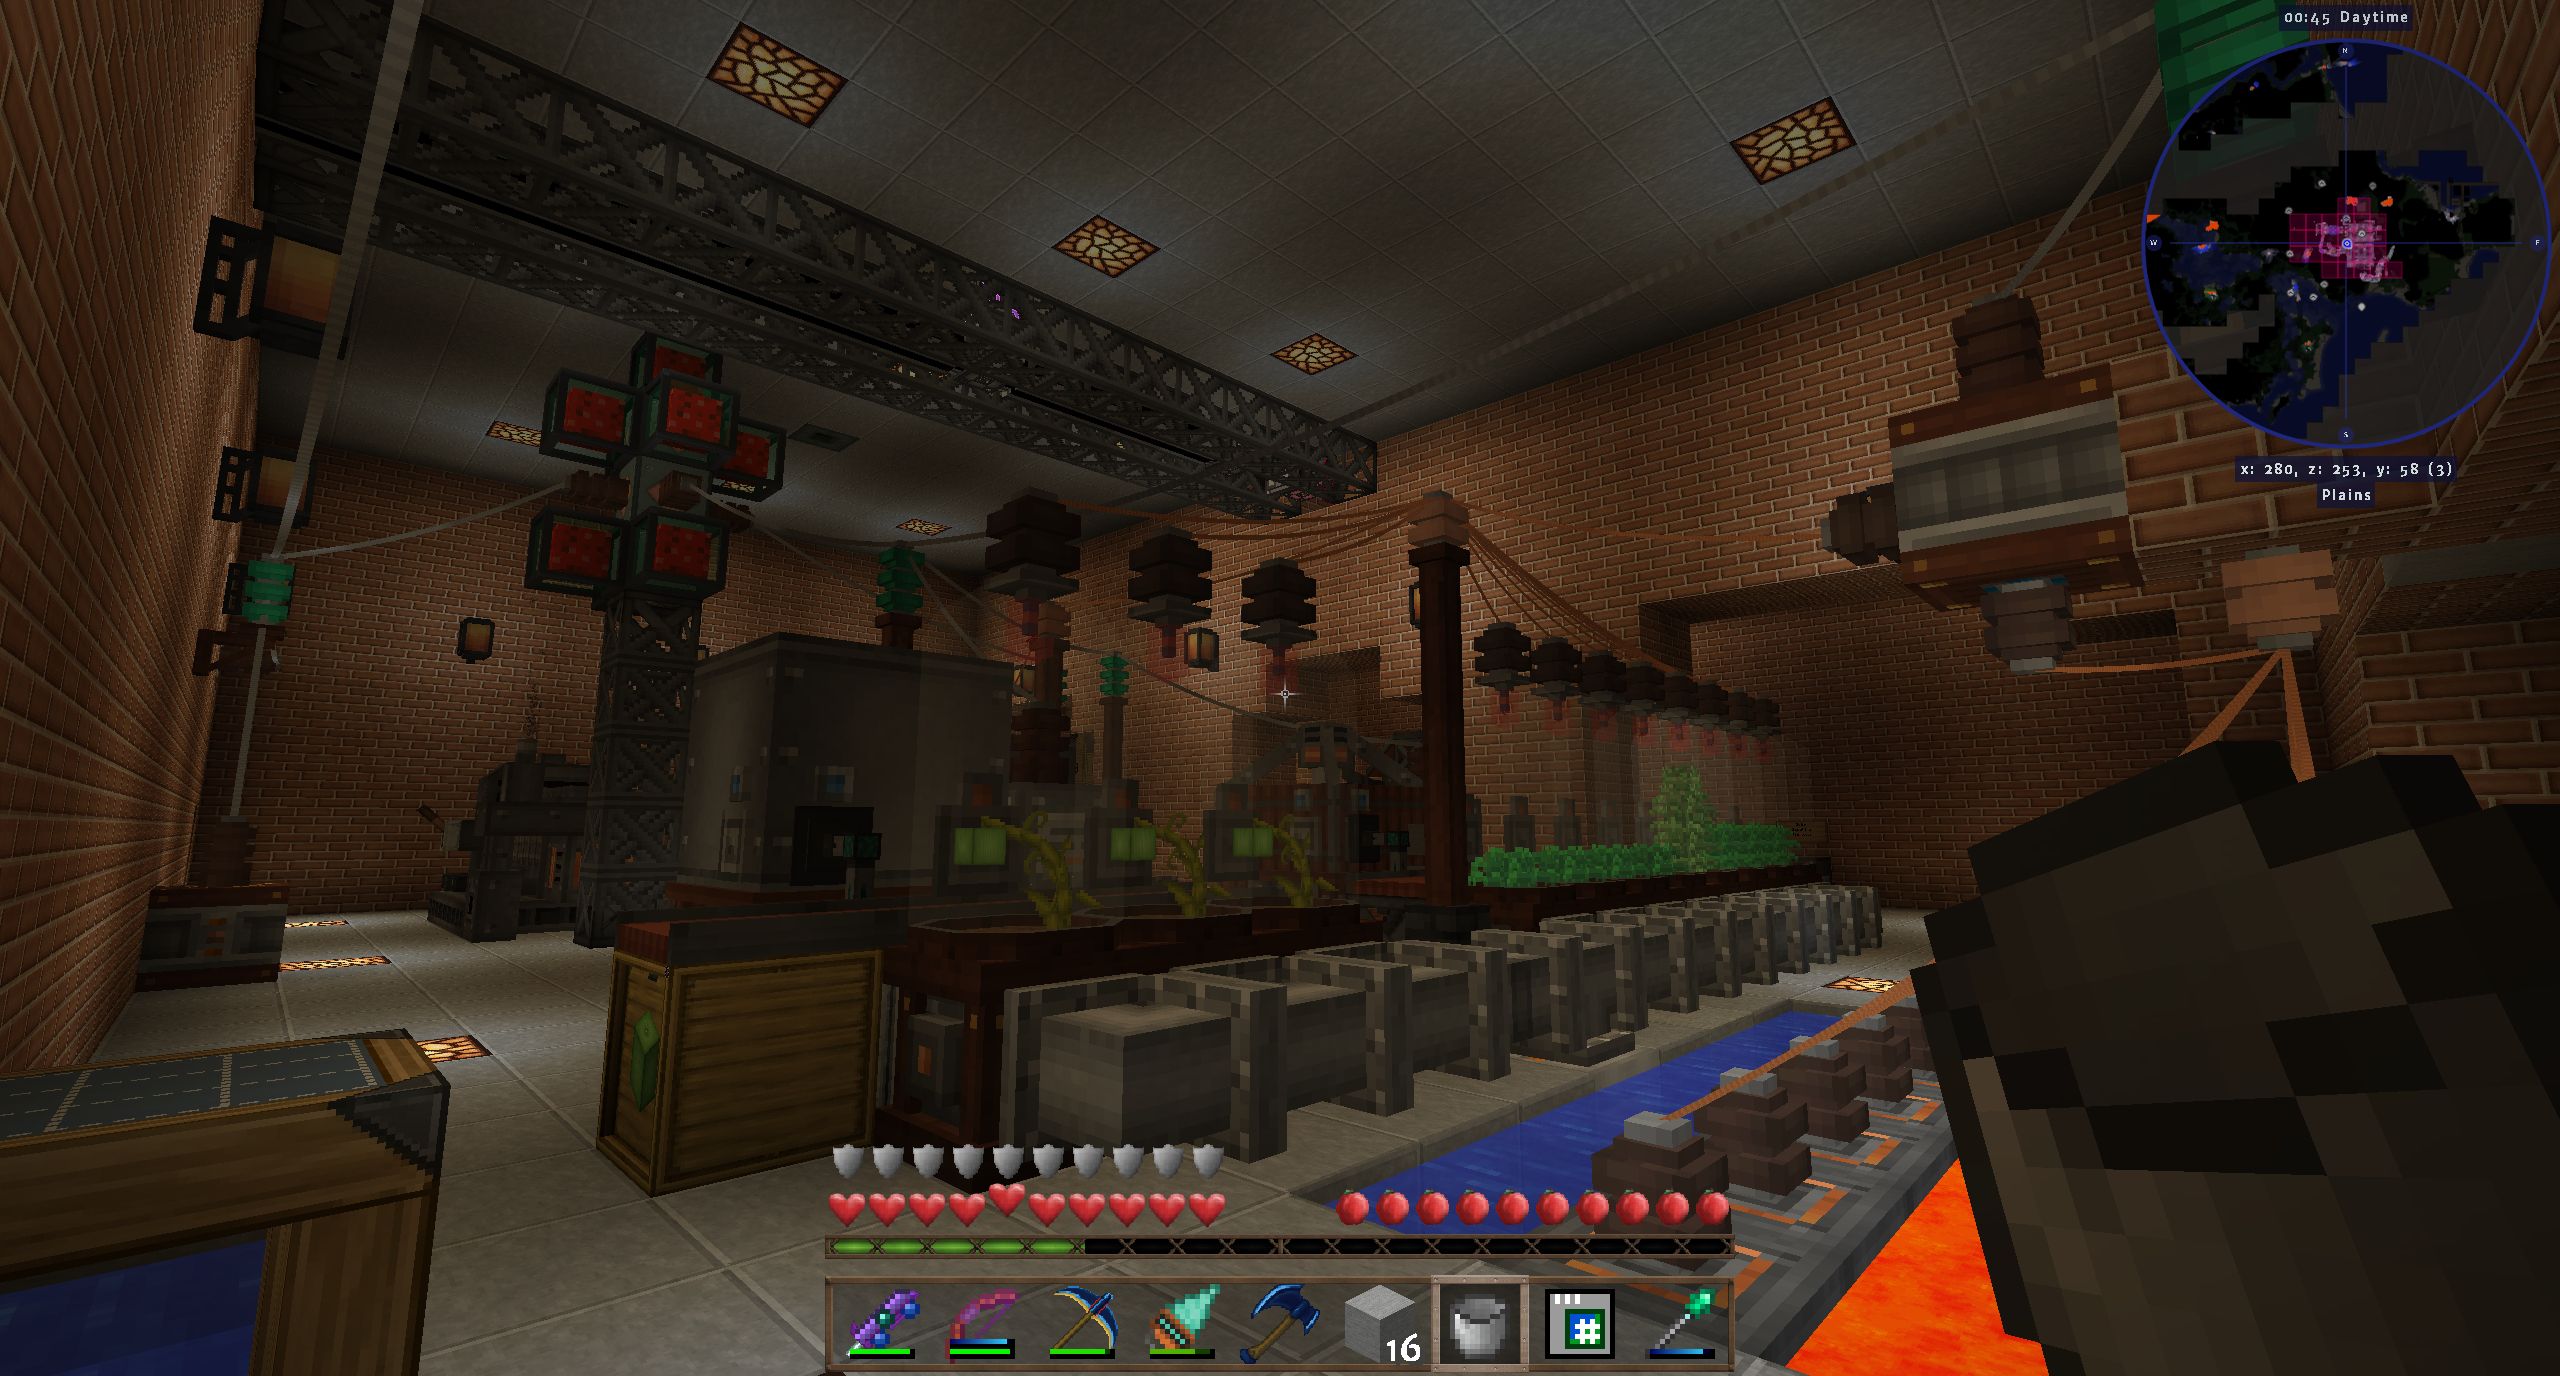
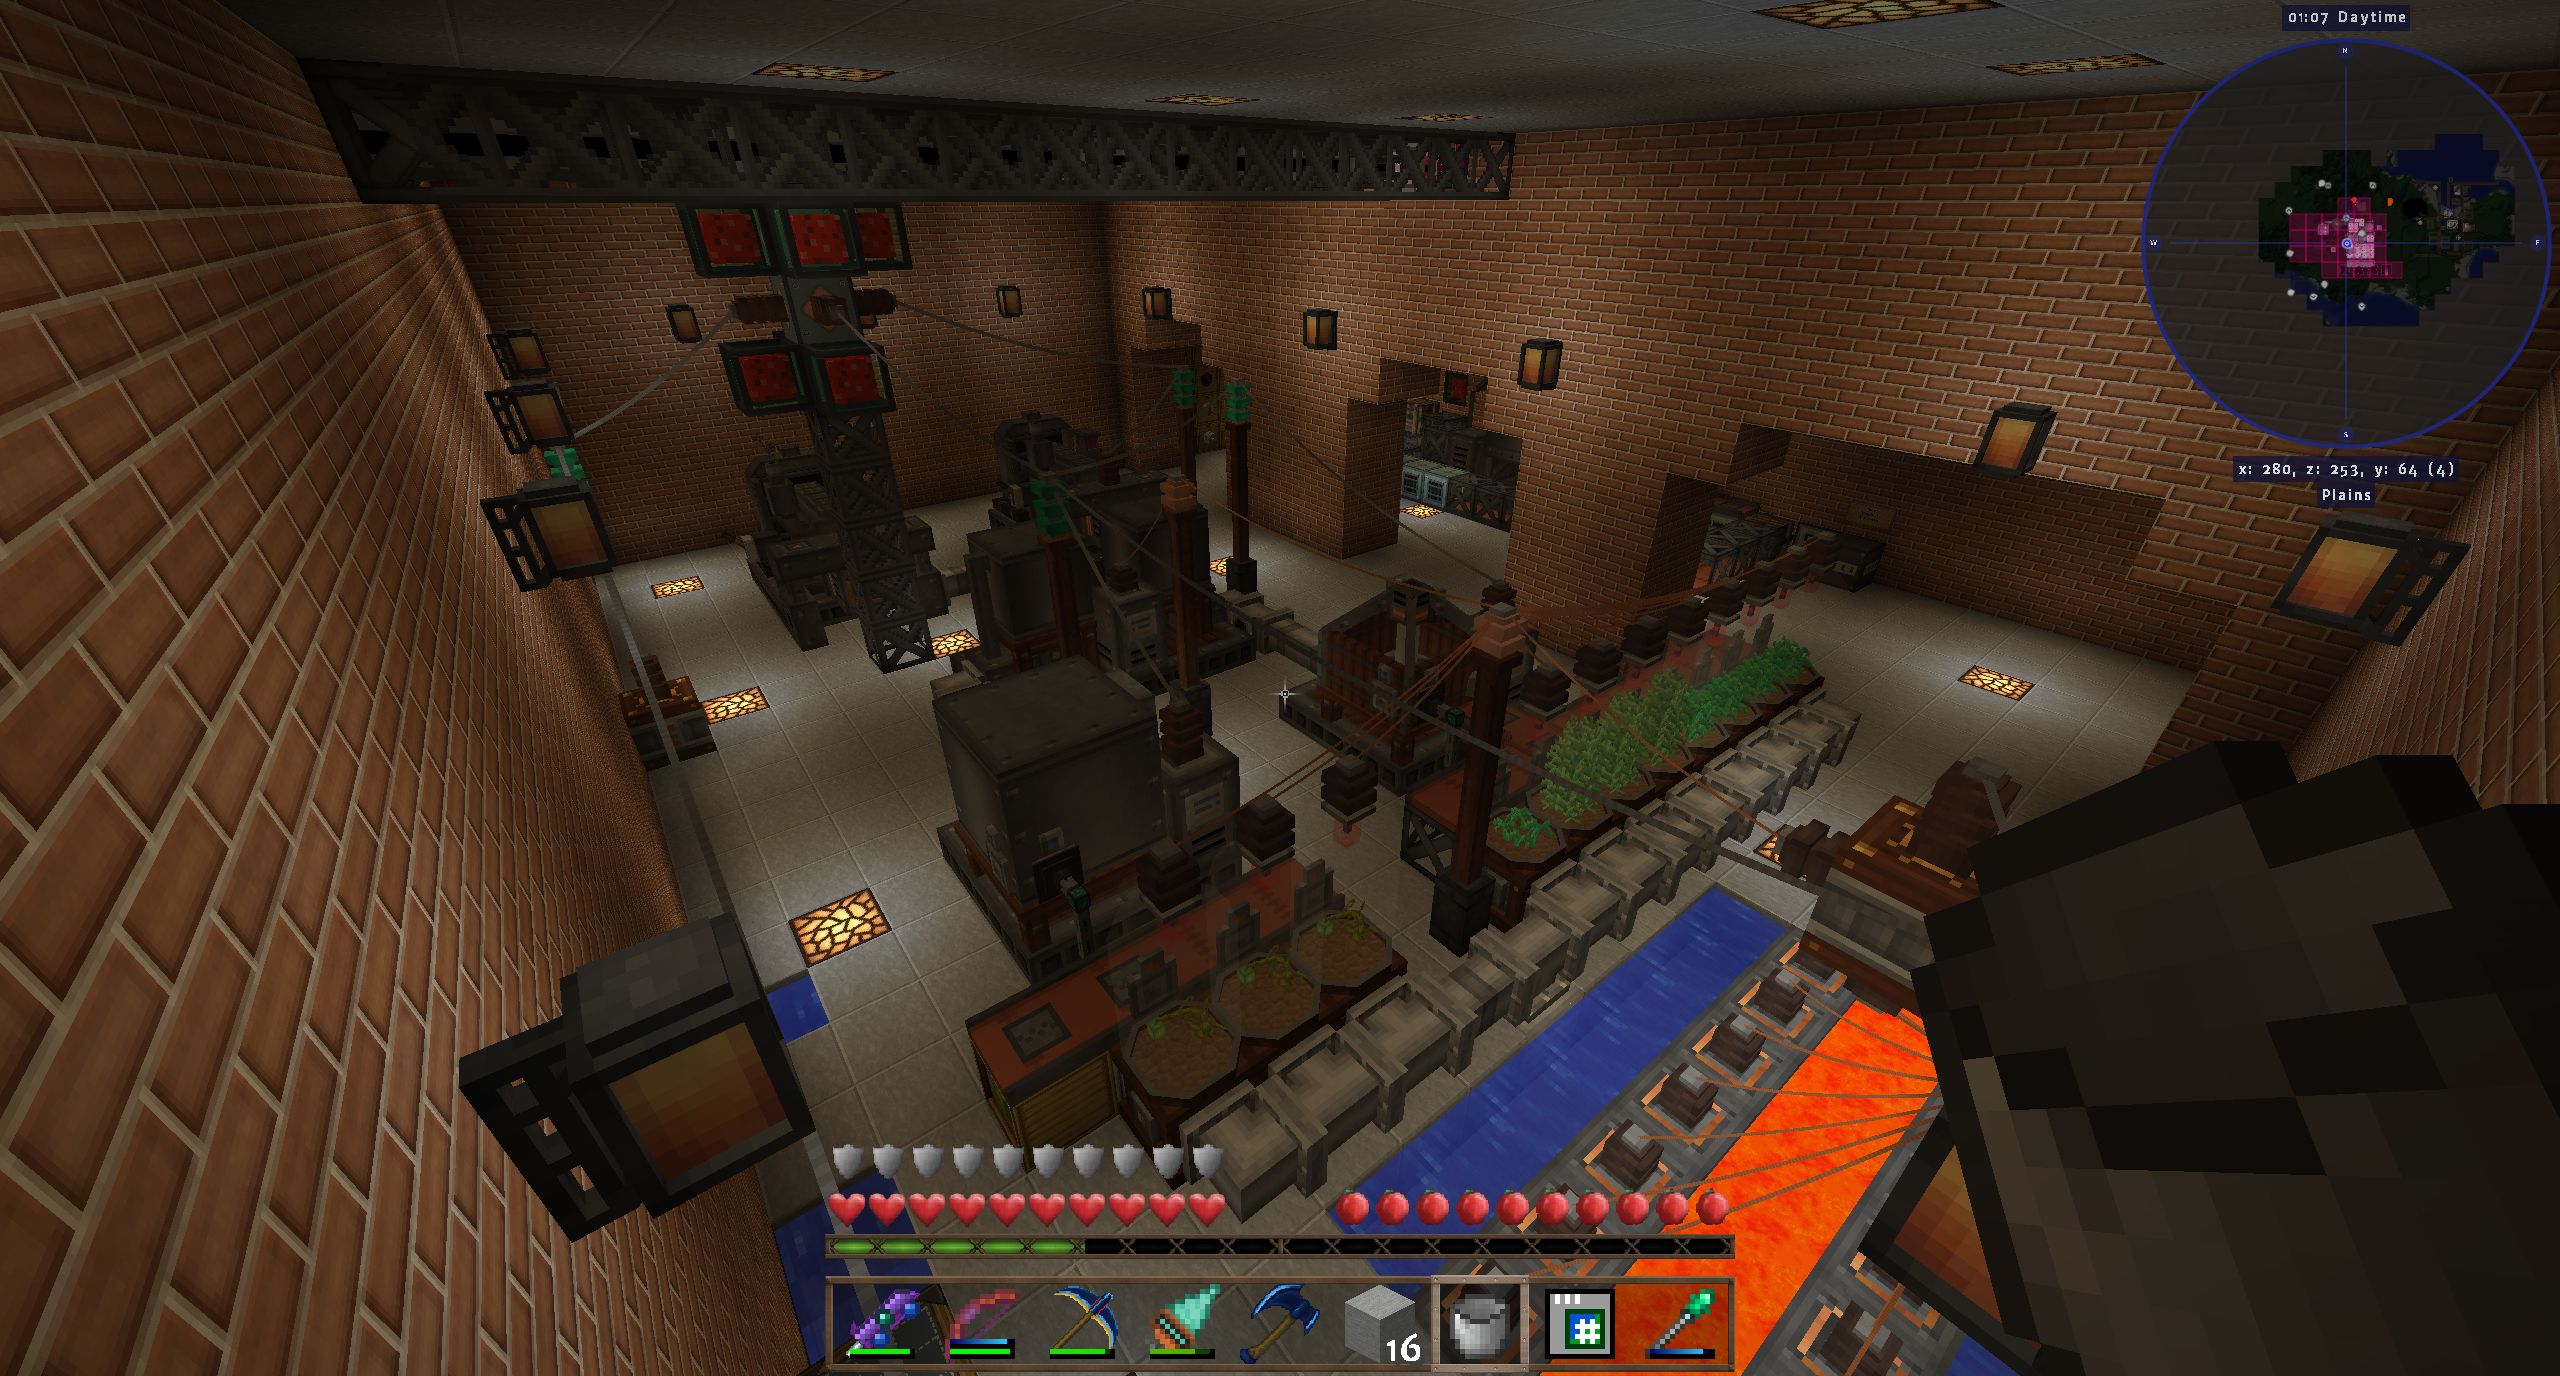
Here's my setup, with pics:

I have set up an automated wheat farm using IC2 crop stick and a farming block, powered from my main base's MFE/Solar array.

2017-11-04_21.39.53.png 2017-11-04_21.39.58.png

Under the farm is a macerator turning wheat into Bio-Chaff that is then pumped to my processing/power generation building.
2017-11-04_21.39.39.png

Inside the power generation building, a fluid/canning machine is enriching the bio-chaff with water to form biomass.
(I'm really liking these laboratory blocks!)

2017-11-04_21.40.30.png

Which is then pumped over to the fermenter that sits in the 'generator stack'.

2017-11-04_21.40.38.png

There's a solid heat generator (using coal at the moment) heating up the biomass in the fermenter, which then runs the semi-fluid generator.
At the top of the stack is an MFE, holding 4M EU for use elsewhere in my base.

I have a problem though... I was hoping to 'boot' the system up using my Solid Fuel heat generator then swap in a liquid heat generator...which
would siphon off a small portion of the biogas to generate the heat necessary to keep the fermenter processing biomass into biogas.

However... despite it appearing in this video (below) and other video's.. IC2 doesn't seem to have a liquid heat generator any more, it's on the
wiki page but I can't see it in NEI, so I have no means of tapping into the Biogas to generate heat to keep the fermenter going, and using EU to do it via the electric
heat generator results in net energy loss.


EDIT: Sorry I found the problem, it's a liquid 'Liquid Fuel Firebox', rest of my setup is very similar to the posted video (who deserves more views on his channel). I have three fluid distributers, centre one is on 'distribute' (which I assume evenly distributes fluid?) and the ones next to their machines are on 'concentrate' (so they force all incoming fluid into the machines they are next to).

2017-11-04_22.39.23.png

By fortuitous luck it seems the liquid fuel Firebox is getting biogas as a priority, ensuring that the fermentation keeps going.

Here's a video I found.


Do you have any ideas?

-Wuffle!
 
Last edited:

WuffleFluffy

New Member
Jul 29, 2019
402
0
0
Well, I am about to give up on semifluid generators...

I've gone to the mining dimension and tried all sorts of builds...

I get the theory, I have a solar powered farmer/macerator/canning machine with a CESU as a power backup so that
the farm doesn't consume any power.

So I have a ton of biomass, I send the biomas to the fermenter, the fermenter then sends biogas to the semifluid generator.
I 'boot up' the process with a solid fuel heat generator to get the fermenter, the fluid distributer and the semifluid generator
completely filled with biogas and the semifluid generator at 'full charge'.

I then swap in the fluid heat generator for the solid fuel generator, heat is generated at 32U and the tanks all fill up again with
the biogas, perfect.

I then plug in an MFE into the SemiFluid generator, and the SemiFluid generator switches on to charge up the MFE.

But, I notice that the Fermenter can't keep up, the creation of bio-gas is too slow

but I find that a fermenter - heated by a fluid an IC2 heat generator, can only just keep pace with supplying the
fluid heat generator with enough biogas to keep itself going, it cannot fuel both the fluid heat generator and a single semifluid heat generator that
is continuously drawing a 'small' (about 2 or 3 eu / tick) in terms of power.

Here's my updated setup, the fermenter sends biogas down to a fluid generator, which then distributed biogas to a fluid distributer on either side, feeding the fluid fuel box one the left and the semifluid generator on the other.

2017-11-05_10.48.23.png

What am I doing wrong? I have obviously done something wrong here, as the system runs out of biogas after even a small amount of power draw from the semifluid generator.

** EDIT **

I have left the system running and have realised that the loss of Biogas was actually the Biogas filling up the three fluid distributors, which each have their own tank.

Once this has happened, the System appears stable and is able to generate enough biogas to keep the fluid heater and semifluid generator filled and operational with no drop in any biogas levels for several hours, even with the semifluid generator on 100% of the time now as I have emptied the MFE on powering up my main ore processing facility.


-Wuffle!
 
Last edited:
P

Proj3ctKarma

Guest
Is there a way to get this modpack with either less of a challenge or without the modifications?? I love the idea and all the mods, but i just can't find the time to get advanced enough in this mod pack
 

Ieldra

Popular Member
Apr 25, 2014
1,810
733
129
I decided to share some pics of my Age 9 base.

To start with, my game differs in three minor aspects from the "pure" experience:
(1) I installed Fast Leaf Decay - it is only realistic after all.
(2) I installed Not Enough Wands and disabled everything but the swapping and building wands. Changing my walls without a swapping device is neither enjoyable nor a reasonable challenge.
(3) When breeding bees, I cheated some Mutating Frames in.

I'm also planning to install ArchitectureCraft for features likes slopes and arches. With that said, here are the pictures.

(1) The base at night
It is a work in progress of course. Most of the stuff is still underground. An often-used design I use is to put storage and the retro-industrial stuff underground and the futuristic stuff above. So there isn't a lot to see here yet. The lower image shows my Forestry rubber farm among other things - I will never lack for rubber - and the door on the far side of the smeltery, that leads into my first hidey-hole in this game. I still have my bed and my mining world portal there since I don't know where I'll come out if I move the portal.

101_Panorama1.jpg


101_Panorama2.jpg


(2) Storage and Workplace

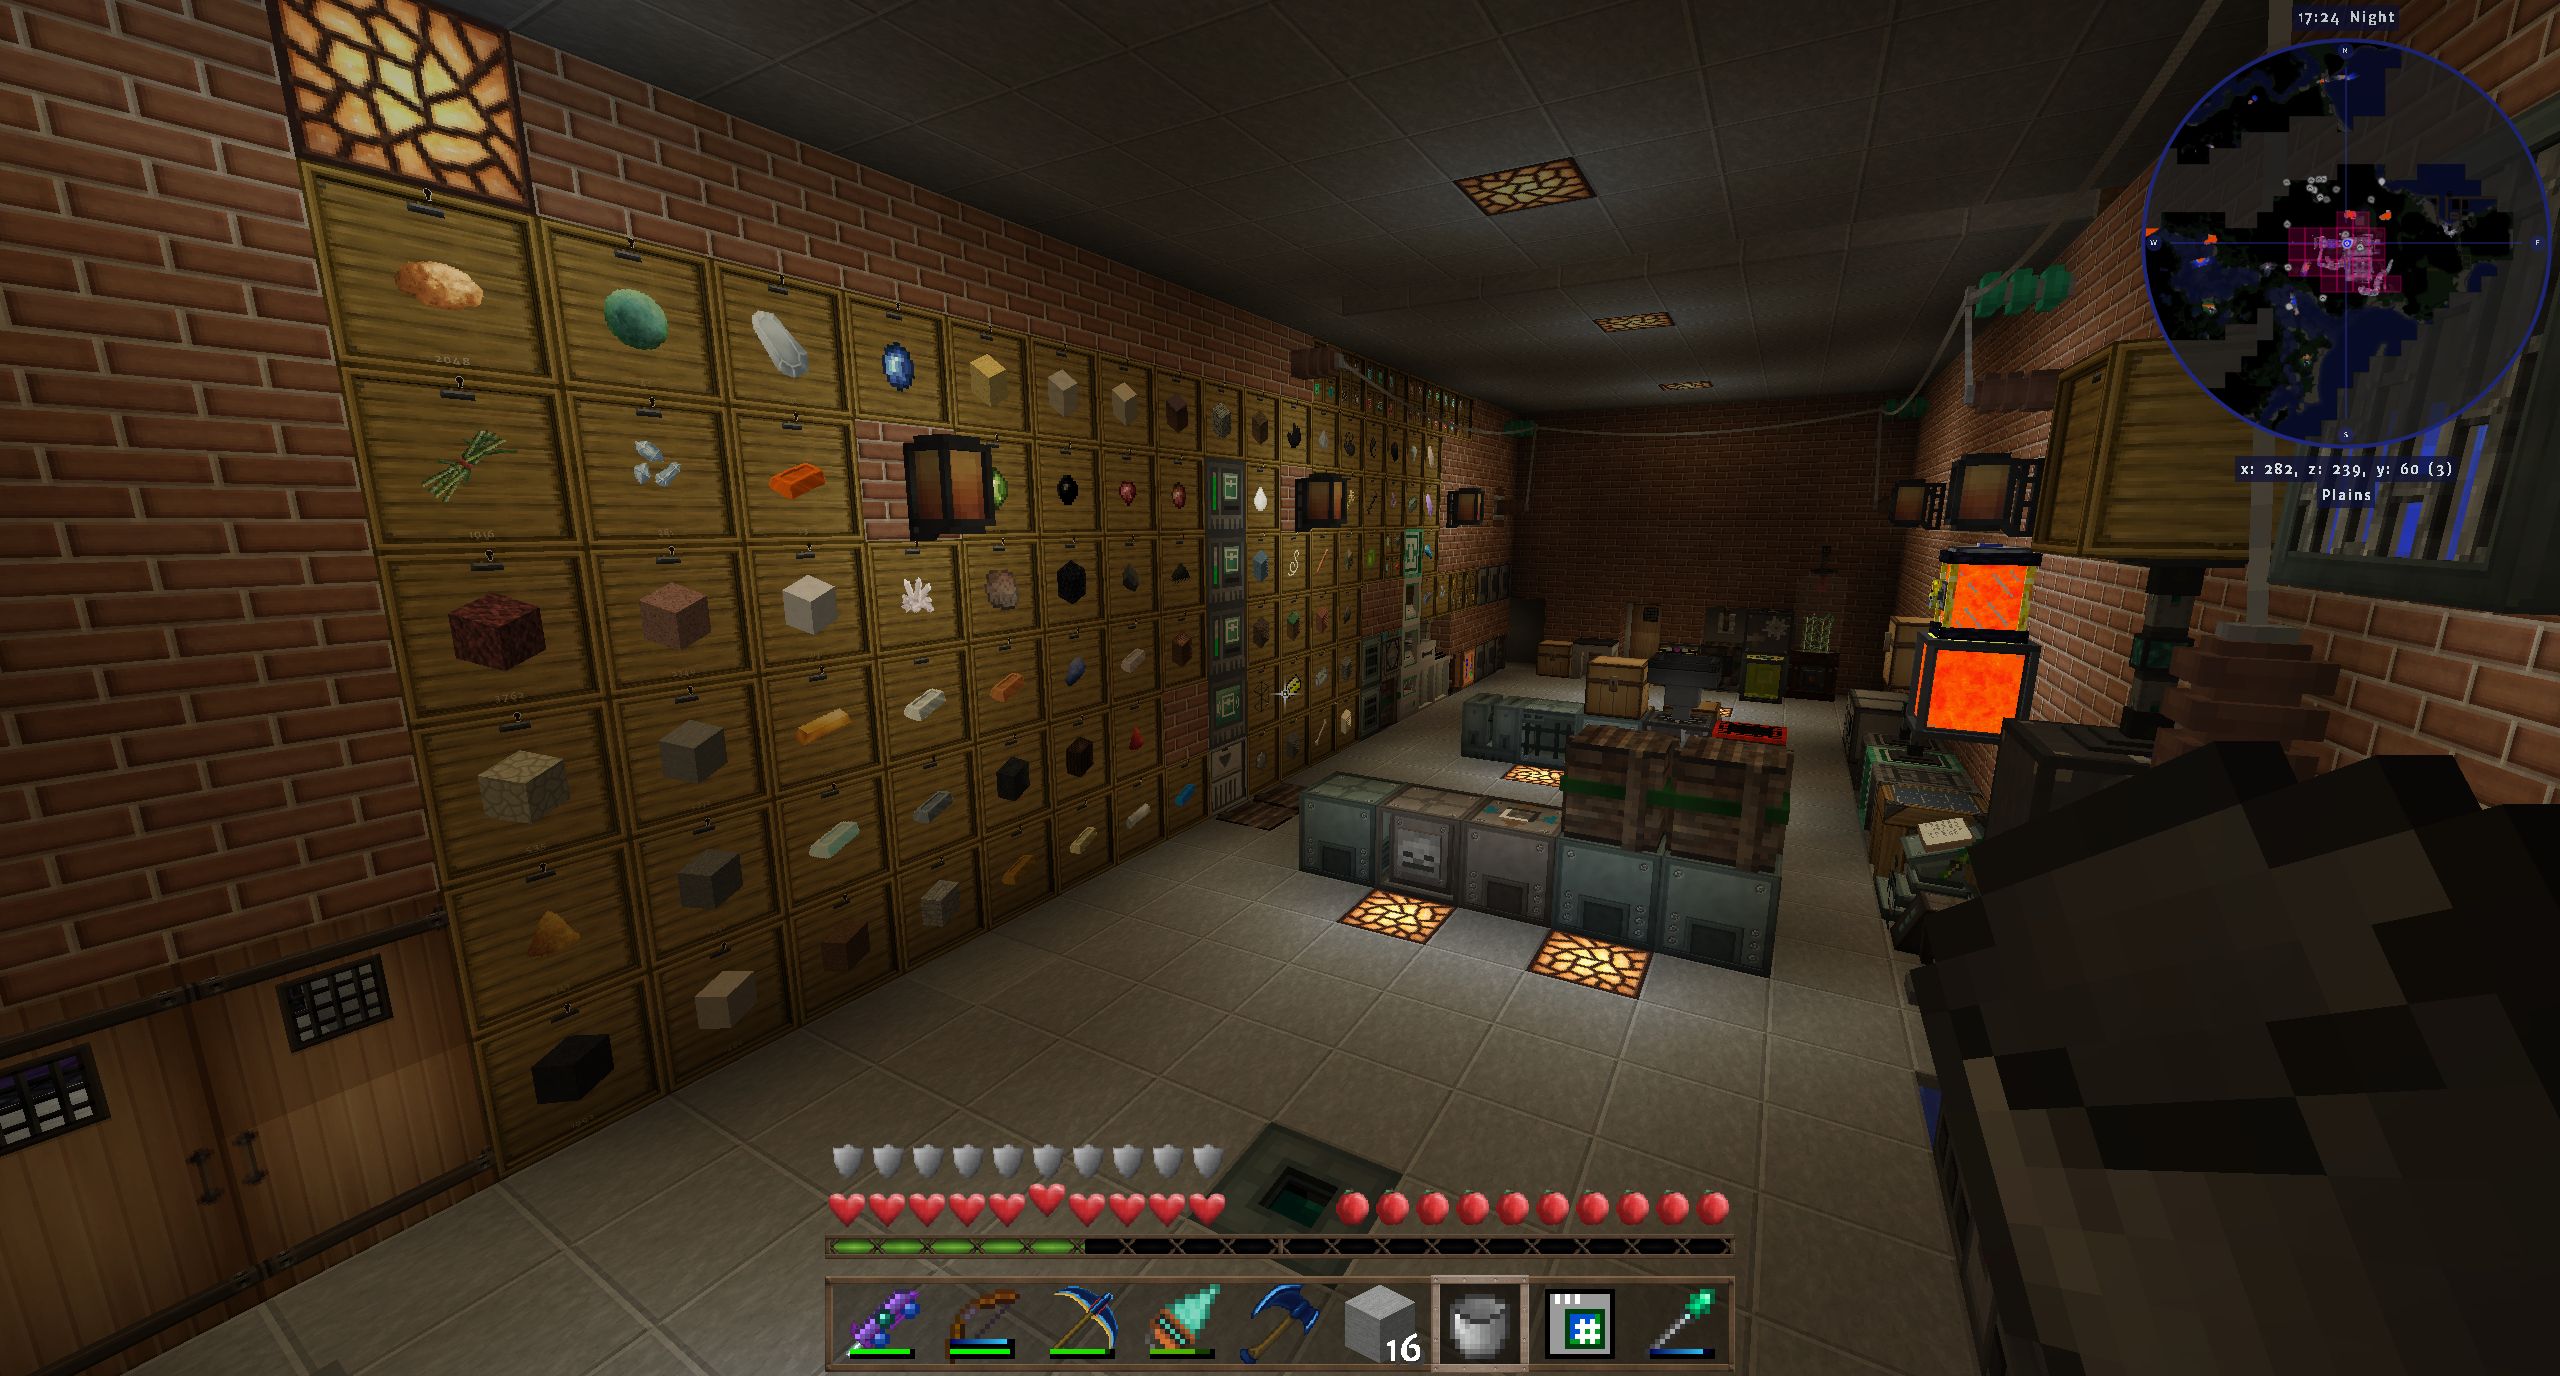
These drawers and the modular storage blocks store almost everything except my ores and two production facilities (string and ender pearls) I haven't integrated yet. An RFTools storage tablet connected with the storage scanner above the drawer controller provides remote access to everything and a crafting interface - from everywhere, incuding other dimensions! I suppose this will never get out of fashion since the AE2 remote interface is restricted by range and has no crafting interface - with the AE2 tablet you can only craft stuff for which a crafting pattern is installed.
The lower picture gives you a look at my workplace. I tend to arrange machines in a U-shaped pattern around me for easy access. The IE metal press on the right is automated with a timer. I made the plates for my first HV solar array with it - among other things, 5120 iron plates, one every 2.5 seconds. It took a while.
The lava tank is a NeoTech Elite Tank and can hold 64B. Not that it matters all that much here, but what the NeoTech tank lacks in the EnderIO tank in flexibility it makes up for in capacity.

101_Storage.jpg


101_Workplace.jpg


(3) Automation setups

The first picture shows my AE2 processor production setup. Automating the inscribers is standard procedure, but automating the carpenter(s) is tricky and in the end, rather unsatisfactory for now. Since the Calculator circuits don't stack, there is no way to make sure that every necessary circuit gets a place in a carpenter if you just pipe them in, so I used XU2 transfer filters with the "single item" option to make sure only one of each type gets inserted. However, that means I have to replace the extraction filters on the storage chamber every time I switch the processor type, since if I draw out more than one type through one transfer node I can't control which one the node will draw, and if it isn't one of the desired types it will block the pipe. The setup will work with batch processing - I tend to make processors by the stack - since the manual part is small compared to the production output, but I'm still not satisfied. Once I use AE2 interfaces I'll switch to a carpenter per circuit board type and interfaces, maybe that will help.

A word about Calculator circuits: if you fully upgrade the processing chambers, you'll get a circuit every 8 ticks, for a cost in power of approximately 7500 RF/t. I can only supply 5000 (the power cell's limit), but it's still fast enough that I filled my storage chamber for analysed circuits in a few hours with 1024 circuits of every type. You also get useful stuff Atomic Assemblies and Nether Stars - rarely, but I got my first one conveniently when I wanted to build my Wither Trap - so I never had to fight the Wither for the Nether Star required for the shield projector.

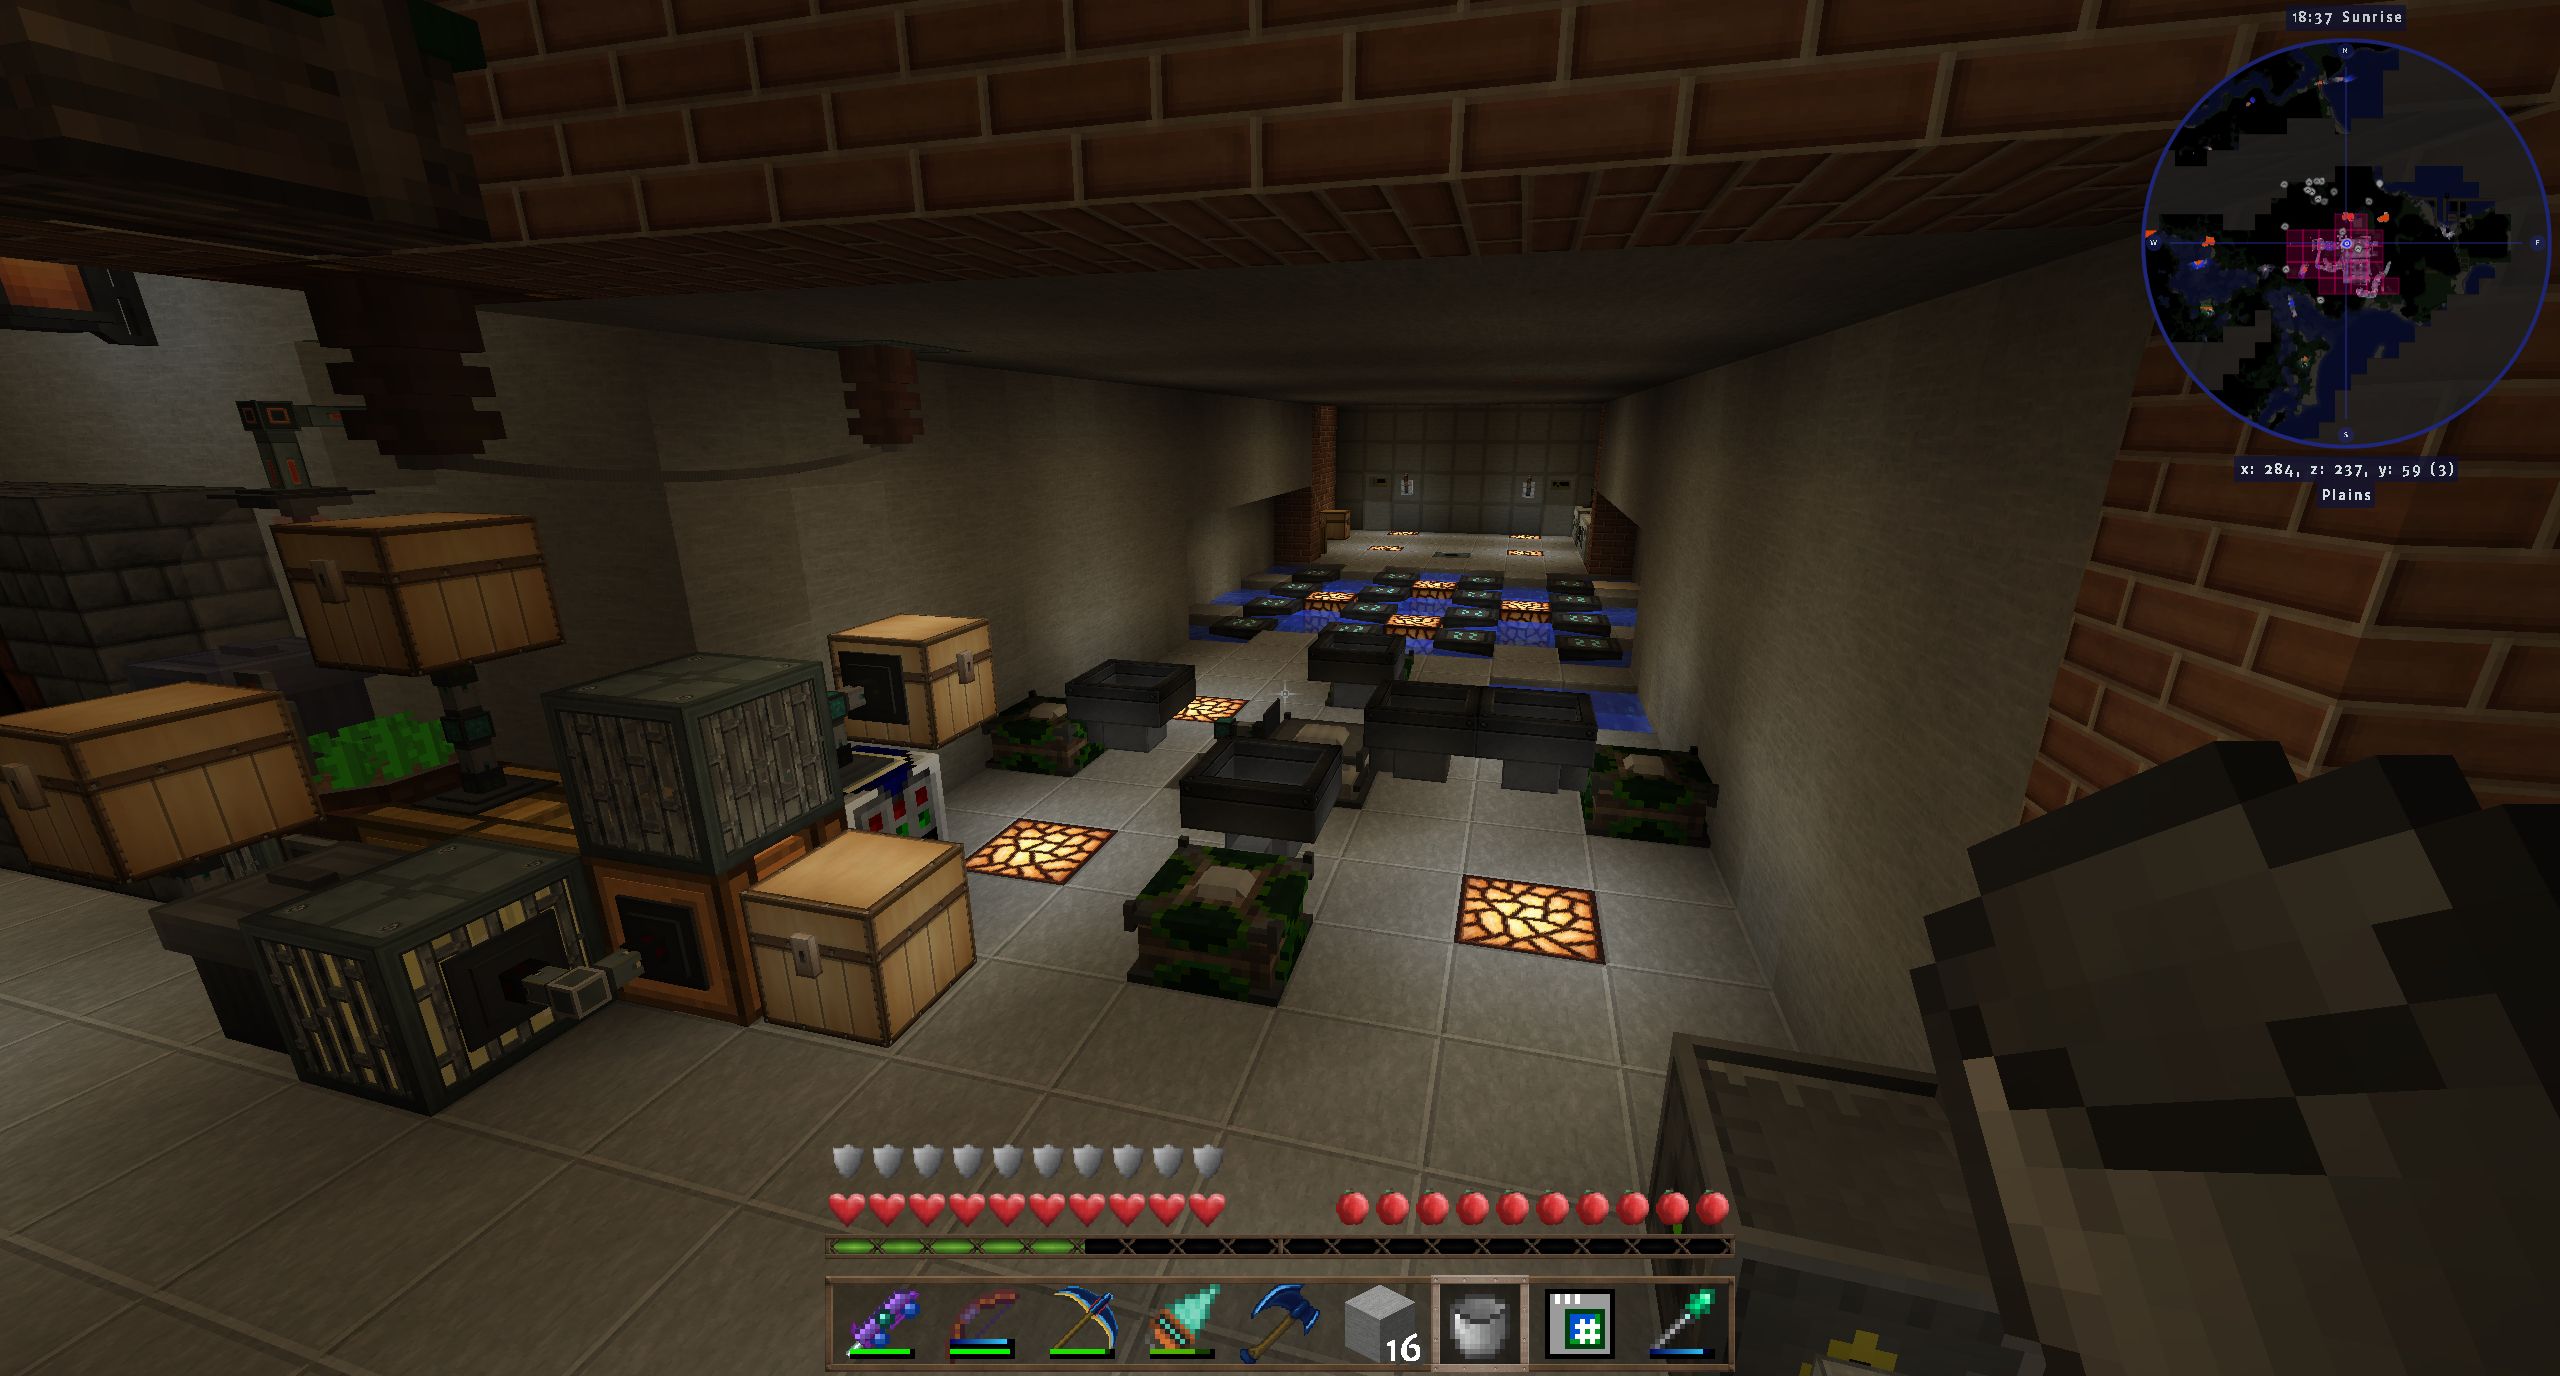
The second picture shows the empowerer setup - rather straightforward with hoppers and filtered conduits to draw stuff out. The clutter in the foreground stems from the time when I had to make machine chassis's and frames with the carpenter (these days I use UU-matter, thanks for that!). The cloche makes canola seeds for seed oil. In the background you see my XU2 power production - 16 water mills arranged in the most efficient pattern which is infinitely extendable.

101_Ae2Processors.jpg


101_Empowerer.jpg


(4) The Reactor

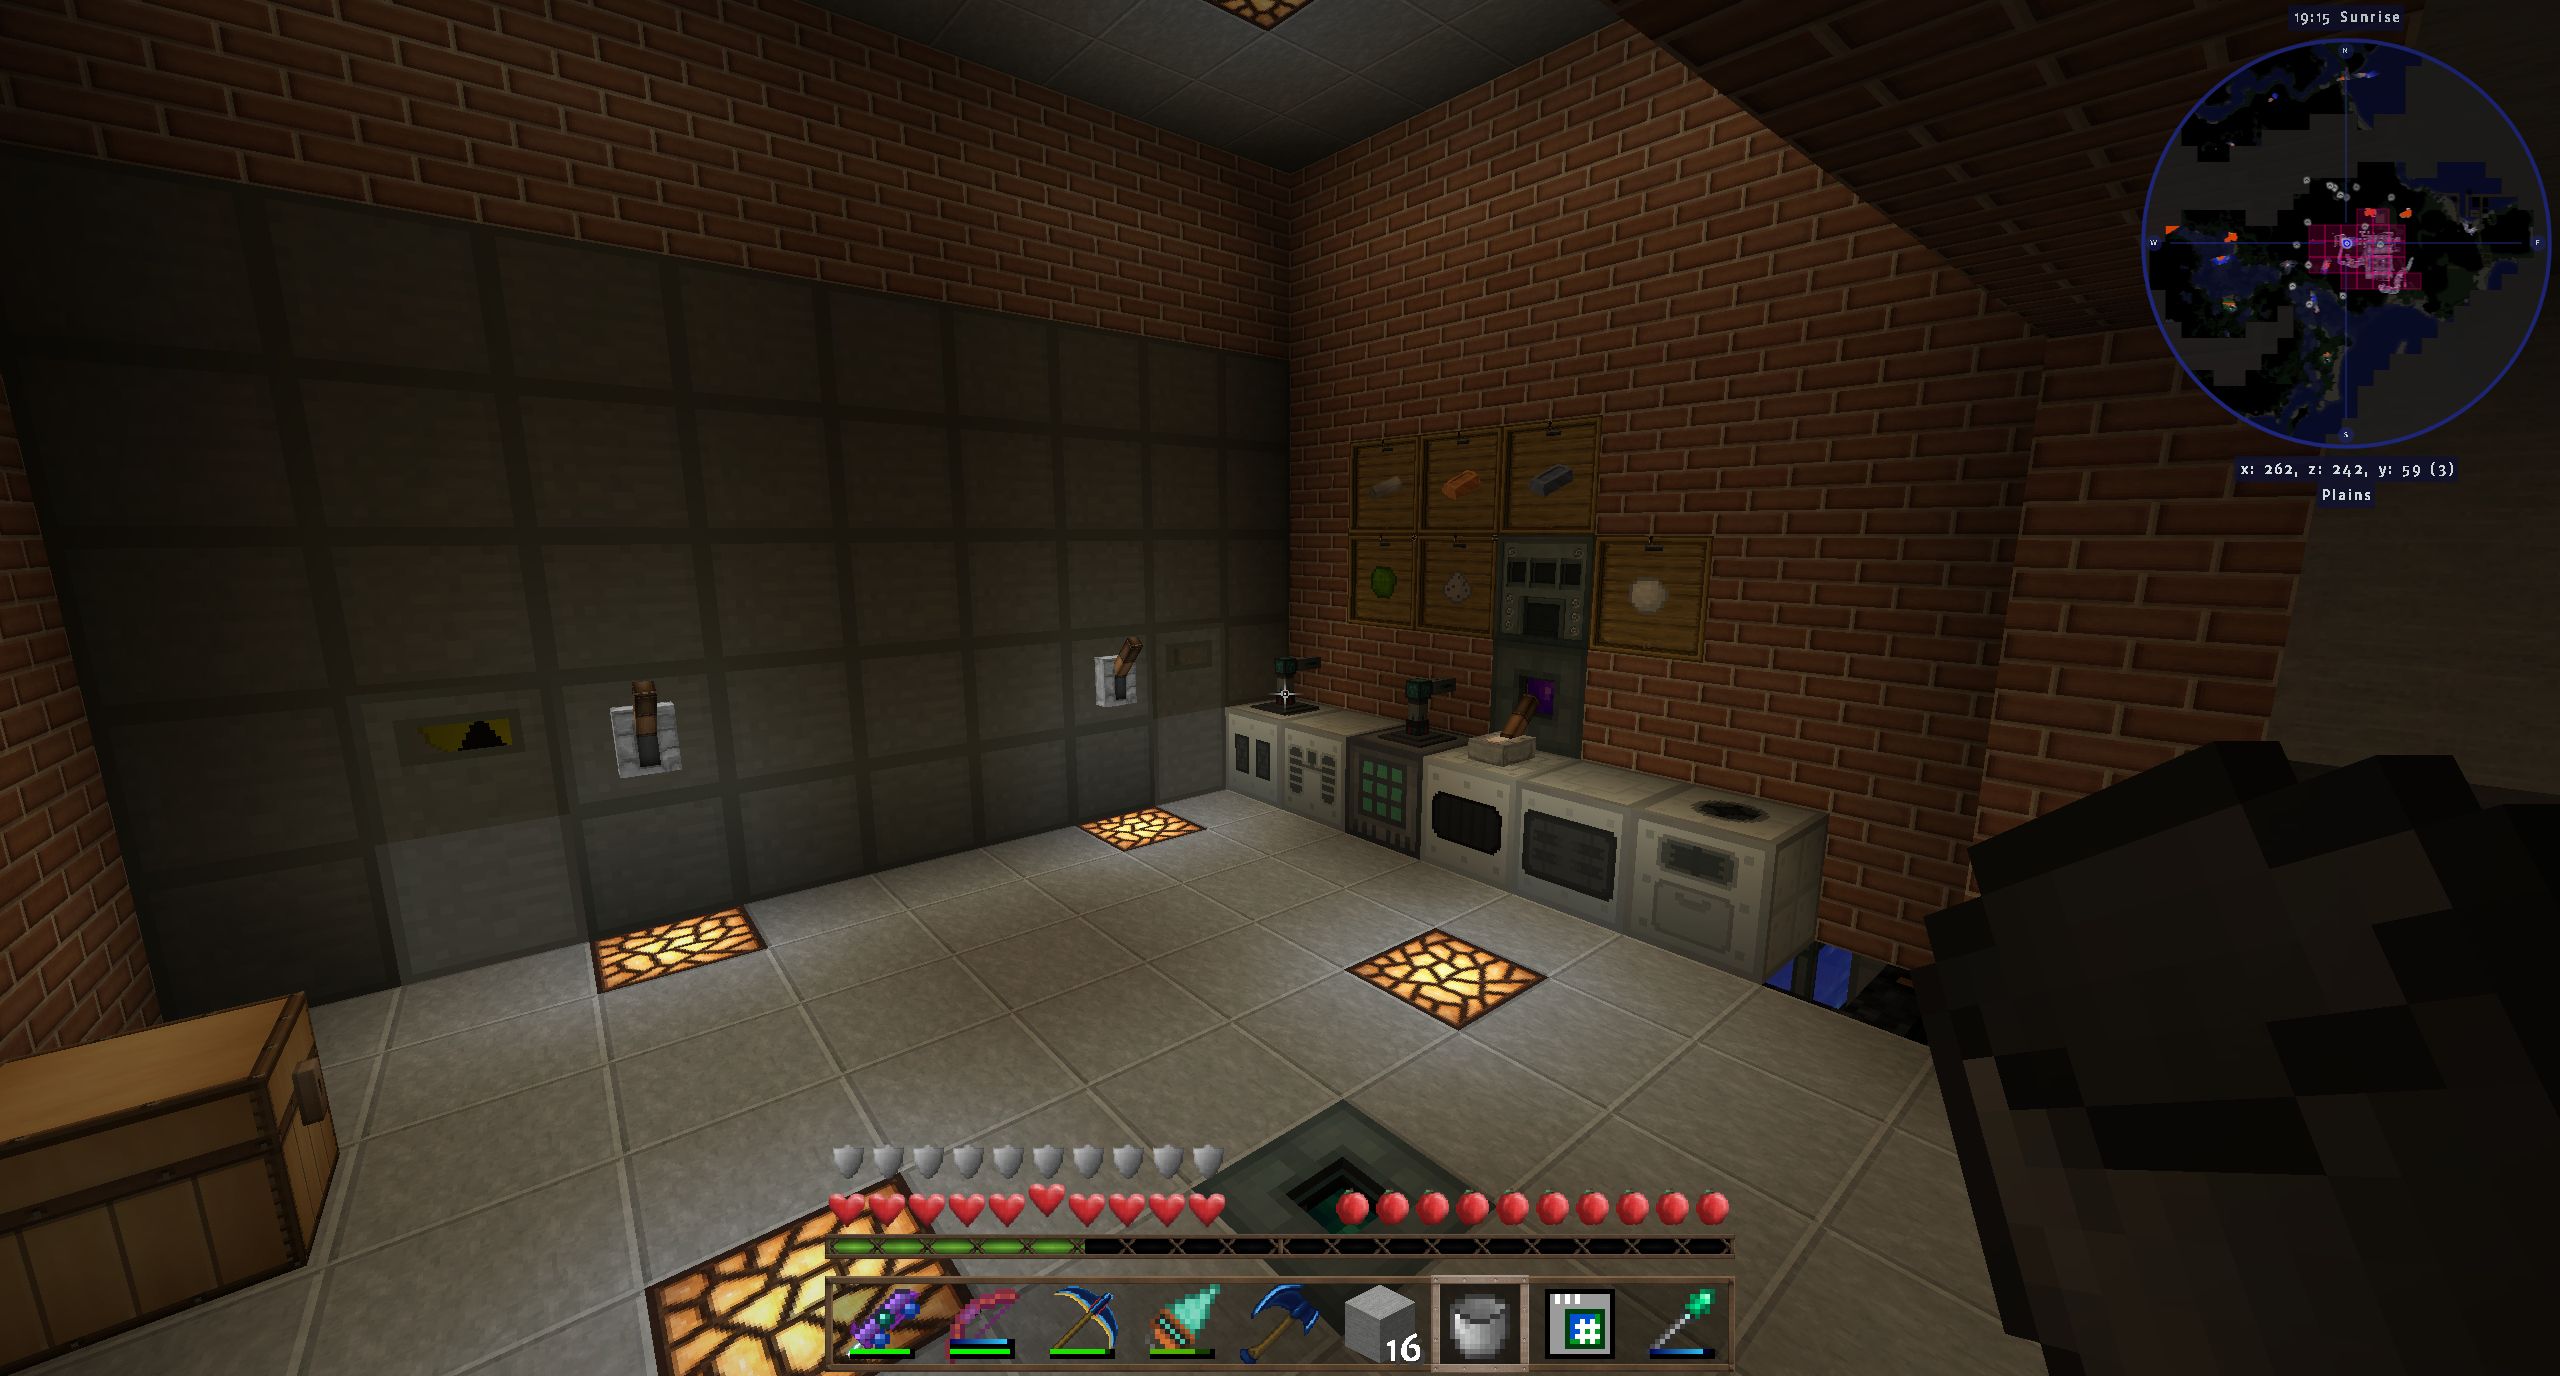
This is my reactor and my fully automated uranium processing and recycling facility. I have two 420 EU/t reactors (design taken from RagePlaysGames' Surviving with IndustrialCraft videos). Since I hate having to switch to the hazmat suite, I made a facility where you only have to put uranium ore into the macerather and make sure the iron and copper supply doesn't run out, and everything else happens automatically, from making new fuel rods to switching the depleted ones and recycling everything. There are two more metal formers behind the one you can see - one makes iron plates, one makes copper plates, and the one you can see makes empty fuel rods from iron plates. The RFTools crafter crafts the U235 and U238 into enriched uranium, the tiny piles of dust that some processes make into dusts which can be smelted, the small plutonium pieces and the single fuel rods that come back from the canning machine into quad fuel rods. All iron is recycled as much as the processes allow, and I only need to don the hazmat suit if I want to do something with the plutonium. Heh, I guess saying "I have plutonium in my drawer" would drive people through the roof IRL, LOL.
101_Reactor.jpg


(5) Production and Spawning

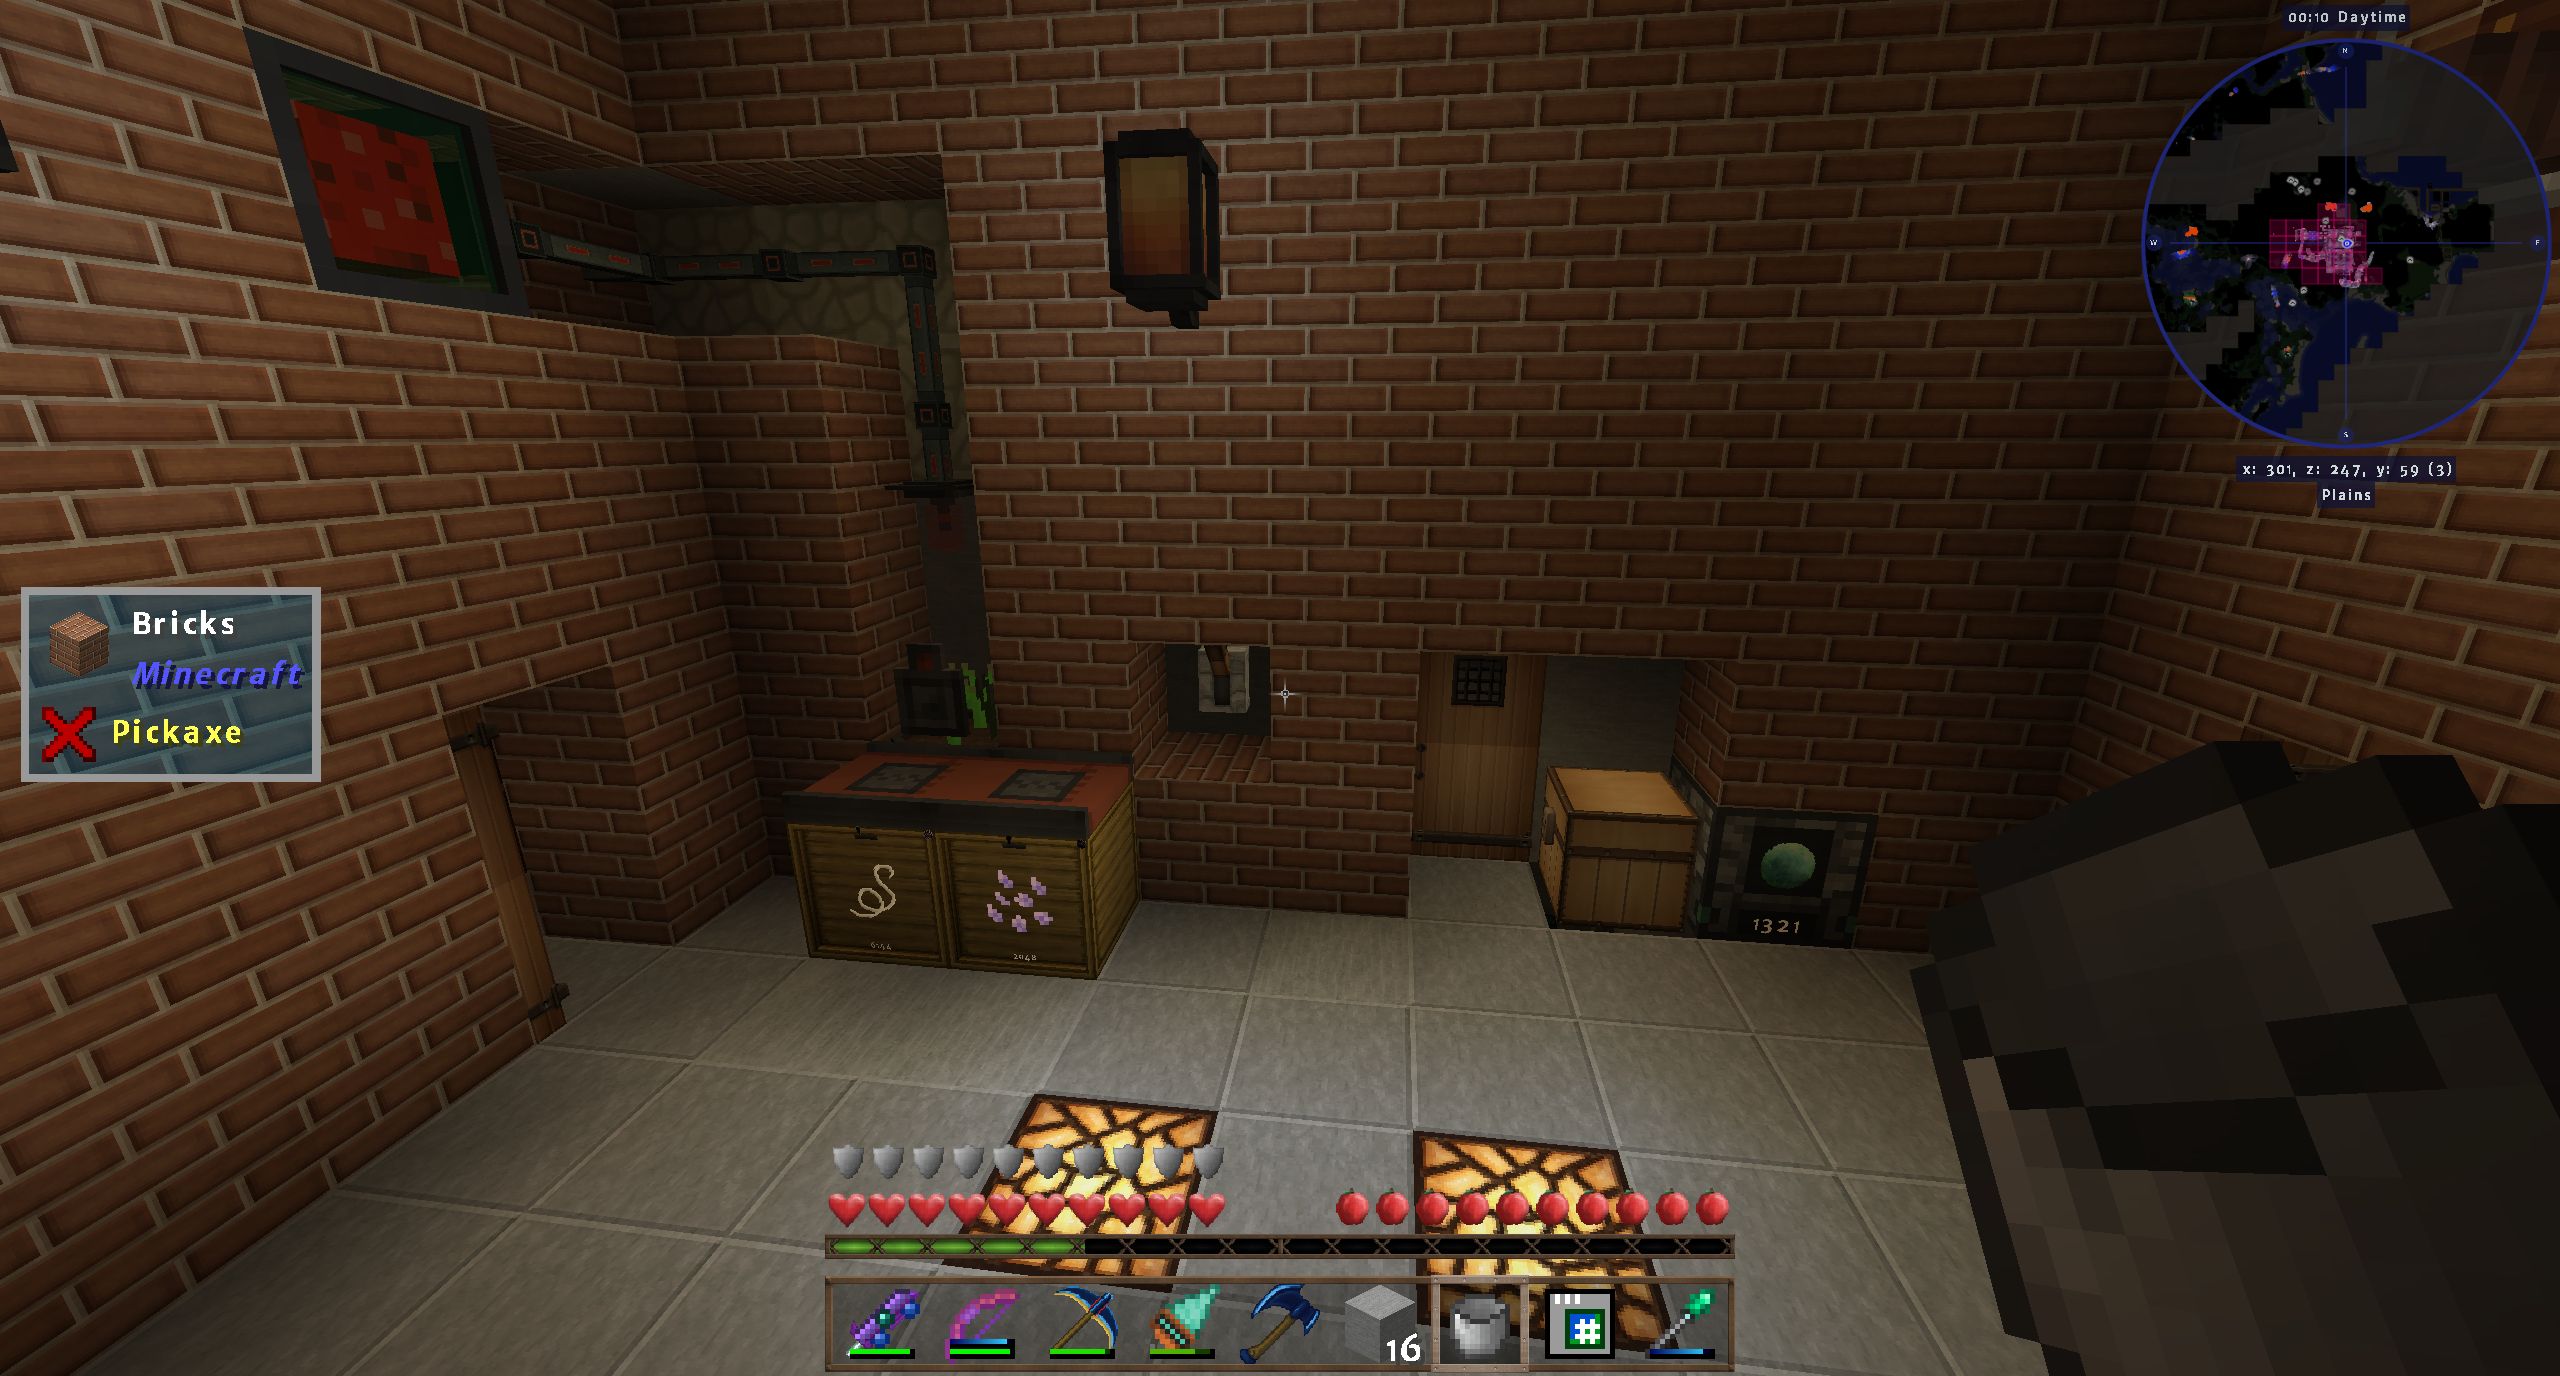
The first picture shows the entrance to my EnderIO spawner room. I had a Zombie spawner running for some time to make heads for z-logic controllers as well as lots of rotten flesh, which together with the sugar from the cloche makes the Nutrient distillation needed by the Killer Joe. Conveniently in Age 6, I had this already set up when I needed it for the machine frames ;). The Ender chest routes everything that isn't rotten flesh to the main storage facility while voiding useless stuff like stone swords from Wither Skeletons. I have a EIO spawners for Zombies, Wither Skeletons, Endermen and Blazes, although now I use the Enderman spawner only for Enderman soul vials.

The second picture shows the entrance to the Enderman Spawner room. I now have a Resturbed Spawner here, and it's rather more efficient than expected with some speed upgrades. The container for the Ender Pearls is a Mekanism Basic Bin (which you can craft without Mekanism machines), which I use because it doesn't care about stacking limits (which is why I used them for Calculator circuits before I could make storage chambers). The cloche at the side is inconveniently-placed, but I needed string for wool for AE2 covered cables fast.

101_SpawnerEntrance2.jpg


101_SpawnerEntrance1.jpg


(6) The Power Room

This is my Immersive Engineering power room. three melon cloches and eight industrial hemp cloches feed a fermenter and an industrial squeezer, whose output gets combined into biodiesel in the refinery, enough to feed two Diesel Generators for a net total of 6900 RF/t. The squeezer and the Fermenter use 640 RF/t each. The thermoelectric generators existed for bootstrapping the system at the first start, and in case it runs out of power completely, but it is not needed anymore since I now have the Environmental Tech solar array.

The structure with the three Vibrant Capacitors and the power cells is my power distribution hub, capable of distributing up to 33kRF/t. At the moment, I'm generating about 22.5 kRF/t during the day (6.9 kRF/t from the Diesel Generators and 15.6 kRF/t from the tier 3 solar array), which actually isn't enough to power everything I have at the same time, but more than enough almost all of the time. I have two networks of RFTools power cells, one for power in, connected to the hub at the lower end, and one for power out, connected at the upper end. The empowered diamantine I need for the link cards is one of the most annoying things to make, but totally worth it.

The steel scaffolding at the ceiling is decorative - I want this room to retain a retro-industrial look but since it doesn't look good at height 7 (which would leave me space to hide the AE2 cable in the double ceiling like everywhere else) the AE2 network backbone cable would be too visible otherwise. The AE2 room is directly above.

In the background you can see my ore processing setup whose picture I have forgotten it appears.

101_PowerRoom1.jpg


101_PowerRoom2.jpg


(7) Mining and Ore Processing

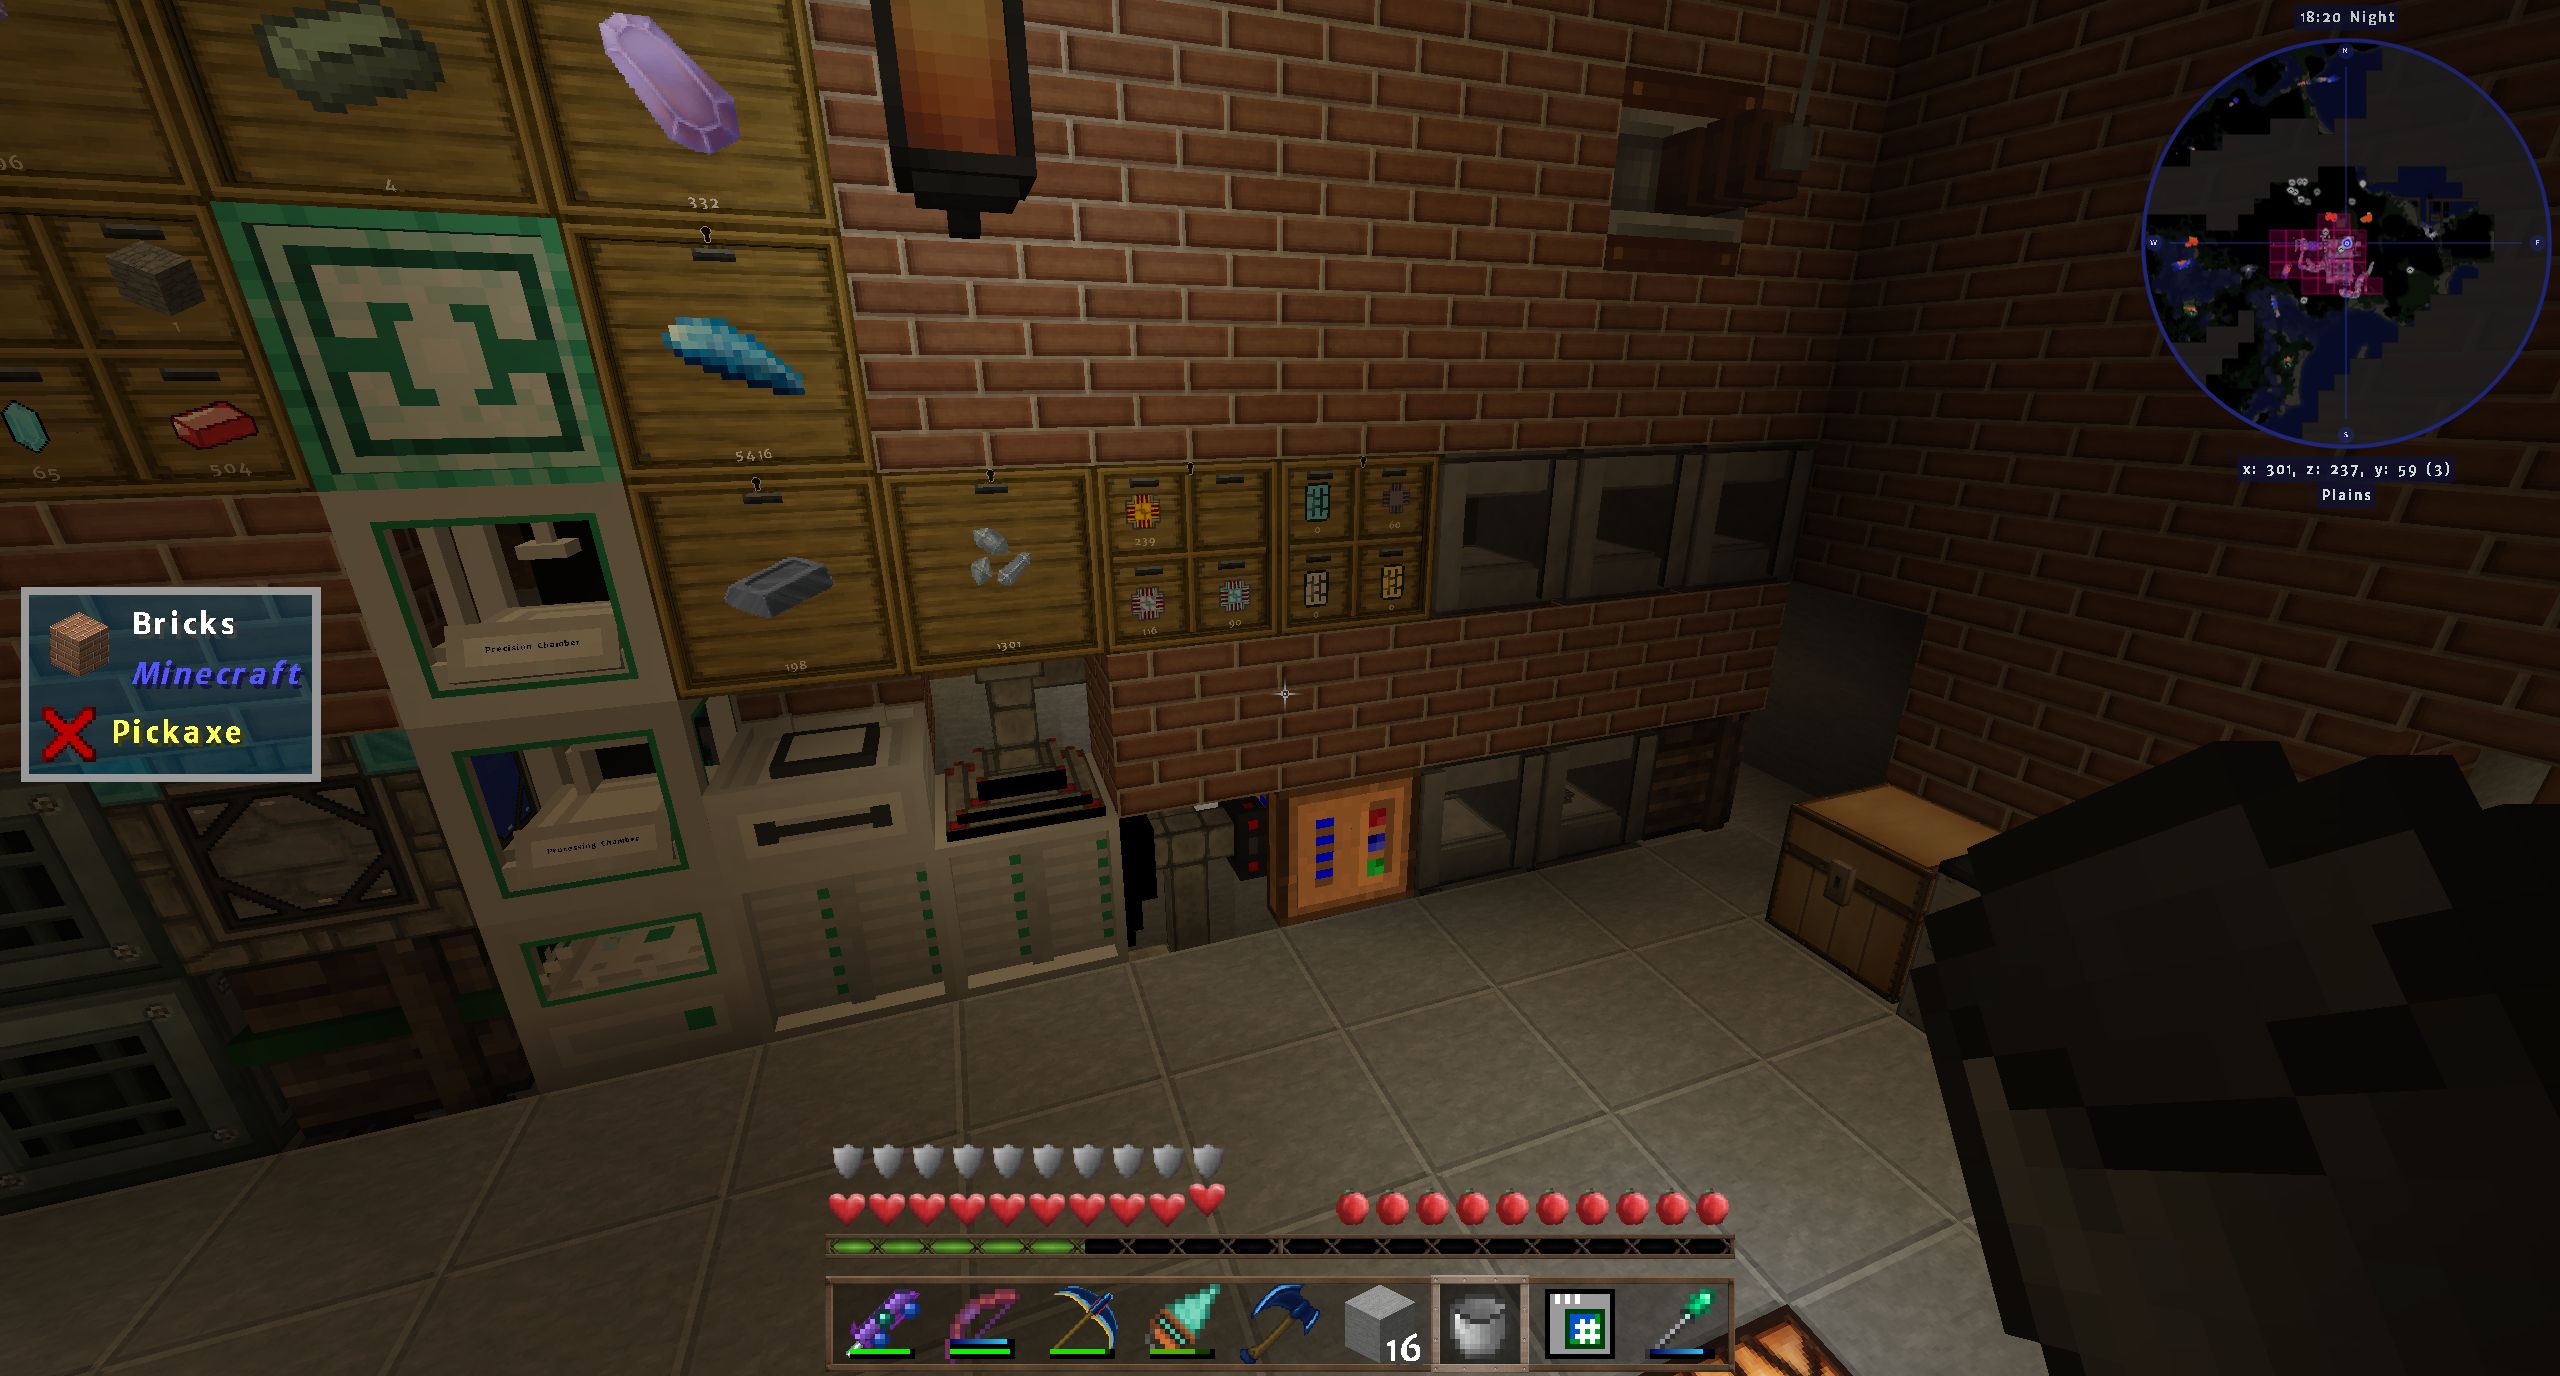
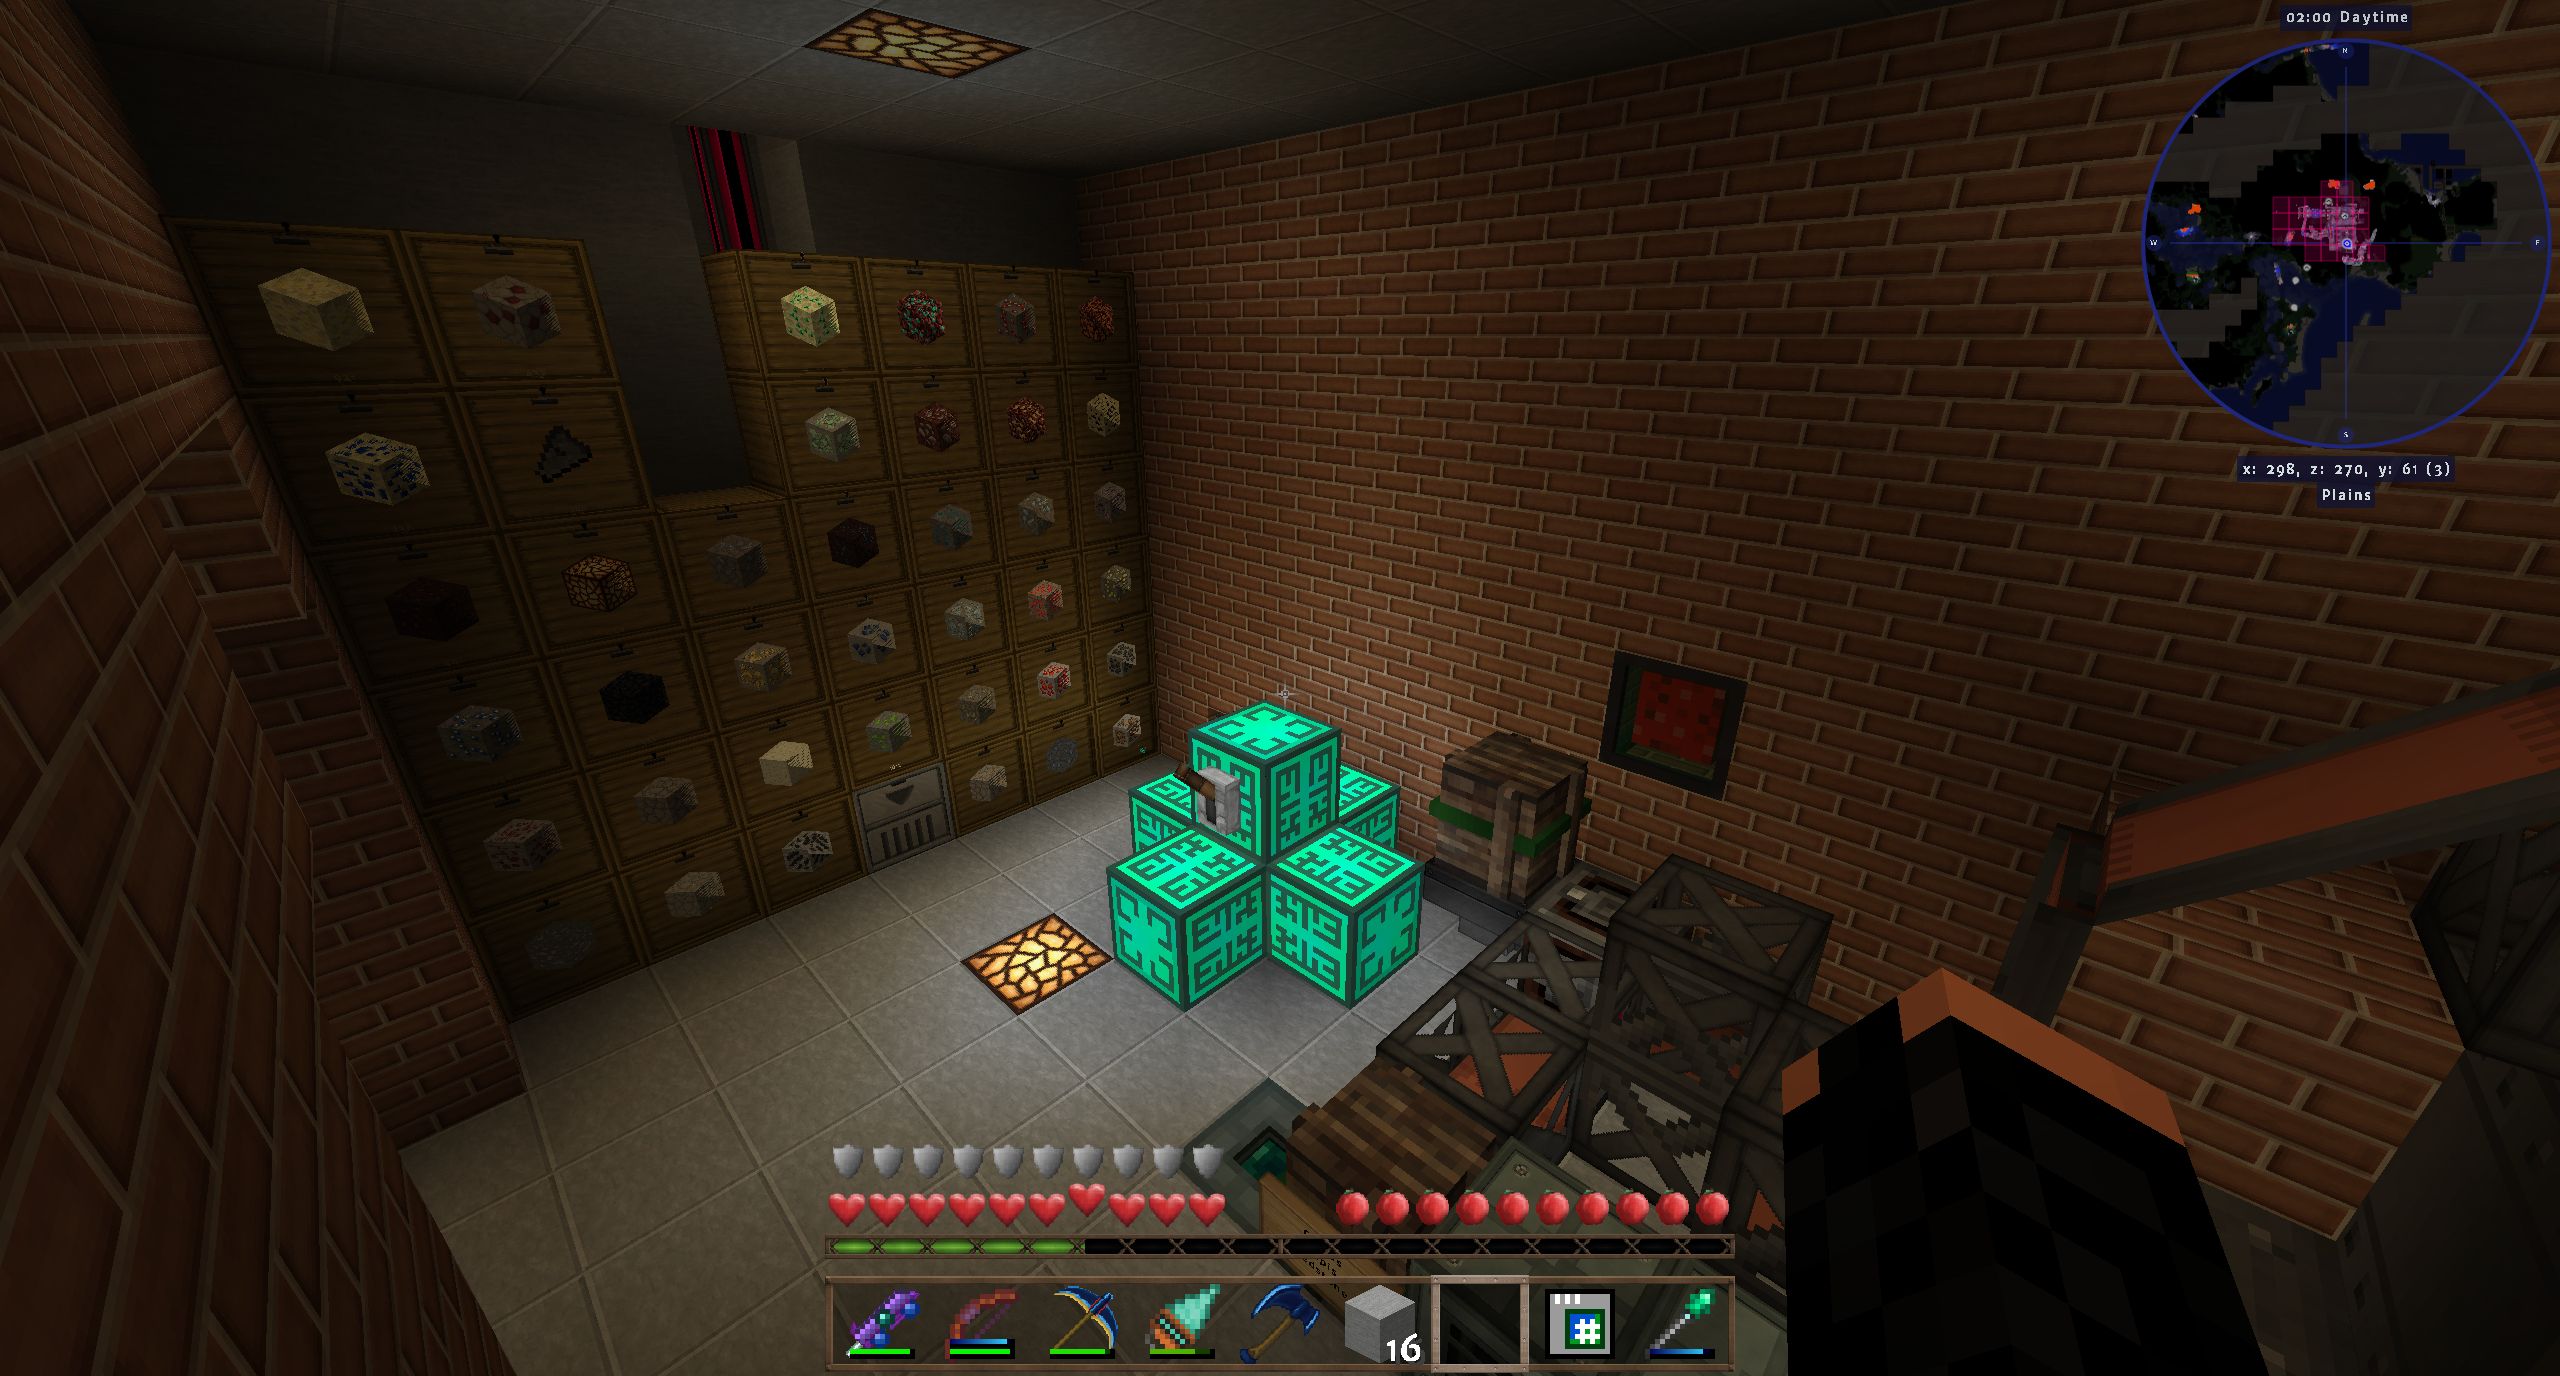
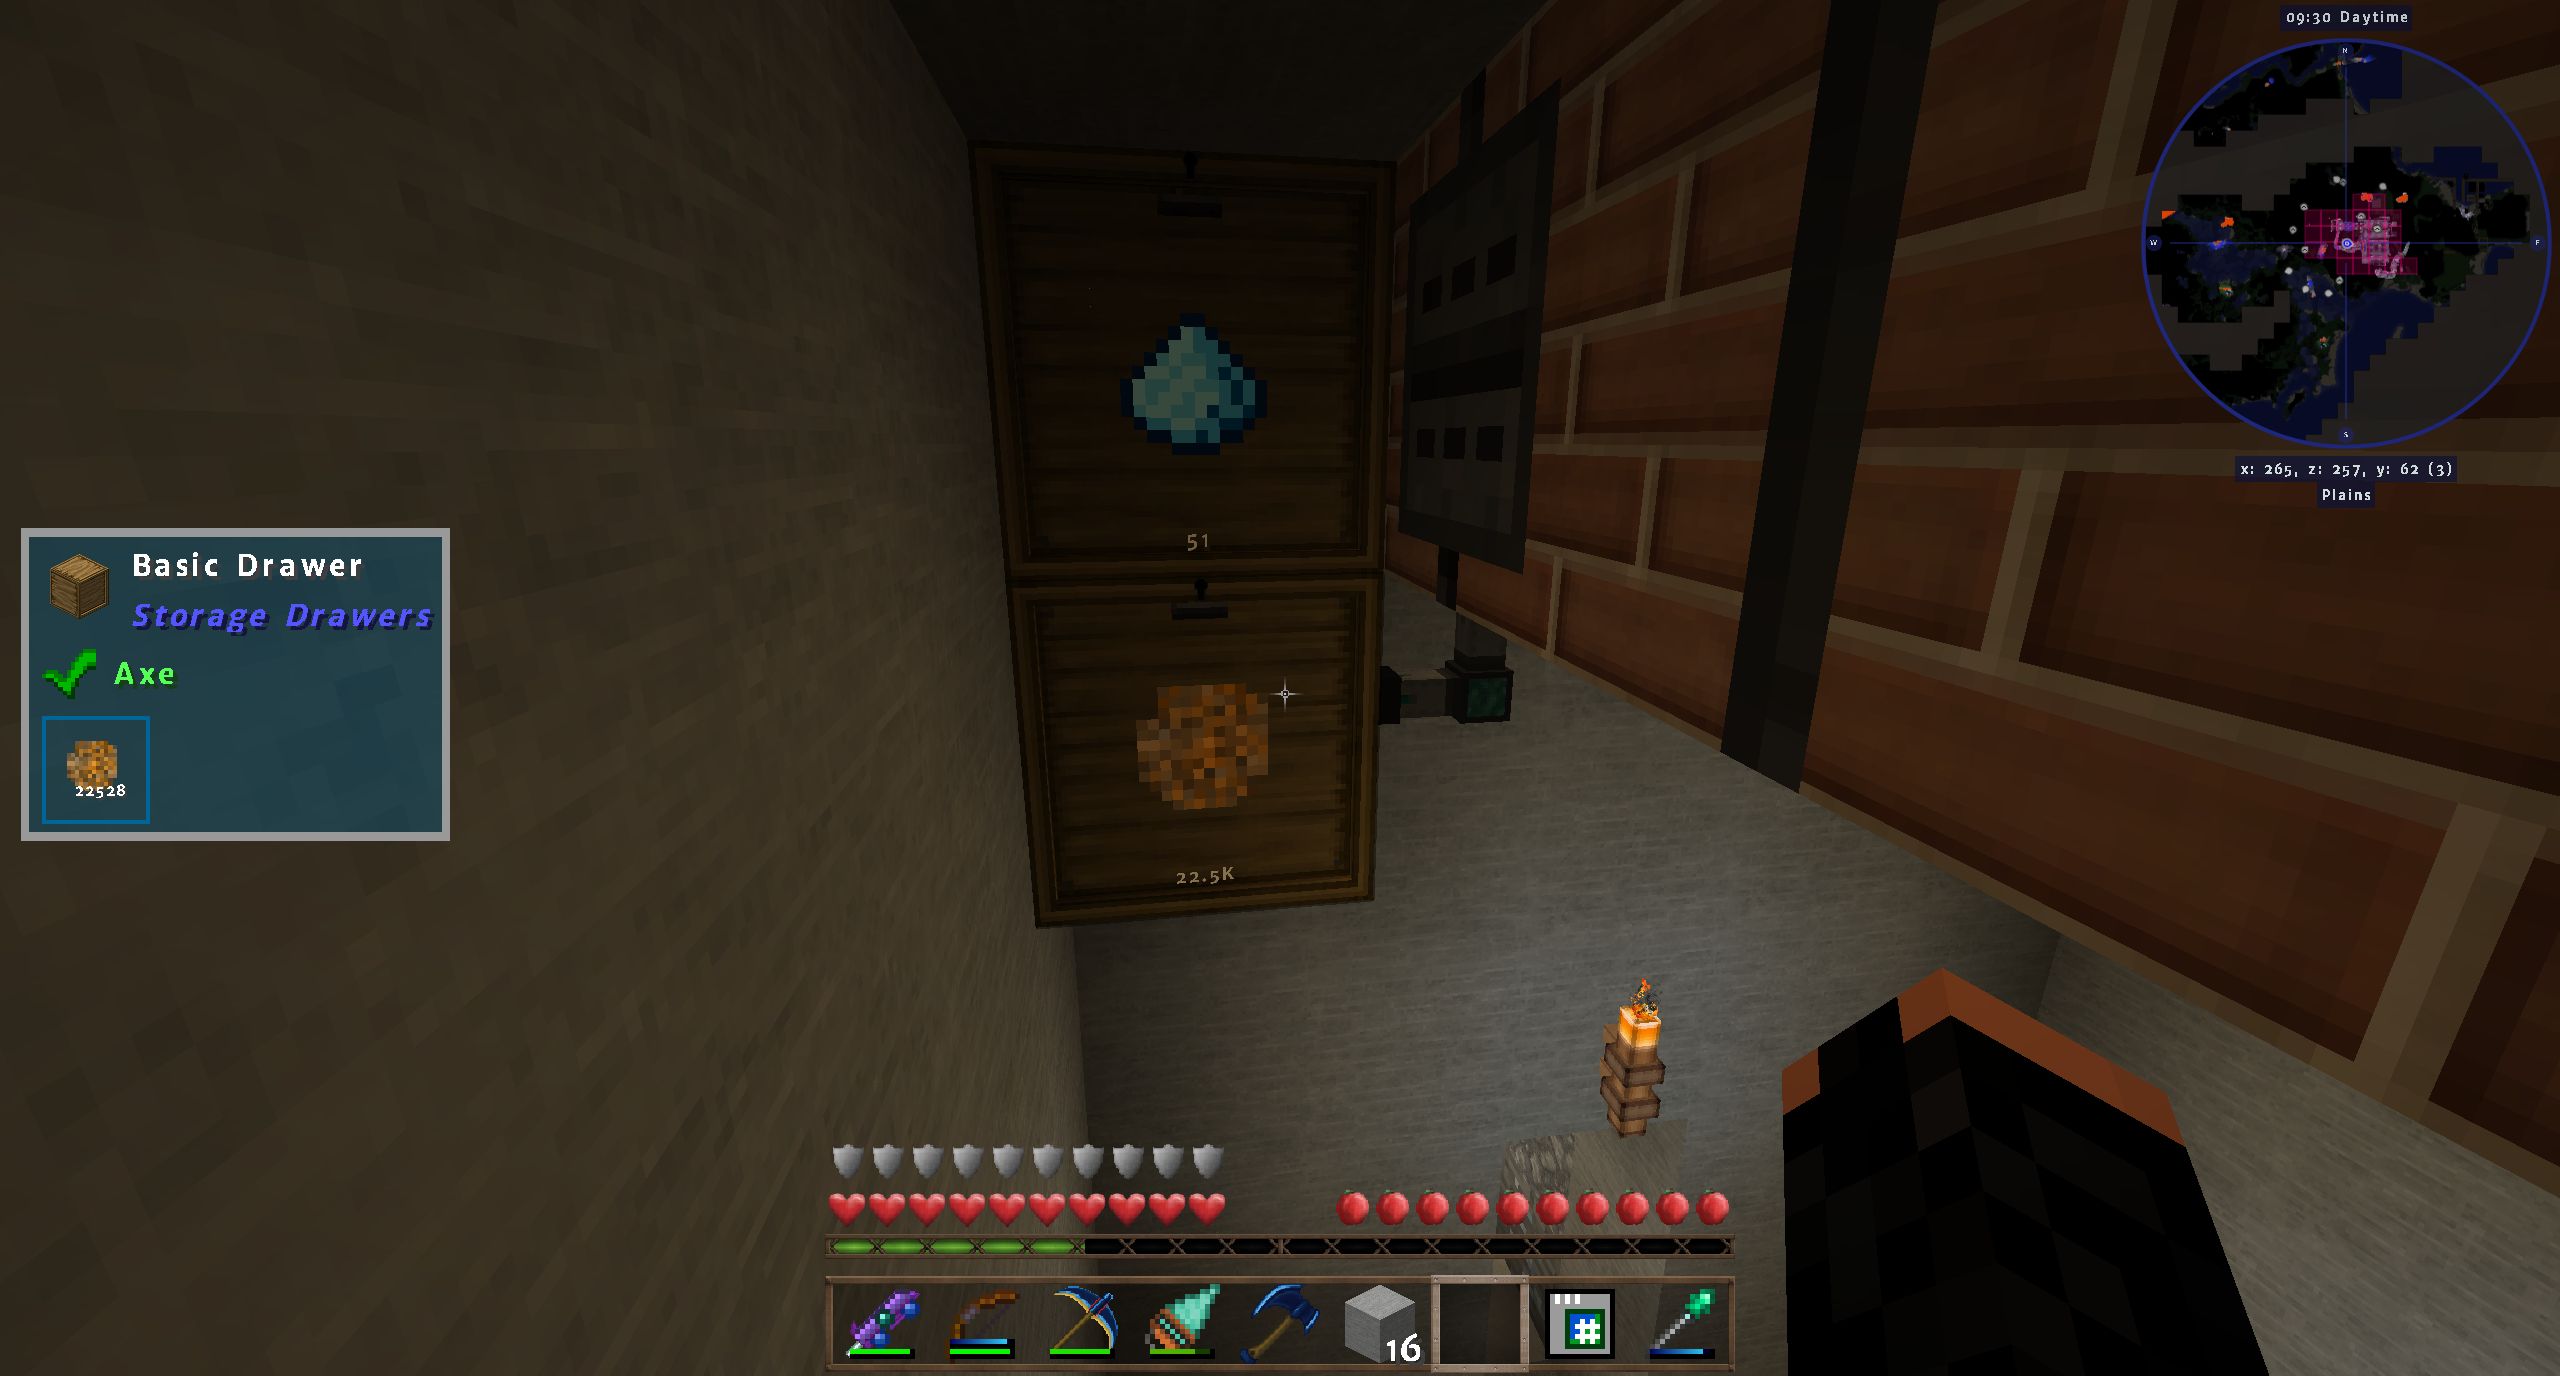
Here's my other "wall of drawers". I have three methods of mining - the RFtools builder set up in the mining world, the Void Ore miner outside, and this Quantum quarry (which cost the staggering amount of 96 pieces of iridium ore to make, among other things). You can also see the side of my ore processing facility, consisting of an Immersive Engineering Crusher, three SAG mills for ores the Crusher isn't optimal to process (SAG-milling Certus Ore will give you the crystals, Crushing them will only yield dust), three Alloy Smelters and a setup with an auto-placer and an XU mechanical user filled with a Fortune'd pick for ruby, sapphine and benitoite, all connected through IE conveyor belts and item routers. End products like ingots and dusts will be routed to the main storage system by Ender Chest. Having said that, I have too much stuff to process it all. Since I had to mine extensively for the insane amount of gold and diamonds that went into the Environmental Tech stuff, I have rather too much of the less rare metals.

Speaking of mining, the RFTools miner is about 15 times as fast as a tier 3 Void Ore Miner with 8 speed upgrades or the quantum quarry, and with the proper storage filter it doesn't use more power than the quantum quarry. It can't Silk Touch in this pack (or rather, not until it doesn't matter anymore), which is admittedly hugely annoying, less for the resources but for the added sorting complexity, but the Void Ore Miner does make up for it since you can mine more goal-oriented with it.

101_OreStore.jpg


(8) IndustrialCraft

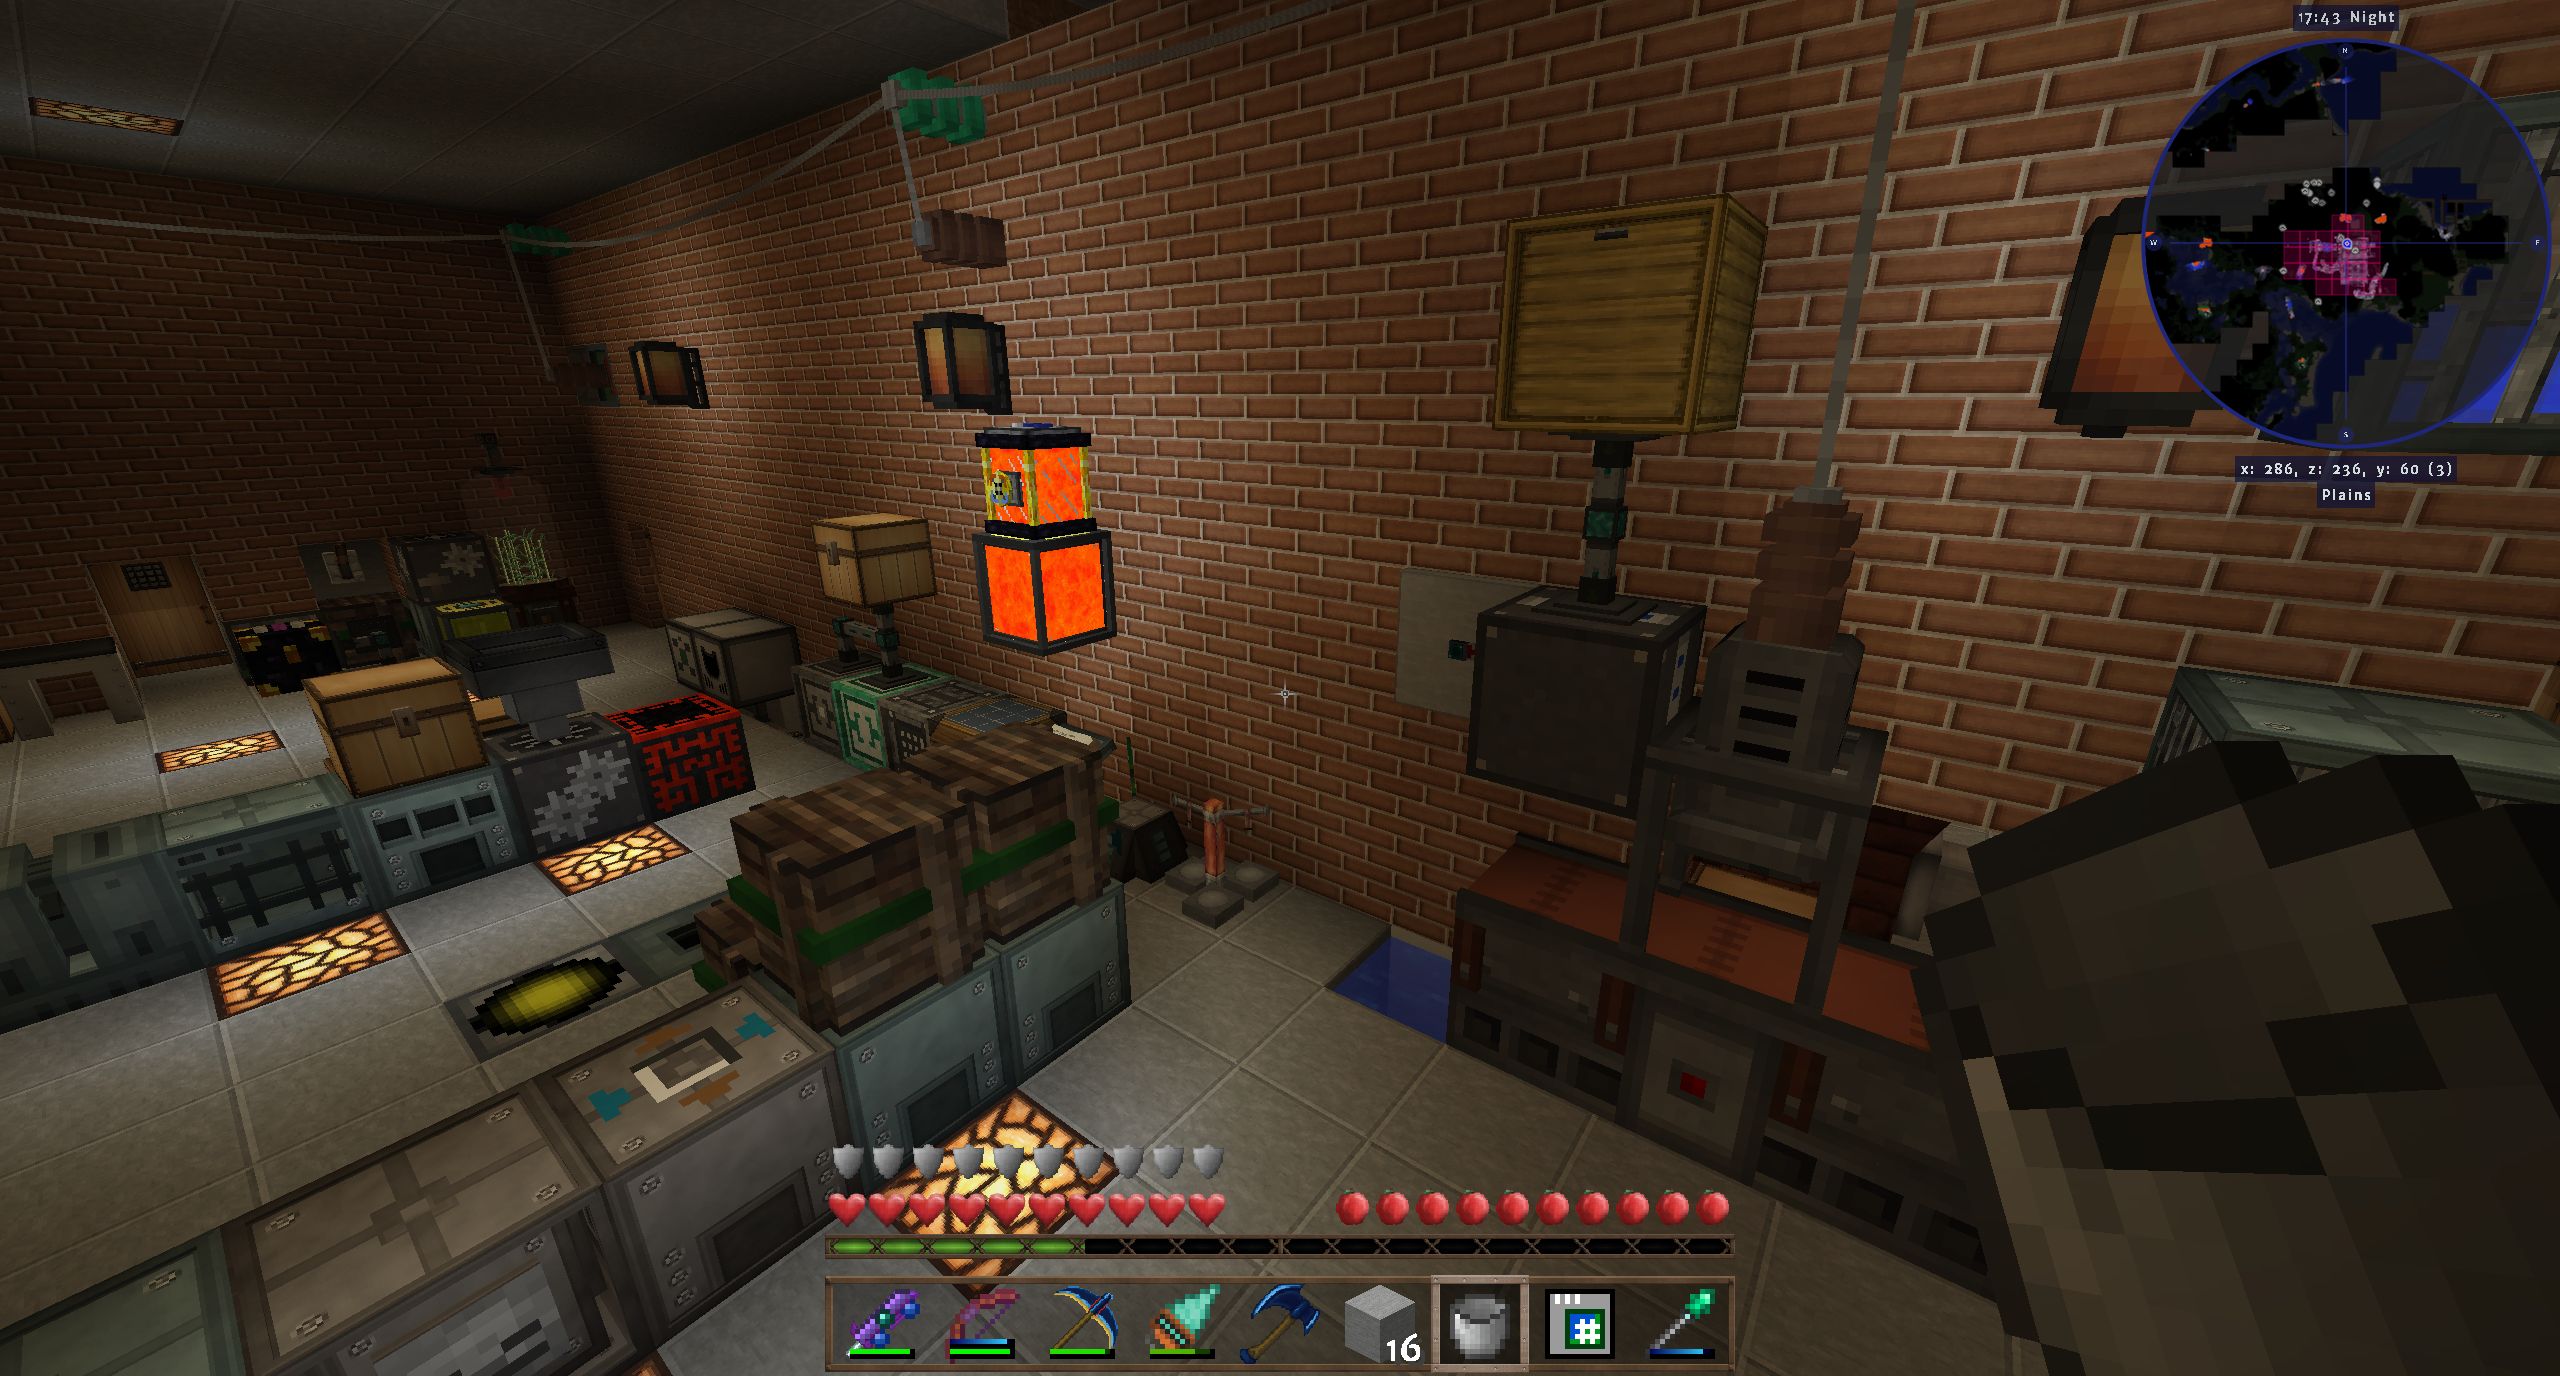
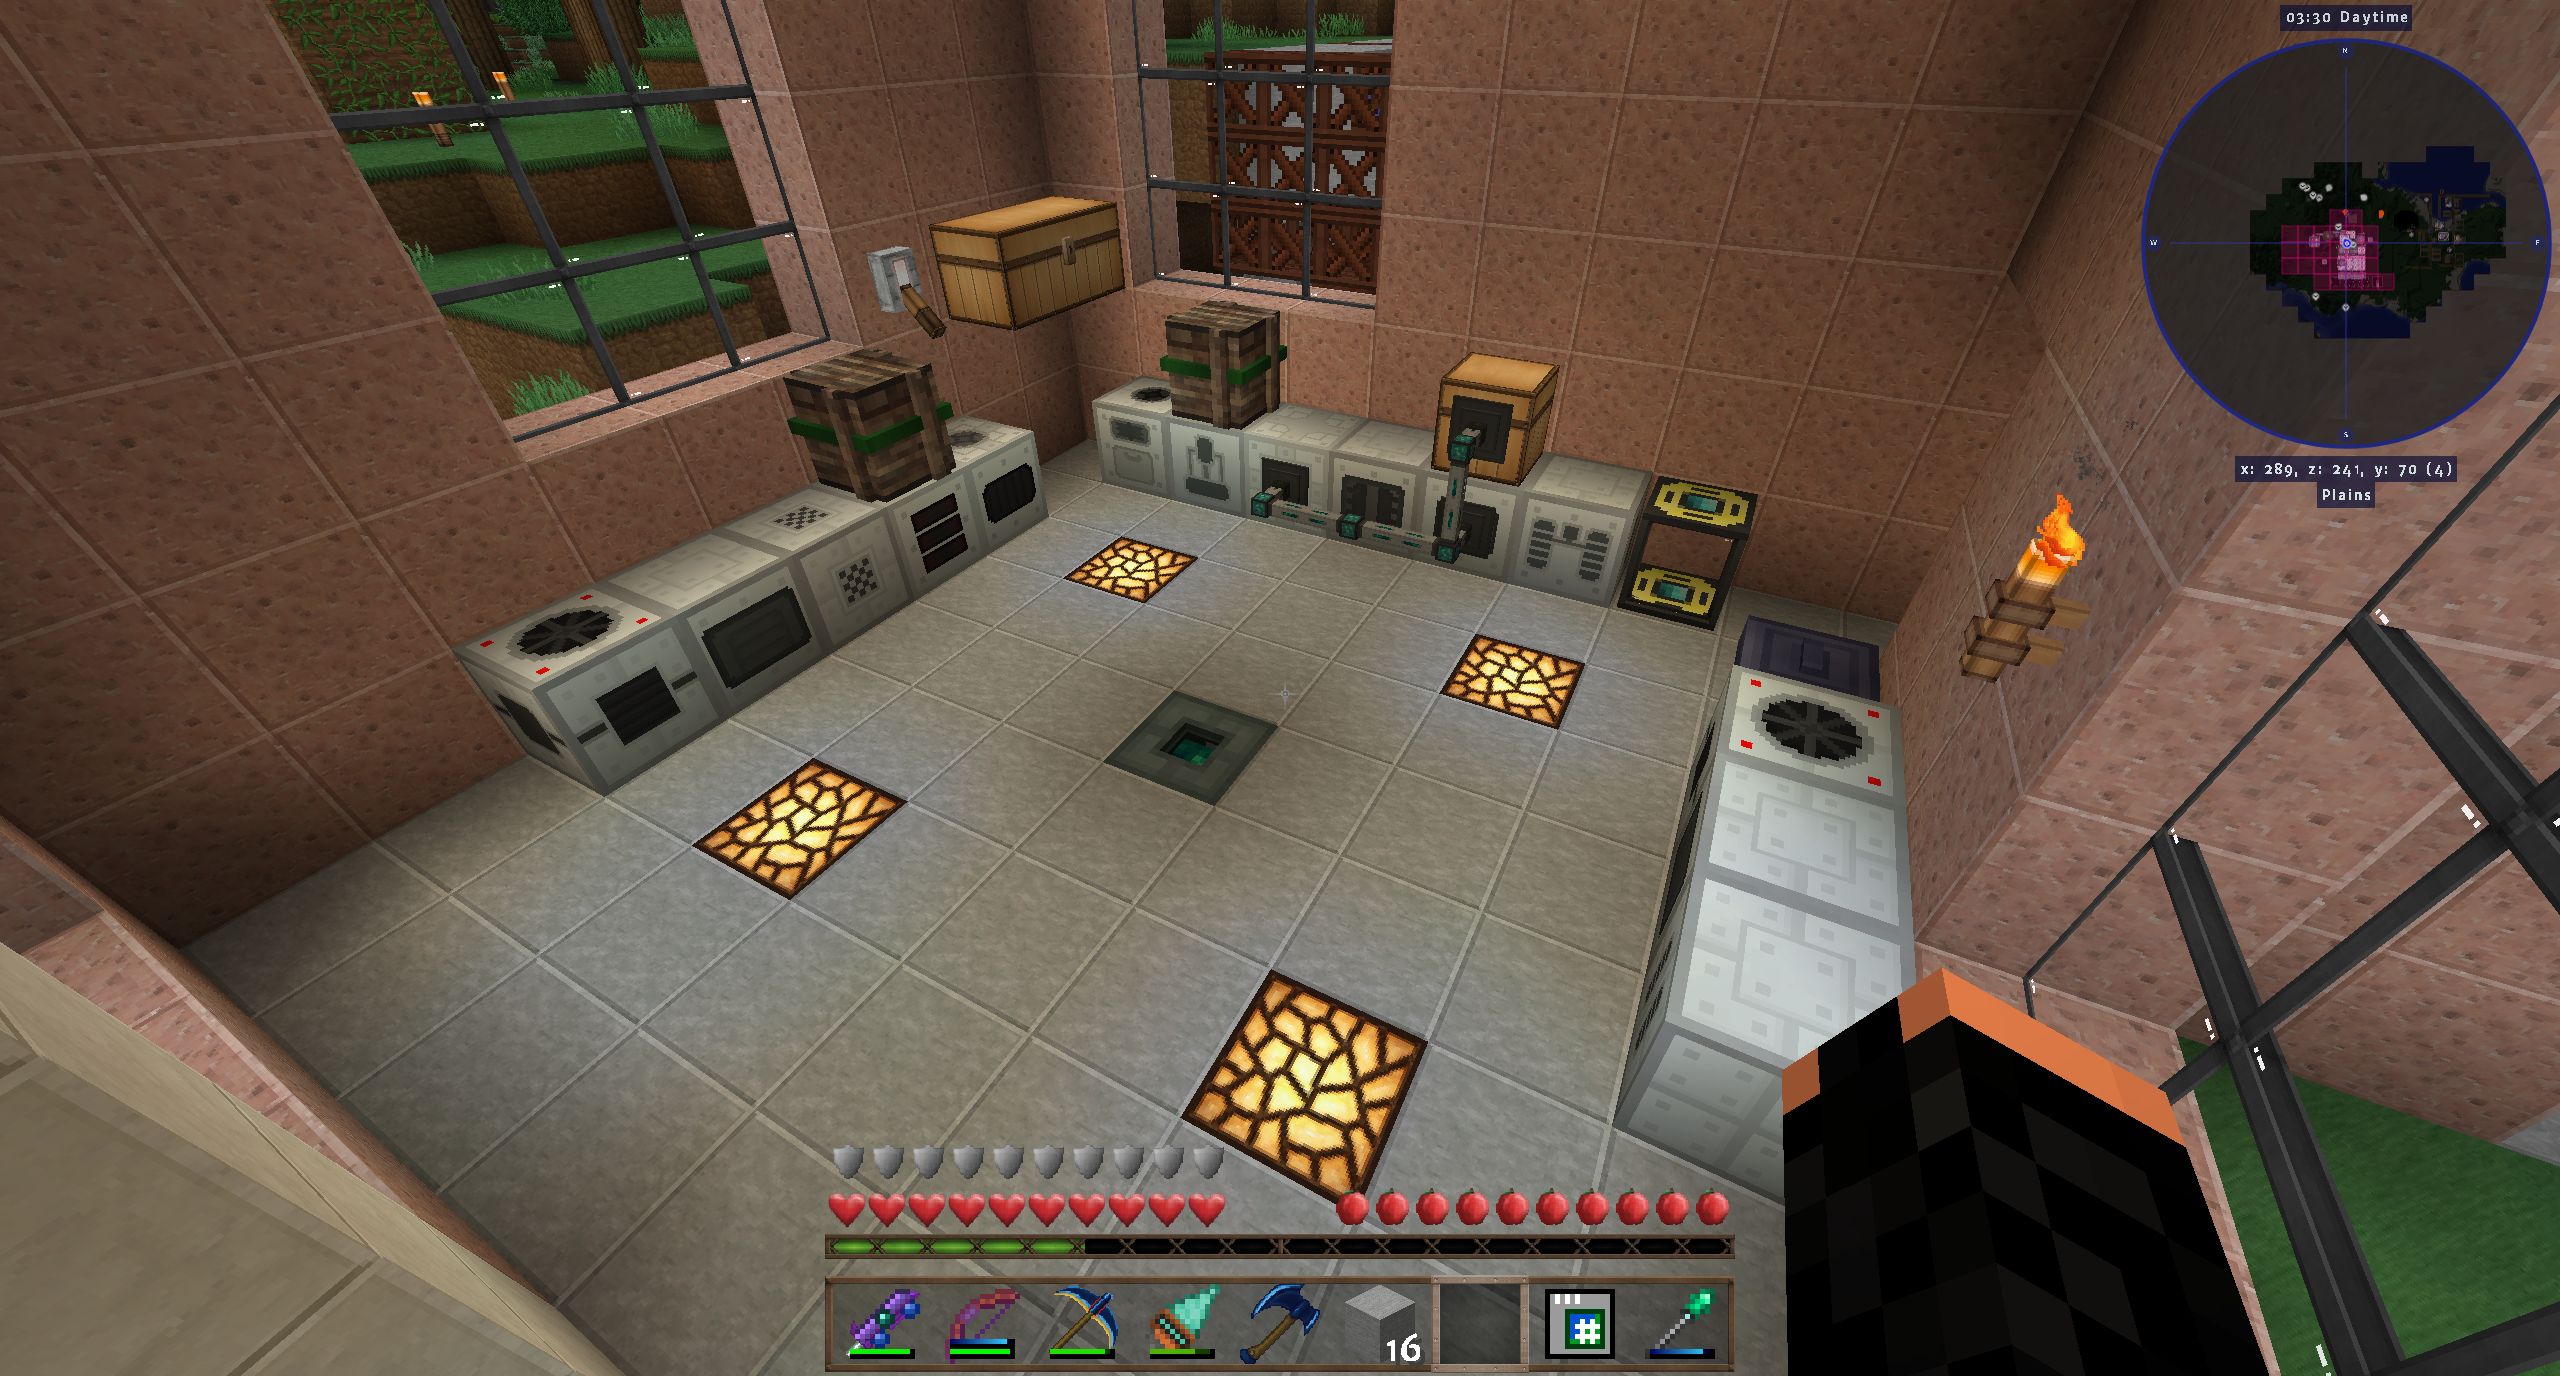
Now to get upstairs and into the light, here's my rather unassuming-looking main IC room. At the other side of the room, there are my tier 1 machines (though they all have transformer upgrades now in order to be able to put more overclockers in), on the right, the Thermal Centrifuge and the induction furnace as well as the line of electric heater, steam boiler and condenser to make distilled water for the overclocker upgrades. The condenser auto-outputs into a tank which you can then place at the canning machine on the far right. On the near right the line of liquid heat exchanger, steam boiler and condenser to make Pahoehoe lava. I ceased IC2 steel production as early as possible, so the blast furnace is sttin

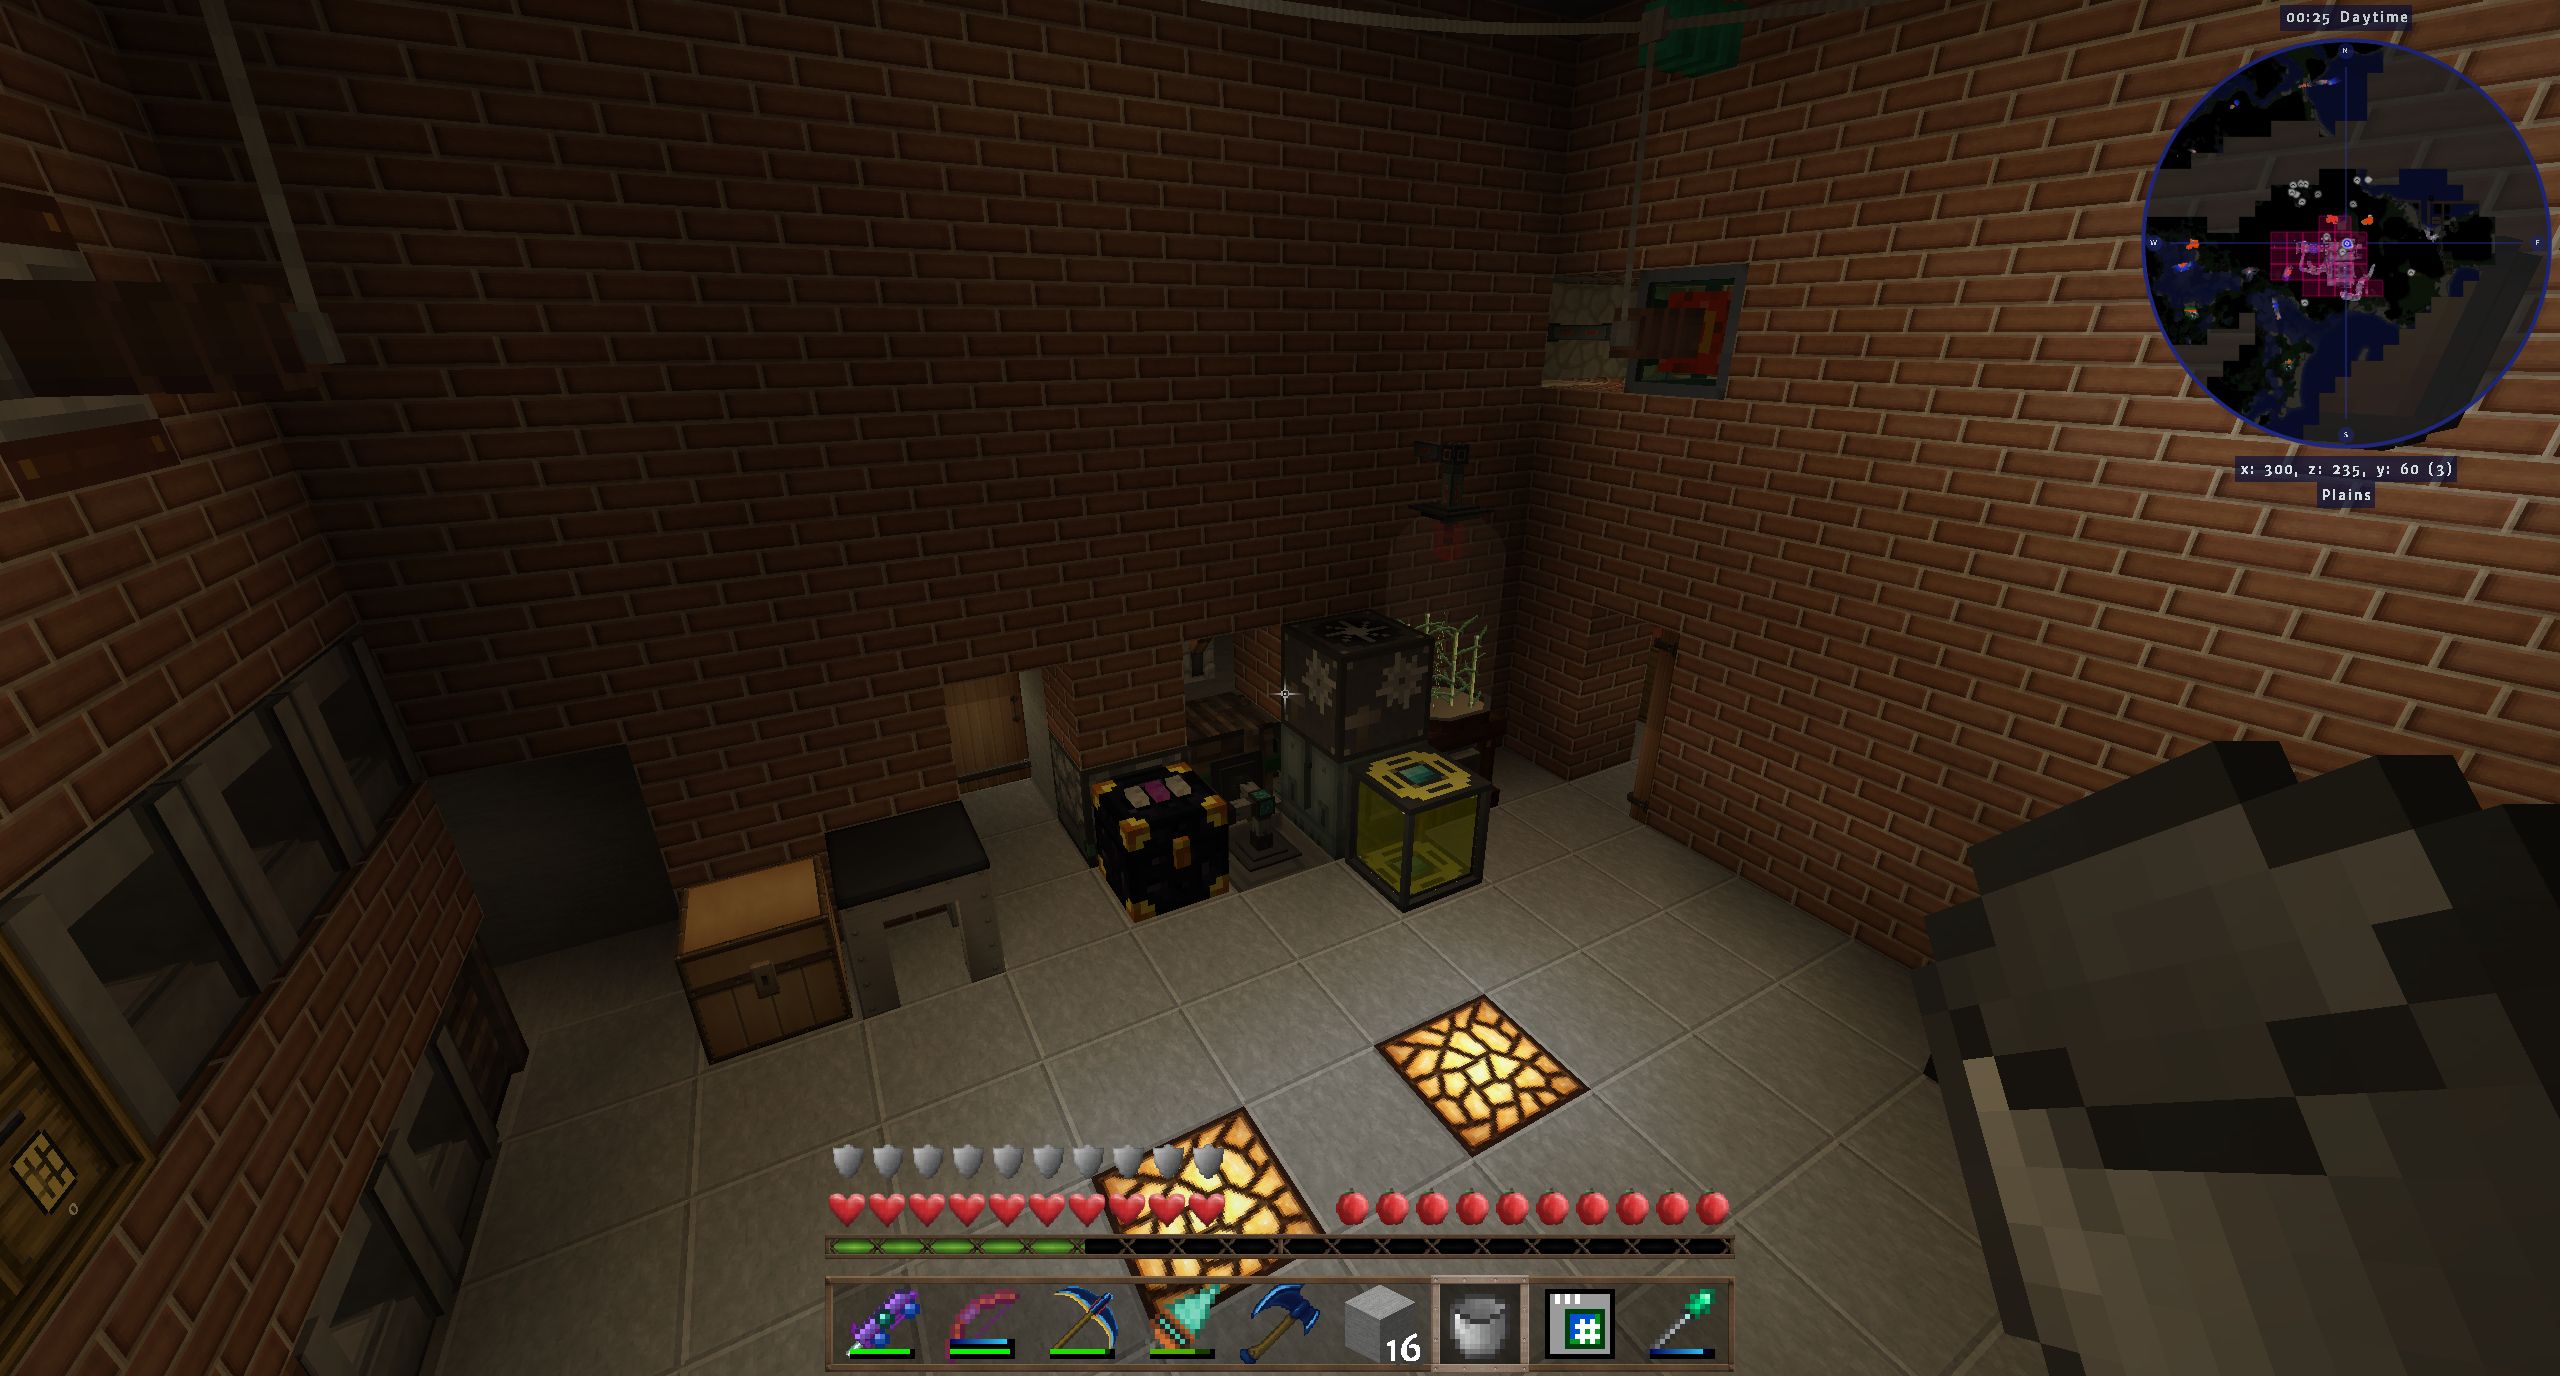
The second picture shows my high-power IC room, directly above the reactor. On the left my UU-matter production facility. The block in the center is a facade, not a vacuum chest - I wanted this block to look futuristic. On the right scanner, pattern storage, replicator and molecular transformer. The EV transformer comes from a time when I believed you have to convert voltage up to 8192EU/t to use the glass fibre cable. I used to place the MT there, but it had some problems with drawing power. IC cabling is finicky anyway, and not for the reasons usually given. I recall DW20 had some problem with his induction furnace losing power from time to time for no apparent reason. Well, that happened to me, too, with several machines, basically every time I switched a power line off and on again some machine would refuse to resume taking in power. I broke and replaced the cable and things resumed working. Weird.

101_IC01.jpg


101_IC02.jpg


(9) AE2 Startup

This rooms looks a bit barebone atm, but it'll fill up quickly with AE-related stuff. I can already access everything I have from the terminal, and in the center there's the core of my 512-channel controller setup. I hope this will carry me through the game. It is easily extendable to 1024 channels, but the color coding would get confusing since colors would have to be re-used. The second picture shows my Crystal Accelerator. The block with the lever is an RFTools power relay, which I find easier to use than cable breakers (more expensive tough, but that ceased to be a problem).

101_AE2Start.jpg


101_AE2CrystalAcc.jpg


(10) Environmental Tech

This is a full set of tier 3 machines - solar array, void ore miner, void resource miner and nanobot beacon. The effort and the resources to make these were considerable to say the least - I think about 3K gold ingots, 768 diamonds and 576 ender pearls went into the controllers and the structure blocks alone, among other things, and the 1k silicon wasn't exactly easy to come by either. I had the resource miner first in order to get the clay. Having said that, I made enough structure blocks and controllers to upgrade all this to tier 4, so all I'm missing are the the Nether Stars, and those I could get within a few hours. I have the Wither trap and the skulls, I just didn't get around to it so far.

The Nanobot beacon has three active modifiers: flight, saturation and regeneration. So I can fly, I don't need to eat and I regenerate health. I like this.

101_VoidMiners.jpg


(11) Early stuff

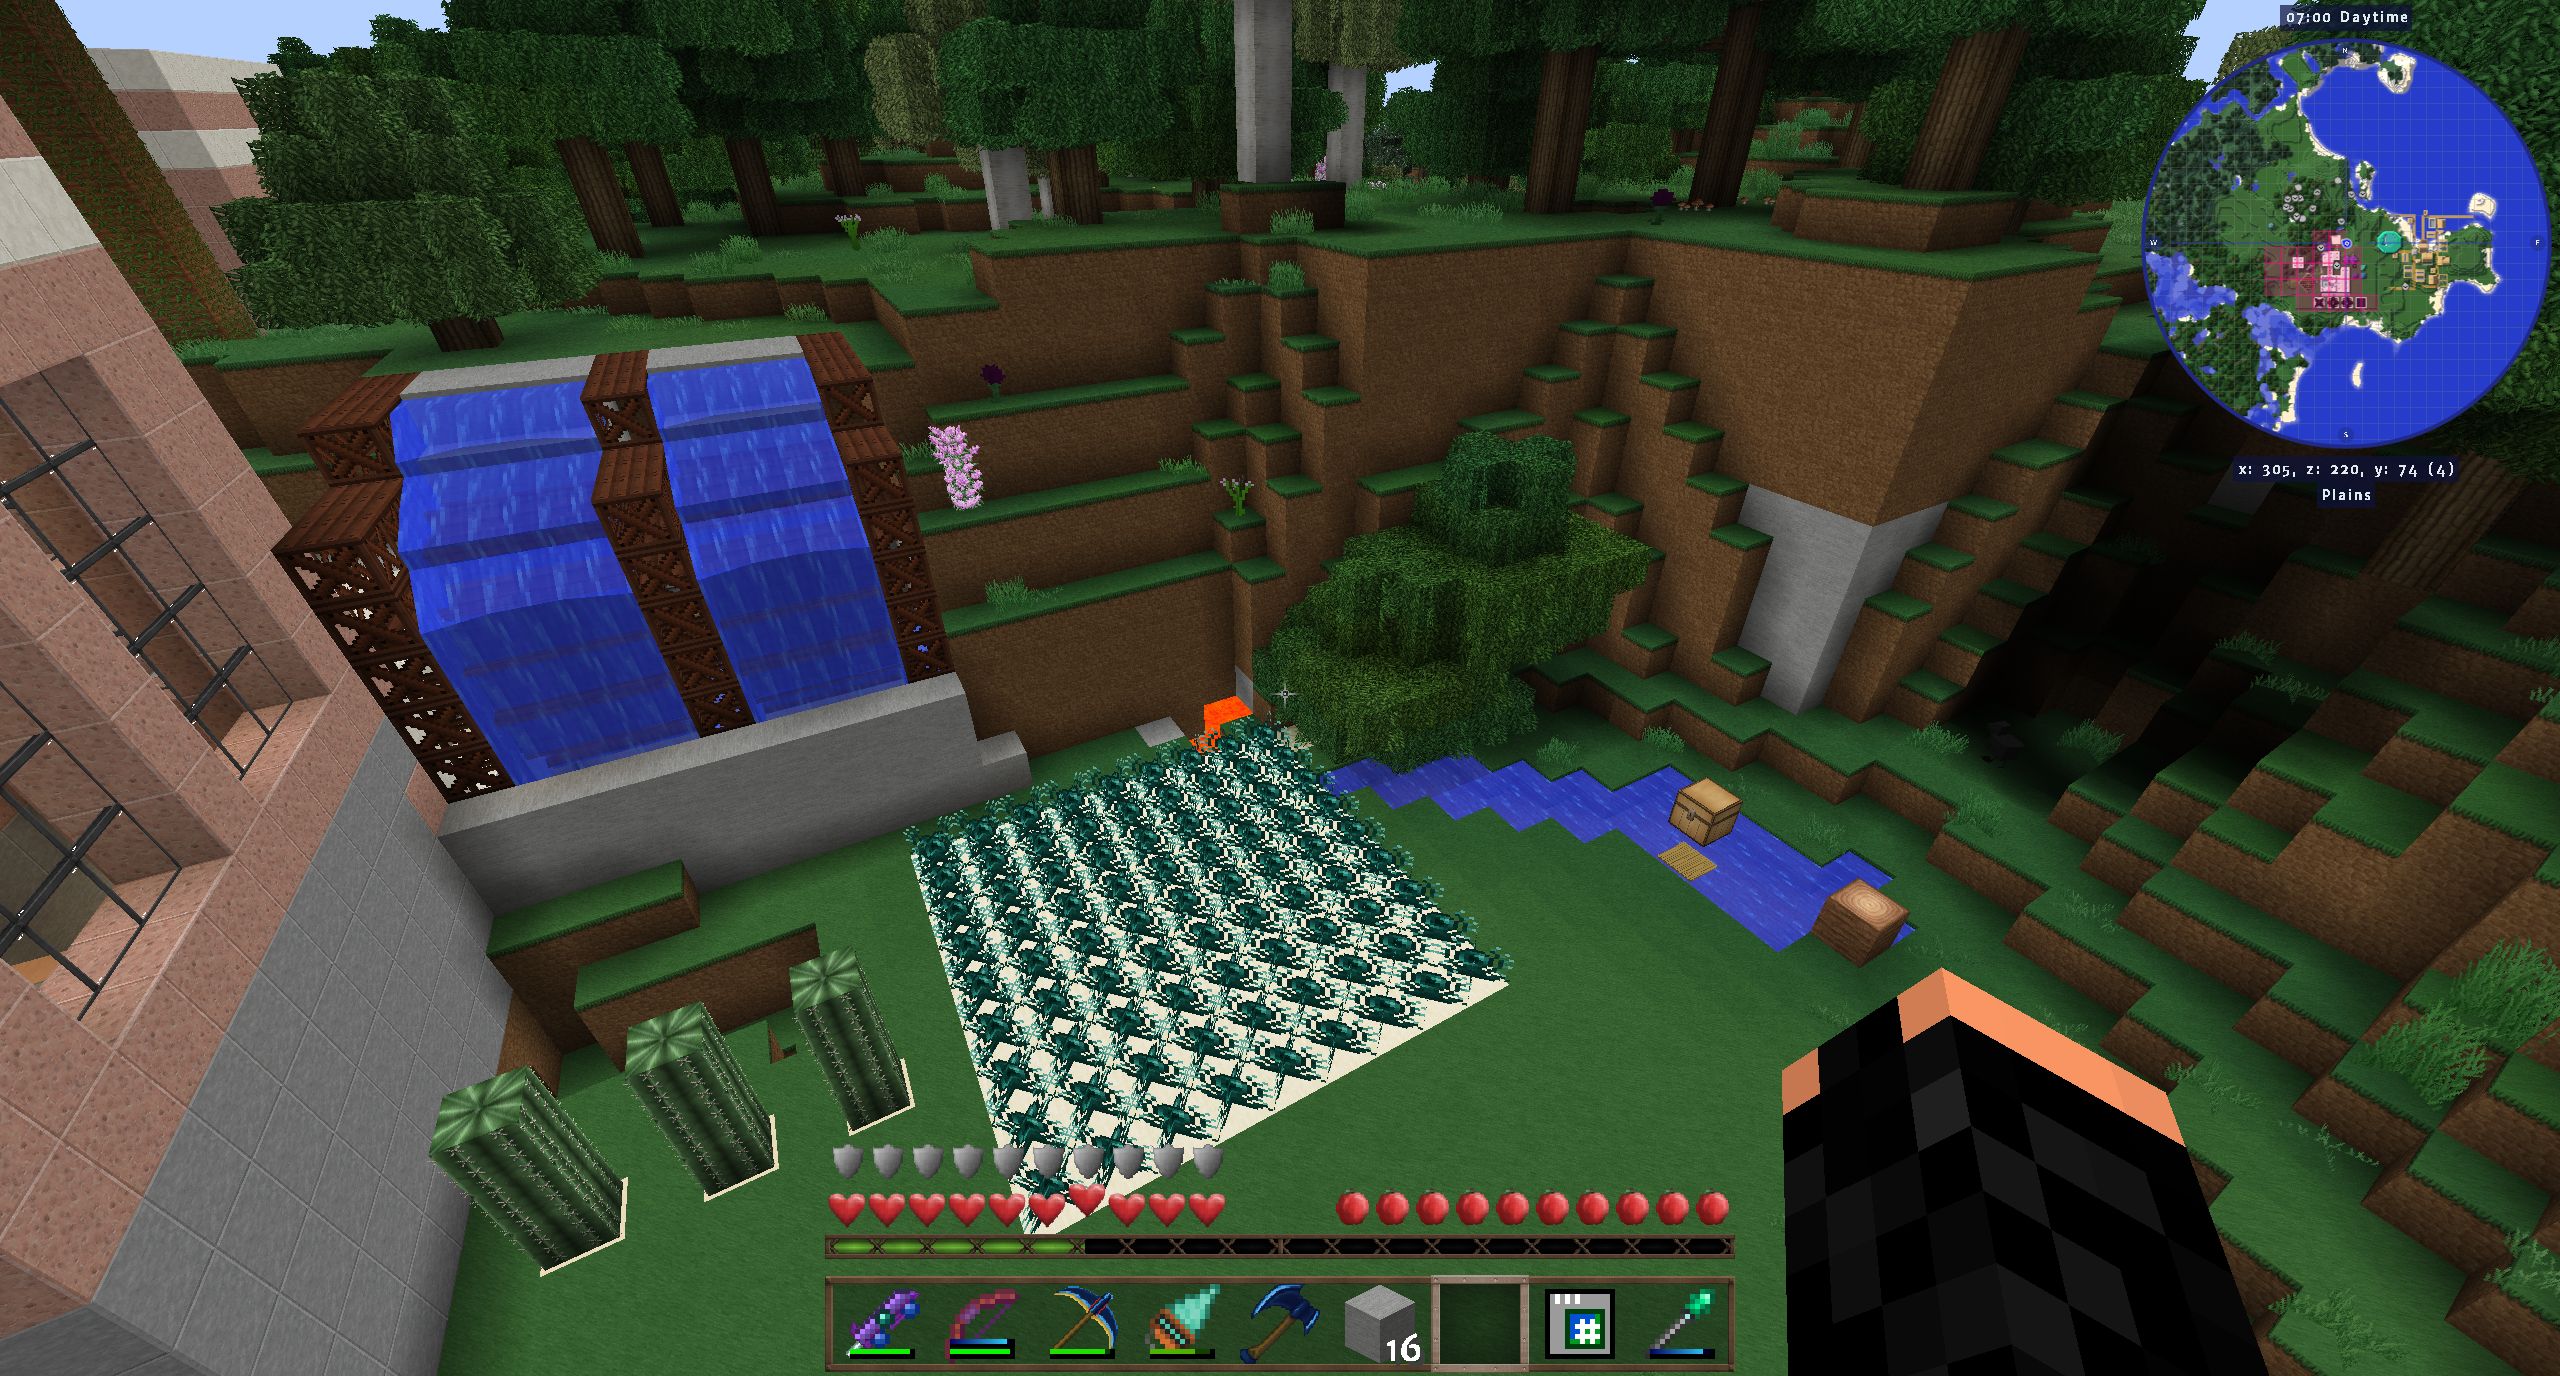
This water wheel was the first RF producer I made after some survival generators I used very early. I still like it and it won't be dismantled. In fact, I plan to do some landscaping so that its source is a lake on on the hill and it empties into another one below. As with so many other things, I didn't get around to it yet. Also on the picture: the fishing net with chest I created from one of my then very valuable emeralds. Now....well, that I casually used up 160 emeralds and diamonds for storage upgrades (for the Calculator circuits, since I heard putting a storage bus on the storage chamber causes problems) should tell you enough about my resource situation.
The Ender pearl farm is actually surplus to requirements. I get more from the Enderman spawner, provided I use a fully upgrade Ender sword in my Killer Joe.

101_WaterWheels.jpg


(12) I have enough rubber.... LOL

The Forestry rubber farm has an impressive output. I guess you can get equally successful with IC2 farming, but I never got into that. I hate everything that has to do with the random results of cross-breeding.

101_EnoughRubber.jpg


(13) Wither Trap

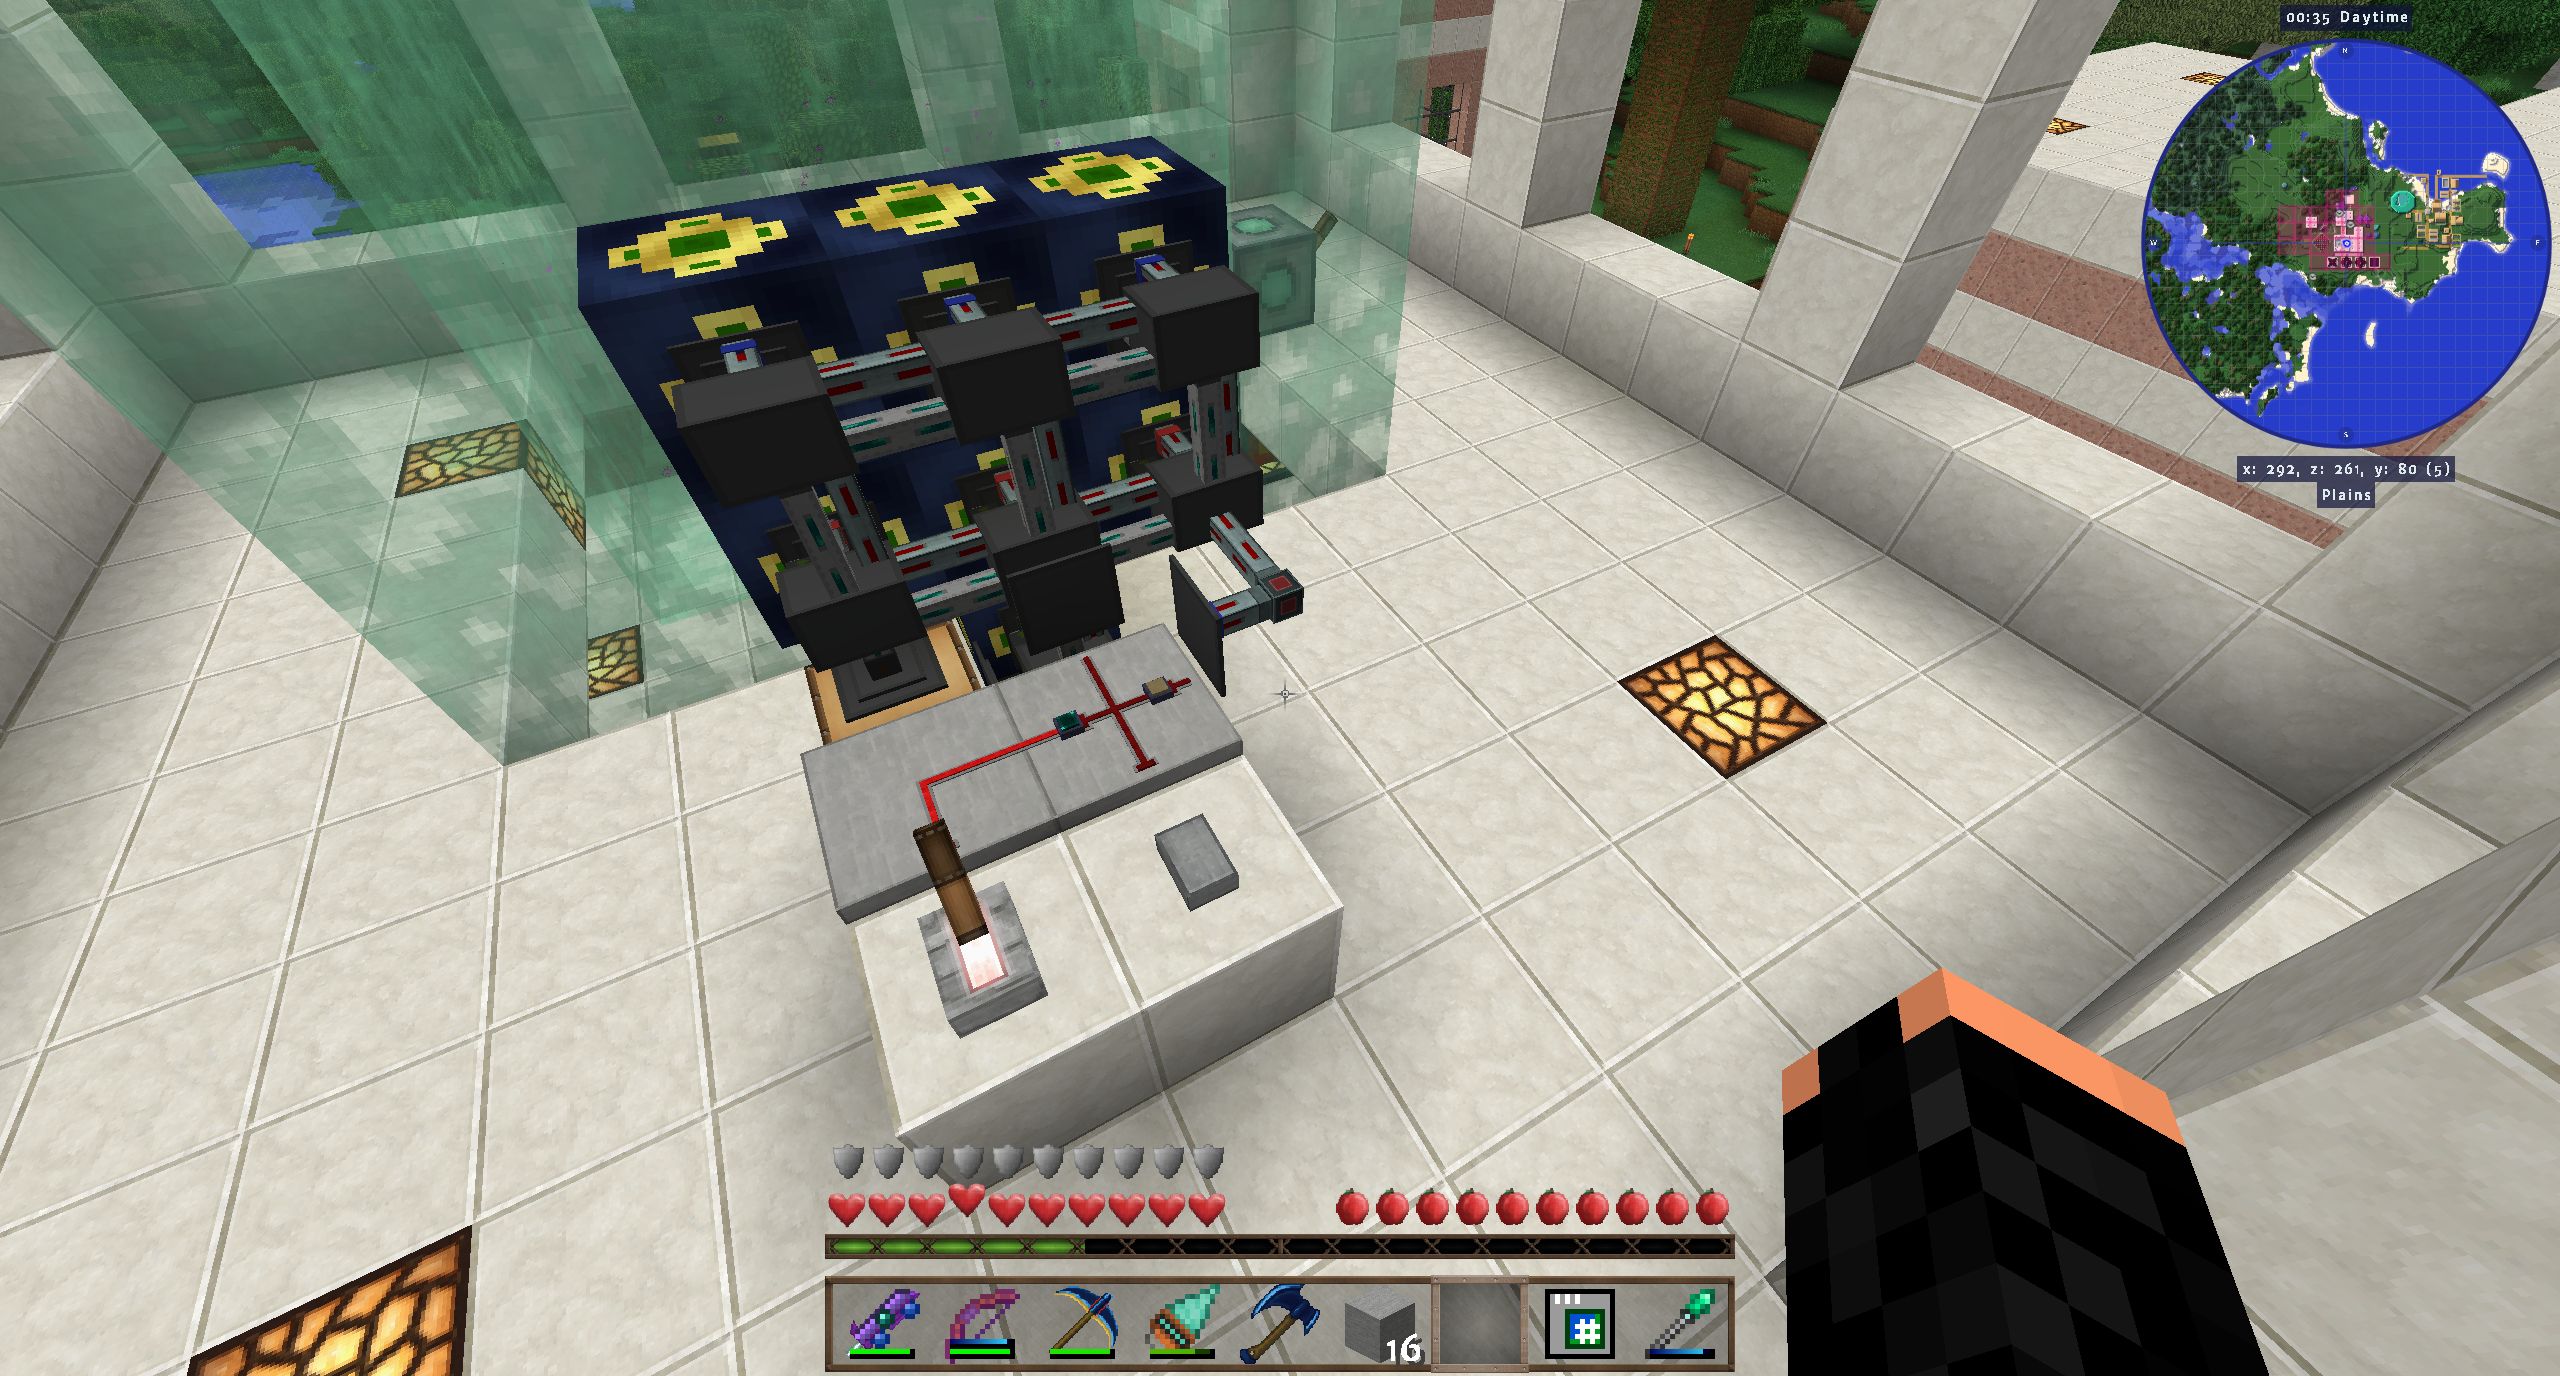
And lastly, my Wither Trap. It uses Phantom Placers and a damaging shield. The placers' set direction in the GUI should be the one they're facing, so set it to "north" if they face north etc.. With the shield, the trick is to make the room small enough that wherever the Wither goes, some part of it is adjacent to a shield block. Only then it will get damaged. Making the room four blocks high instead of five should be enough. The circuit implements several purposes: The quartz resonator delays the pulse for the skulls so that they get placed half a second after the soul sand. If you push the button, one Wither will get spawned and killed. If you switch the lever off, the Ender Pulsar will activate and spawn one Wither every minute until it runs out of skulls or soul sand. Loot will be collected by an Ender Hopper. This takes one minute for a Nether Star instead of 15 seconds with Draconic Evolution machines available, since the shield takes 40 seconds to kill a Wither instead of one second, but I still consider it worth it. If I haven't made all the Nether Stars for tier 4 Environmental Tech machines, it's because I still feel uncomfortable having Withers around while I do other stuff, even if captive.
101_WitherTrap.jpg
 
Last edited:

zBob

New Member
Jul 29, 2019
247
0
1
Is there a way to get this modpack with either less of a challenge or without the modifications?? I love the idea and all the mods, but i just can't find the time to get advanced enough in this mod pack

Play the Beyond modpack instead :)

Less snarky answer is you can modify any of the ModTweaker scripts in the scripts directory but that really defeats the purpose of a pack like this. You can do things to change the tickrate (speed up time) if that is your issue, or you can enter creative mode to pick up the items that are your roadblock so you can keep progressing. But if you just want to go back to vanilla recipes then just delete all the files in that directory and relaunch the pack.
 
P

Proj3ctKarma

Guest
Play the Beyond modpack instead :)

Less snarky answer is you can modify any of the ModTweaker scripts in the scripts directory but that really defeats the purpose of a pack like this. You can do things to change the tickrate (speed up time) if that is your issue, or you can enter creative mode to pick up the items that are your roadblock so you can keep progressing. But if you just want to go back to vanilla recipes then just delete all the files in that directory and relaunch the pack.

Thank you will look at Beyond, but this might solve my problem!!
 

Riddle78

Well-Known Member
Nov 28, 2016
214
63
54
I have a few questions related to this modpack. First; Is there a mod available that is compatible with both Minecraft 1.10.2 and the mods in AoE that will allow me to play custom music in-game during specific times? Like,say... FIghting a boss? I have a song on my computer that would be perfect for the hectic nature of the Wither's battle,which I refuse to automate; I actually enjoy fighting in Minecraft.

Face to Face,from the Iji soundtrack.

My next questions all relate to my tools; How would you suggest I modify them to take them further?

My first tool is a Hammer,which I've called the Dwarven Atom Smasher. Certain circles should instantly recognize that name. I've based it on the Silken Equilibrium build that I've seen floating around;

-Head: Ardite - Stonebound.
-Plates: Obsidian and Bronze - Duritae and Dense.
-Haft: Ardite - Pteramour.

I've thrown on the following modifiers;

-Silky Jewel - Silk Touch.
-Diamond - Durability boost.

I've got one modifier left,as well as my Embossing option. Thing is,I don't know what I want on it,and I don't want to put Glowing on it,because I'm making a Battlesign for that.

My second tool is a Rapier,which I've named the Sword of Akasha. Once again,certain circles would recognize this name instantly. This one I've homebrewed.

-Blade: Manyullyn - Insatiable.
-Guard: Electrum - Electrifying.
-Hilt: Bone - Splintering.

There are no modifiers installed,not have I Embossed it,yet. I've designed it to be my final word in melee combat. I could always Quartz it,but that seems like a waste,when I could throw on some Blaze Powder,then Emboss a Magma Slime part to capitalize on that shenanigans. I could also Emboss a Manyullyn part for that tasty Cold Blooded alpha strike. How do you all think I should improve this already-excellent sword?

Next up is my Longbow,and its Arrows. The Longbow is named the Redeemer and the arrows are called the Arrows of Light. Names that should,once again,be familiar to certain circles. I do have plans for these arrows,though.

-Limbs: Electrum - Electrifying.
-Plate: Cobalt - Lightweight.
-String: Vanilla String - Nothing.

-Arrowhead: Steel - Sharp.
-Shaft: Treated Wood - Ecological.
-Fletching: Chicken Feathers - 100% accuracy.

Neither have been modified or Embossed. The Redeemer's built like that because it offers an excellent mean between draw time,damage,and muzzle velocity/range. It currently has a draw time of about 0.9 seconds. Further,if I have no time to press F to switch hands,I can punch my attacker in the face with it,and likely half-kill it,thanks to the Electrum boost; Tested on zombies. I could throw three slots of Redstone on this thing to make it draw even faster,but I want to know if there are other options. As for Embossing is concerned,what are my options for something effective?

For the Arrows of Light,my options are inherently limited,thanks to material restrictions on the shaft. They can currently kill any unarmoured enemy in the game with a single arrow,if I wait for the bleedout. Further,I have plans; They MUST have Endspeed,which means either an End Rod shaft,or an Embossing thereof. Other options I've been considering are;

-Replace or Emboss the head with Endstone.
-Replace the shaft with Sugar Cane,then Emboss with End Rod.
-Reverse of the above.
-Quartz for days.

Any other options available for my arrows?
 

MatunasCraft

New Member
Jul 29, 2019
115
0
0
I did the Integrated Dynamics tutorial, clicked the Collect Rewards button, but it didn't give me the rewards. If I check, it says "Collected" and they all have green ticks, but I didn't receive the items. Am I missing something?

I haven't seen an integrated dynamics tutorial. If it is mod specific, you'll be better off checking the configs to see if it is simething turned off. Then check the mod's wiki or discord. Good luck.
 

WuffleFluffy

New Member
Jul 29, 2019
402
0
0
I am inspired... never built anything out of those materials before...

I hope you don't mind me borrowing some of your styling queues :)

2017-11-07_17.17.38.png

:)

-Wuffle!
 

Riddle78

Well-Known Member
Nov 28, 2016
214
63
54
I am inspired... never built anything out of those materials before...

I hope you don't mind me borrowing some of your styling queues :)

View attachment 35008

:)

-Wuffle!
Now,I know I'm not the one you're referring to,but I figured I'd throw my two cents in,as constructive criticism. I'm by no means an expert,and don't take my word as gospel. Please. I'm not the MinePope.

To start,it's visually uninteresting,and largely homogeneous. That said,it's a pretty good starting point.

It's... A brick. Sure,Minecraft is nothing but bricks,but it's a brick. What I tend to do is select a "foundation" block to use for my foot-level blocks on the walls,then select a different block to build up from the corners (My studs,as it were),and then a wall material,with windows placed at eye level. In short,try to build with a palette in mind.

As far as shapes are concerned,try to put stairways in a separate area; I try to build them out of the corner,breaking up the uniform brick shape. Even a 3*3 spiral stair has a 7*7 footprint at minimum,which would do wonders to break up the shape. At the roof,think about using slabs or stairs to add some visual variety to the surface,once again disrupting the "brick" shape,and emulating a slope that would encourage water drainage; I realize we don't have that in-game,but it still looks nice,regardless.

As an aside,my ceilings have two layers; The ceiling material,then the floor on top of that. I tend to stick stairs on these levels outside,even if it's not roof level,for the sake of breaking up a static surface.

Of course,never compromise your needs for the sake of looking good. That way leads to madness. Build something practical,then pretty up. Once you get a style you like,you tend to start building like that by default.
 
  • Like
Reactions: WuffleFluffy

Ieldra

Popular Member
Apr 25, 2014
1,810
733
129
I am inspired... never built anything out of those materials before...

I hope you don't mind me borrowing some of your styling queues :)

View attachment 35008

:)

-Wuffle!
Go on, but please put some windows in ;)

Note, however, that I am, in fact, not satisfied with the appearance of my base. I developed a style I like back in the days when I played Revolution 1 (shame on you, @Haggle1996, that you discontinued my favorite modpack), and I haven't been able to match it, never mind improve on it, for lack of textures and ported mods. Here are three impressions of what I consider the most beautiful base I ever built (I put the pictures in spoiler tags since I don't want people to mistakenly think this is Age of Engineering):

774_Panorama2.jpg

784_Panorama1.jpg

760_PatternedFloor.jpg

Clearly I'm no rhn, but IMO this it looks well enough. This is why I have been hesitant to move on from 1.7.10. The fence is Garden Stuff, the lamps Thaumcraft (no need to put glowstone everywhere with those), the dark gray blocks Thaumcraft (no other block I've seen has quite this shade of dark grey and a 64x texture for it), the patterned floor Extra Trees (it may be possible to do the same with Chisel & Bits, but it would be a lot of work, and I wouldn't get the same wood colors), the chandelier DecoCraft (which may be available, I haven't checked), the ceiling Chisel 1 (connected marble for which there isn't a 64x texture for any later versions of Chisel), the slopes Carpenter's Blocks (ArchitectureCraft doesn't have horizontal slopes, and its quarter-columns don't look good on these towers). Arguably the granite is an improvement on the white hardened clay, that diorite is now vanilla means there are good textures for it, and with ArchitectureCraft I can build arches, but on the whole I'm working from a lack of tools, textures and and materials compared to those days.

Also, I have no words to express how much I miss @Reika's mods, especially ChromatiCraft. I hope he'll eventually get around to porting his mods, though given their complexity and what he was doing with the renderer functions in CrC it's probably not just a gargantuan task, but also an intricate one.
 
Last edited:

Ieldra

Popular Member
Apr 25, 2014
1,810
733
129
@leldra - what resource pack are you using (for the AoE series)?

I'm using two.

The base is Soartex Invictus. It's nominally for 1.12 and you will get a warning if you try to install it on 1.10.2, but it's documented to work with 1.10 and it does. I modded the water to look more like vanilla (just overwrite the textures in the pack, but I don't recall where I got them from) since I don't like the original ultra-transparent water.

On top of that I installed ChigoCraft (scroll down for the version for modded Minecraft), which adds textures for a number of mods. The style is different, but on the whole quite compatible in my estimation. The list of supported mods in the documentation is somewhat incorrect, but I can confirm that it supports the following AoE mods: Applied Energistics 2, Storage Drawers, EnderIO, Tinkers Construct, Tiny Progressions. It claims to support Extra Utilities 2, Neotech and Actually Additions, but I'm not seeing any changed textures for these mods in my game. It also claims to support Extreme Reactors and Chisel but I haven't checked that yet. The non-chiseled marble texture I have appears to be high quality but the chiseled versions I haven't attempted to make. Also, there appears to be some support for some mod(s) that add metals, since there are changed ingot textures for tin, silver, copper, bronze and lead ingots on top of TiCs aluminium, ardite and cobalt. Since Storage Drawers switches OreDict'ed ingots to the version that's already in a drawer, I made sure those are the better-looking versions.
 
Last edited:
  • Like
Reactions: WuffleFluffy

Ieldra

Popular Member
Apr 25, 2014
1,810
733
129
Cool thanks.
BTW, I just found out that the Soartex site now has a "Modded Universal" texture pack for 1.10.2 in both the Fanver and Invictus categories. These are quite new (about a month old) and may be worth checking out. I haven't seen any documentation, but from a look into the folders the list of supported mods is rather extensive.
 
  • Like
Reactions: zBob

WuffleFluffy

New Member
Jul 29, 2019
402
0
0
Windows! :)

Your screenshots inspired me to 'build big'. I am always building these cramped 9 x 9 things, which soon become overwhelmed by machines, storage and all the wiring.

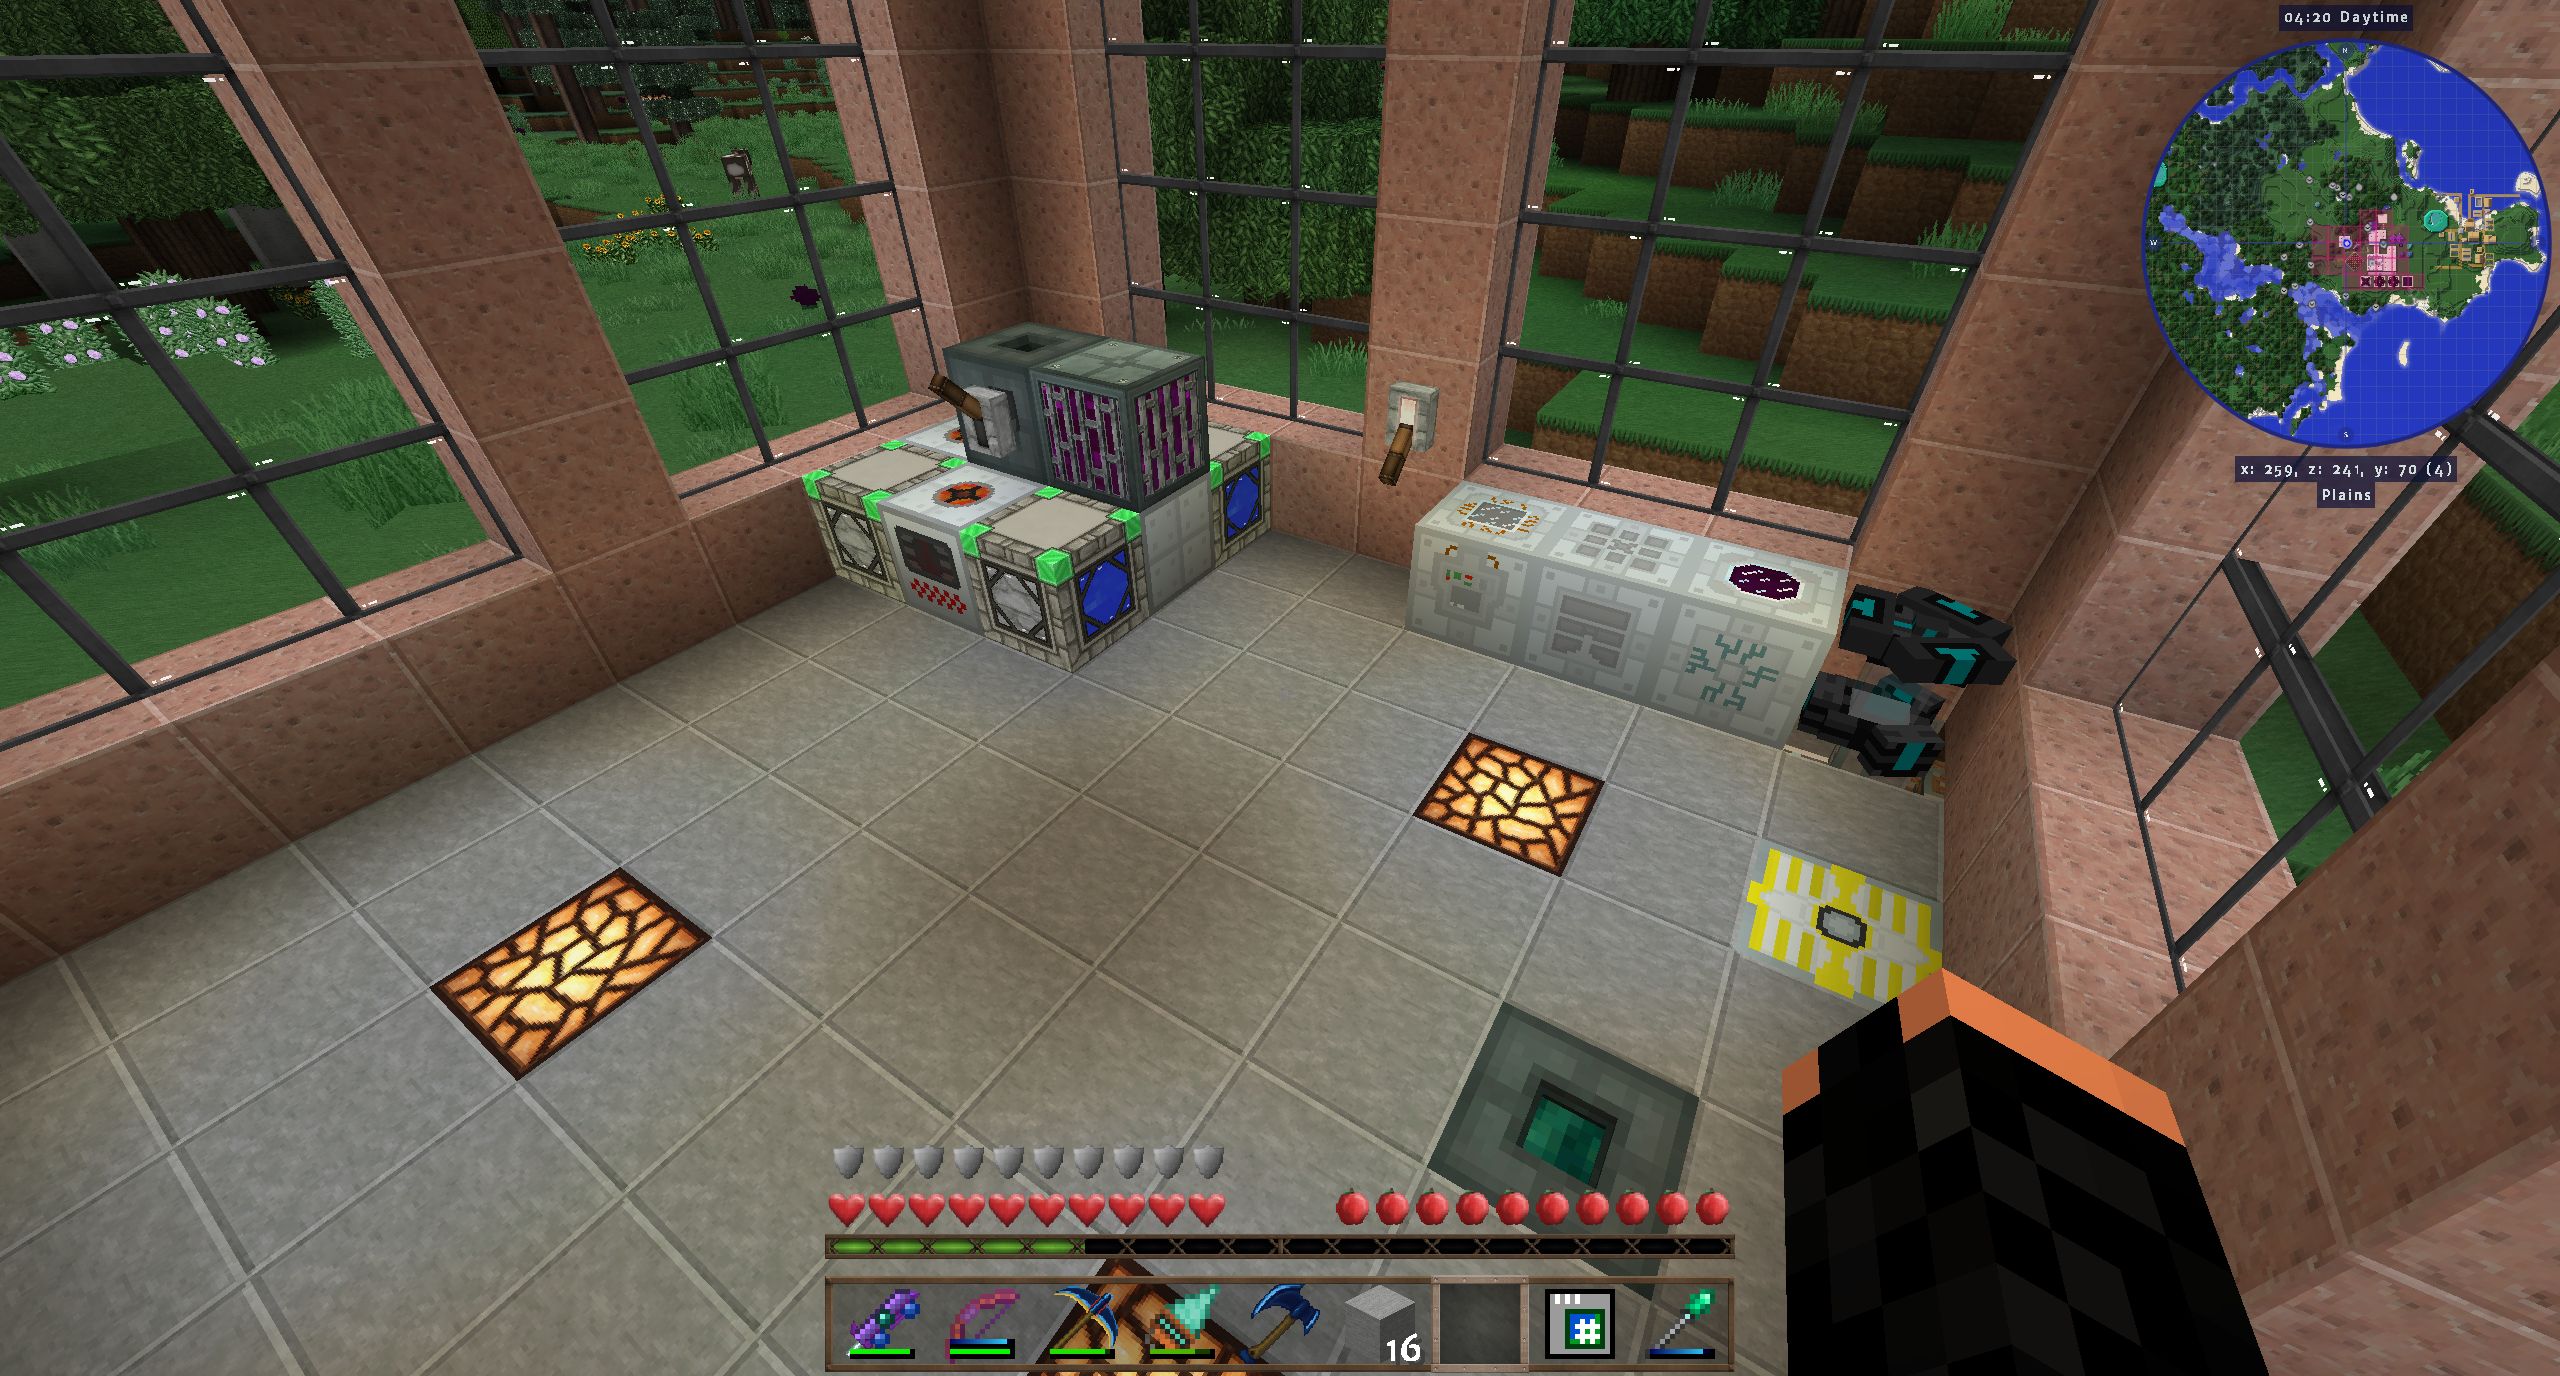
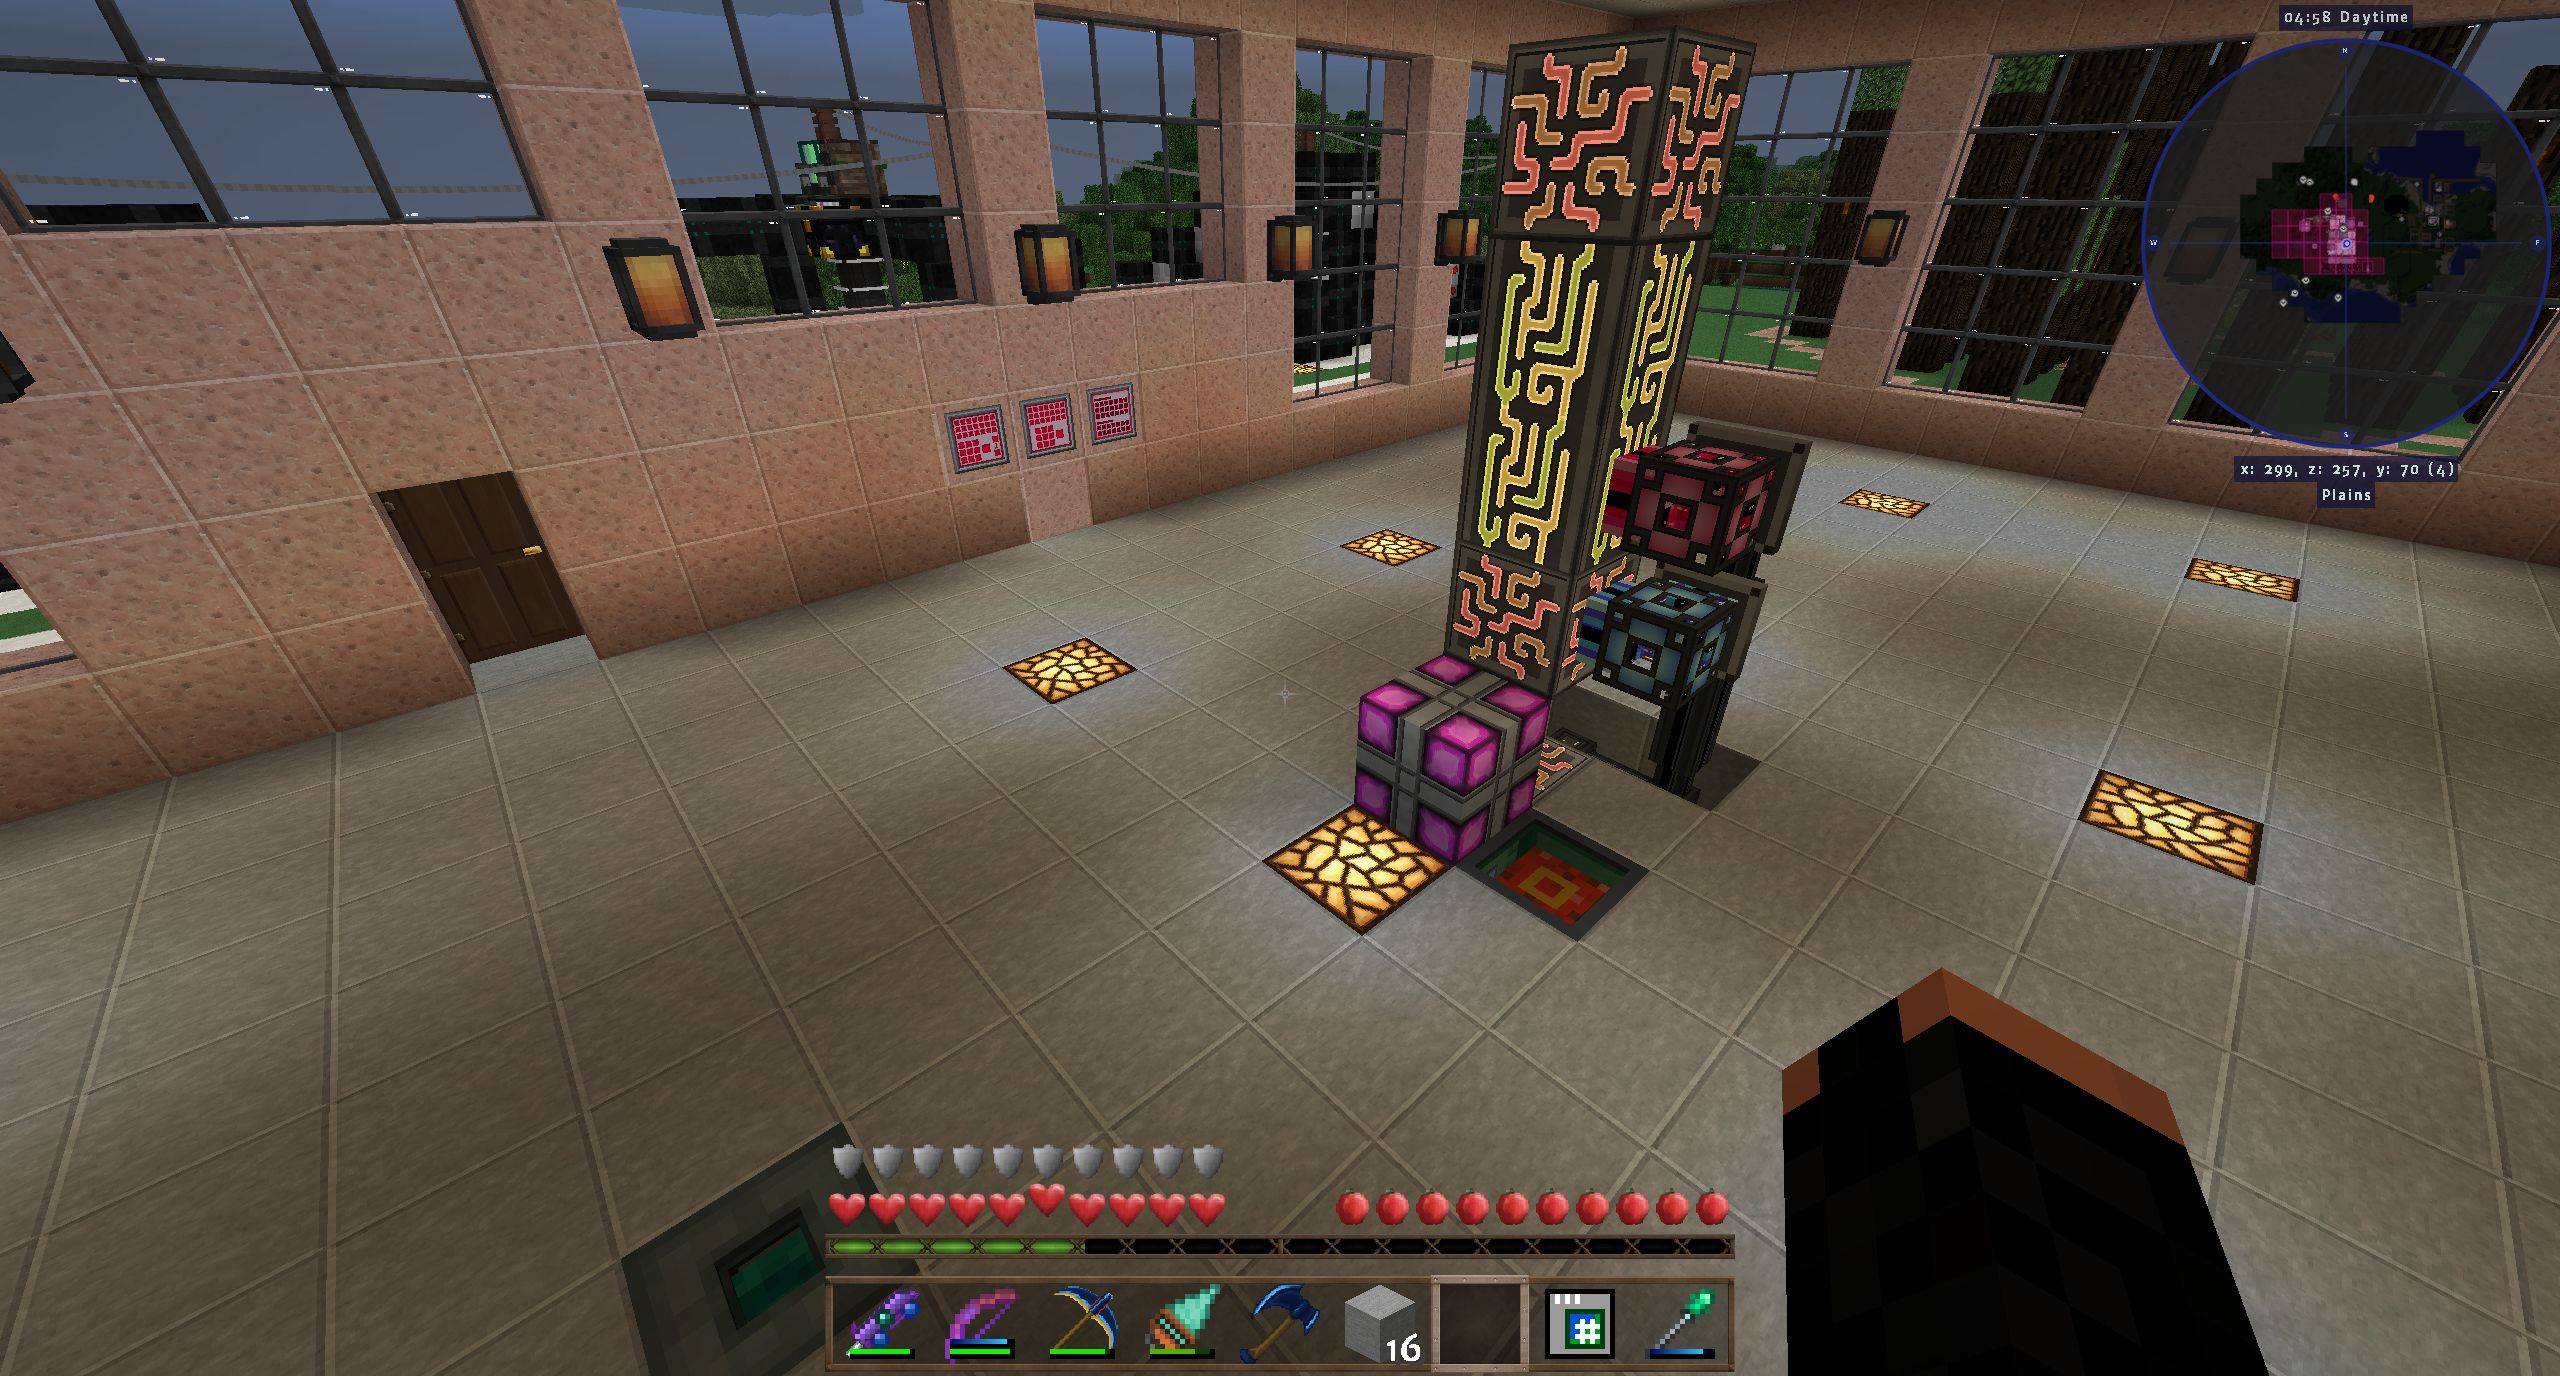
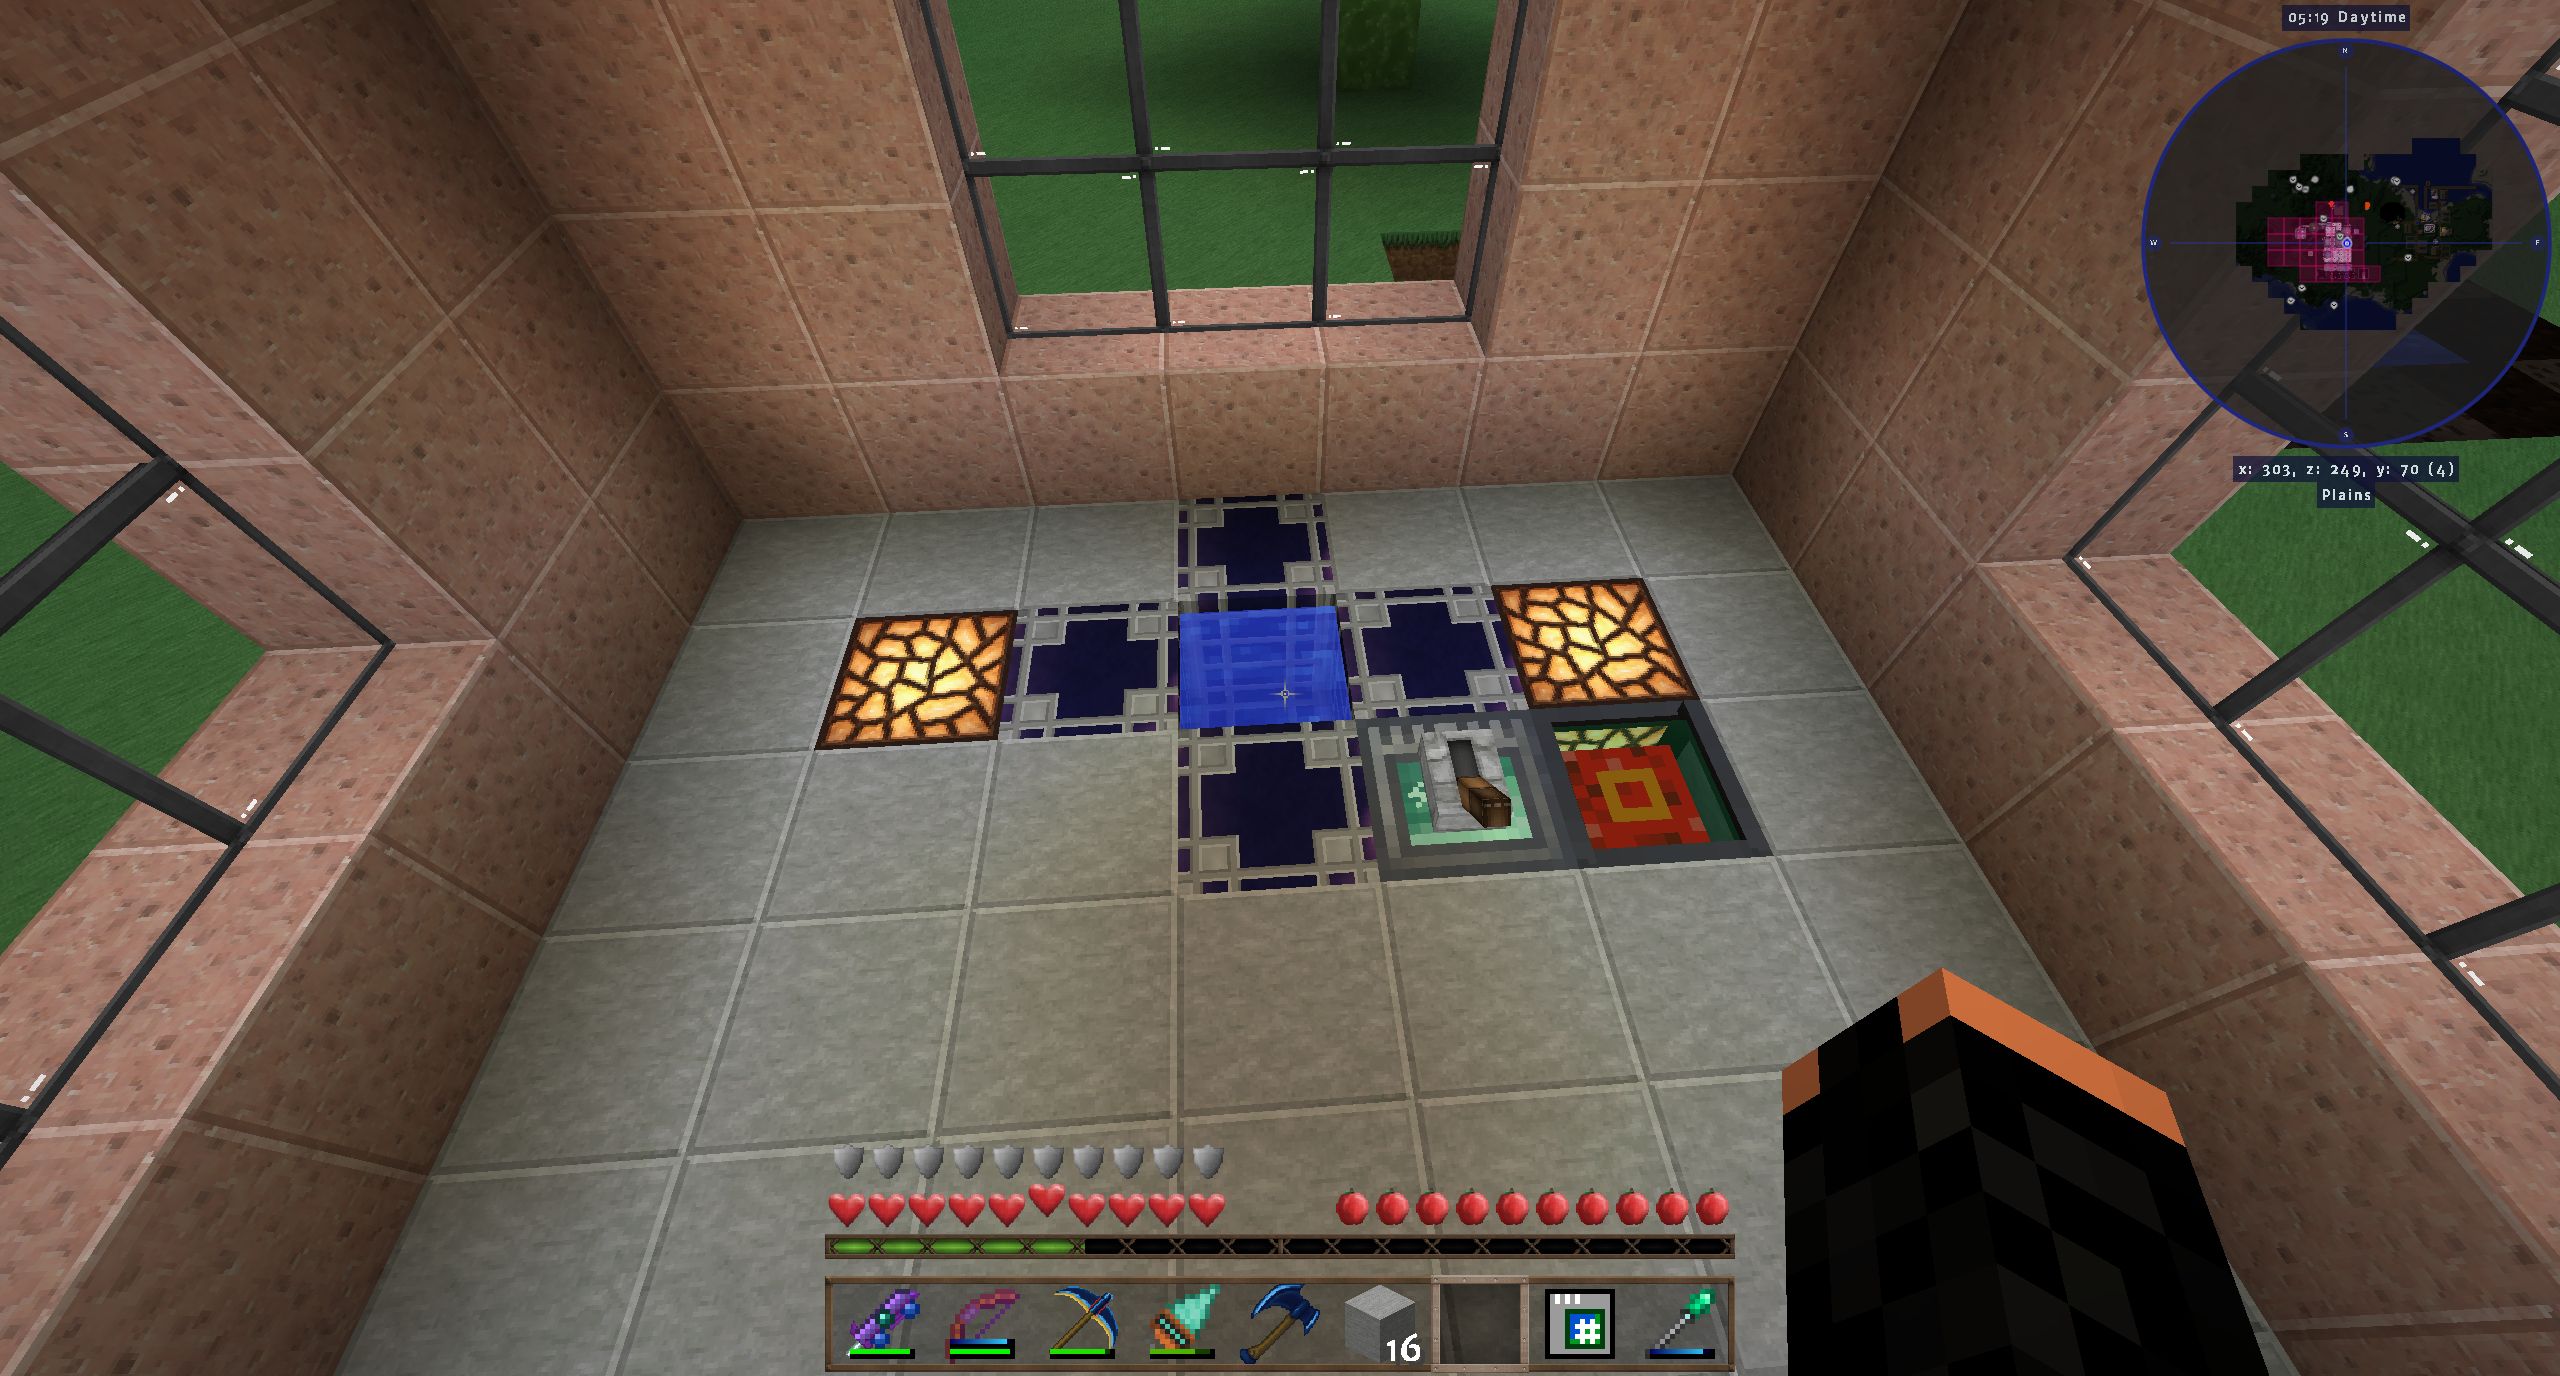
2017-11-08_19.33.16.png 2017-11-08_19.38.24.png

Going to add a partial second floor and a big basement area and spread out a little.

This will be my main manufacturing building, i'm going to add a separate power building and move my RF stuff over.

-Wuffle!
 

Riddle78

Well-Known Member
Nov 28, 2016
214
63
54
Miiight wanna add roof lighting. Heck,even roof access. It's another layer for you to use,and would be a handy surface to install solar,wind,and hydro power!

Also,I notice that you're still using plain ol' blocks to connect your roof to your walls; Using stairs would do wonders to spice it up,visually. I,personally,omit the corners for such a design,for even more visual variety. Where in the factory do you plan to stick your vertical movement? And will it be a stair,ladder,or elevator? Planning ahead would do wonders to help you build. That said,I'm probably preaching to the choir...
 
  • Like
Reactions: WuffleFluffy

WuffleFluffy

New Member
Jul 29, 2019
402
0
0
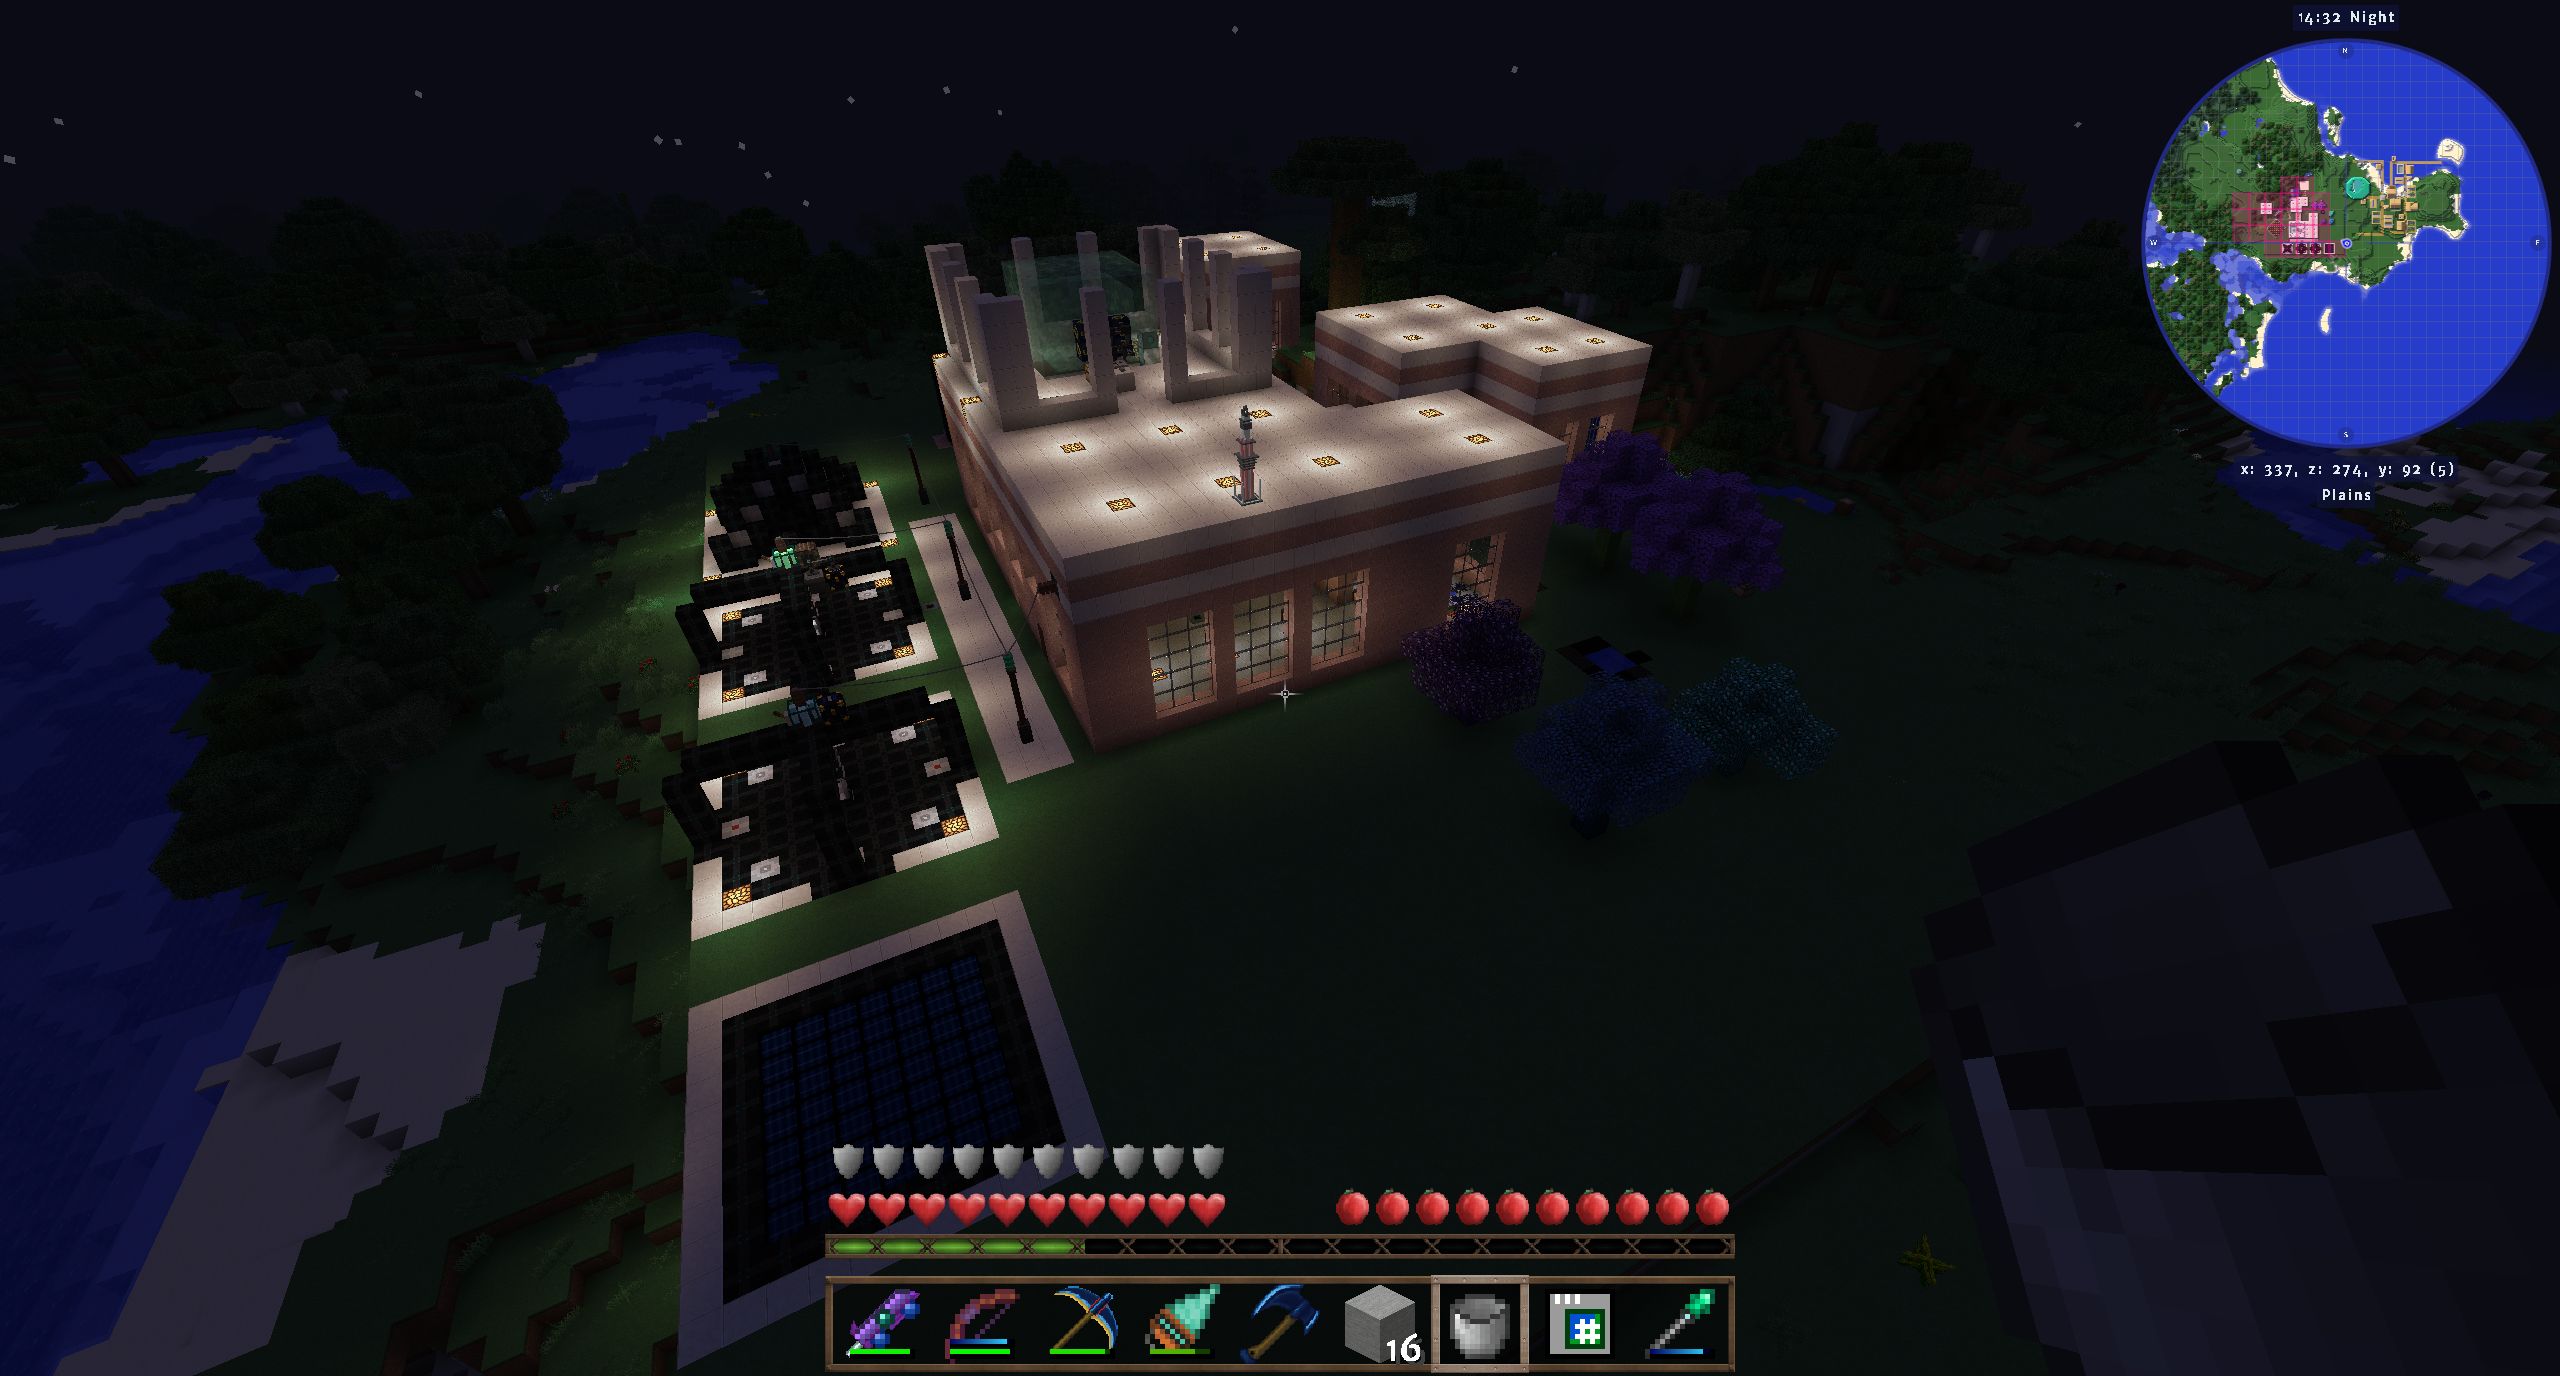
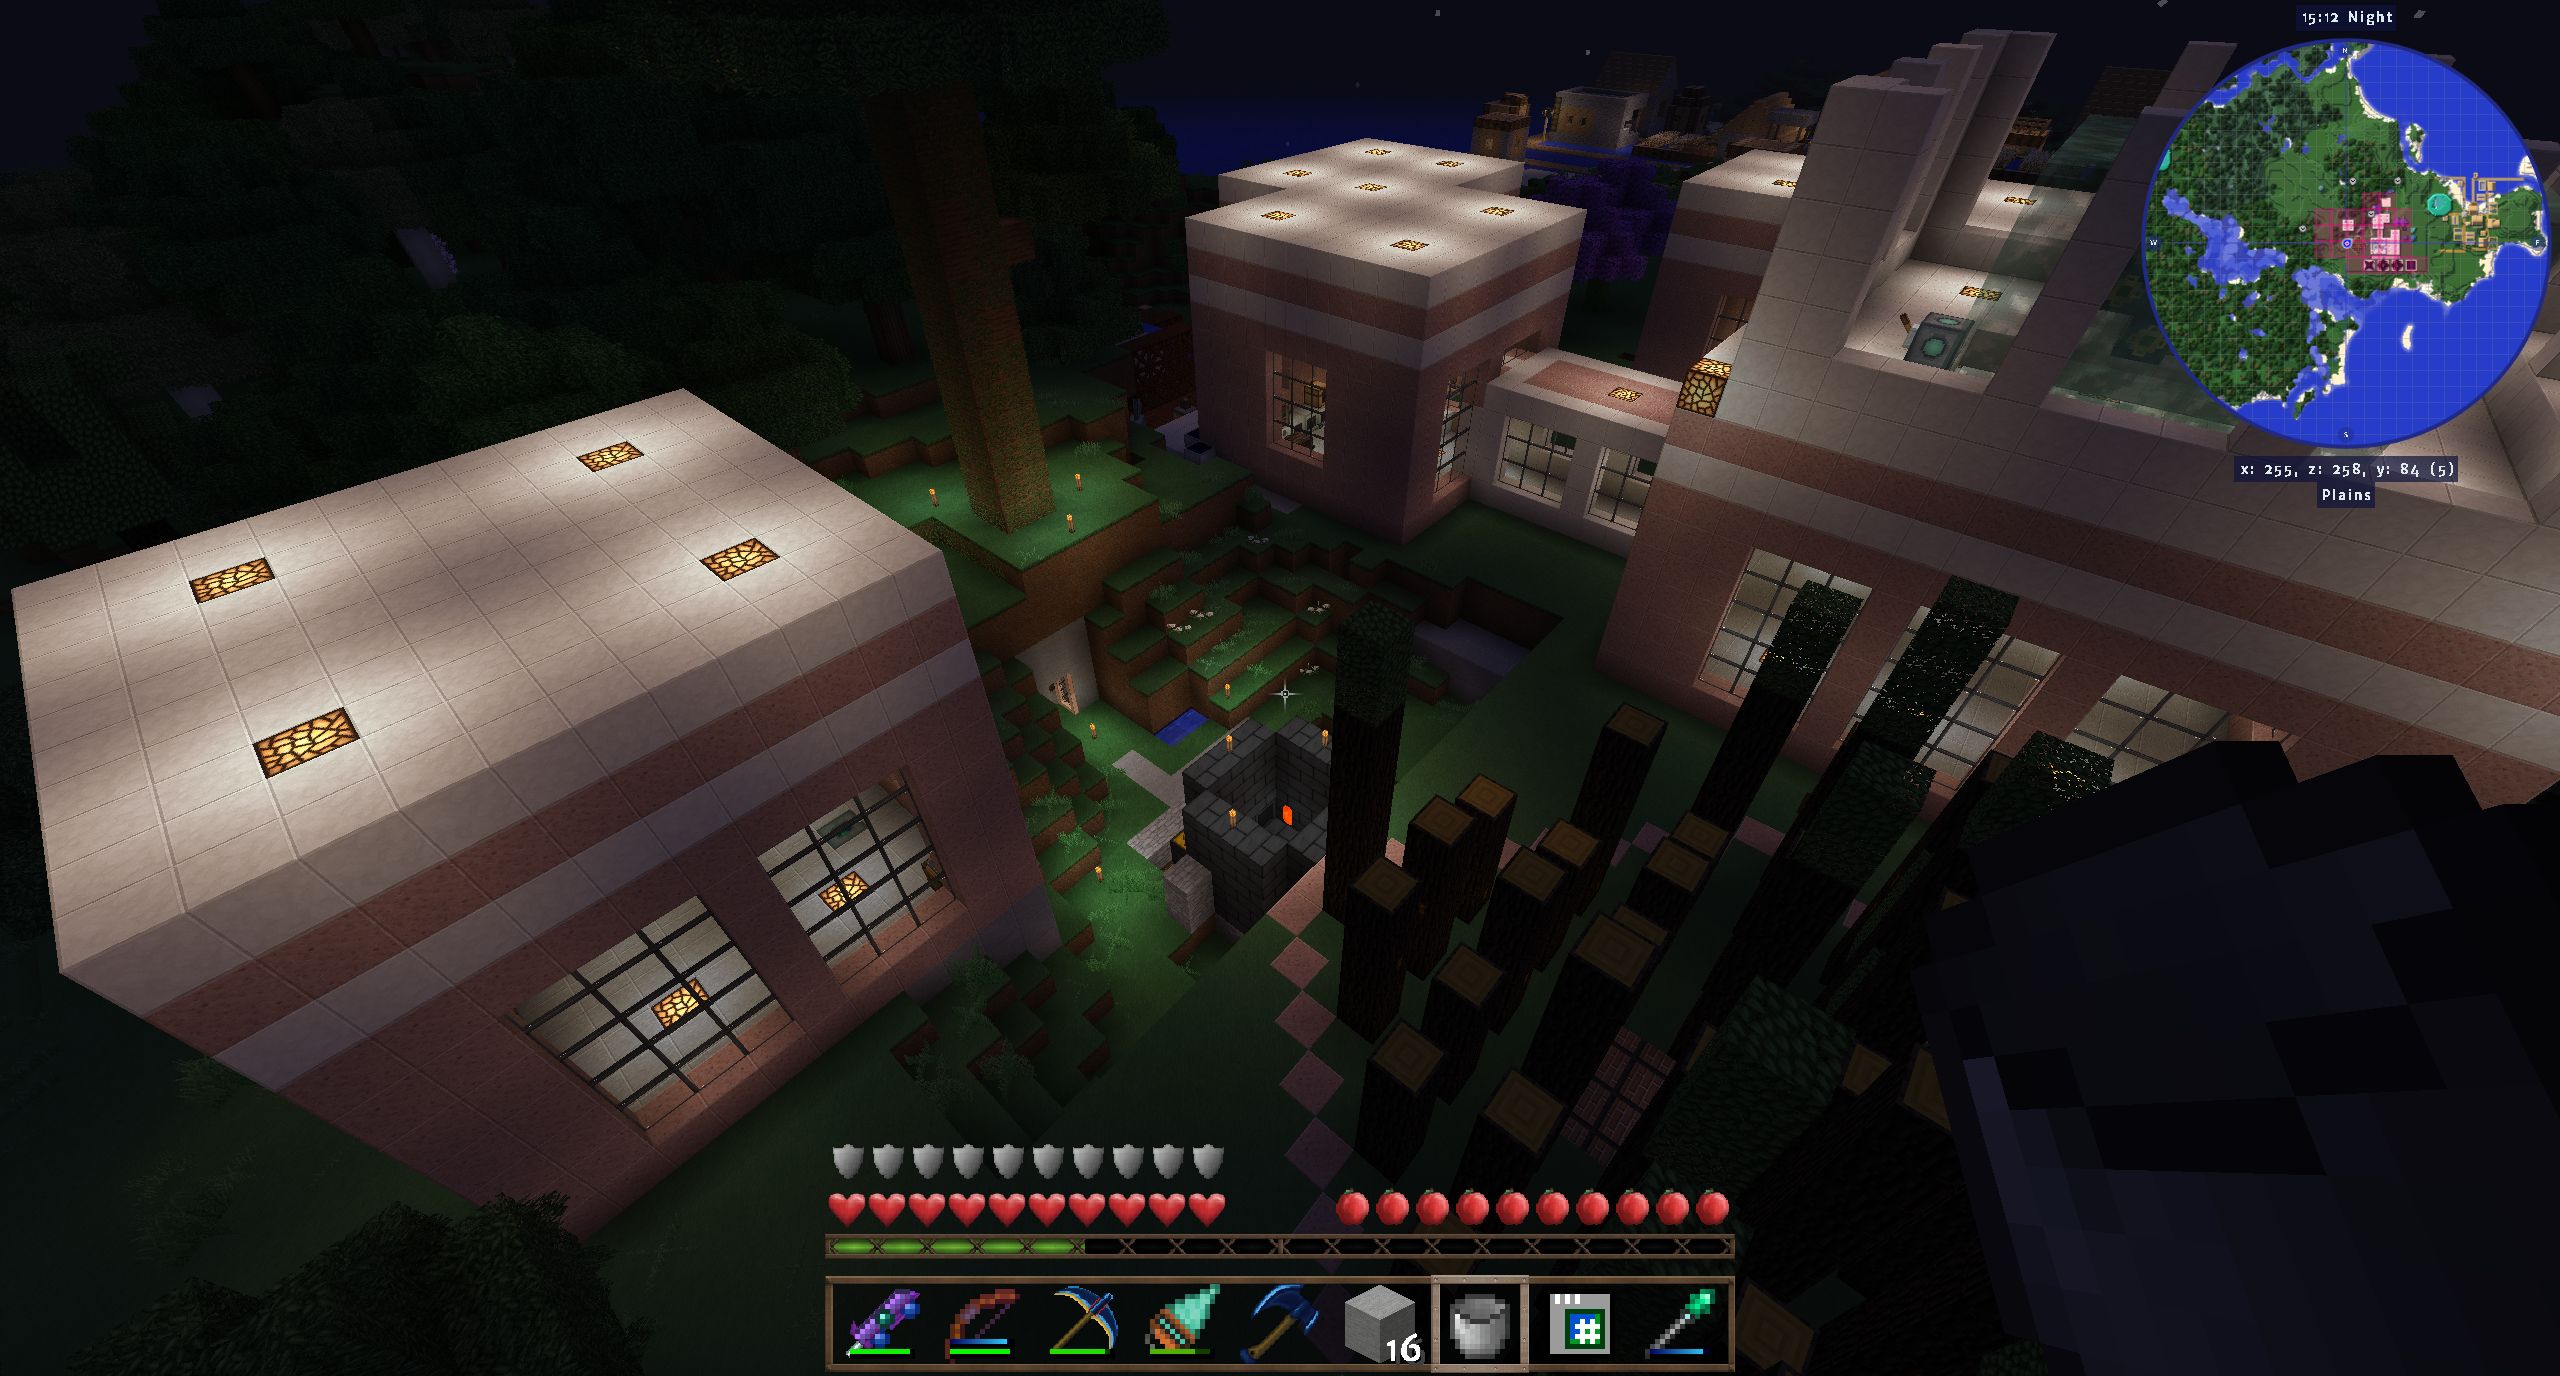
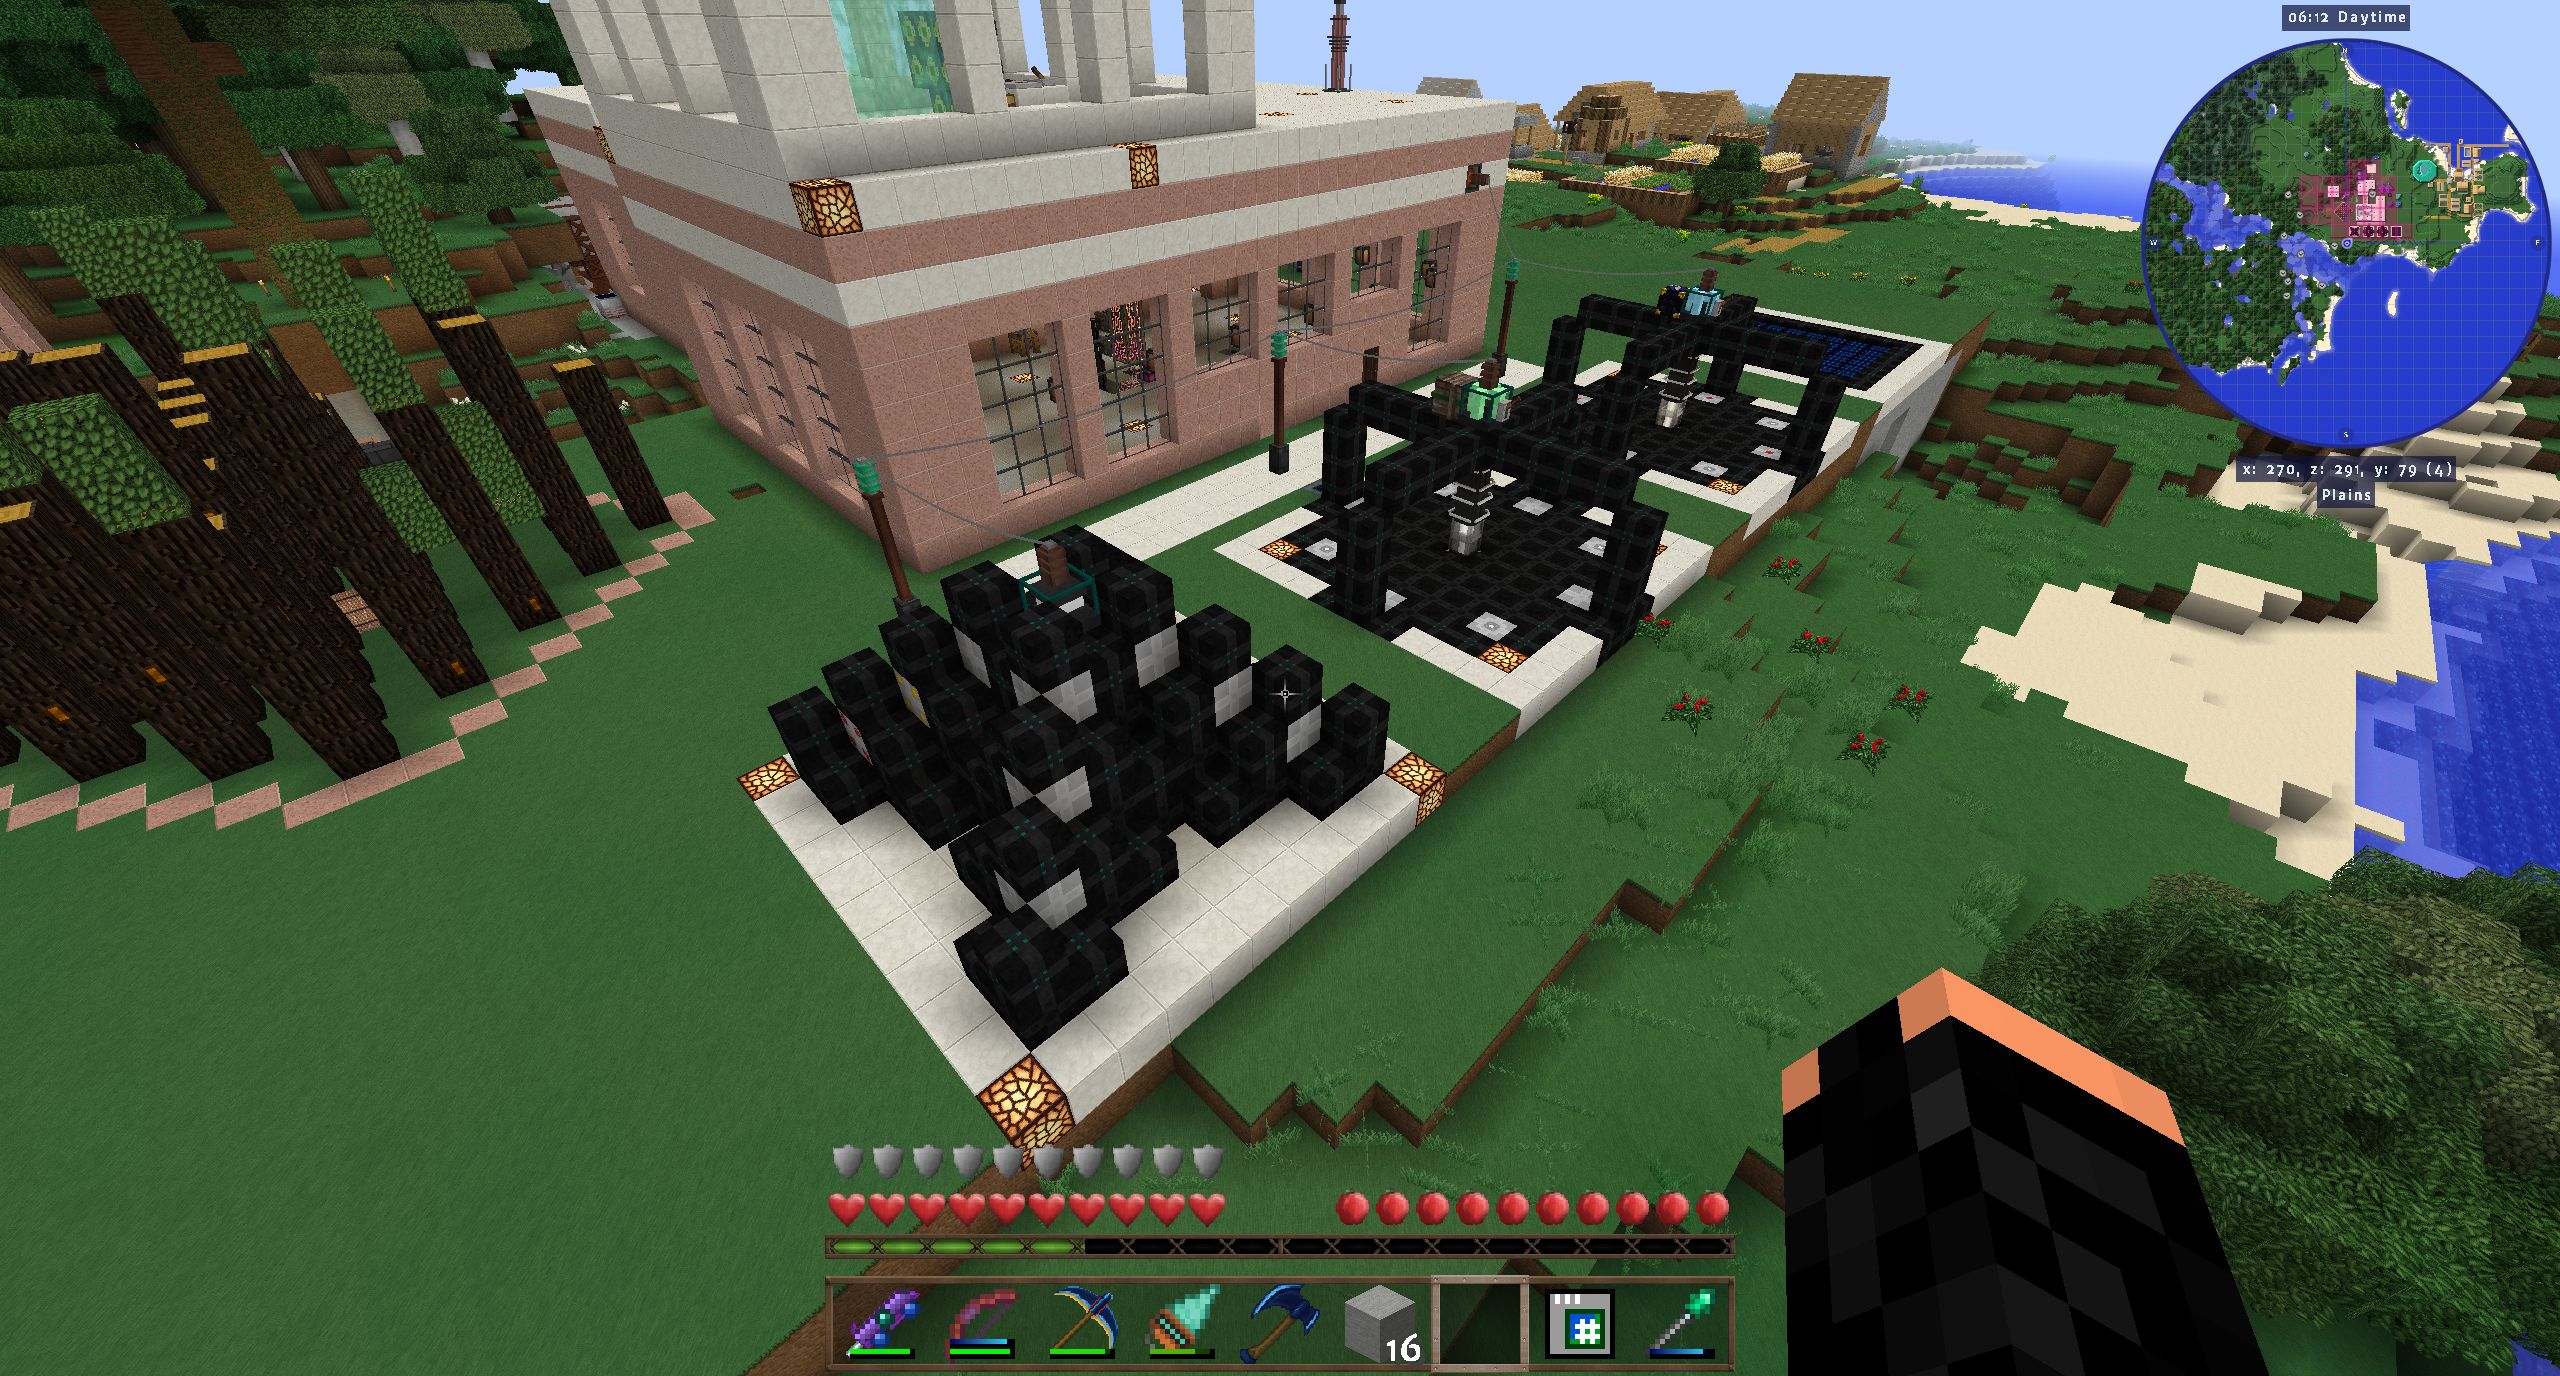
Done :)

I will indicate here that my design here for this build is blatantly inspired by leldra's magnificent buildings, whose build I can only be inspired by, never truly match :)

2017-11-08_21.10.40.png 2017-11-08_20.43.05.png 2017-11-08_21.11.15.png

That large tower off to the side is my 'Tower of Power', it will be filled with IE, HV capacitors soon, and have windmills and solar arrays on top.

-Wuffle!
 

Ieldra

Popular Member
Apr 25, 2014
1,810
733
129
Miiight wanna add roof lighting. Heck,even roof access. It's another layer for you to use,and would be a handy surface to install solar,wind,and hydro power!

Also,I notice that you're still using plain ol' blocks to connect your roof to your walls; Using stairs would do wonders to spice it up,visually. I,personally,omit the corners for such a design,for even more visual variety. Where in the factory do you plan to stick your vertical movement? And will it be a stair,ladder,or elevator? Planning ahead would do wonders to help you build. That said,I'm probably preaching to the choir...
Yeah, but things don't always work out as planned. I found you often underestimate the space you'll need for something, and since your base grows with progress in the pack and I don't know some relevant mods yet to come (most notably Tech Reborn and Advanced Rocketry) there is always uncertainty. I recently needed to extend my underground area and proceeded to do exactly that, but I had forgotten that the void miners need a hole down to bedrock, which of course were where I wanted to extend my base.

Also, I find planning ahead in this pack especially difficult since you lack some useful tools early in the game. I'm thinking of building a completely new base at some point, should I find a nice location. Maybe even in space, though planets with no life look dreary.

As for vertical access, I have areas only accessible by travel anchor, and others only accessibly by flight. I built some stairways early in the game, but now every wall is so full of stuff underground that I don't have space for the RFTools elevator I want to install. Having said that....hmm...my smeltery needs moving or dismantling anyway... *goes off to plan another base renovation*.

@WuffleFluffy : Now you know how I feel about rhn. Have you seen his builds? Every time I look into his thread, I think "Why do I even bother", but in the end I find building enjoyable even so.
 

WuffleFluffy

New Member
Jul 29, 2019
402
0
0
@WuffleFluffy : Now you know how I feel about rhn. Have you seen his builds? Every time I look into his thread, I think "Why do I even bother", but in the end I find building enjoyable even so.

Absolutely, one really ingenious thing about this particular mod pack, it forces you to branch 'sideways' into new mods / areas compared with other mod packs, instead of 'rushing' to EnderIO/AE2 i'm finding myself having to find other ways of doing things, hence the big investment in IE2... and this means more time spent thinking about building.. because, to get through all these ages, we're going to need to build a LOT of stuff.

Hence my reason to adopt a 'build it big' style after your wonderful screenshots and RHN's thread.

This is actually my third base now :) Still on Forestry Age, where I suspect I will be for some while.

-Wuffle!