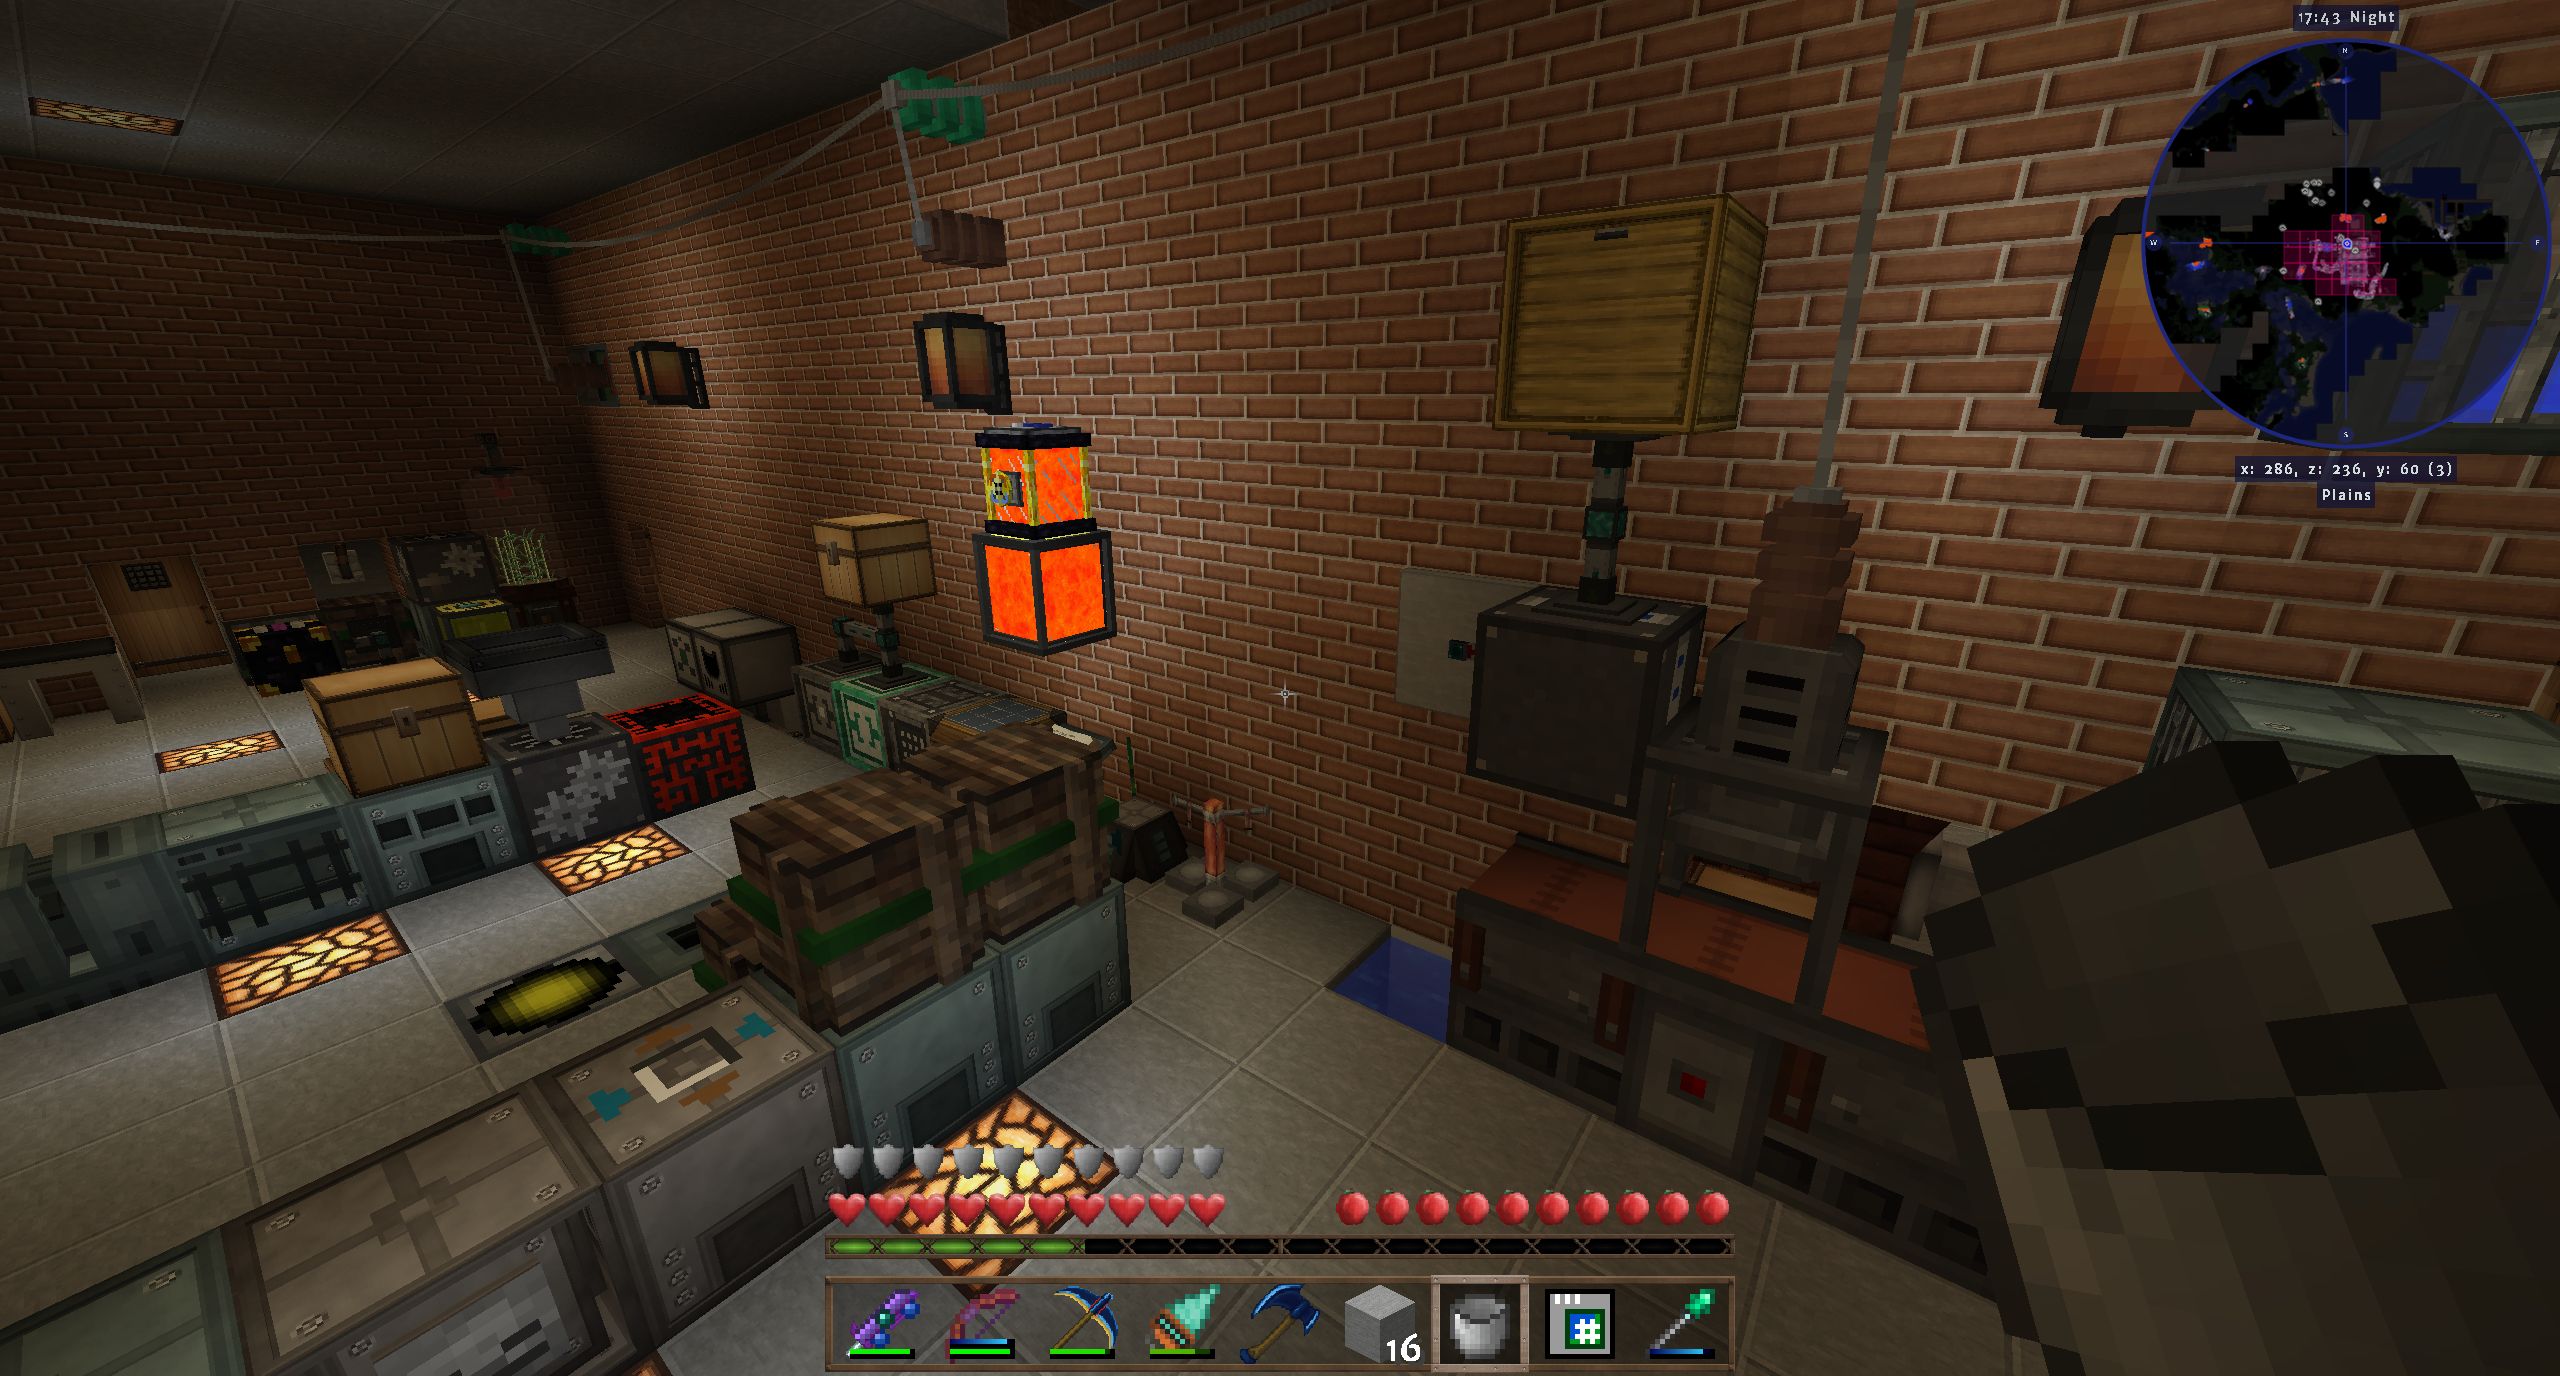
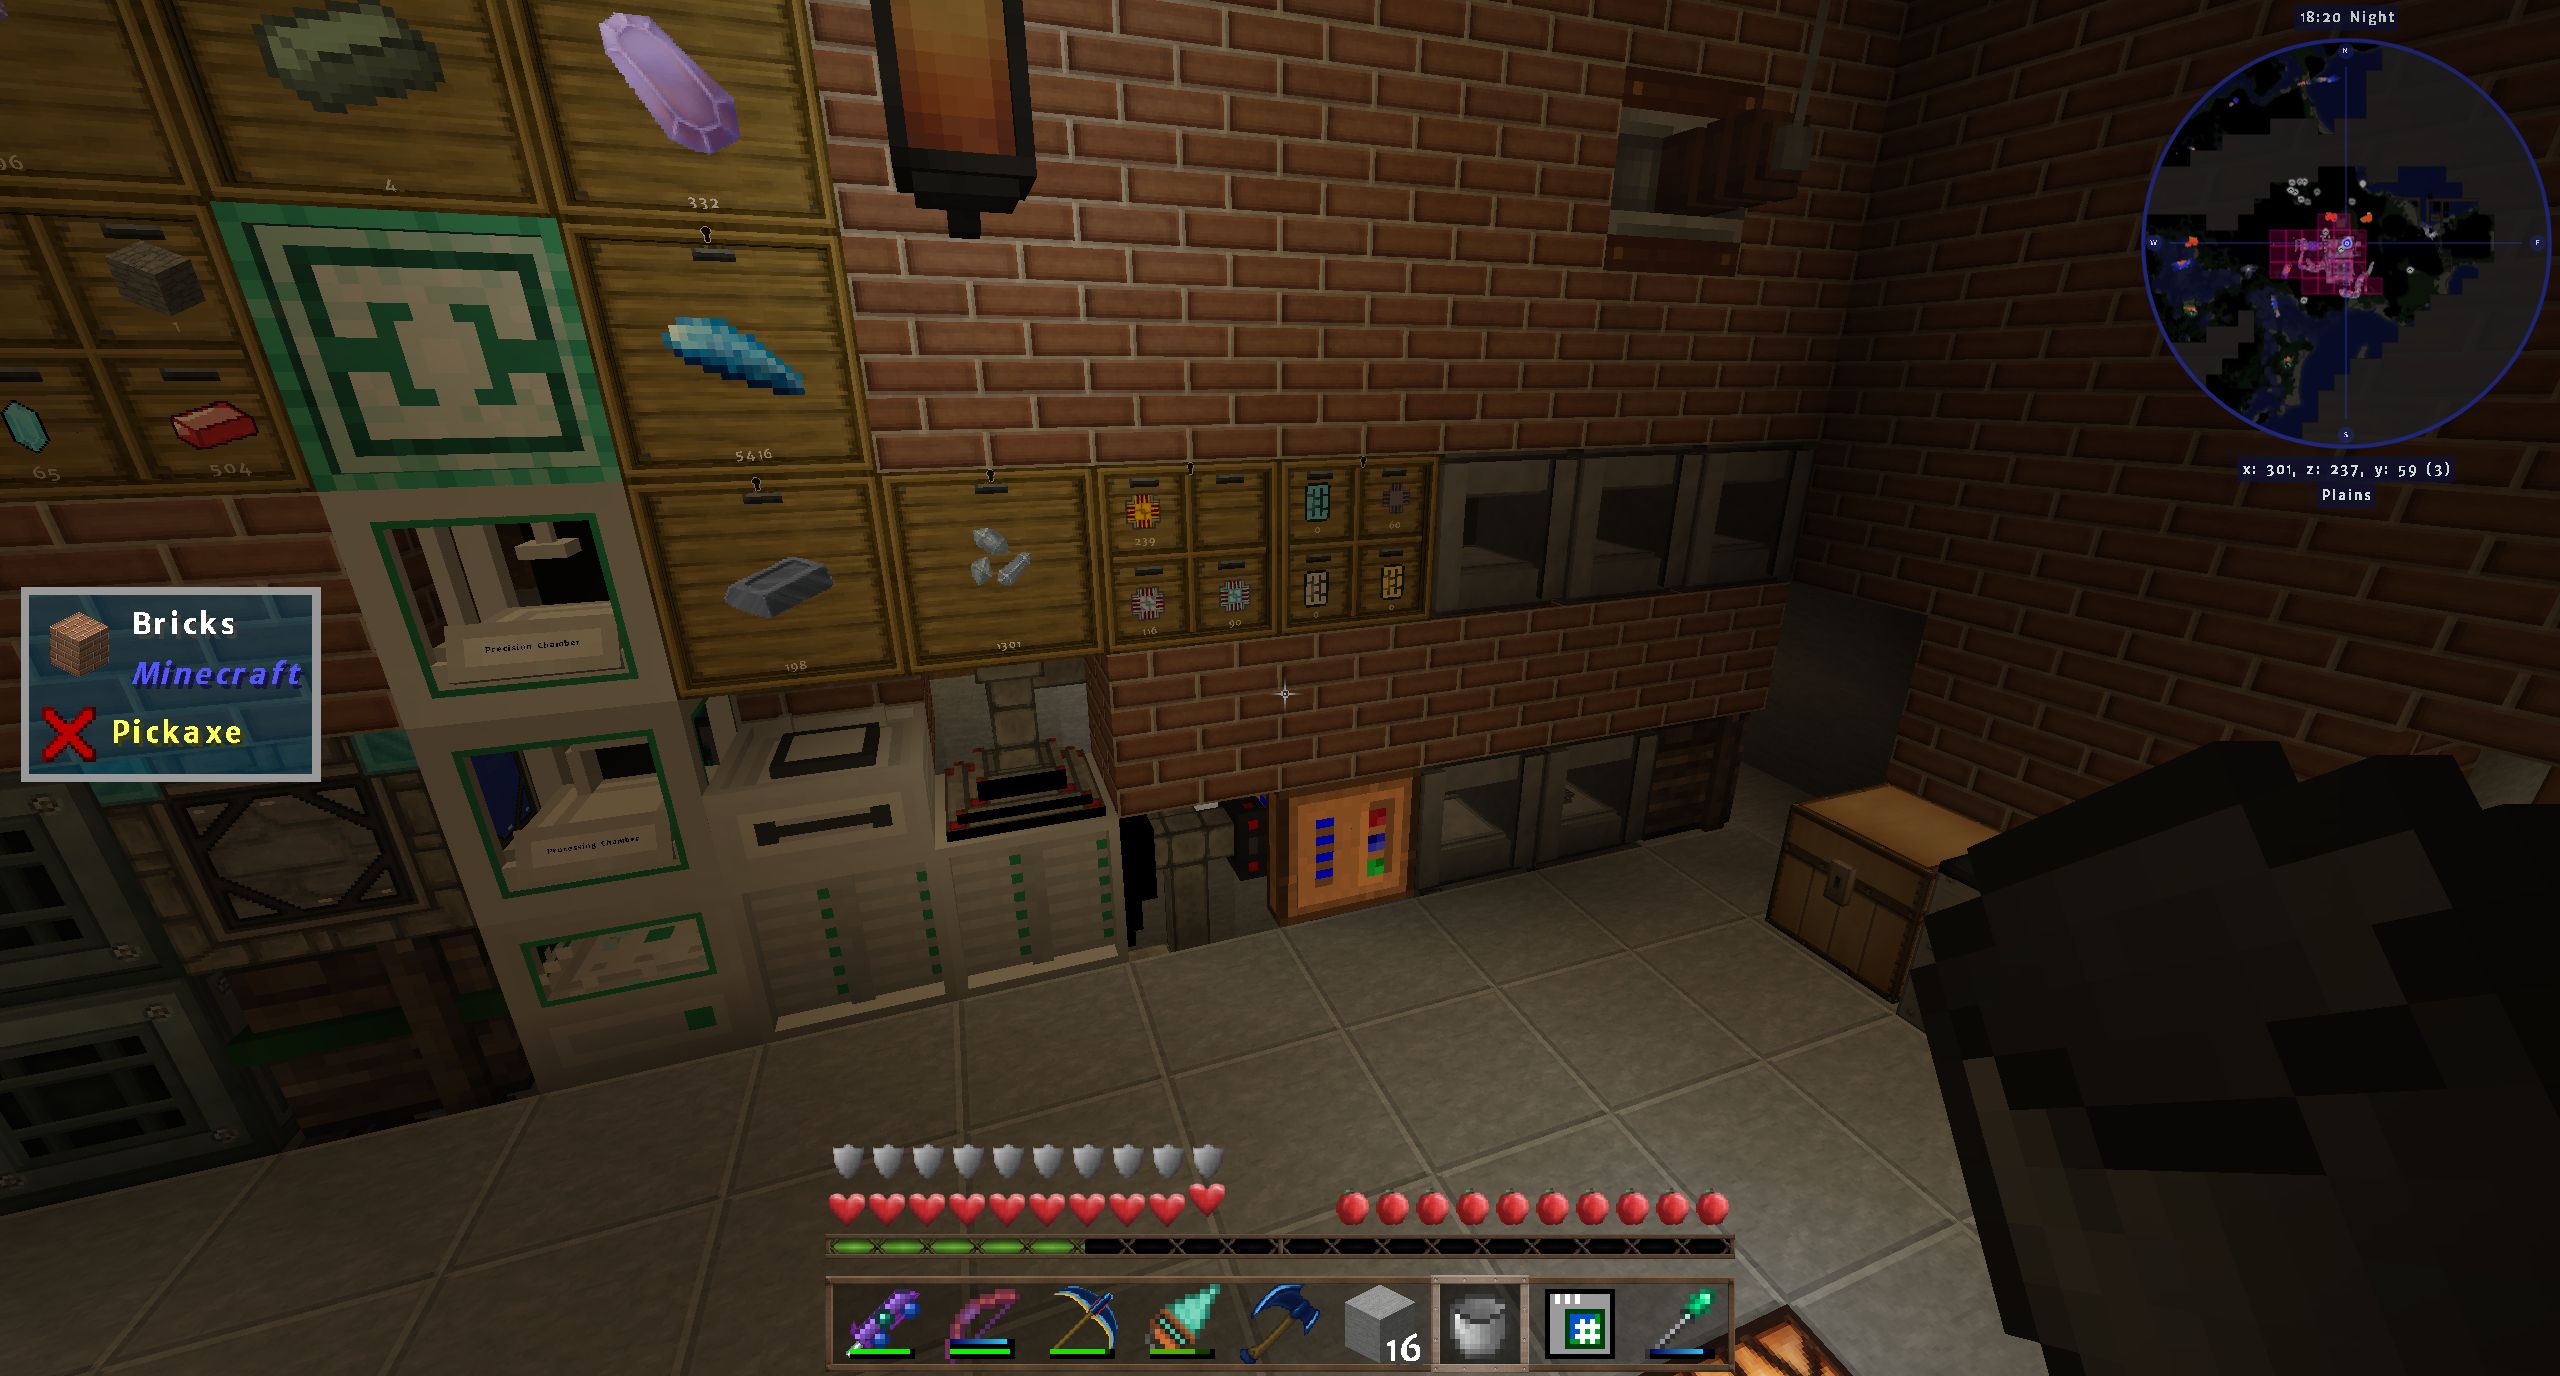
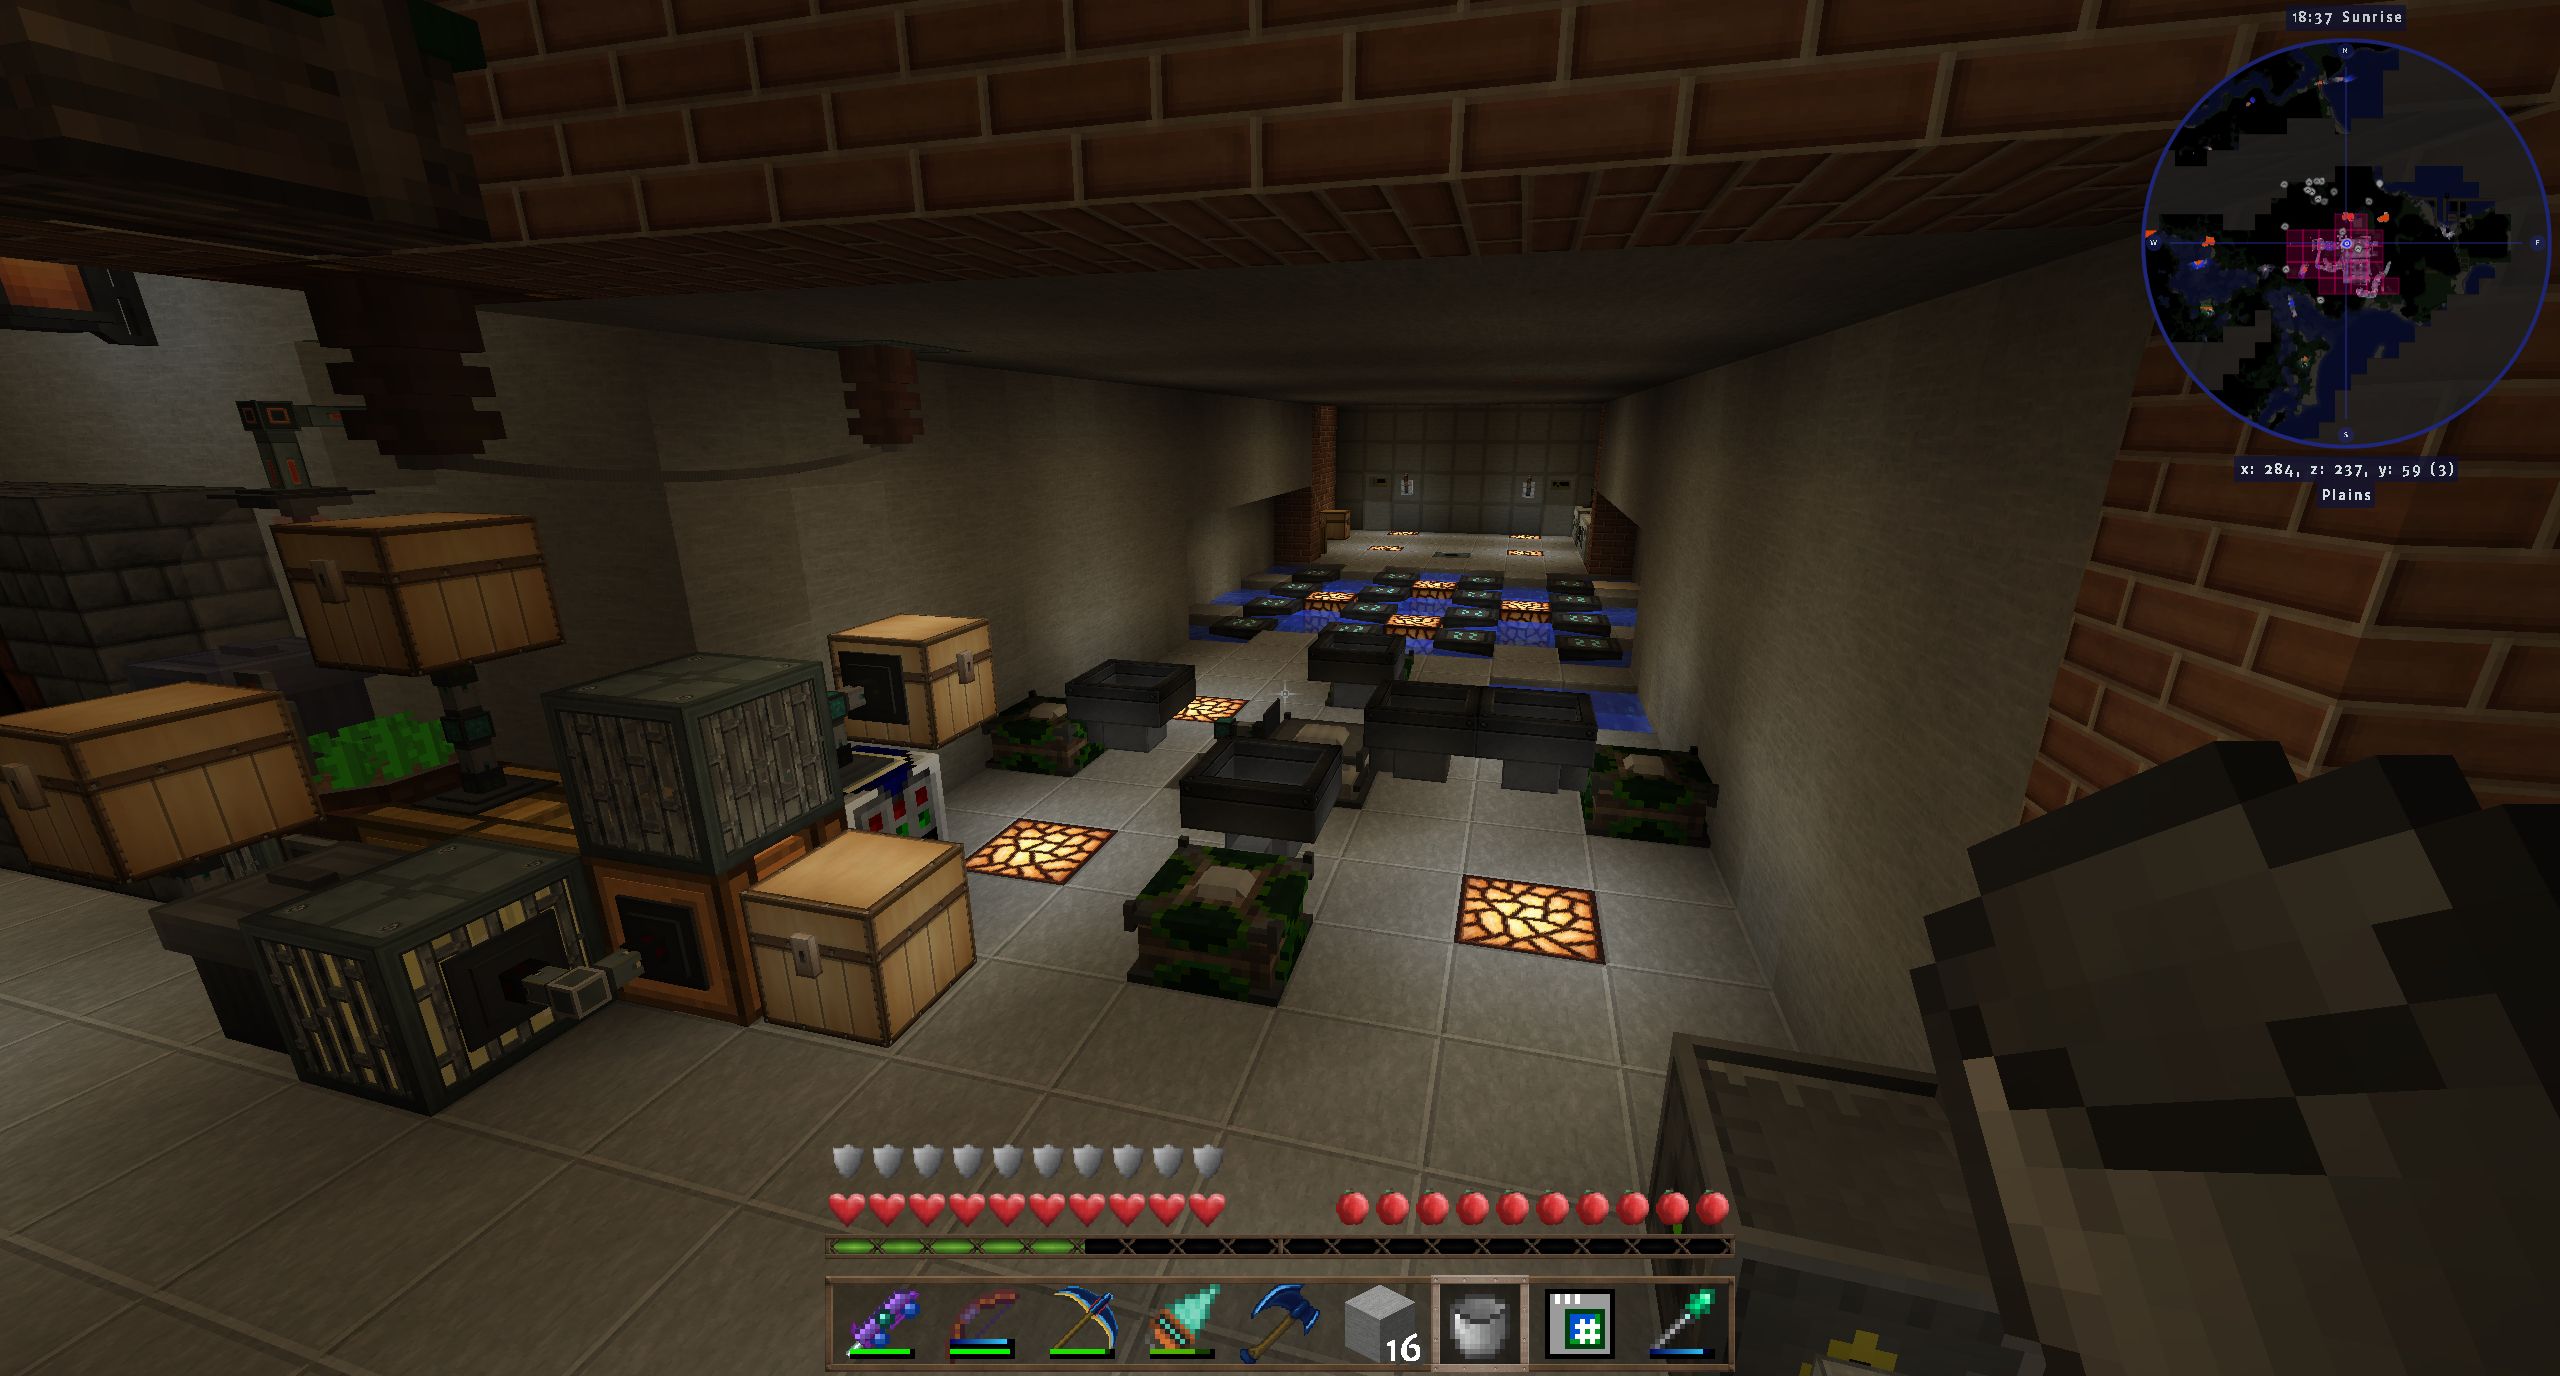
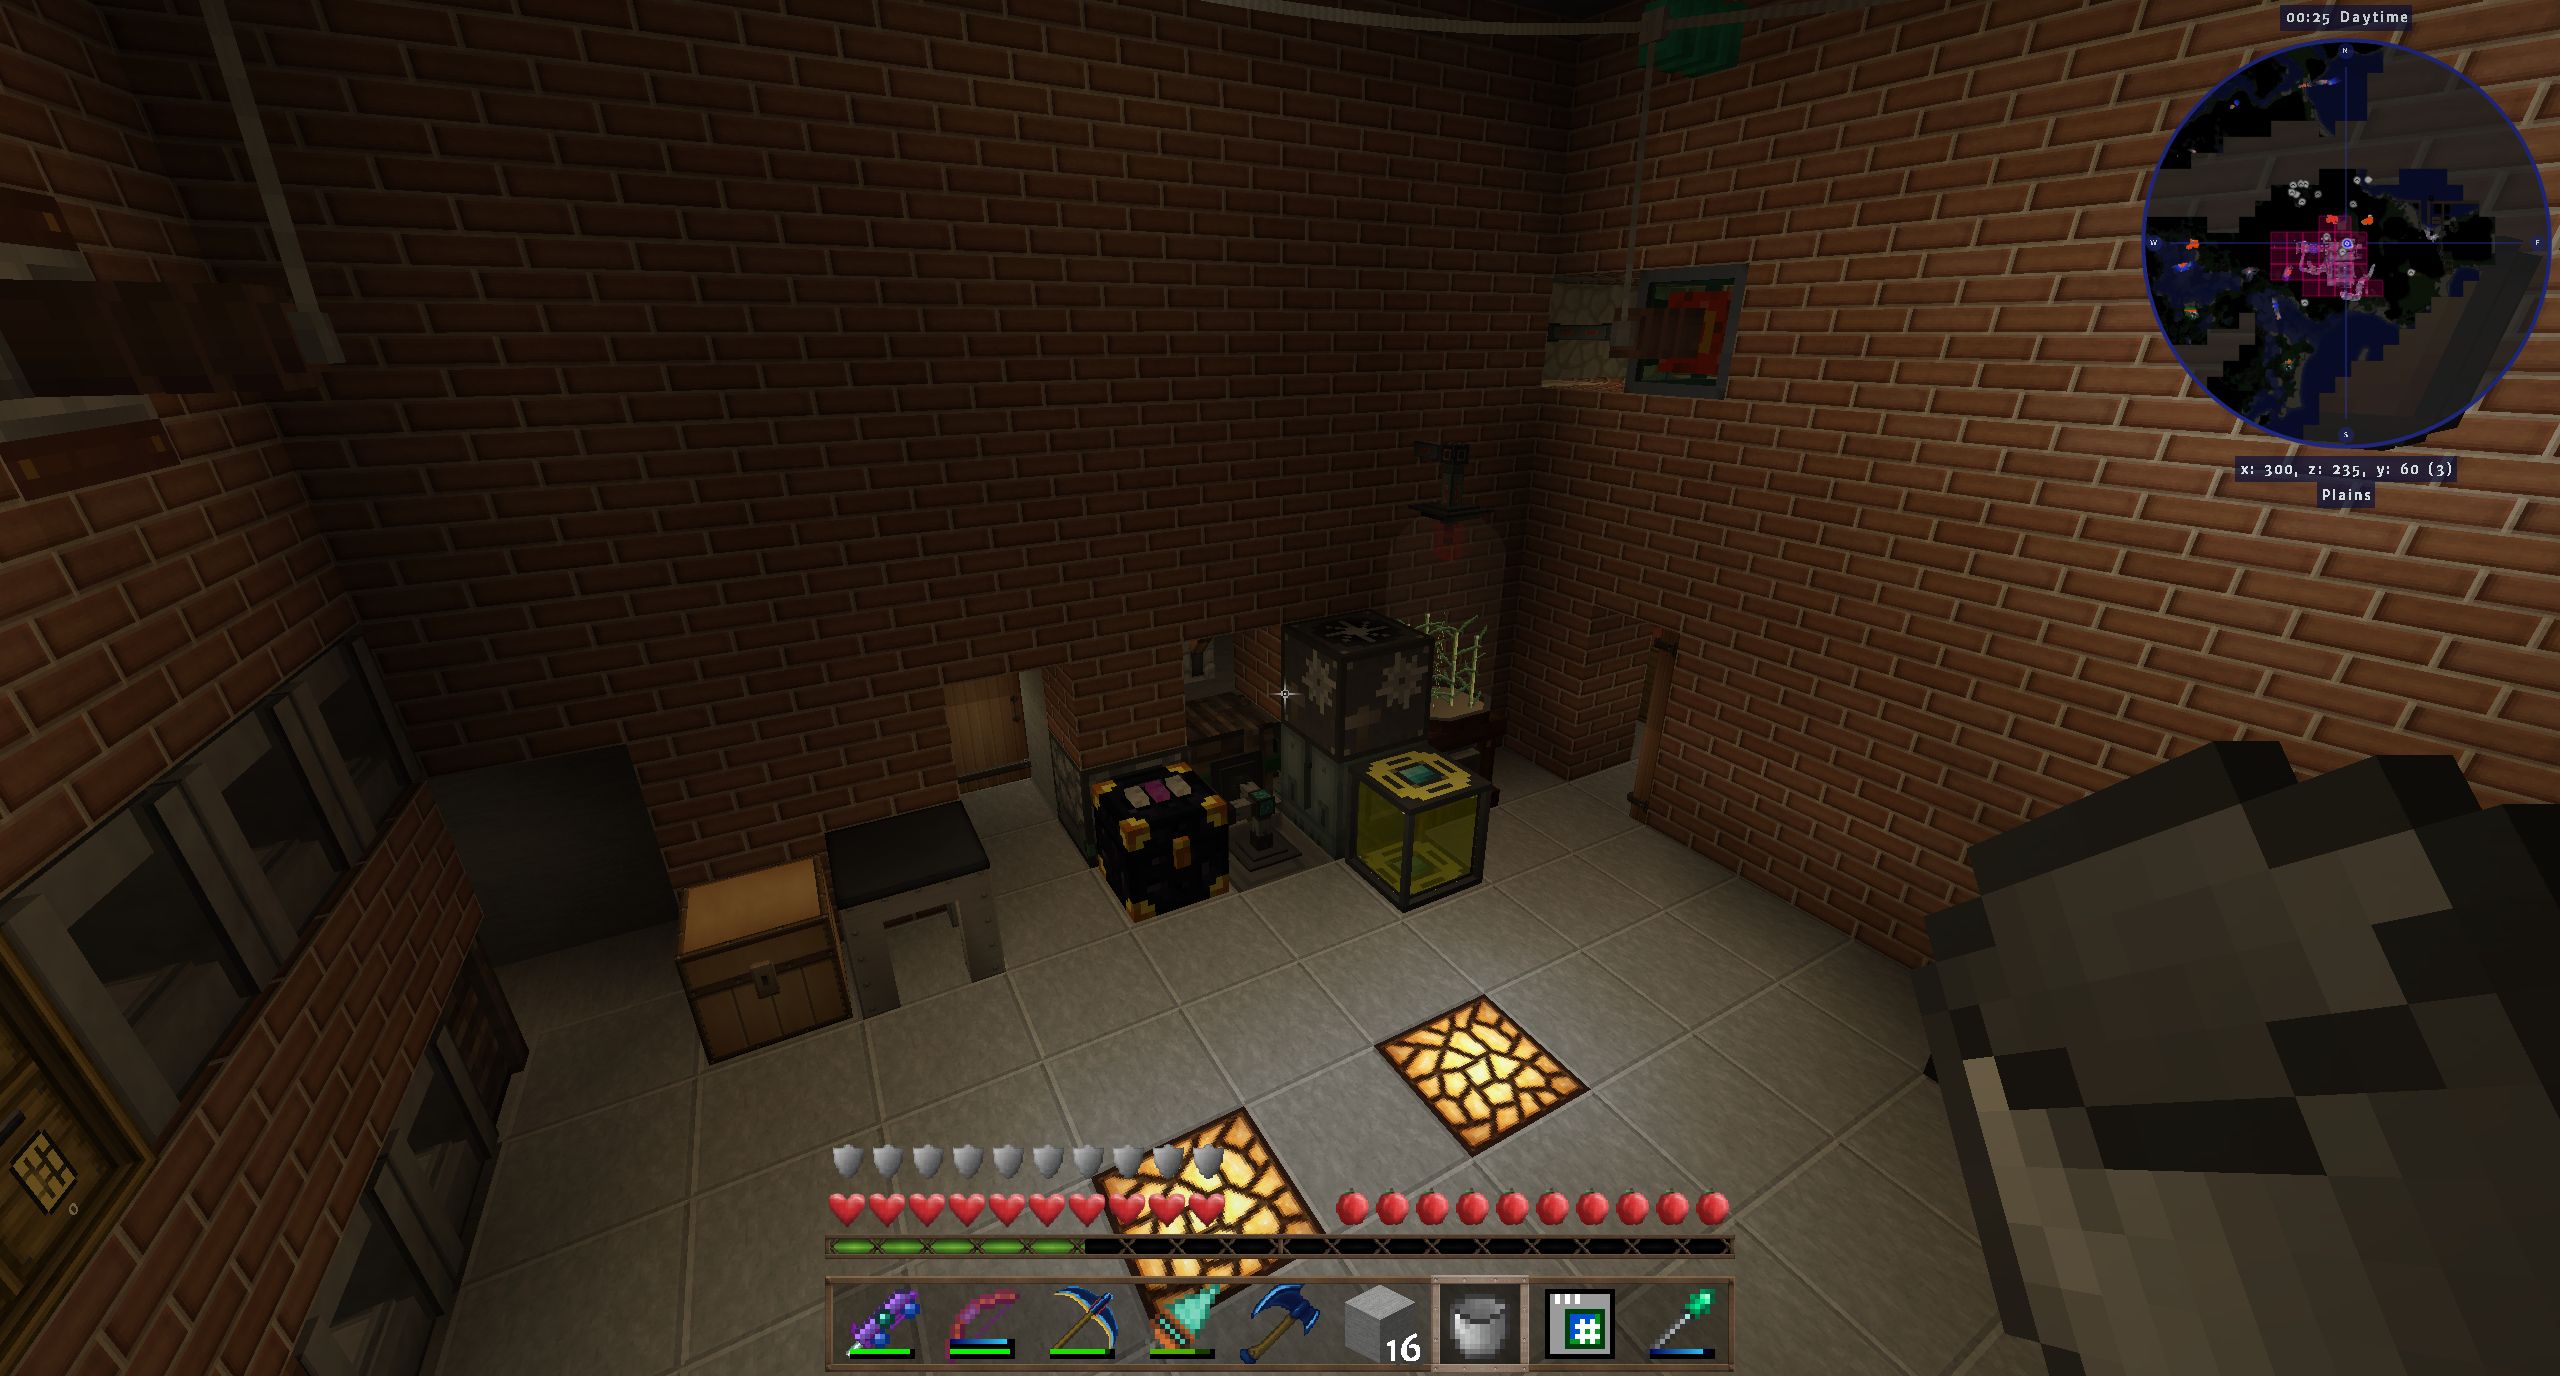
I decided to share some pics of my Age 9 base.
To start with, my game differs in three minor aspects from the "pure" experience:
(1) I installed Fast Leaf Decay - it is only realistic after all.
(2) I installed Not Enough Wands and disabled everything but the swapping and building wands. Changing my walls without a swapping device is neither enjoyable nor a reasonable challenge.
(3) When breeding bees, I cheated some Mutating Frames in.
I'm also planning to install ArchitectureCraft for features likes slopes and arches. With that said, here are the pictures.
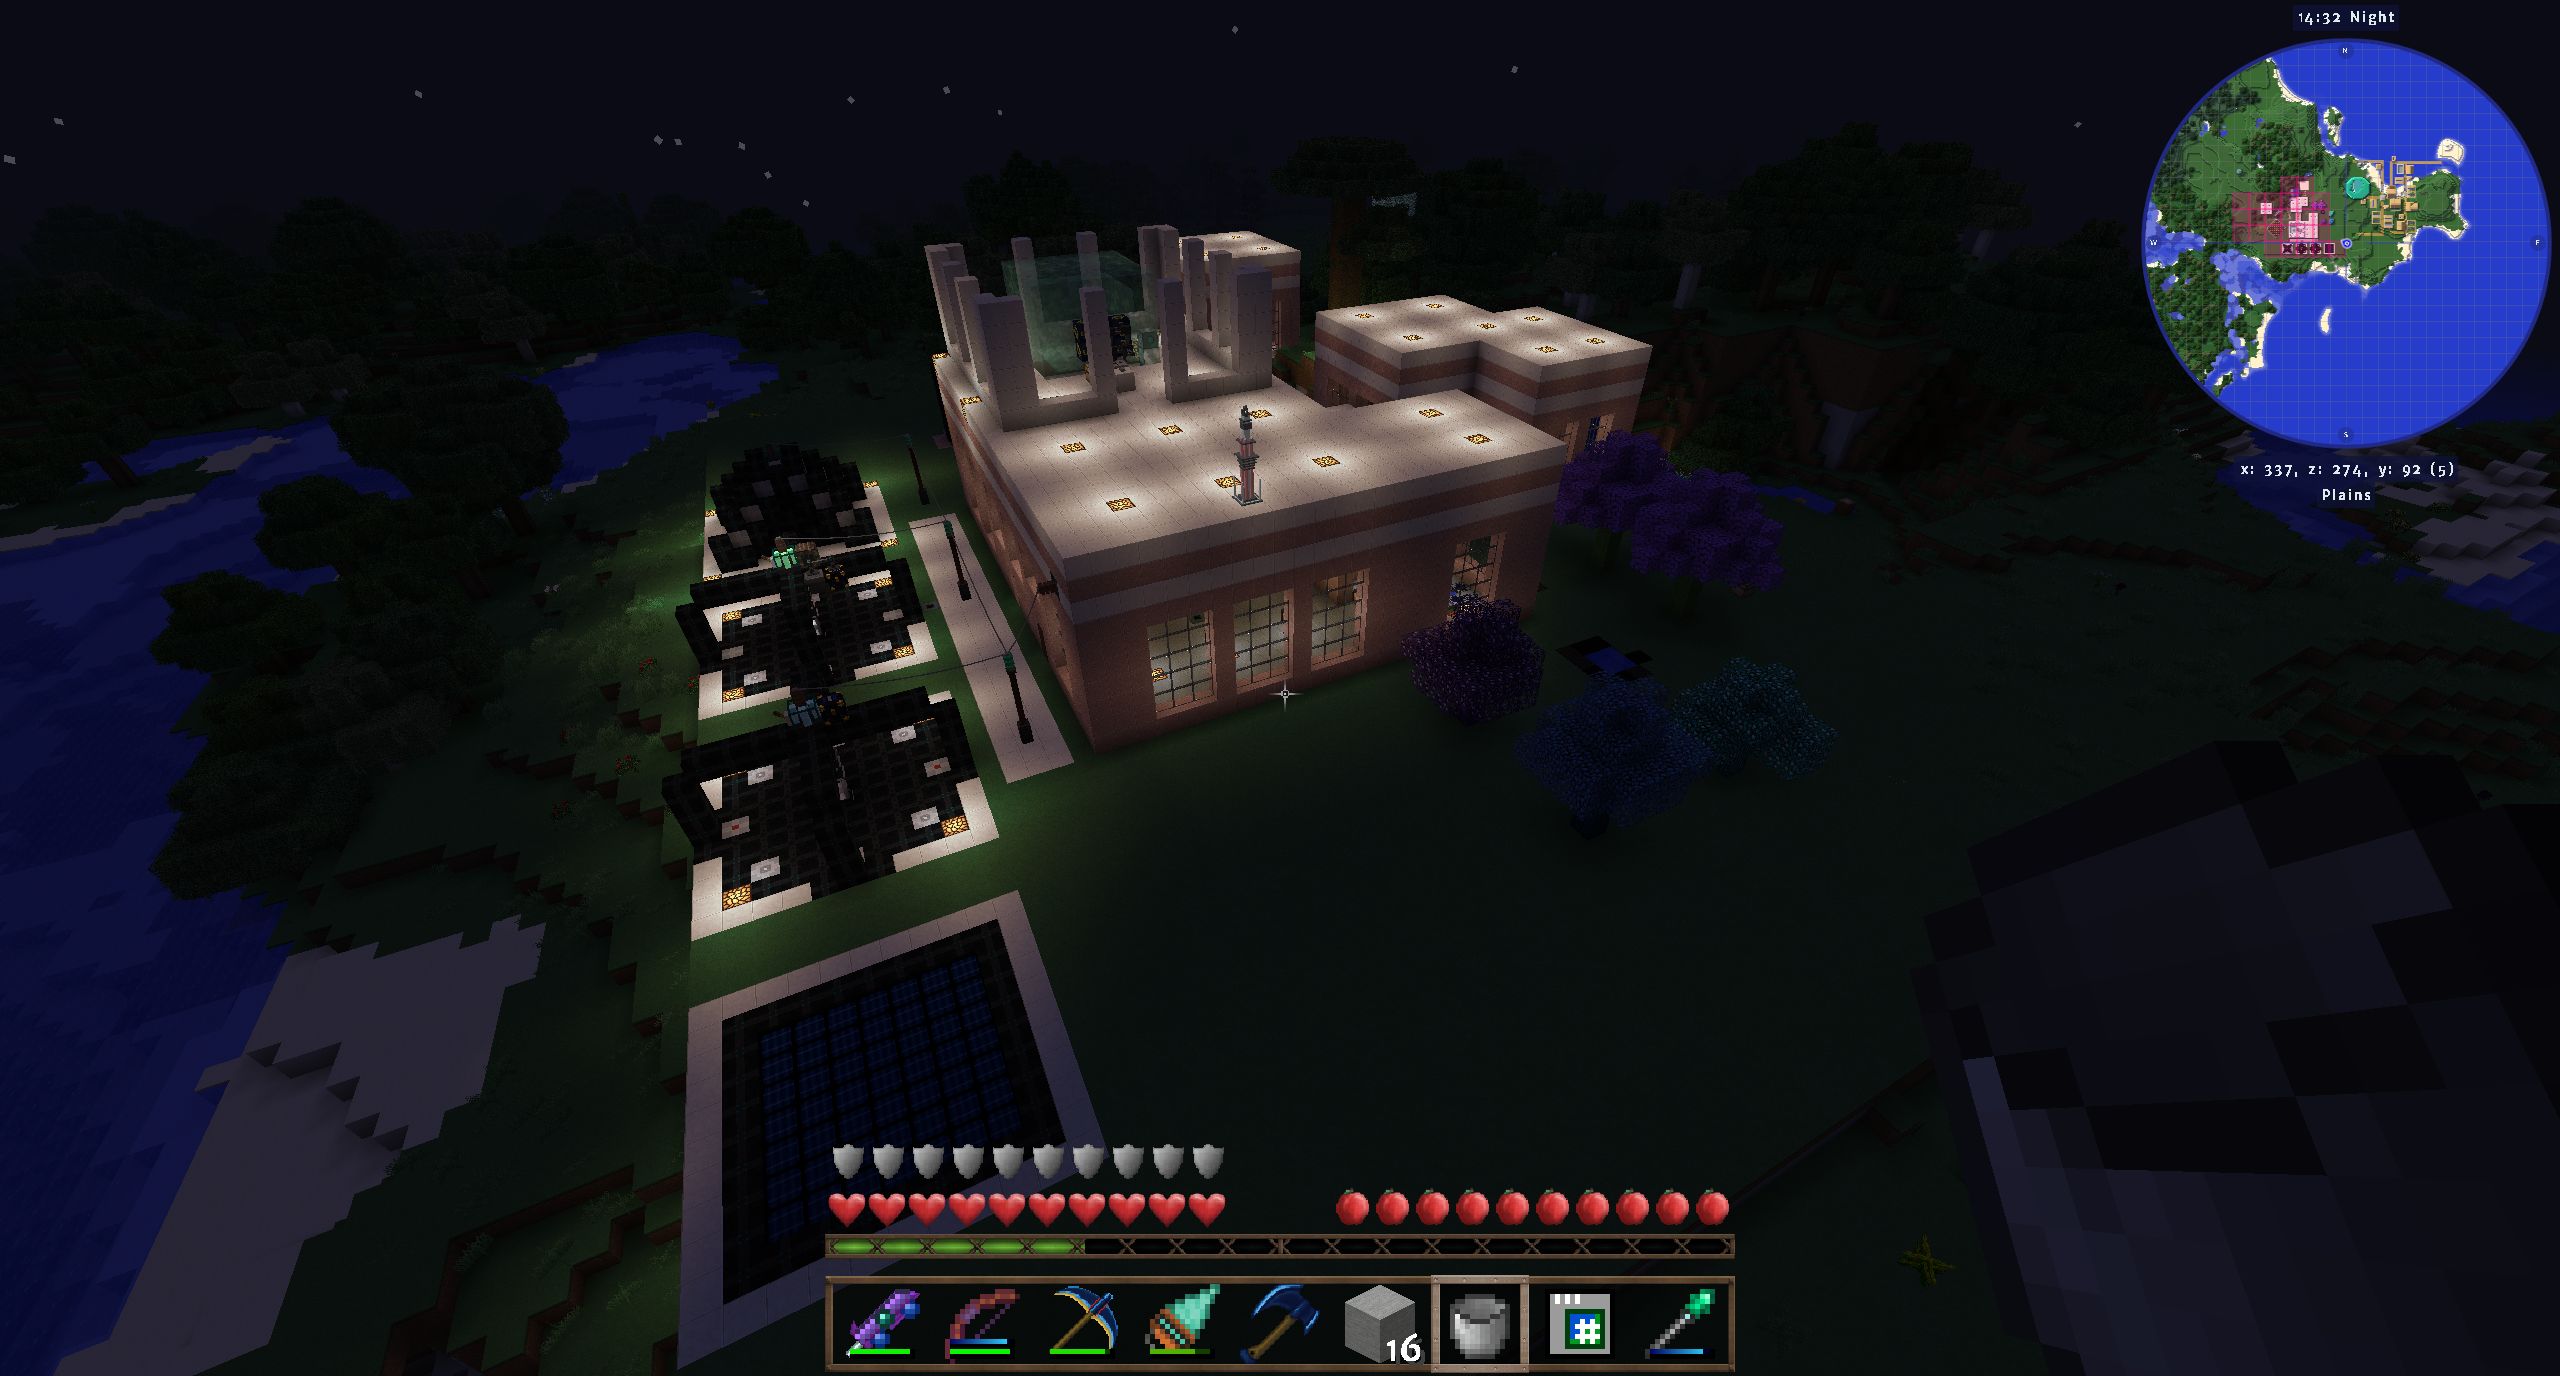
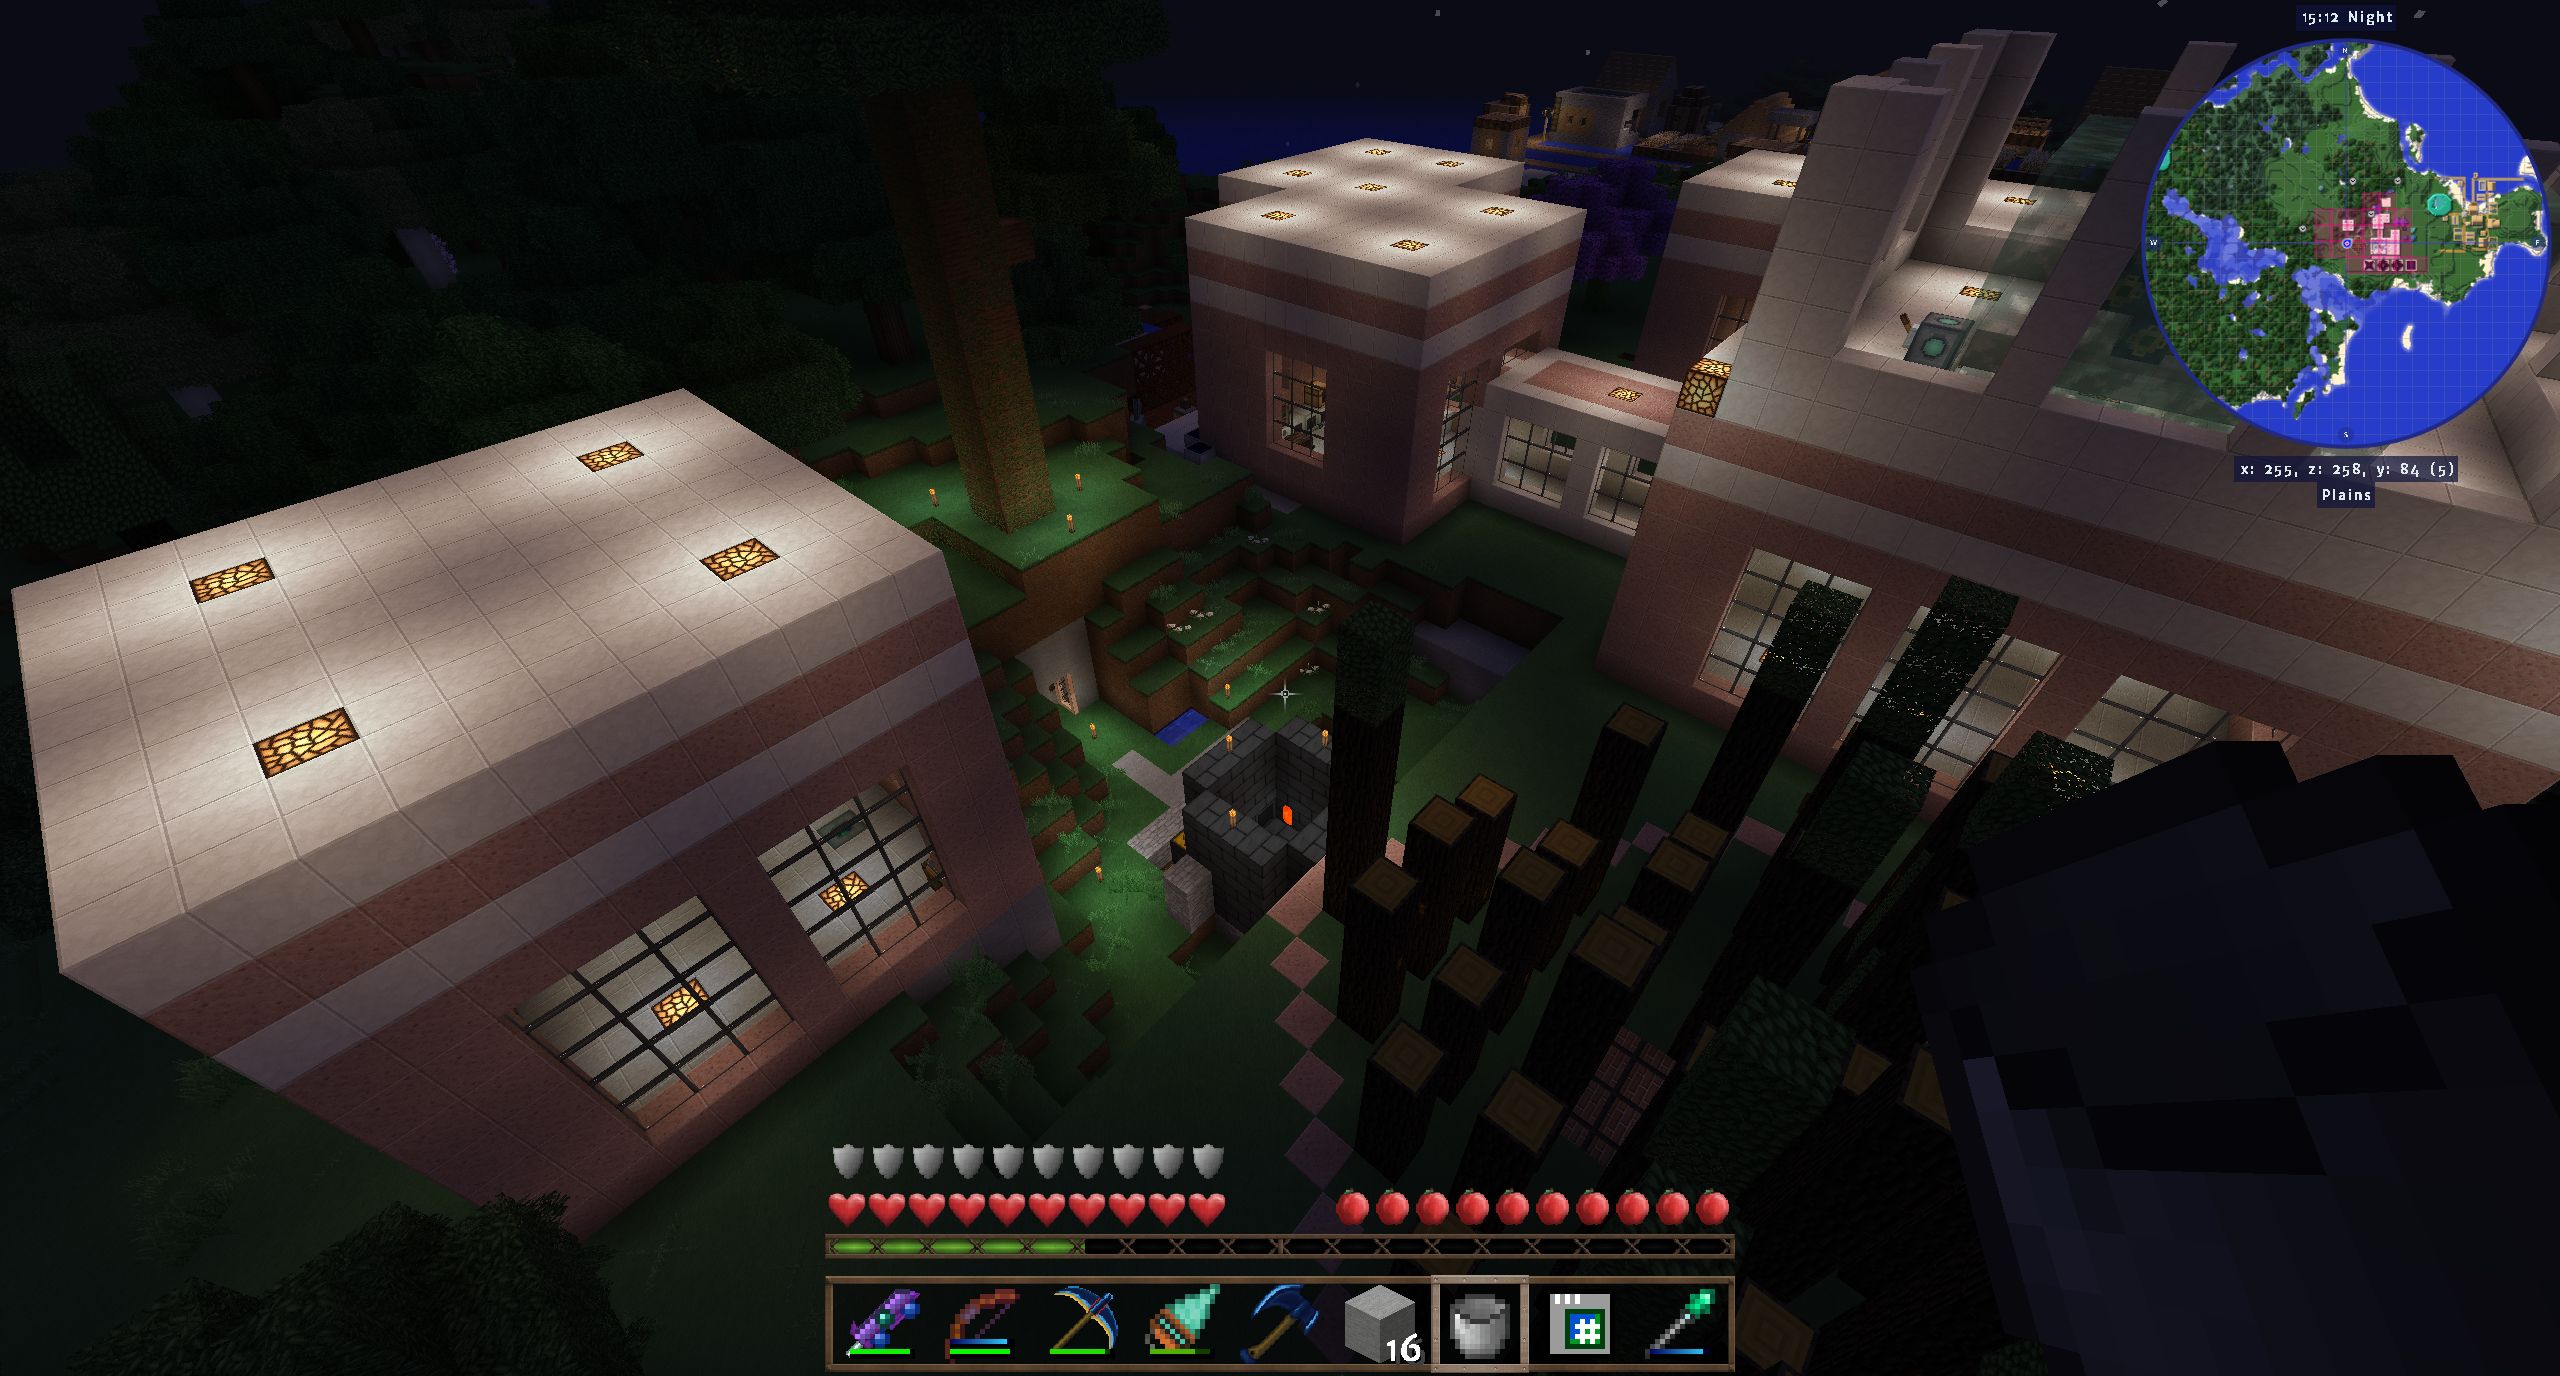
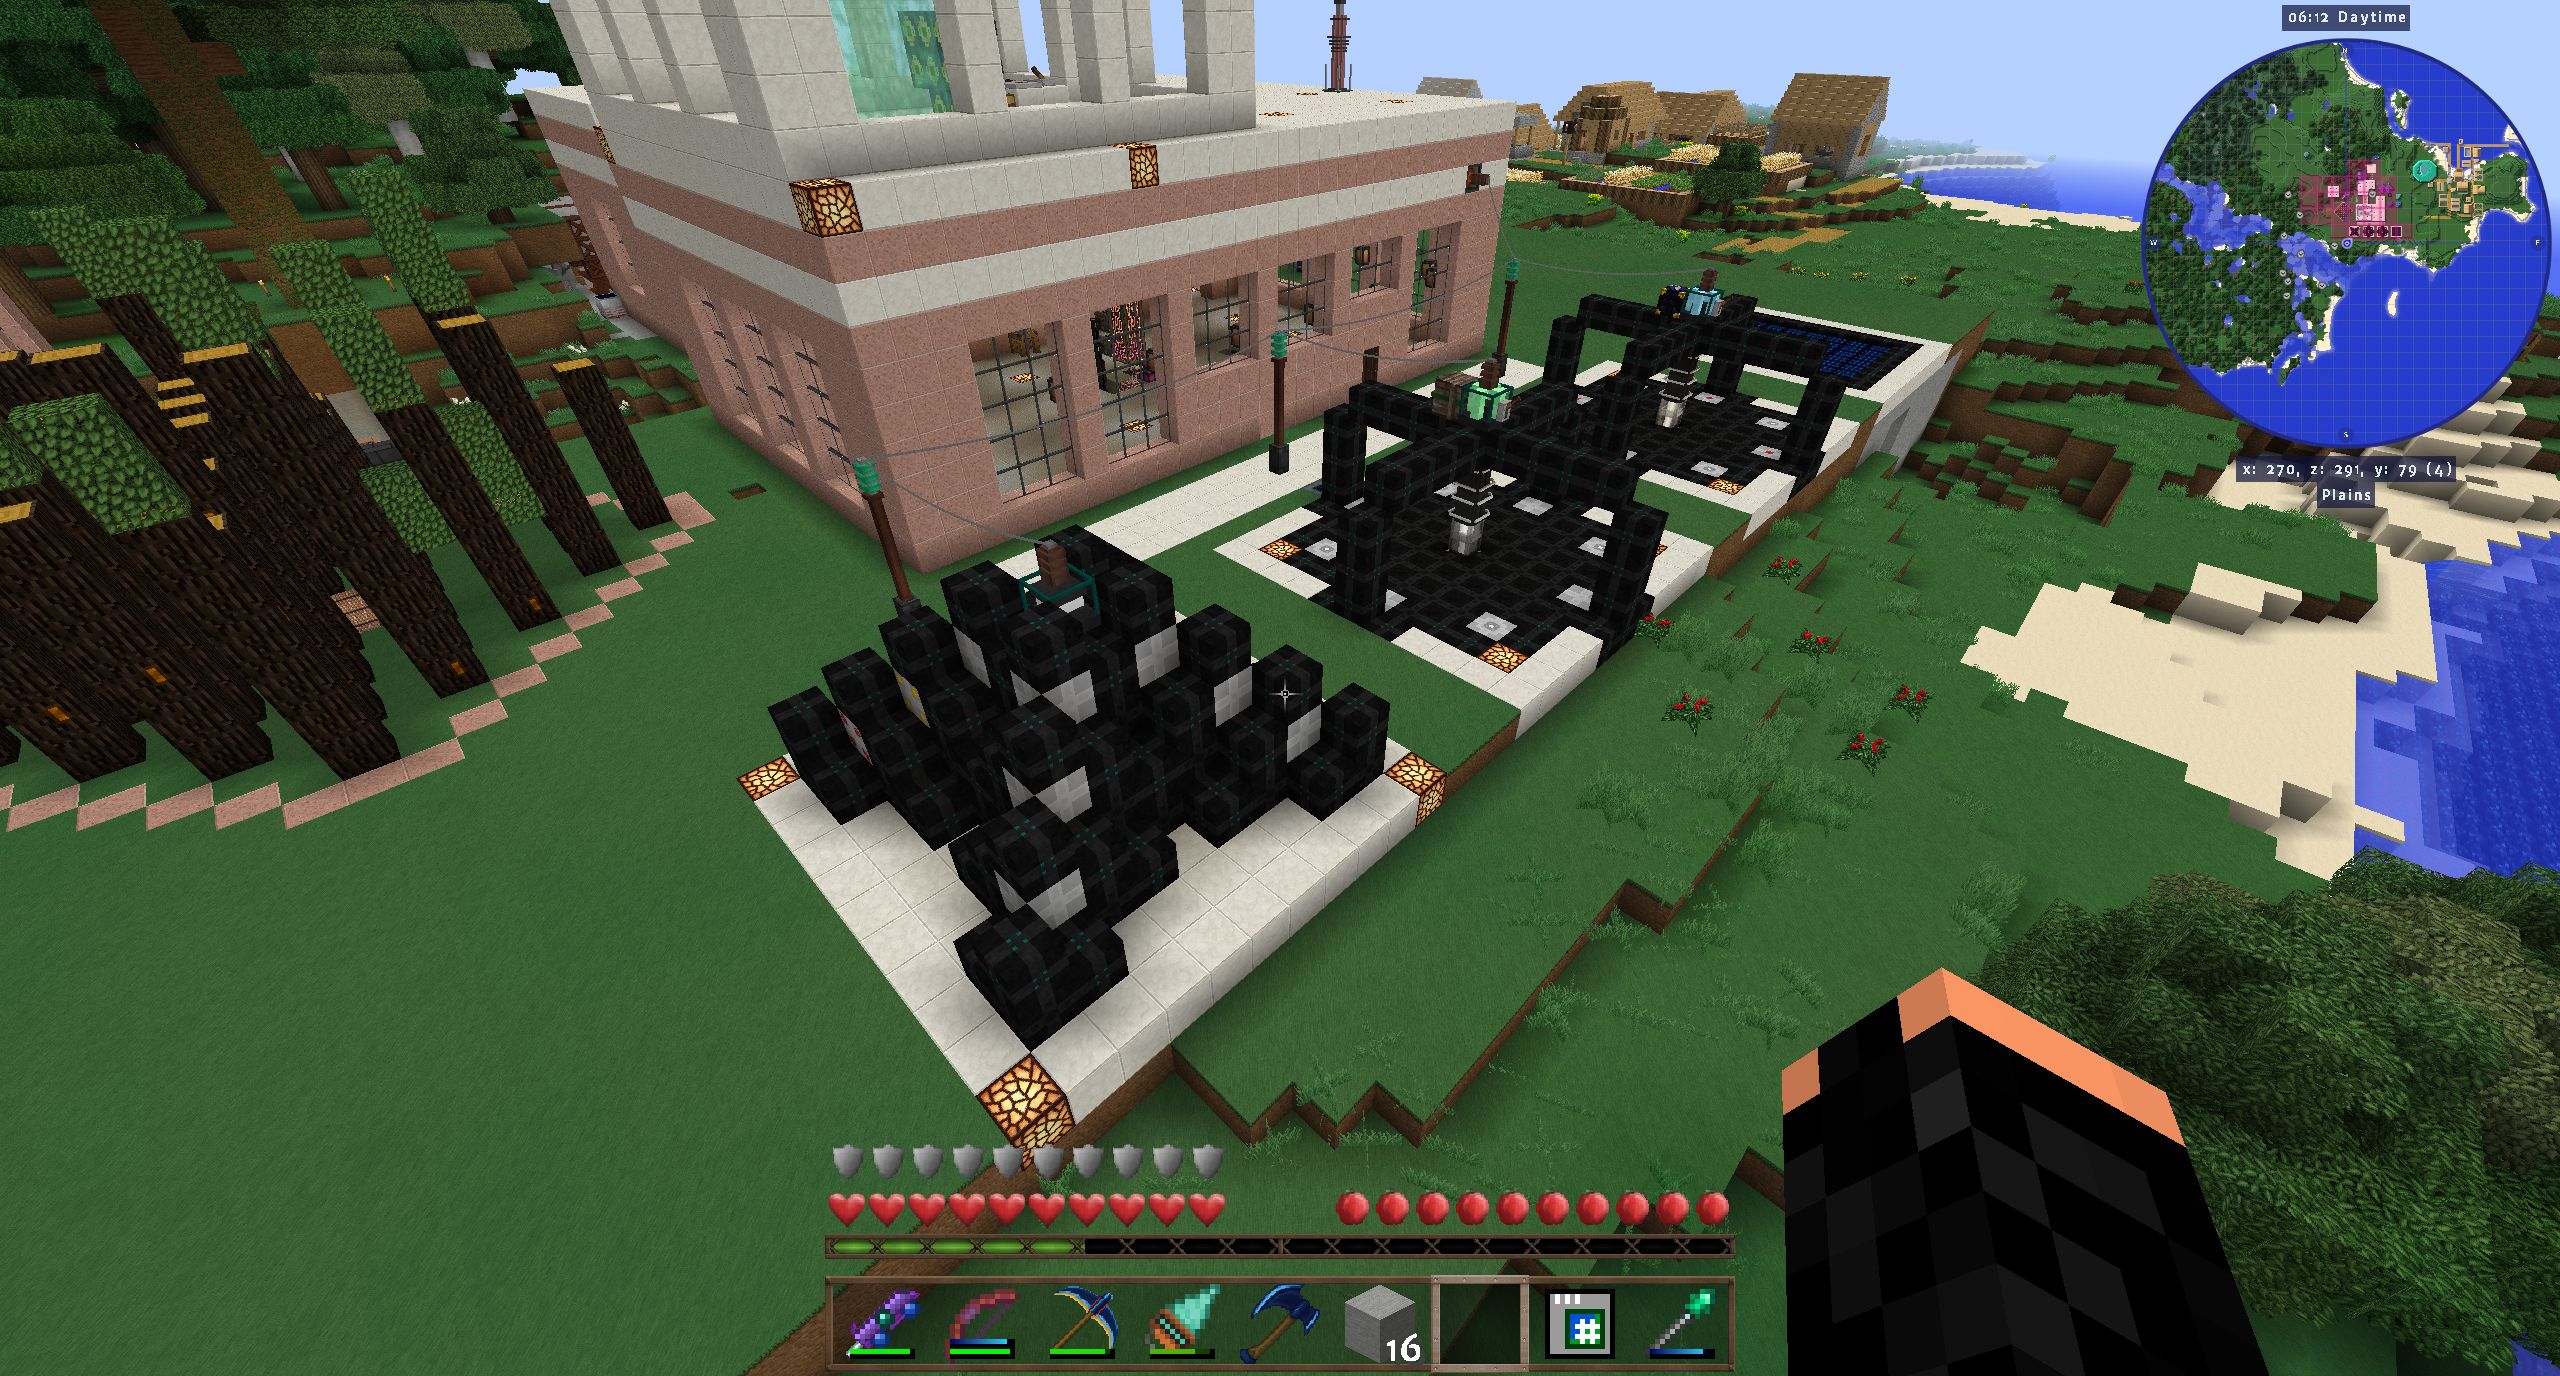
(1) The base at night
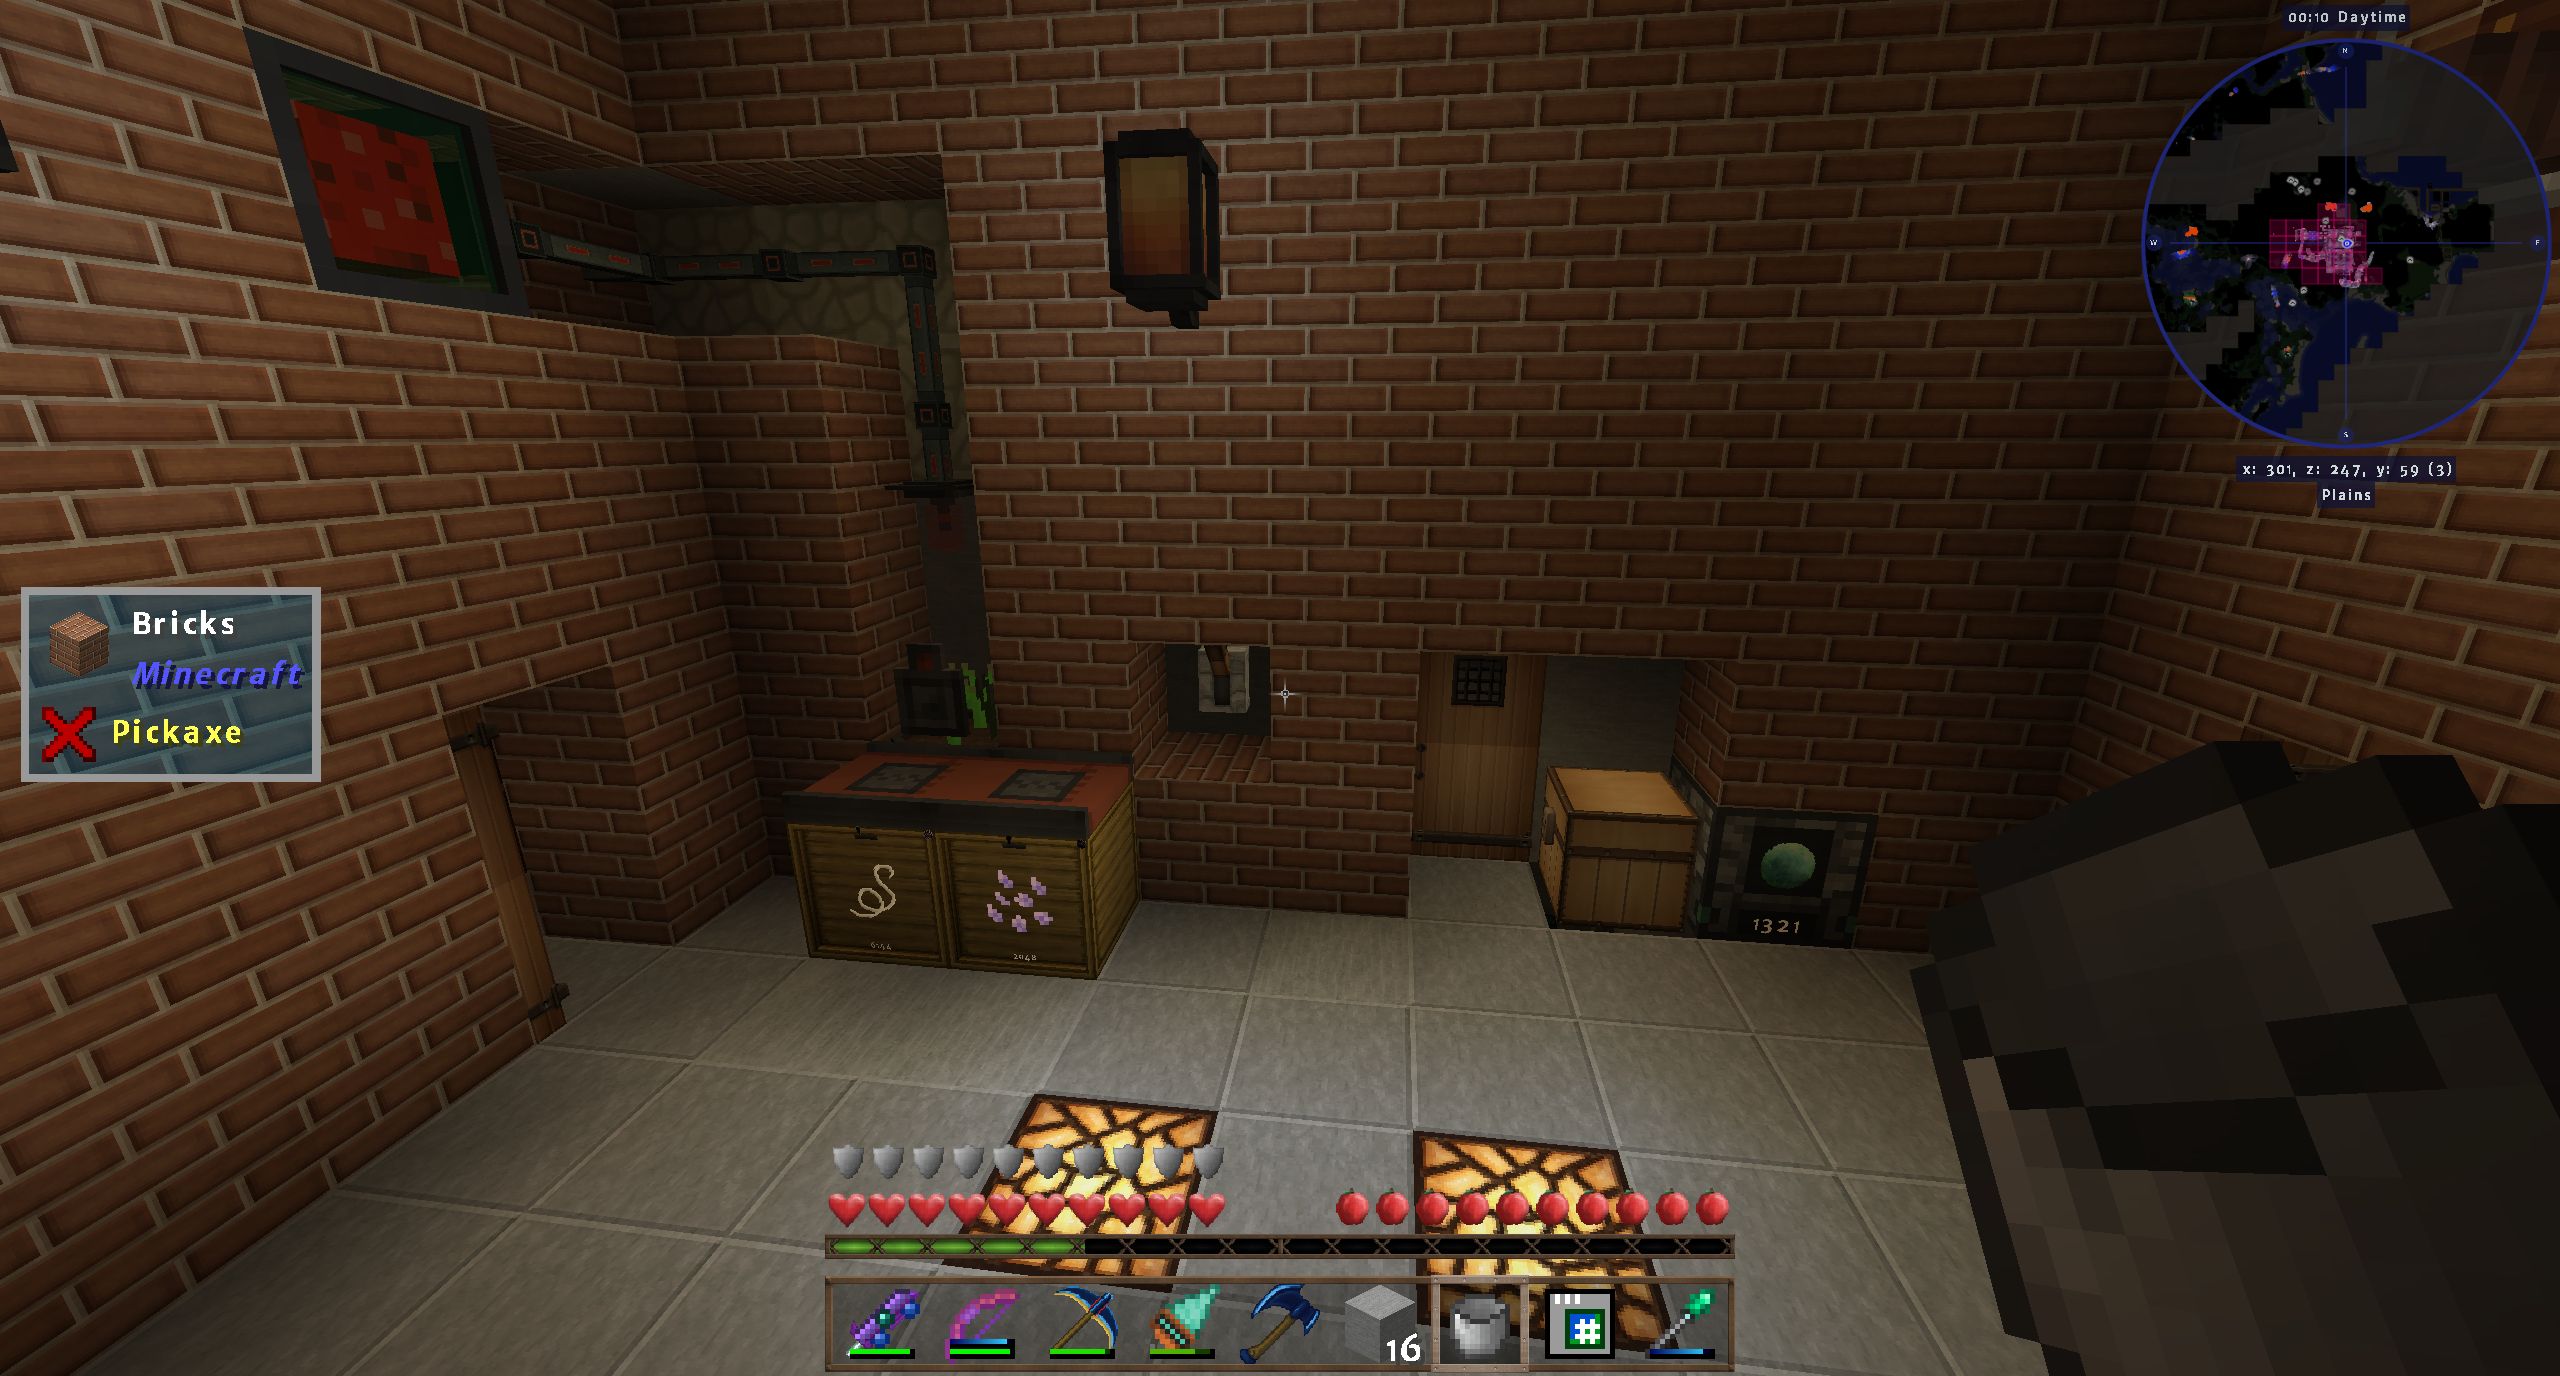
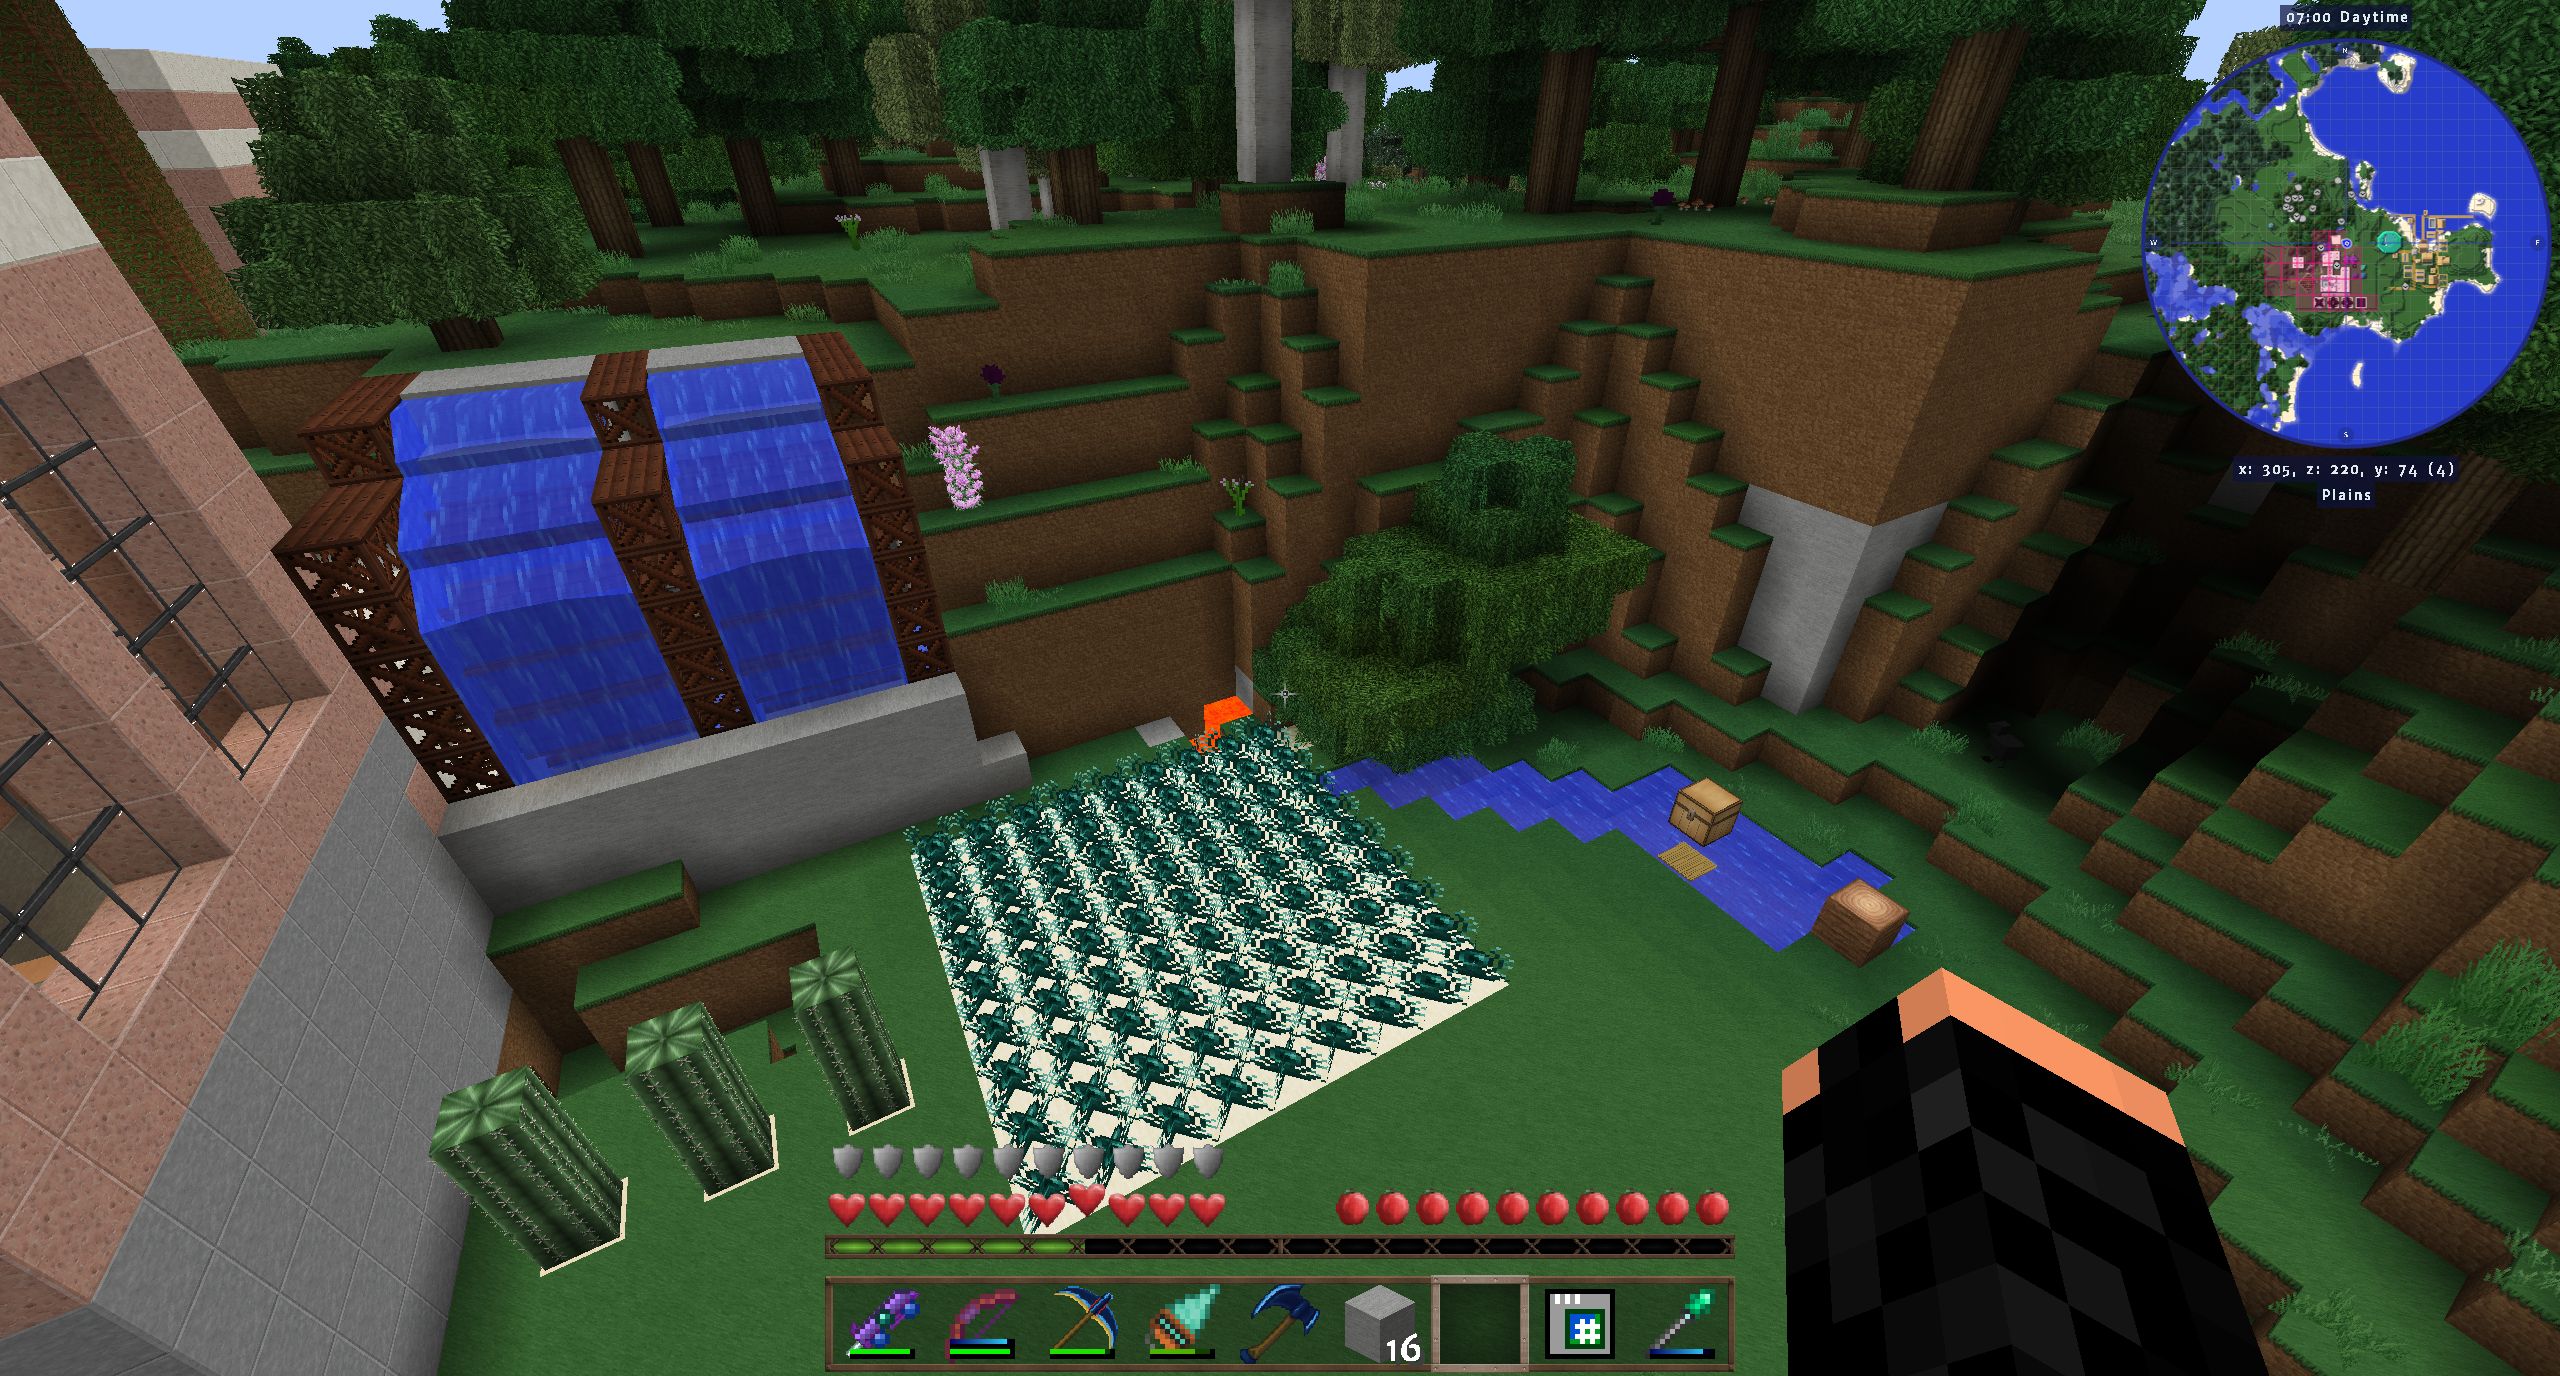
It is a work in progress of course. Most of the stuff is still underground. An often-used design I use is to put storage and the retro-industrial stuff underground and the futuristic stuff above. So there isn't a lot to see here yet. The lower image shows my Forestry rubber farm among other things - I will never lack for rubber - and the door on the far side of the smeltery, that leads into my first hidey-hole in this game. I still have my bed and my mining world portal there since I don't know where I'll come out if I move the portal.
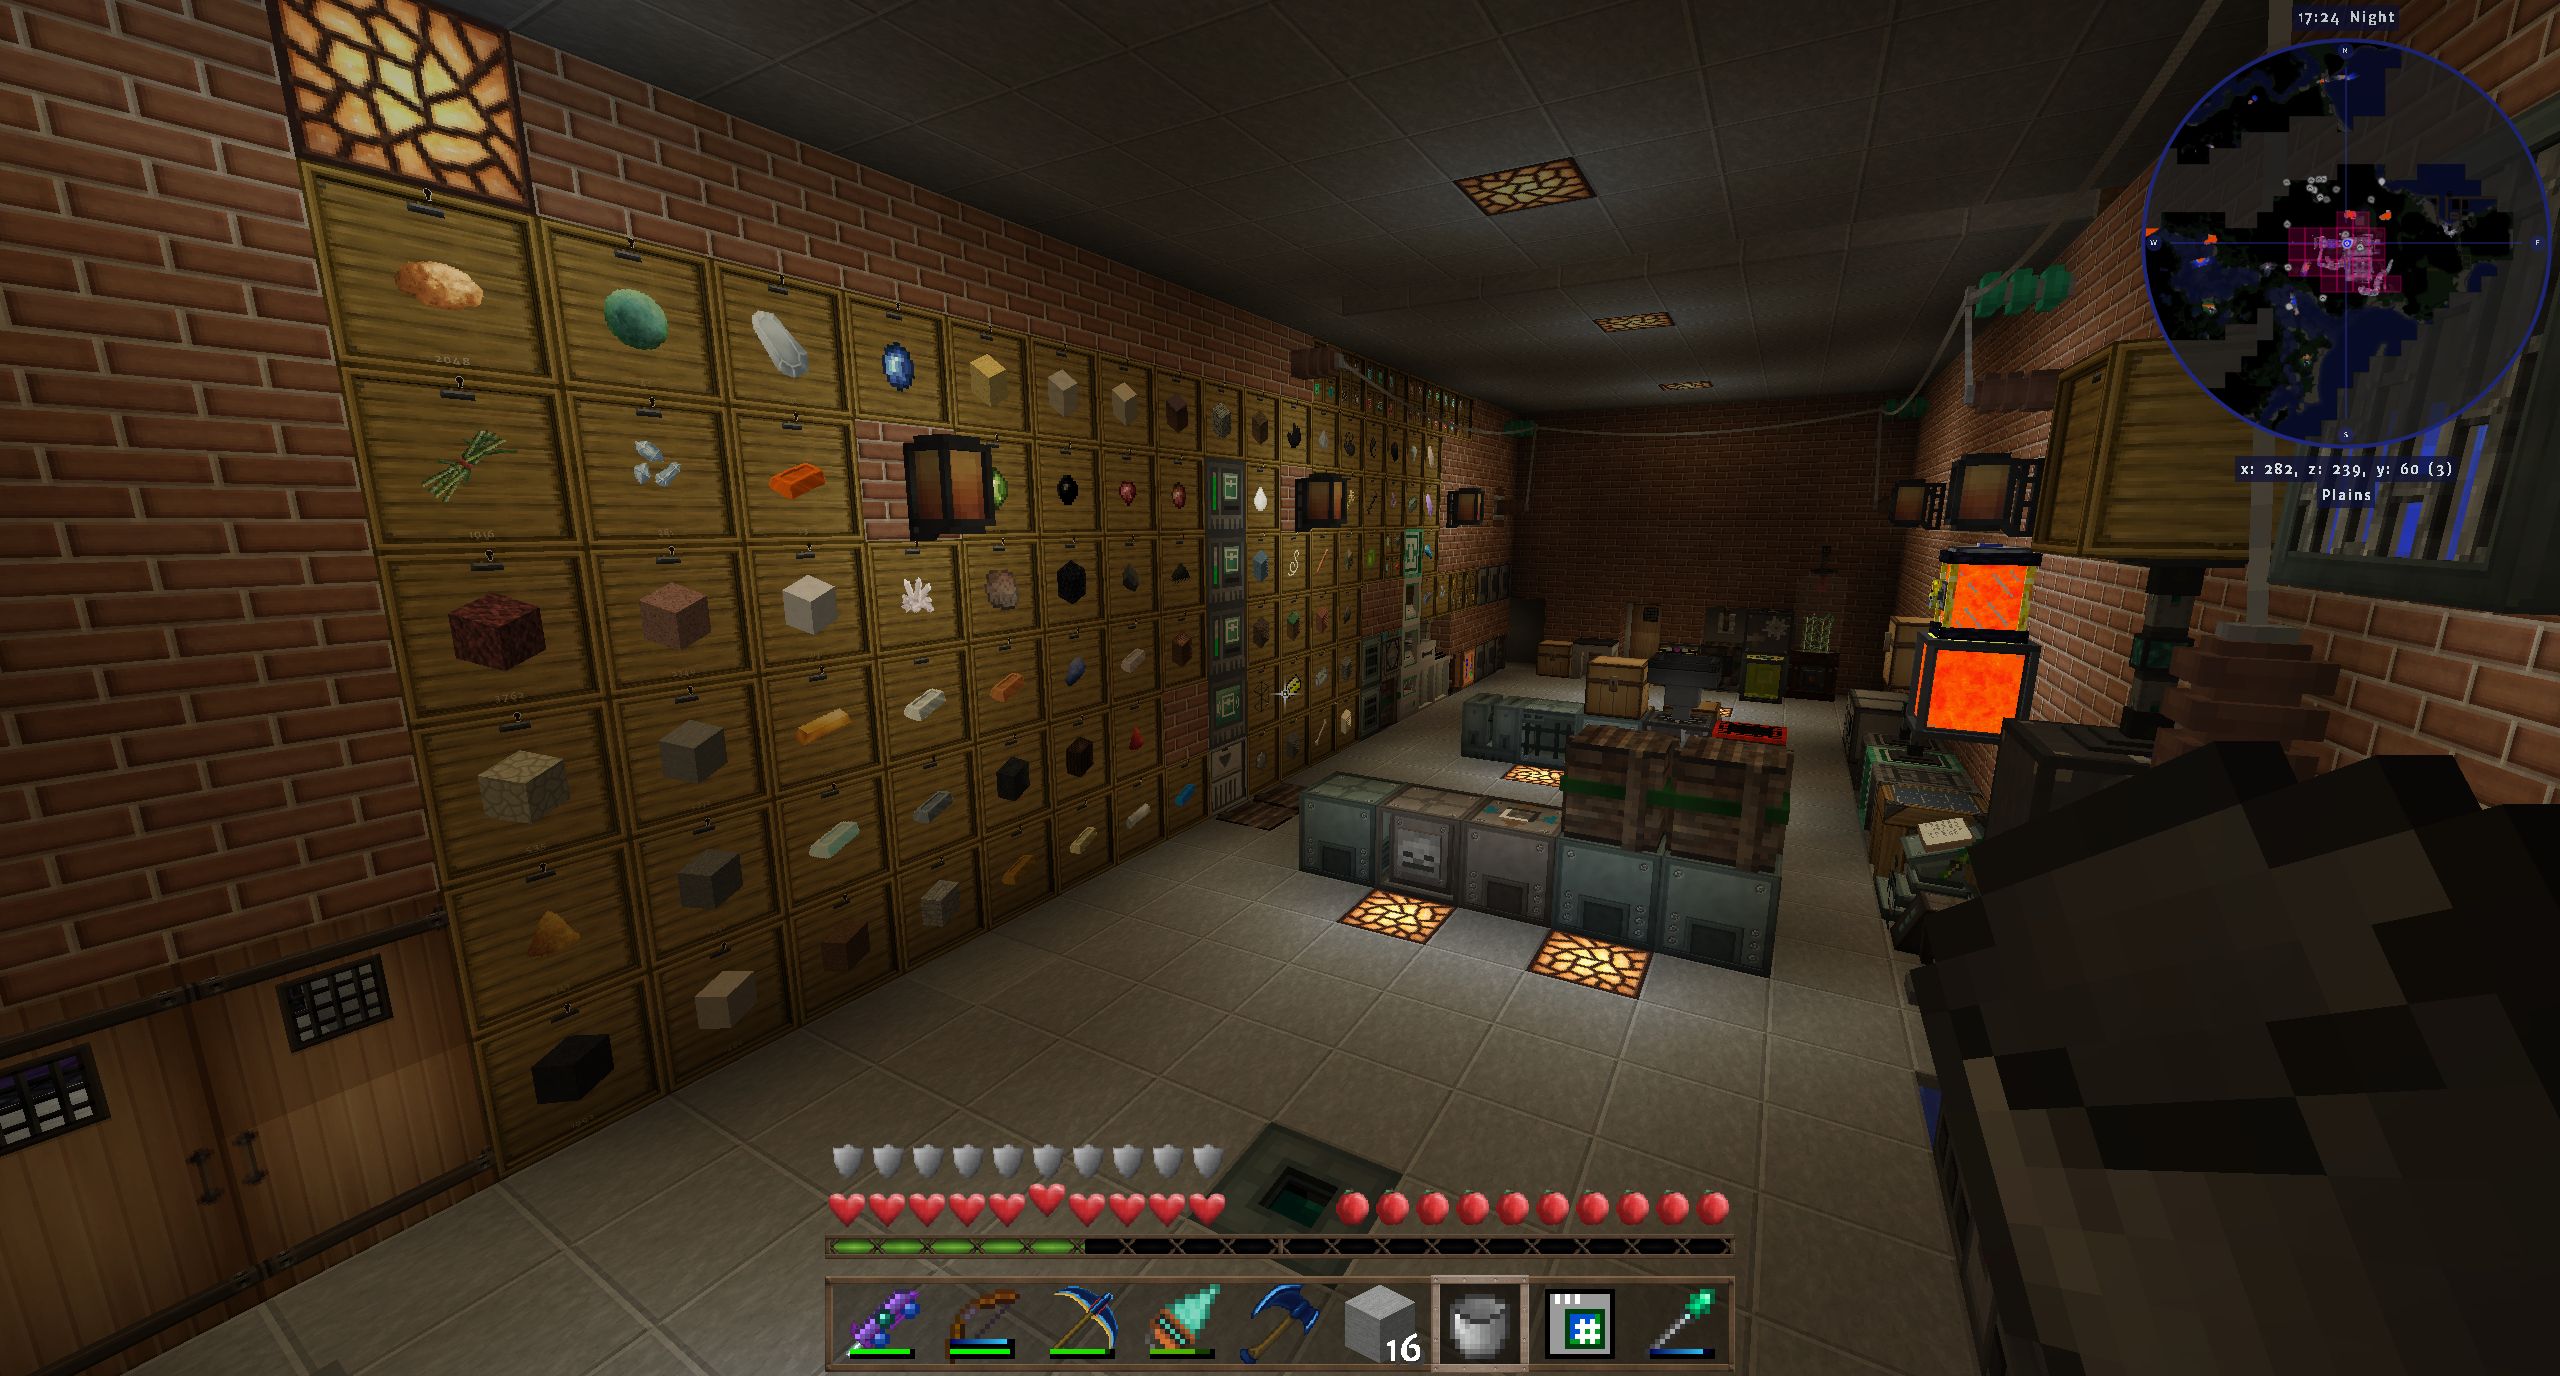
(2) Storage and Workplace
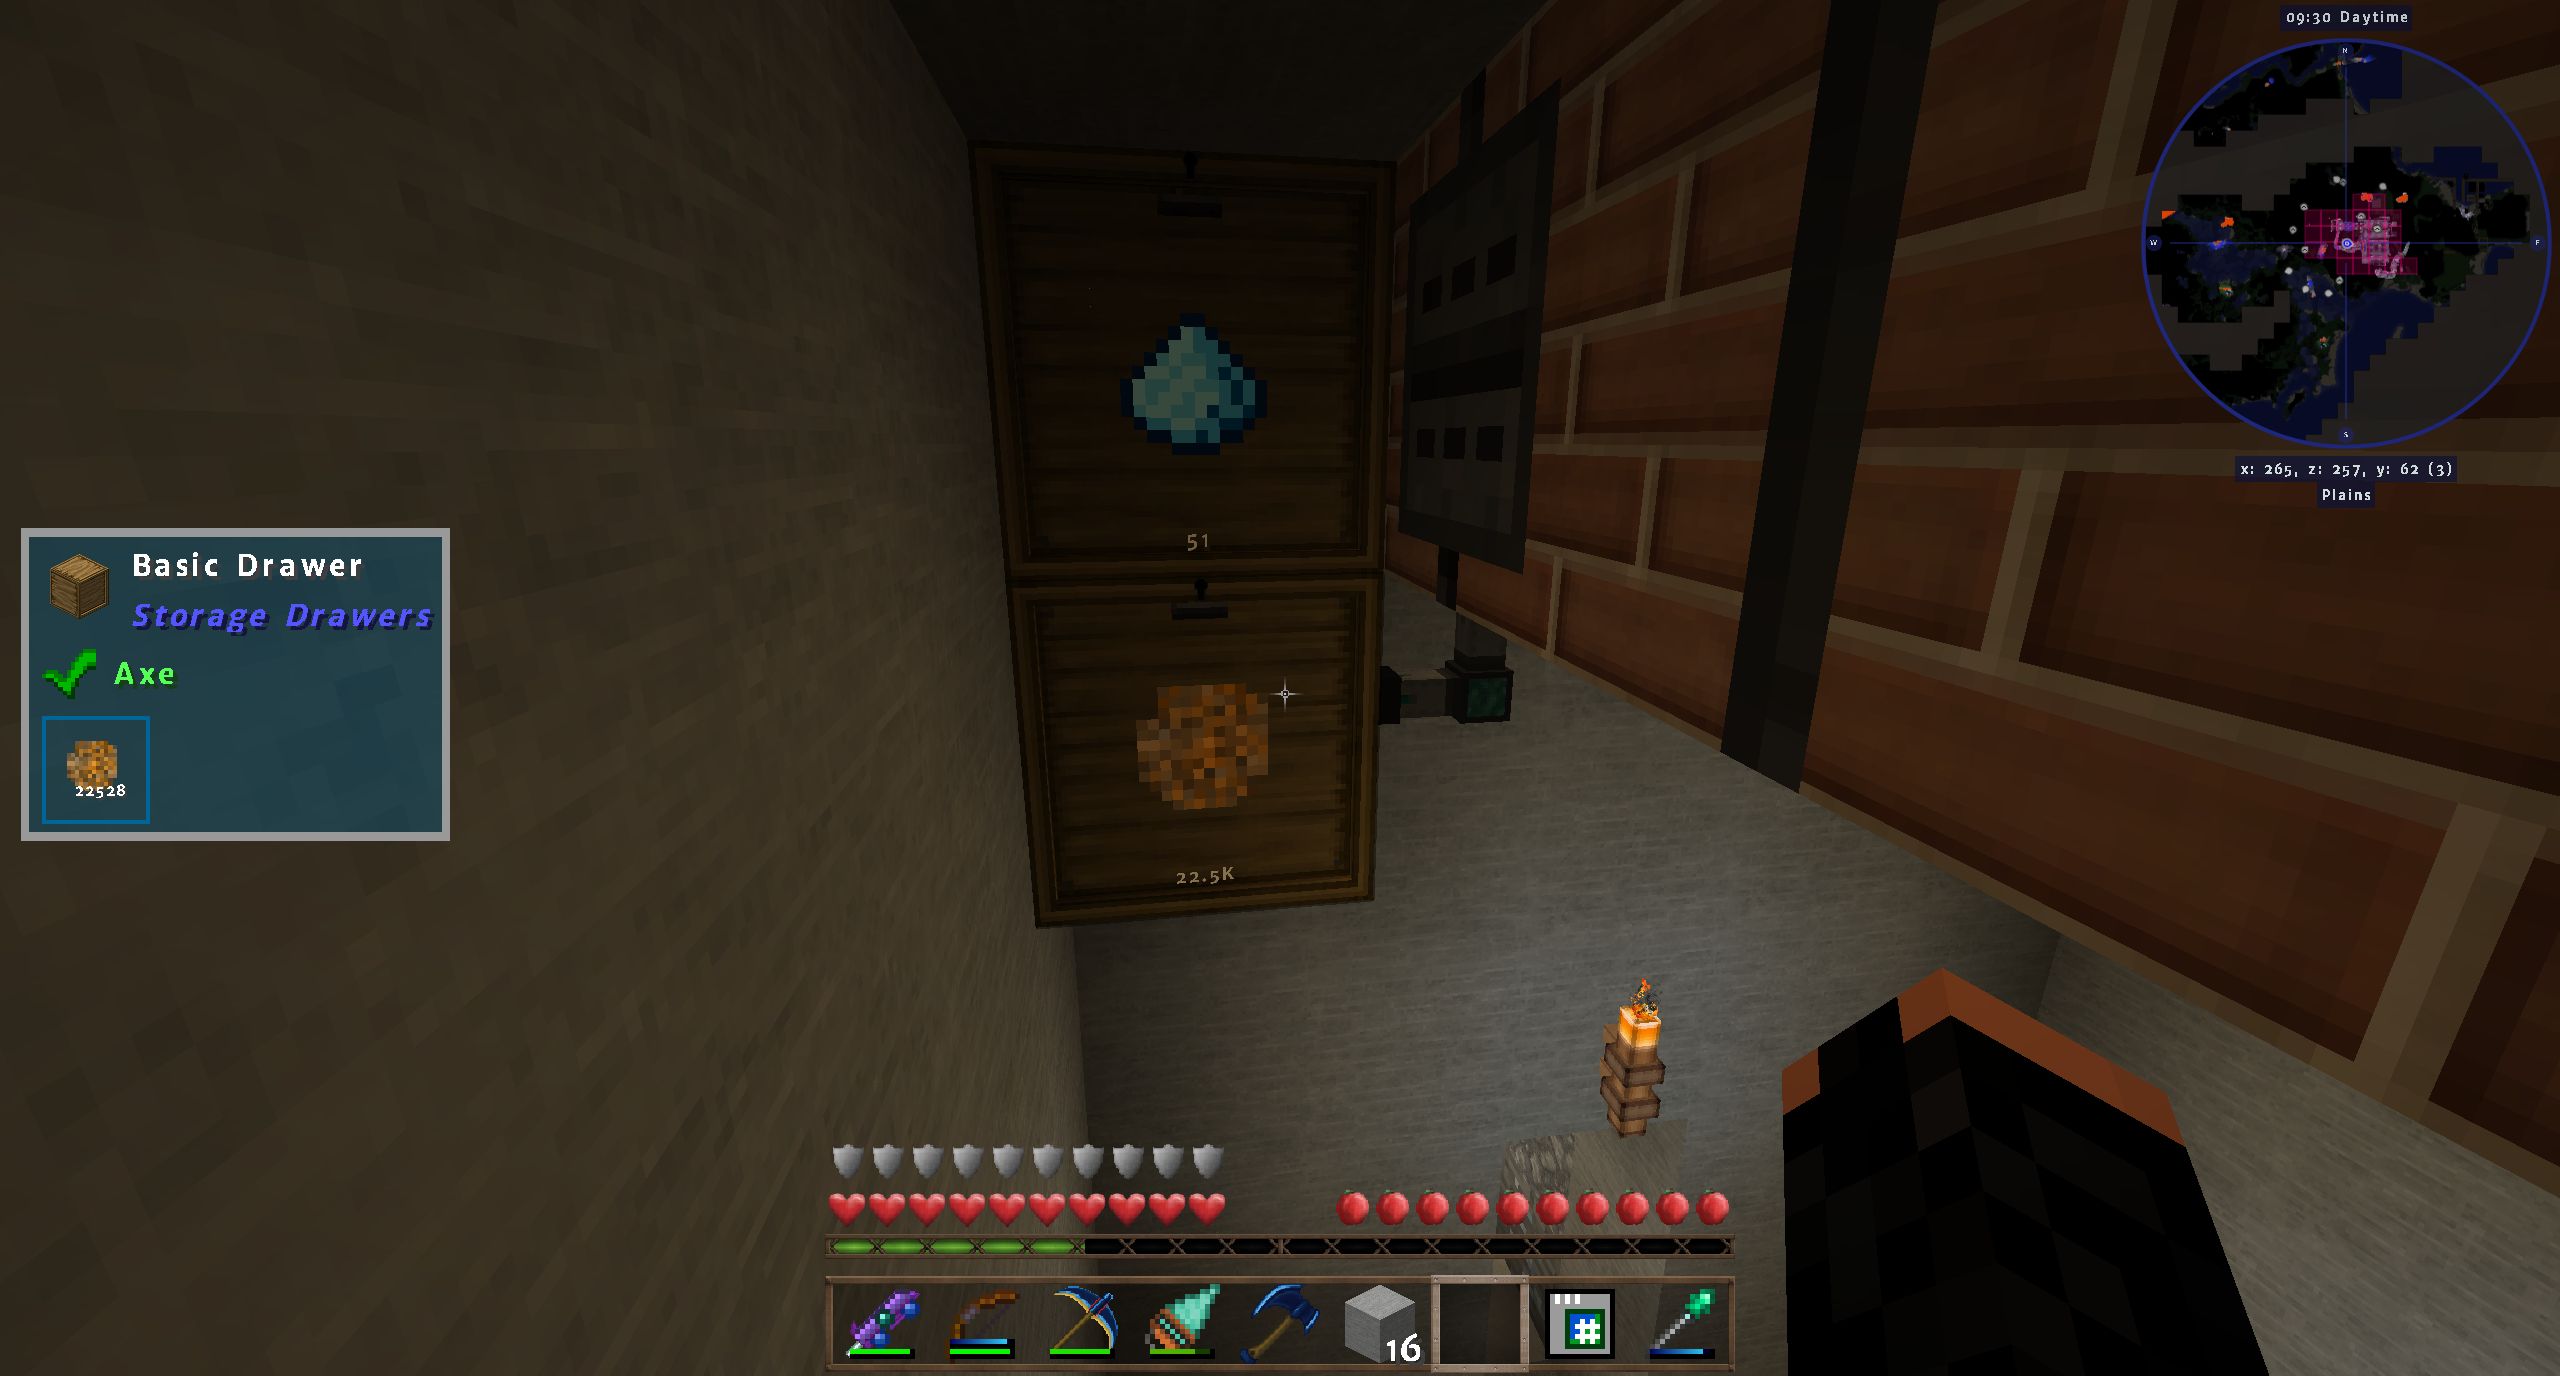
These drawers and the modular storage blocks store almost everything except my ores and two production facilities (string and ender pearls) I haven't integrated yet. An RFTools storage tablet connected with the storage scanner above the drawer controller provides remote access to everything and a crafting interface - from everywhere, incuding other dimensions! I suppose this will never get out of fashion since the AE2 remote interface is restricted by range and has no crafting interface - with the AE2 tablet you can only craft stuff for which a crafting pattern is installed.
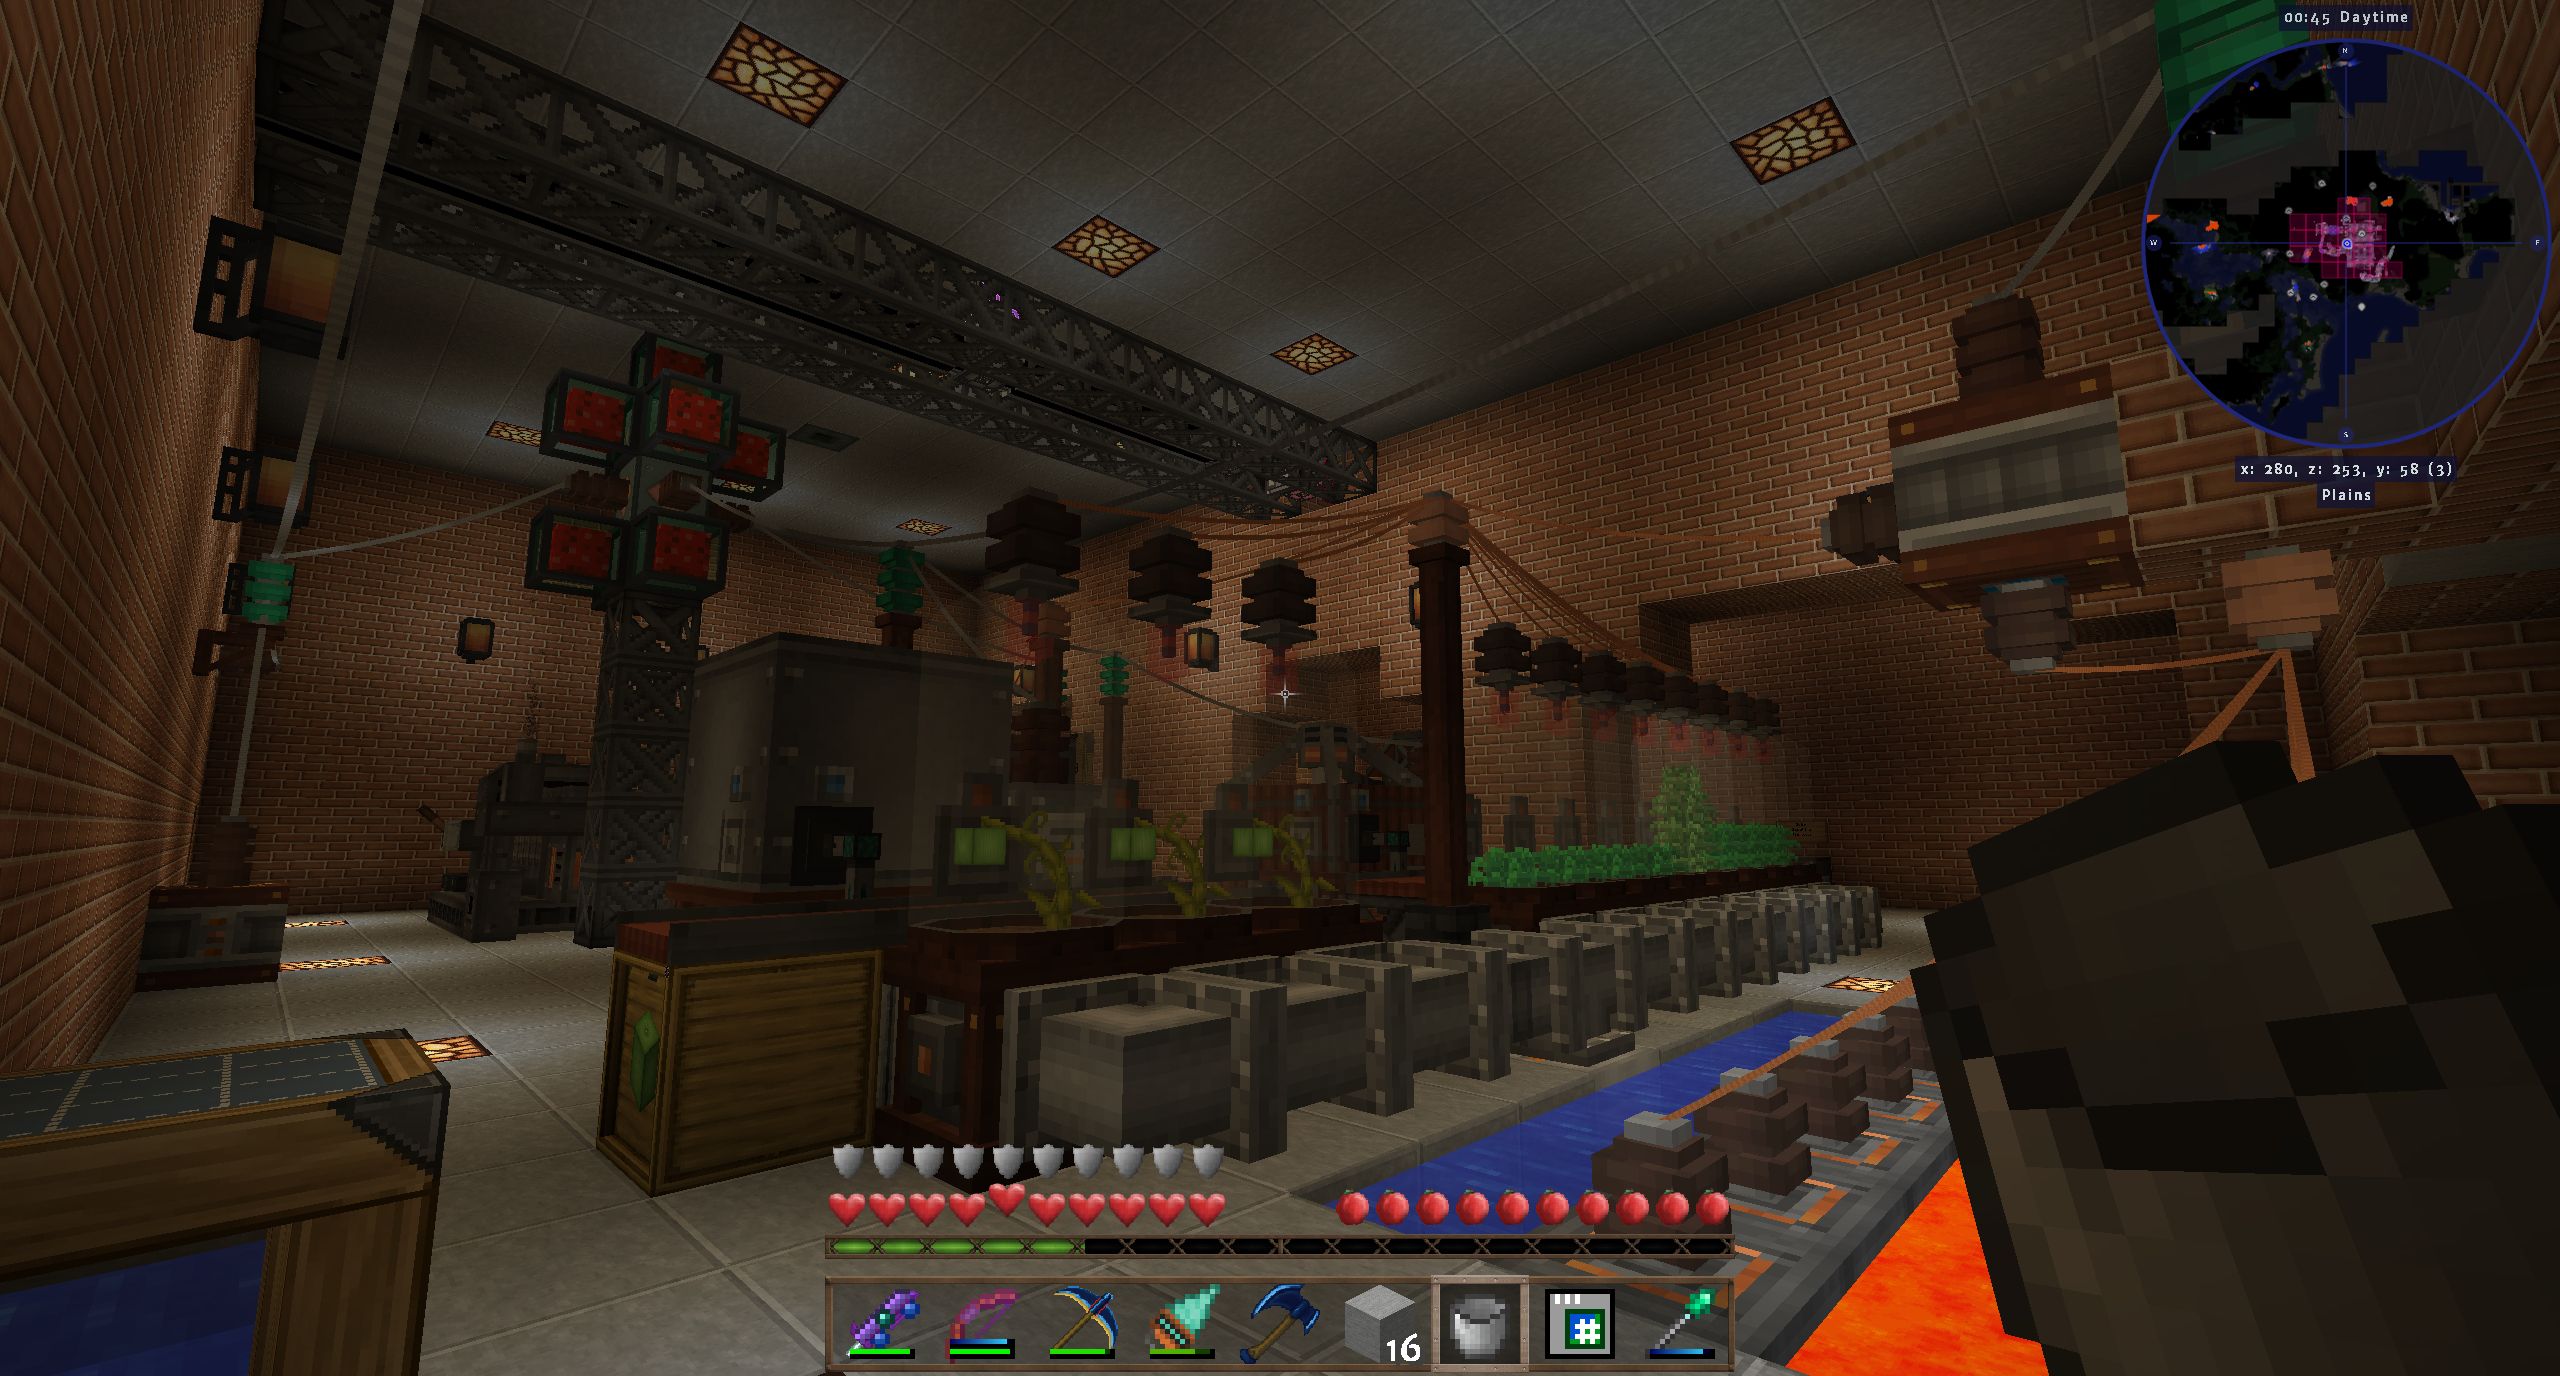
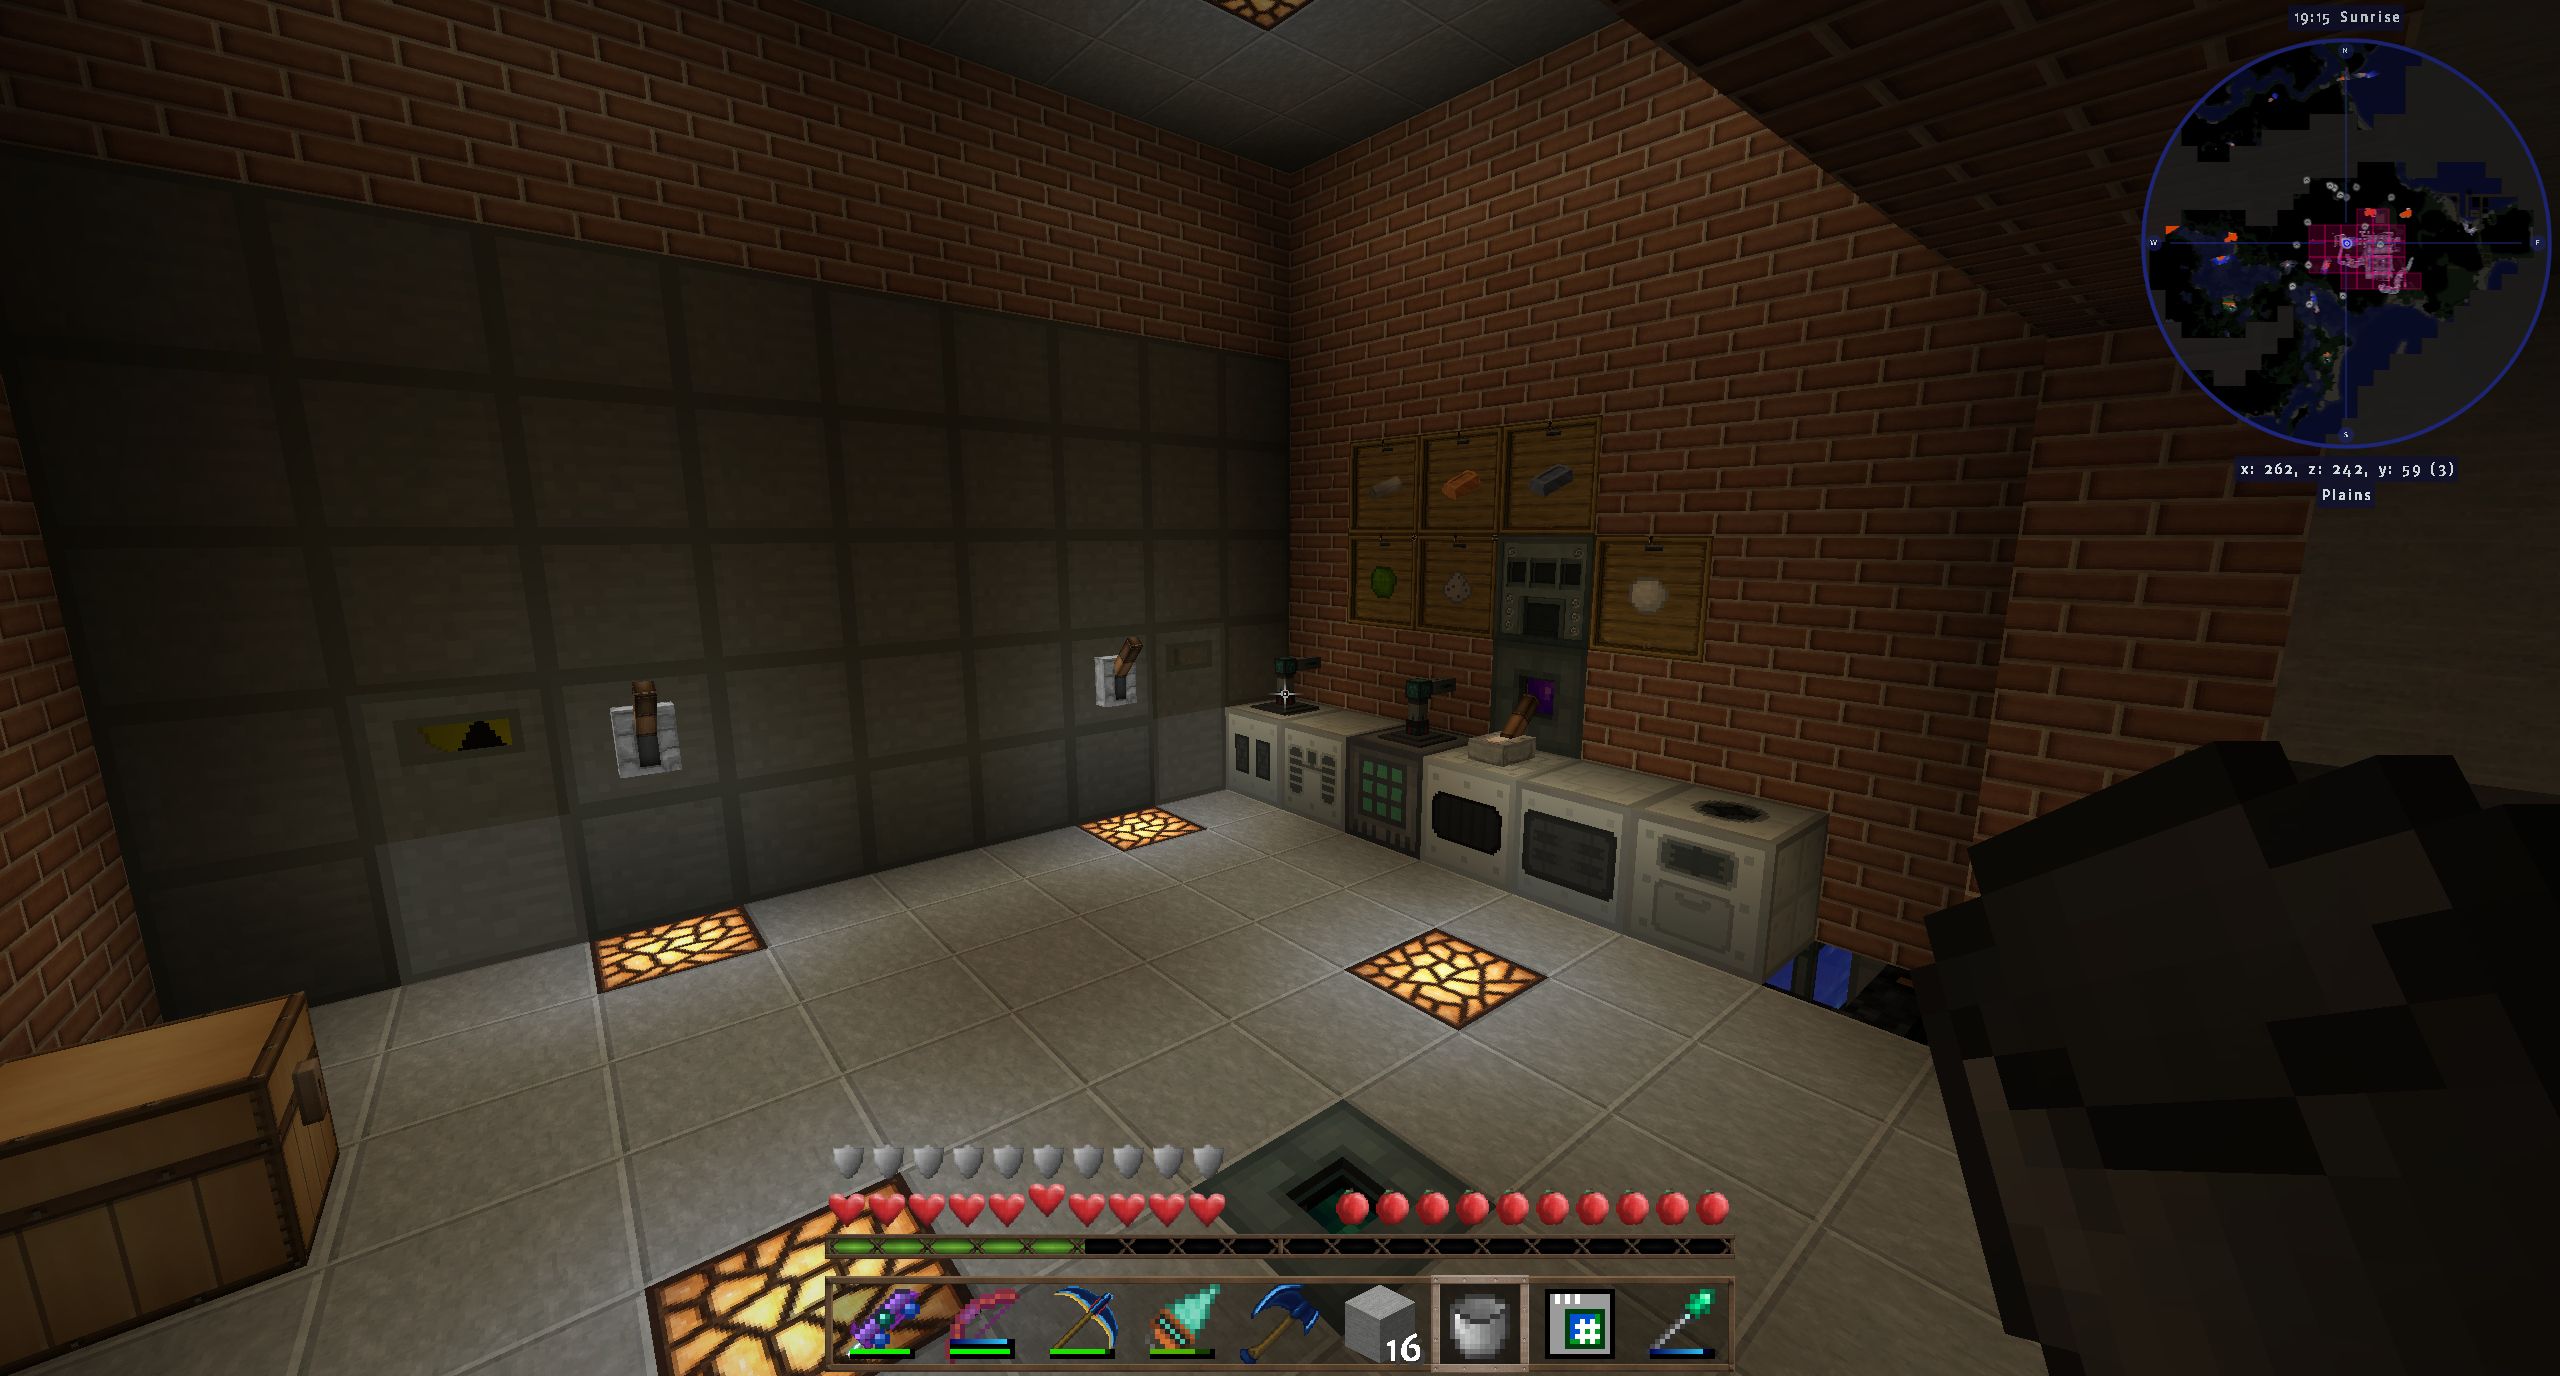
The lower picture gives you a look at my workplace. I tend to arrange machines in a U-shaped pattern around me for easy access. The IE metal press on the right is automated with a timer. I made the plates for my first HV solar array with it - among other things, 5120 iron plates, one every 2.5 seconds. It took a while.
The lava tank is a NeoTech Elite Tank and can hold 64B. Not that it matters all that much here, but what the NeoTech tank lacks in the EnderIO tank in flexibility it makes up for in capacity.
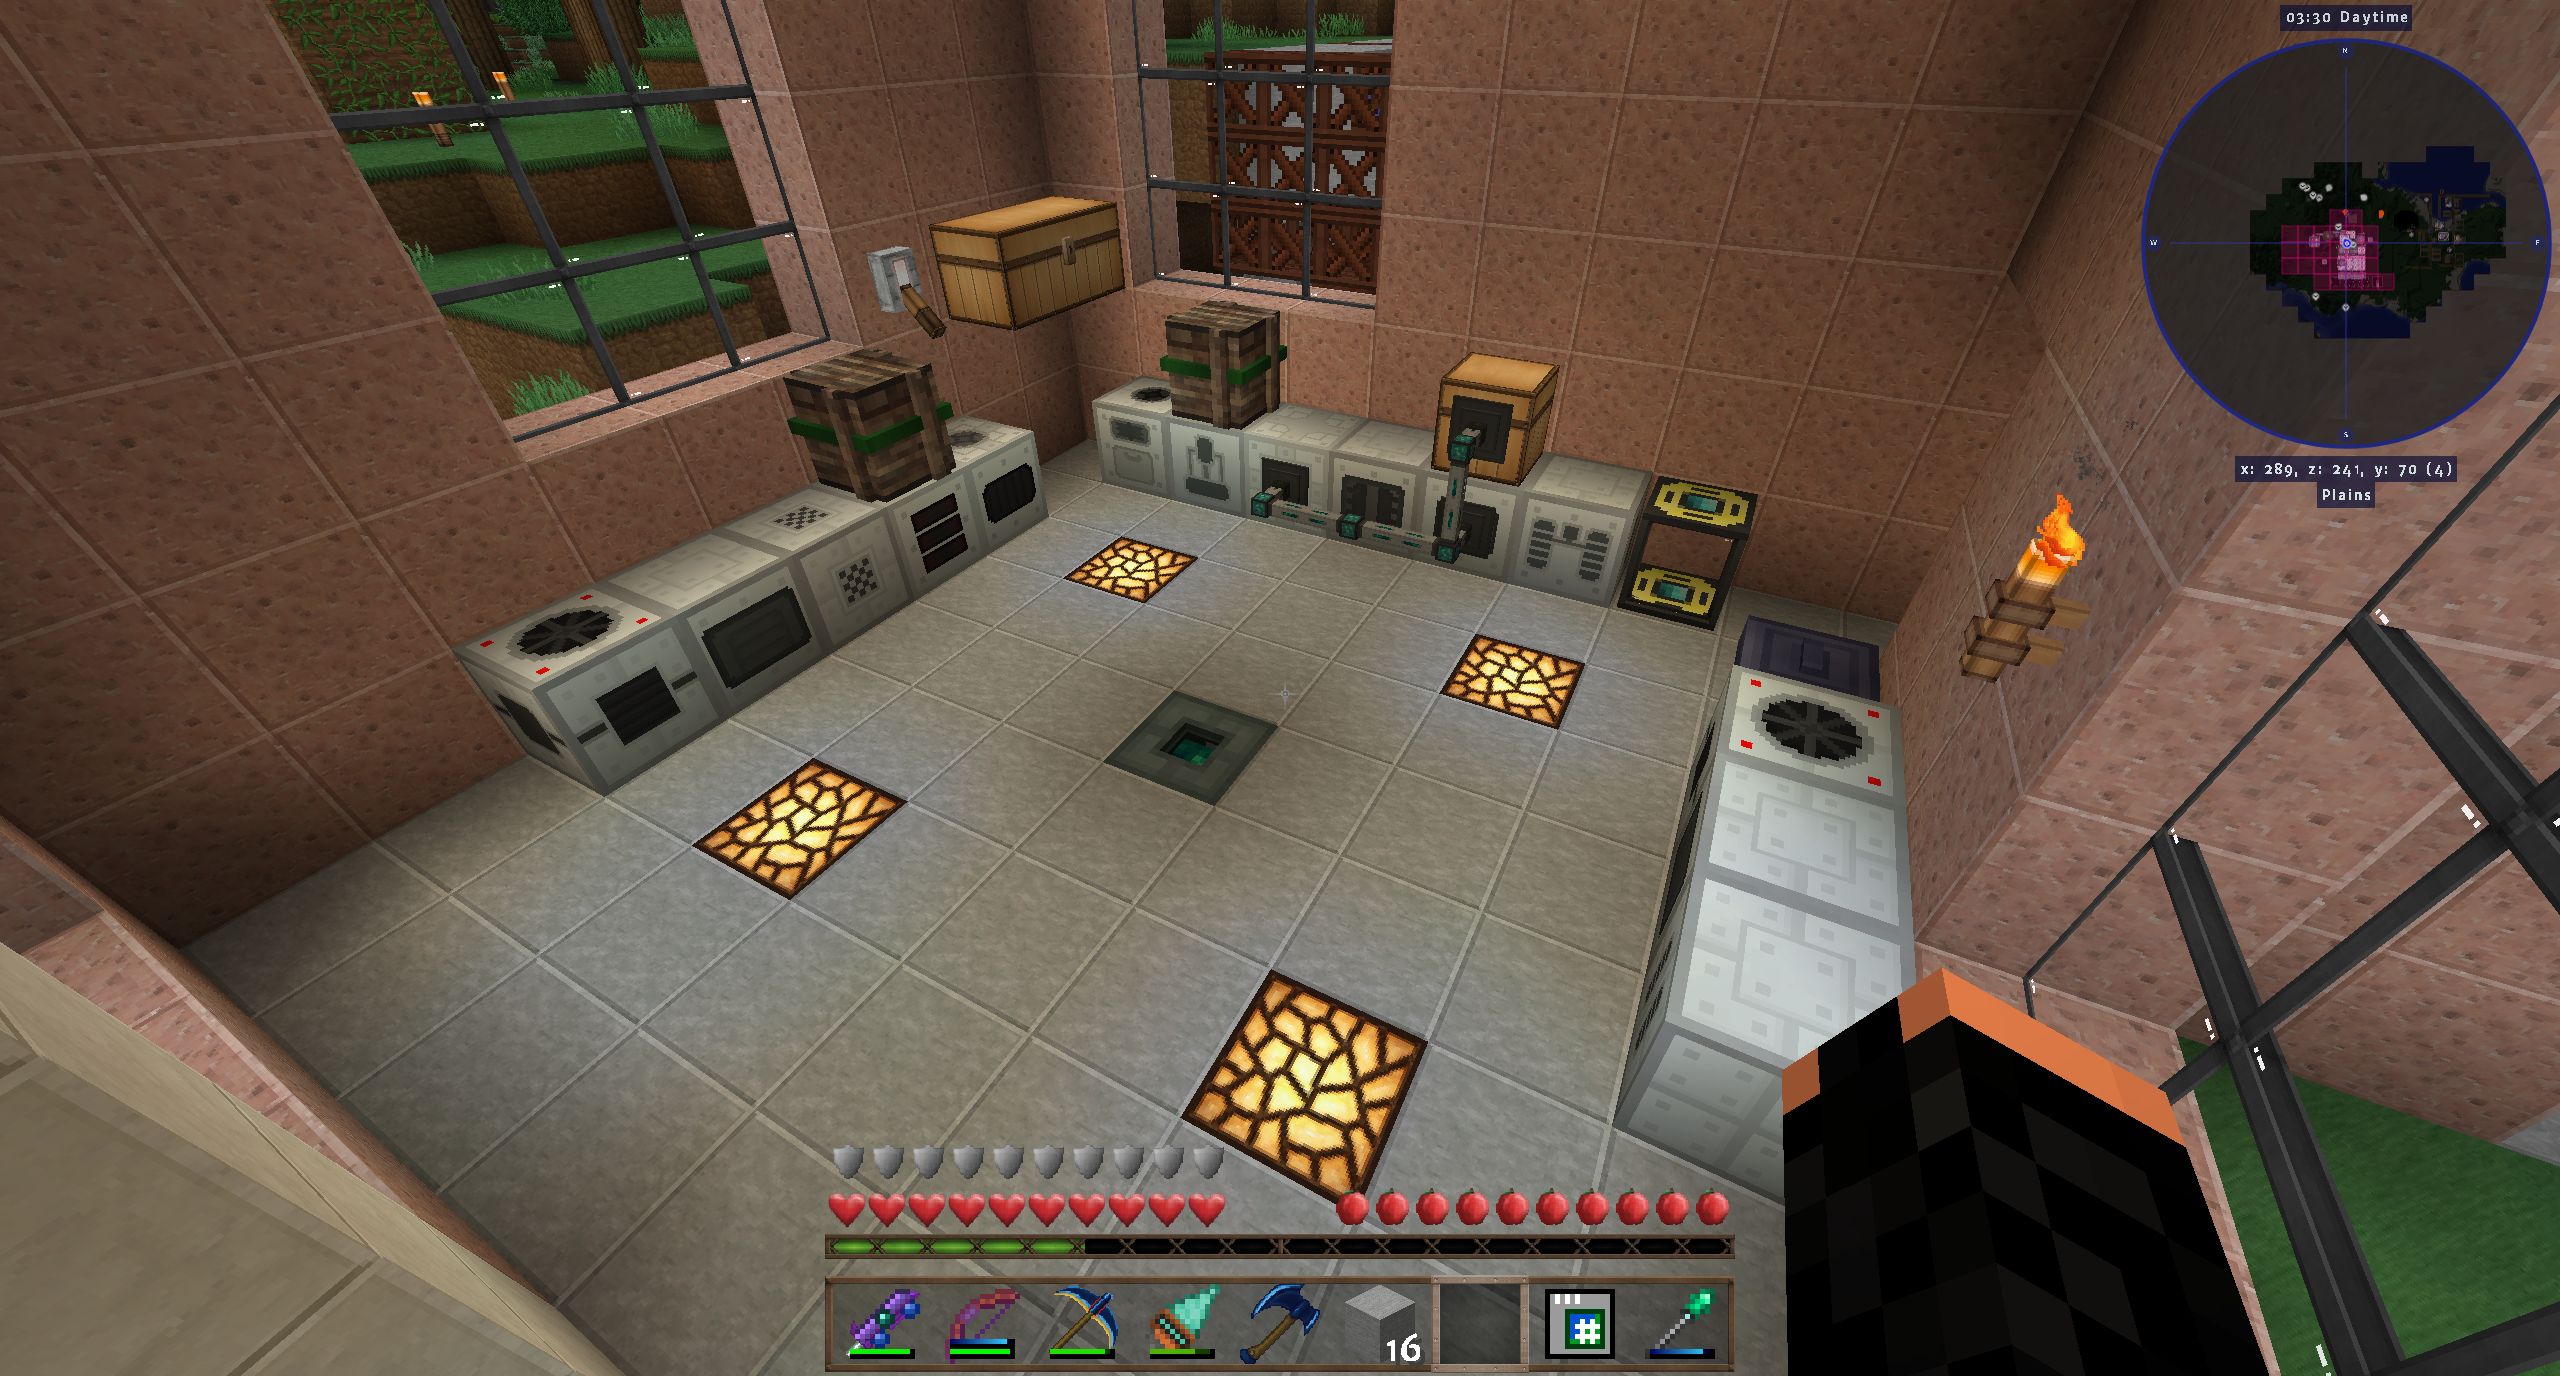
(3) Automation setups
The first picture shows my AE2 processor production setup. Automating the inscribers is standard procedure, but automating the carpenter(s) is tricky and in the end, rather unsatisfactory for now. Since the Calculator circuits don't stack, there is no way to make sure that every necessary circuit gets a place in a carpenter if you just pipe them in, so I used XU2 transfer filters with the "single item" option to make sure only one of each type gets inserted. However, that means I have to replace the extraction filters on the storage chamber every time I switch the processor type, since if I draw out more than one type through one transfer node I can't control which one the node will draw, and if it isn't one of the desired types it will block the pipe. The setup will work with batch processing - I tend to make processors by the stack - since the manual part is small compared to the production output, but I'm still not satisfied. Once I use AE2 interfaces I'll switch to a carpenter per circuit board type and interfaces, maybe that will help.
A word about Calculator circuits: if you fully upgrade the processing chambers, you'll get a circuit every 8 ticks, for a cost in power of approximately 7500 RF/t. I can only supply 5000 (the power cell's limit), but it's still fast enough that I filled my storage chamber for analysed circuits in a few hours with 1024 circuits of every type. You also get useful stuff Atomic Assemblies and Nether Stars - rarely, but I got my first one conveniently when I wanted to build my Wither Trap - so I never had to fight the Wither for the Nether Star required for the shield projector.
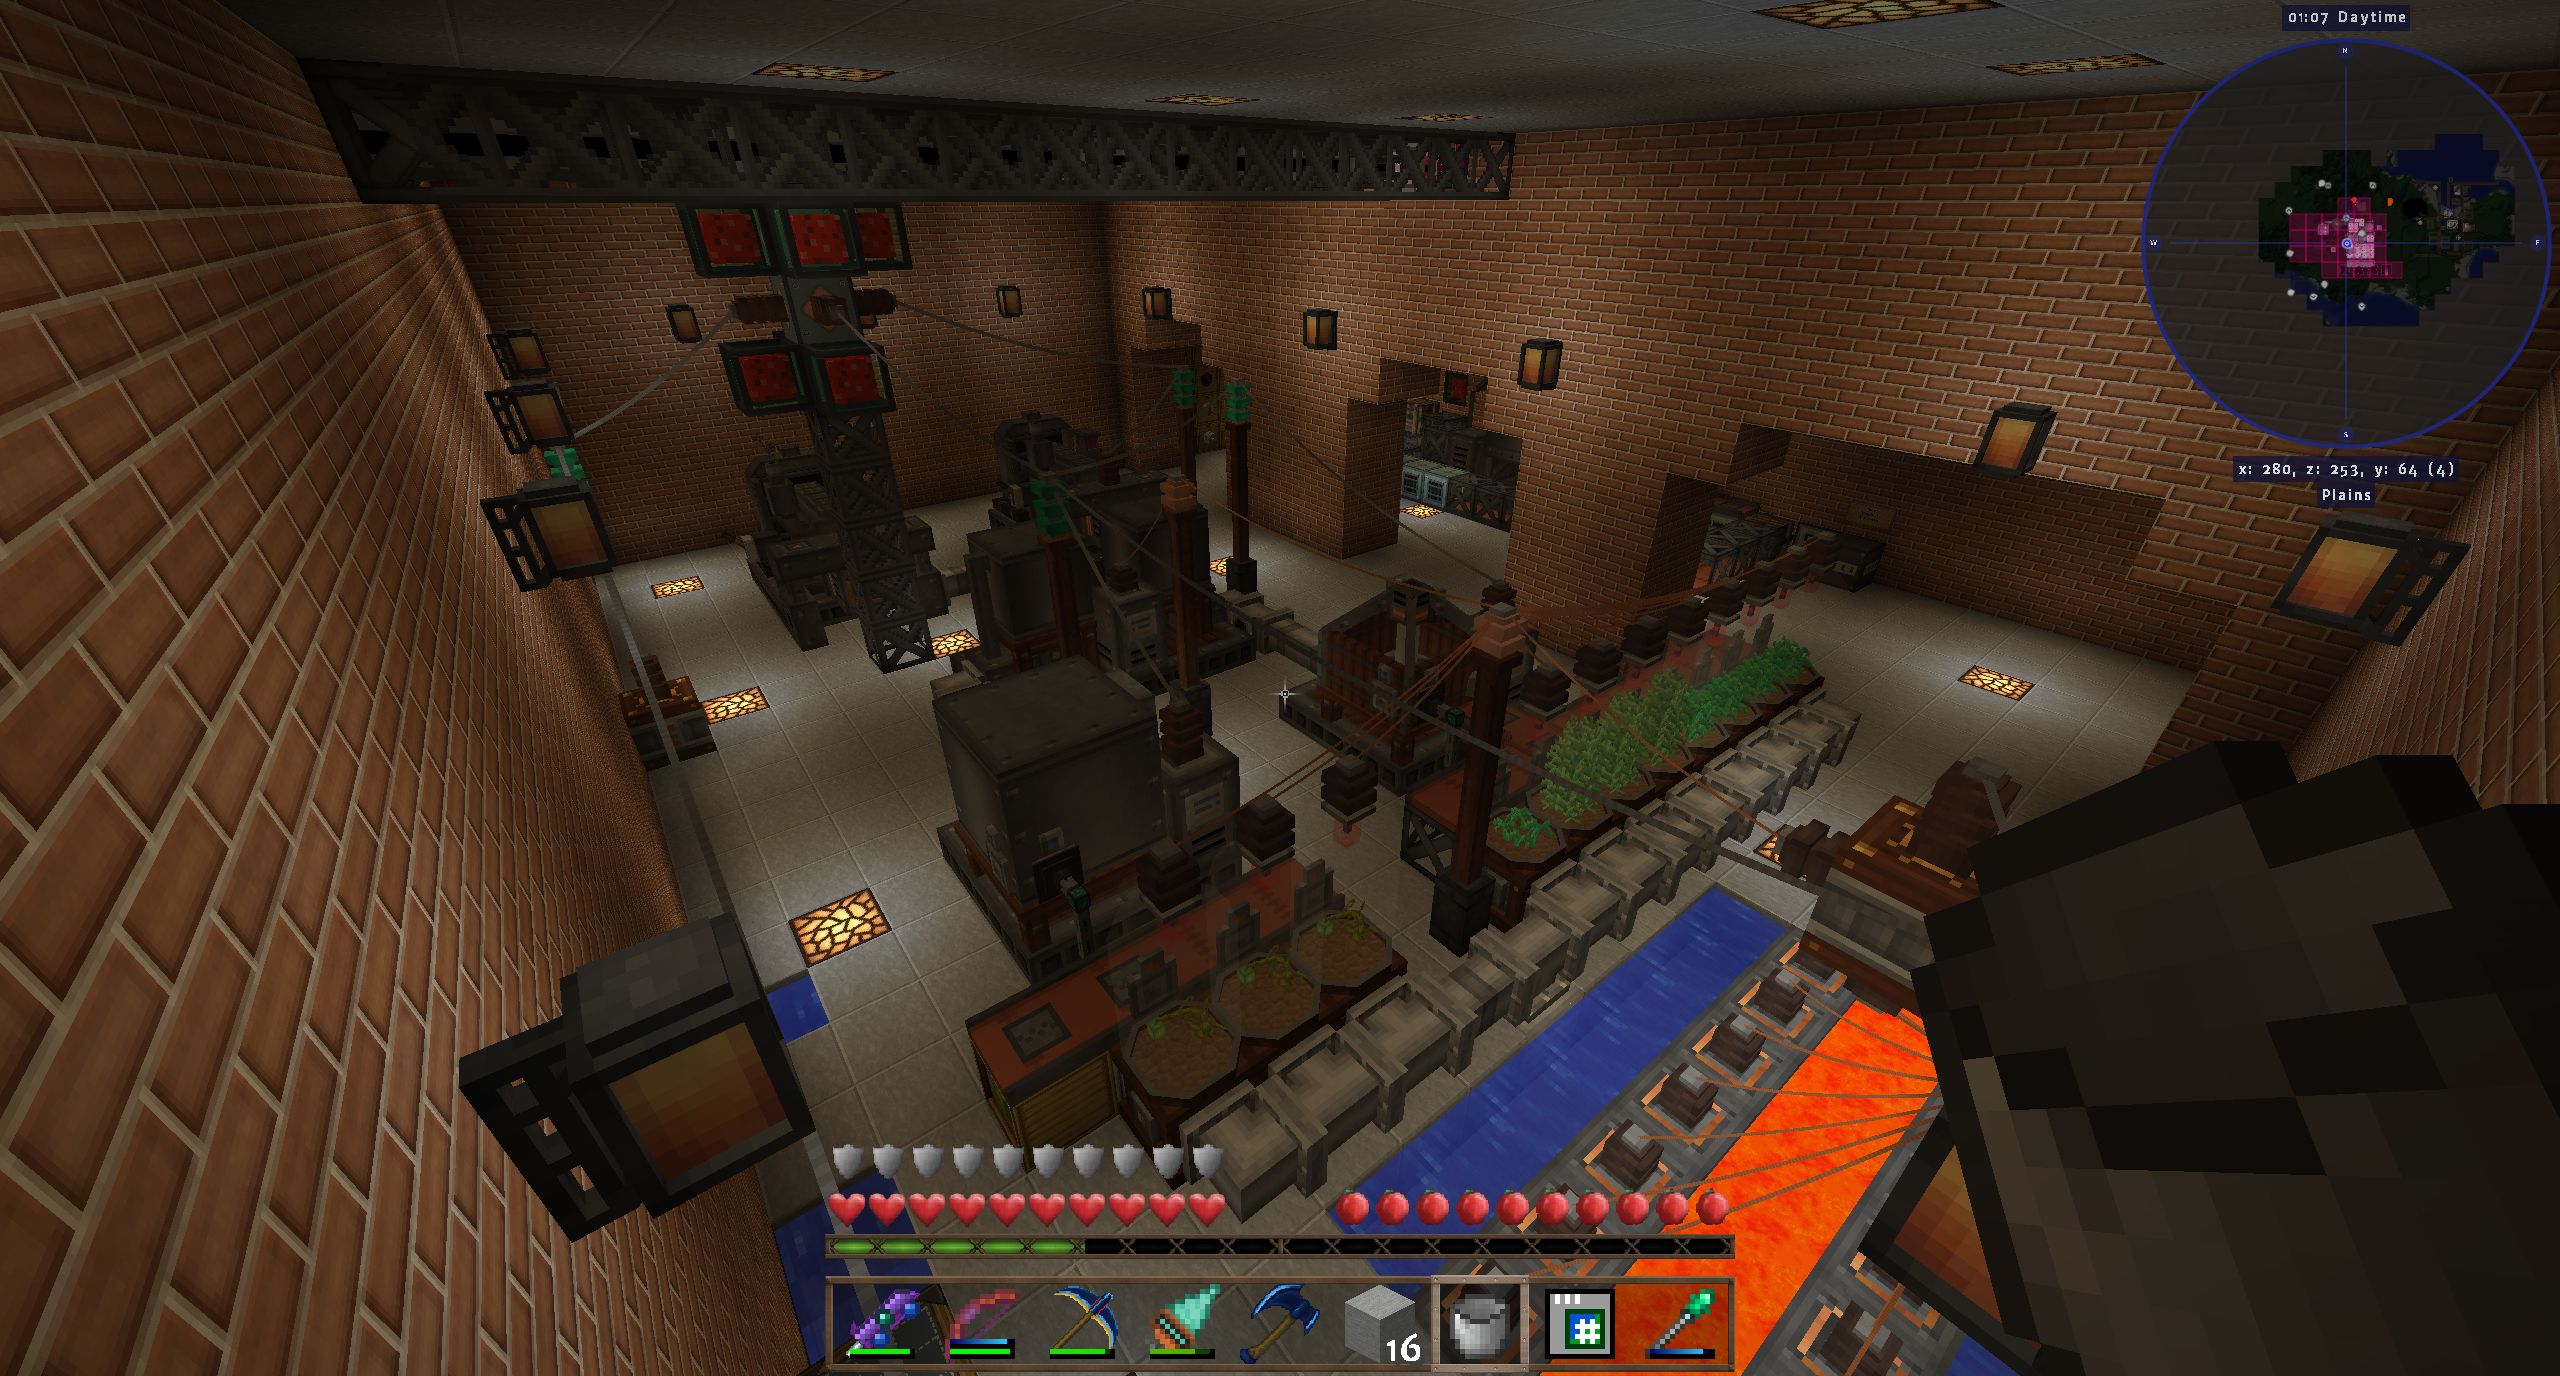
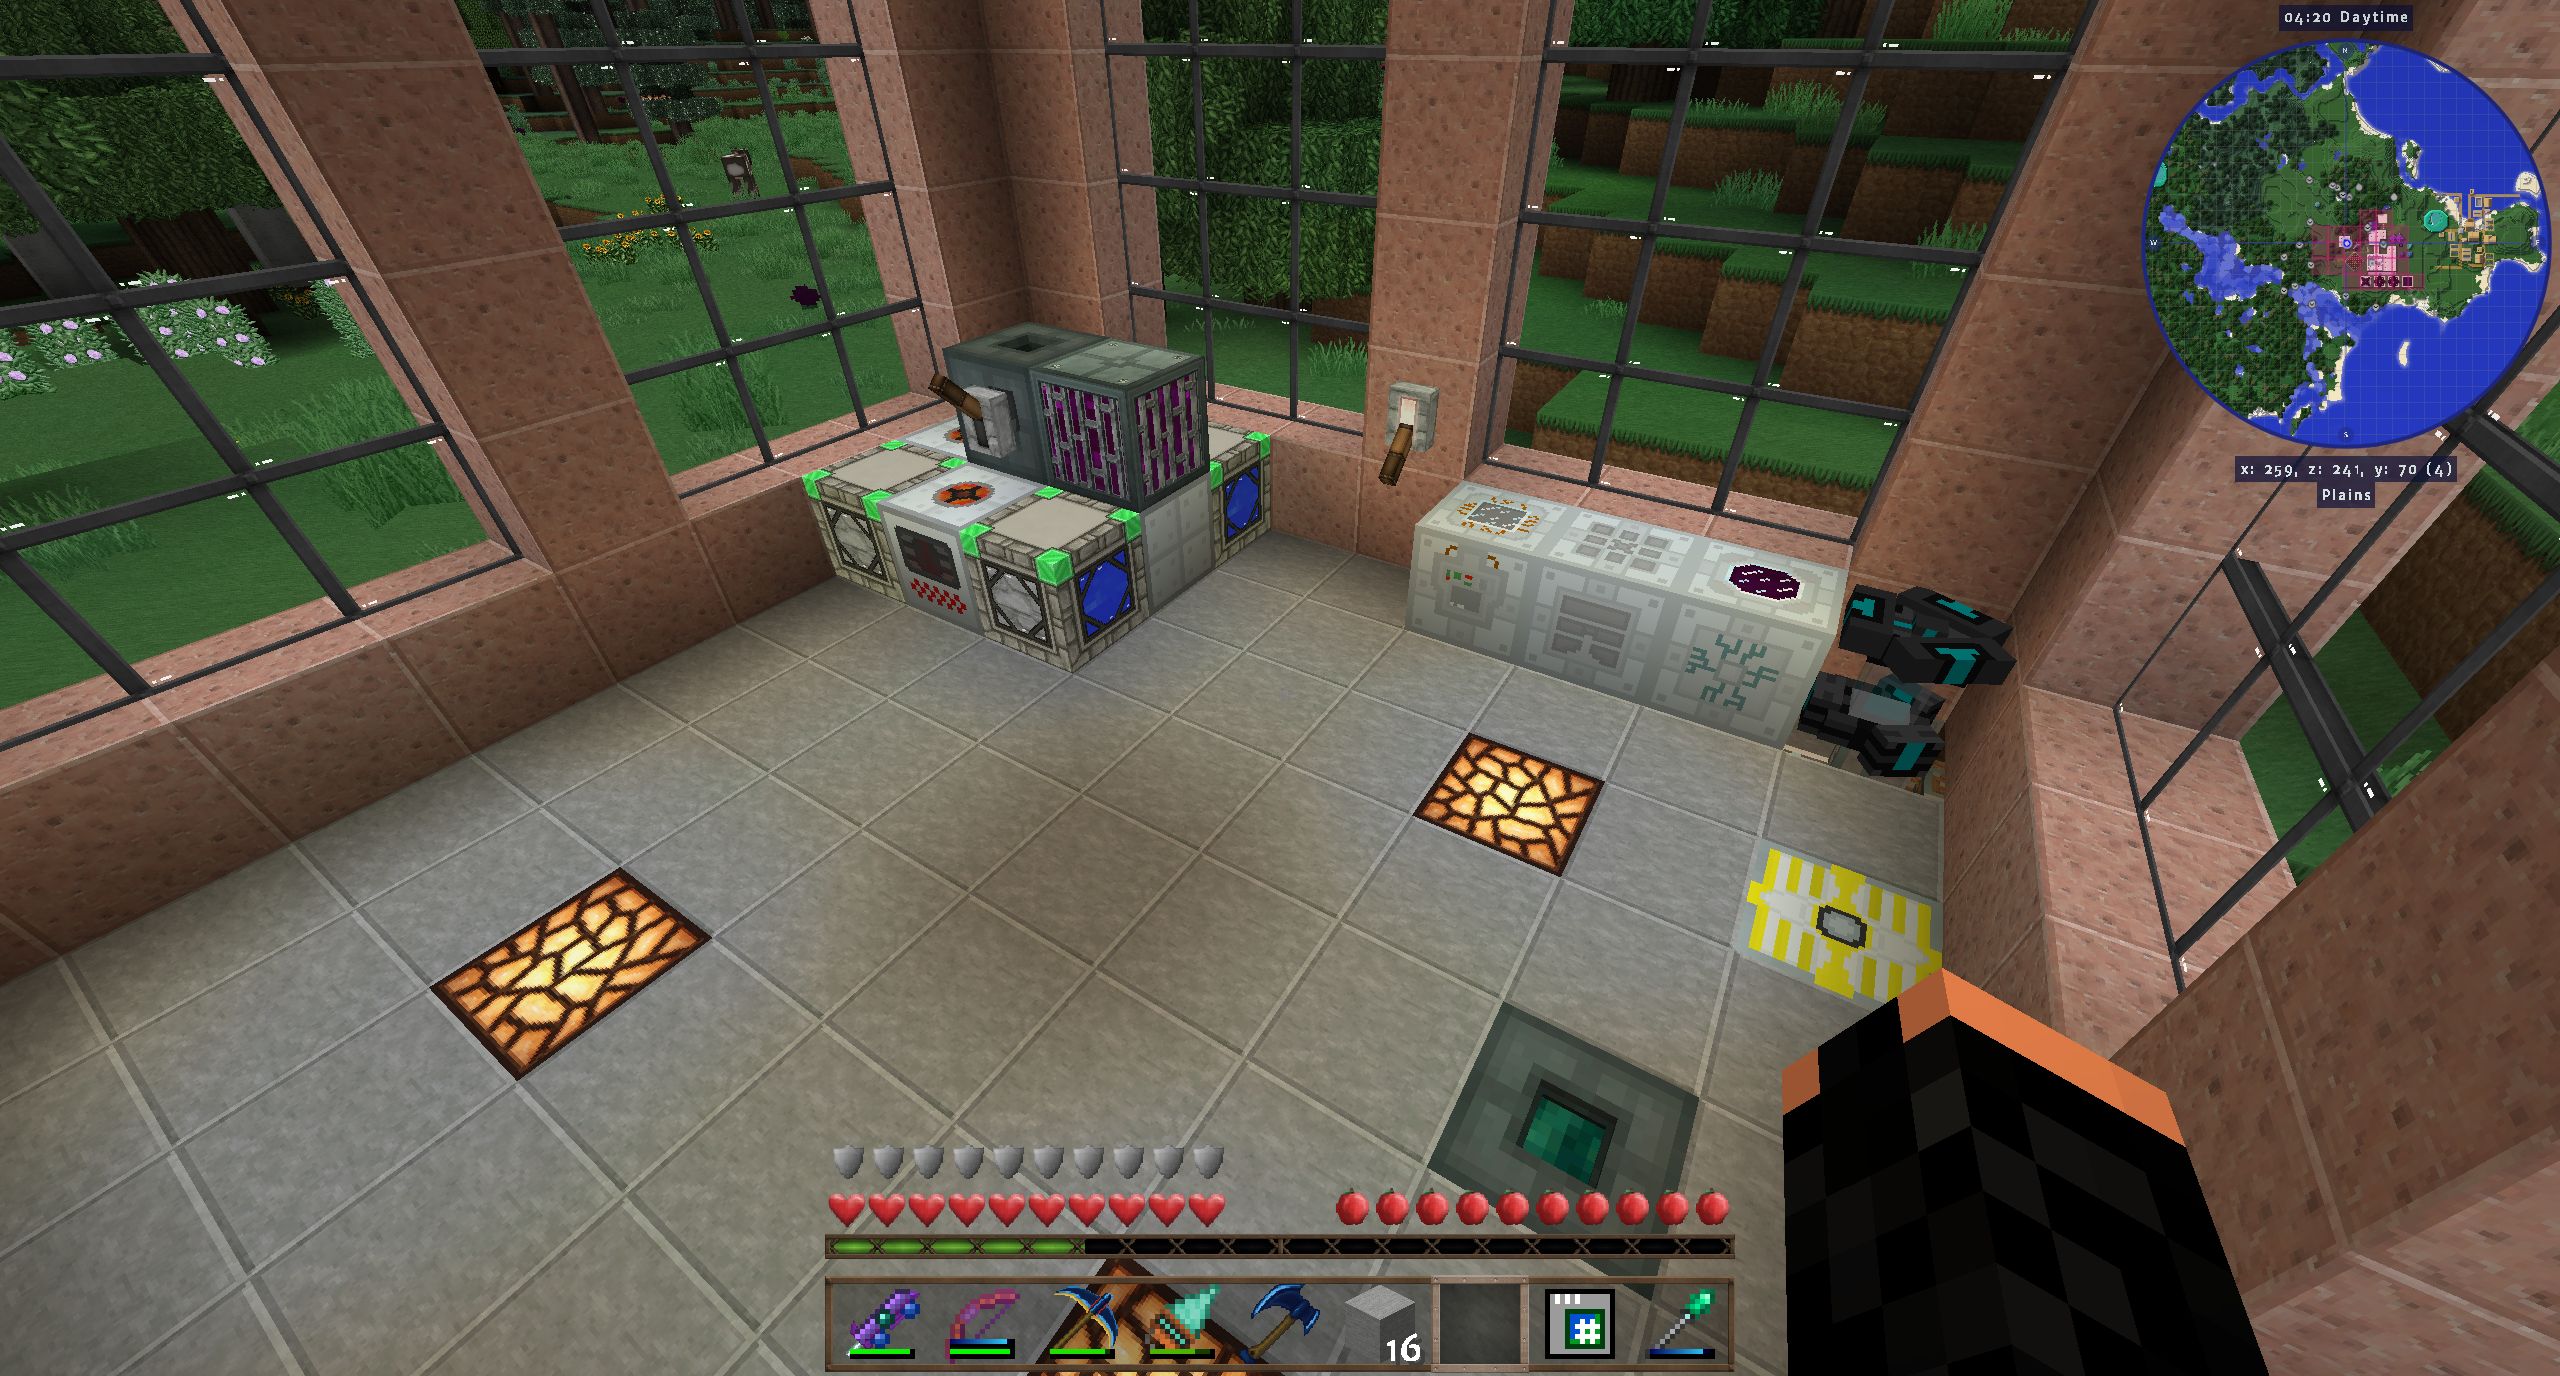
The second picture shows the empowerer setup - rather straightforward with hoppers and filtered conduits to draw stuff out. The clutter in the foreground stems from the time when I had to make machine chassis's and frames with the carpenter (these days I use UU-matter, thanks for that!). The cloche makes canola seeds for seed oil. In the background you see my XU2 power production - 16 water mills arranged in the most efficient pattern which is infinitely extendable.
(4) The Reactor
This is my reactor and my fully automated uranium processing and recycling facility. I have two 420 EU/t reactors (design taken from RagePlaysGames' Surviving with IndustrialCraft videos). Since I hate having to switch to the hazmat suite, I made a facility where you only have to put uranium ore into the macerather and make sure the iron and copper supply doesn't run out, and everything else happens automatically, from making new fuel rods to switching the depleted ones and recycling everything. There are two more metal formers behind the one you can see - one makes iron plates, one makes copper plates, and the one you can see makes empty fuel rods from iron plates. The RFTools crafter crafts the U235 and U238 into enriched uranium, the tiny piles of dust that some processes make into dusts which can be smelted, the small plutonium pieces and the single fuel rods that come back from the canning machine into quad fuel rods. All iron is recycled as much as the processes allow, and I only need to don the hazmat suit if I want to do something with the plutonium. Heh, I guess saying "I have plutonium in my drawer" would drive people through the roof IRL, LOL.
(5) Production and Spawning
The first picture shows the entrance to my EnderIO spawner room. I had a Zombie spawner running for some time to make heads for z-logic controllers as well as lots of rotten flesh, which together with the sugar from the cloche makes the Nutrient distillation needed by the Killer Joe. Conveniently in Age 6, I had this already set up when I needed it for the machine frames

. The Ender chest routes everything that isn't rotten flesh to the main storage facility while voiding useless stuff like stone swords from Wither Skeletons. I have a EIO spawners for Zombies, Wither Skeletons, Endermen and Blazes, although now I use the Enderman spawner only for Enderman soul vials.
The second picture shows the entrance to the Enderman Spawner room. I now have a Resturbed Spawner here, and it's rather more efficient than expected with some speed upgrades. The container for the Ender Pearls is a Mekanism Basic Bin (which you can craft without Mekanism machines), which I use because it doesn't care about stacking limits (which is why I used them for Calculator circuits before I could make storage chambers). The cloche at the side is inconveniently-placed, but I needed string for wool for AE2 covered cables fast.
(6) The Power Room
This is my Immersive Engineering power room. three melon cloches and eight industrial hemp cloches feed a fermenter and an industrial squeezer, whose output gets combined into biodiesel in the refinery, enough to feed two Diesel Generators for a net total of 6900 RF/t. The squeezer and the Fermenter use 640 RF/t each. The thermoelectric generators existed for bootstrapping the system at the first start, and in case it runs out of power completely, but it is not needed anymore since I now have the Environmental Tech solar array.
The structure with the three Vibrant Capacitors and the power cells is my power distribution hub, capable of distributing up to 33kRF/t. At the moment, I'm generating about 22.5 kRF/t during the day (6.9 kRF/t from the Diesel Generators and 15.6 kRF/t from the tier 3 solar array), which actually isn't enough to power everything I have at the same time, but more than enough almost all of the time. I have two networks of RFTools power cells, one for power in, connected to the hub at the lower end, and one for power out, connected at the upper end. The empowered diamantine I need for the link cards is one of the most annoying things to make, but totally worth it.
The steel scaffolding at the ceiling is decorative - I want this room to retain a retro-industrial look but since it doesn't look good at height 7 (which would leave me space to hide the AE2 cable in the double ceiling like everywhere else) the AE2 network backbone cable would be too visible otherwise. The AE2 room is directly above.
In the background you can see my ore processing setup whose picture I have forgotten it appears.
(7) Mining and Ore Processing
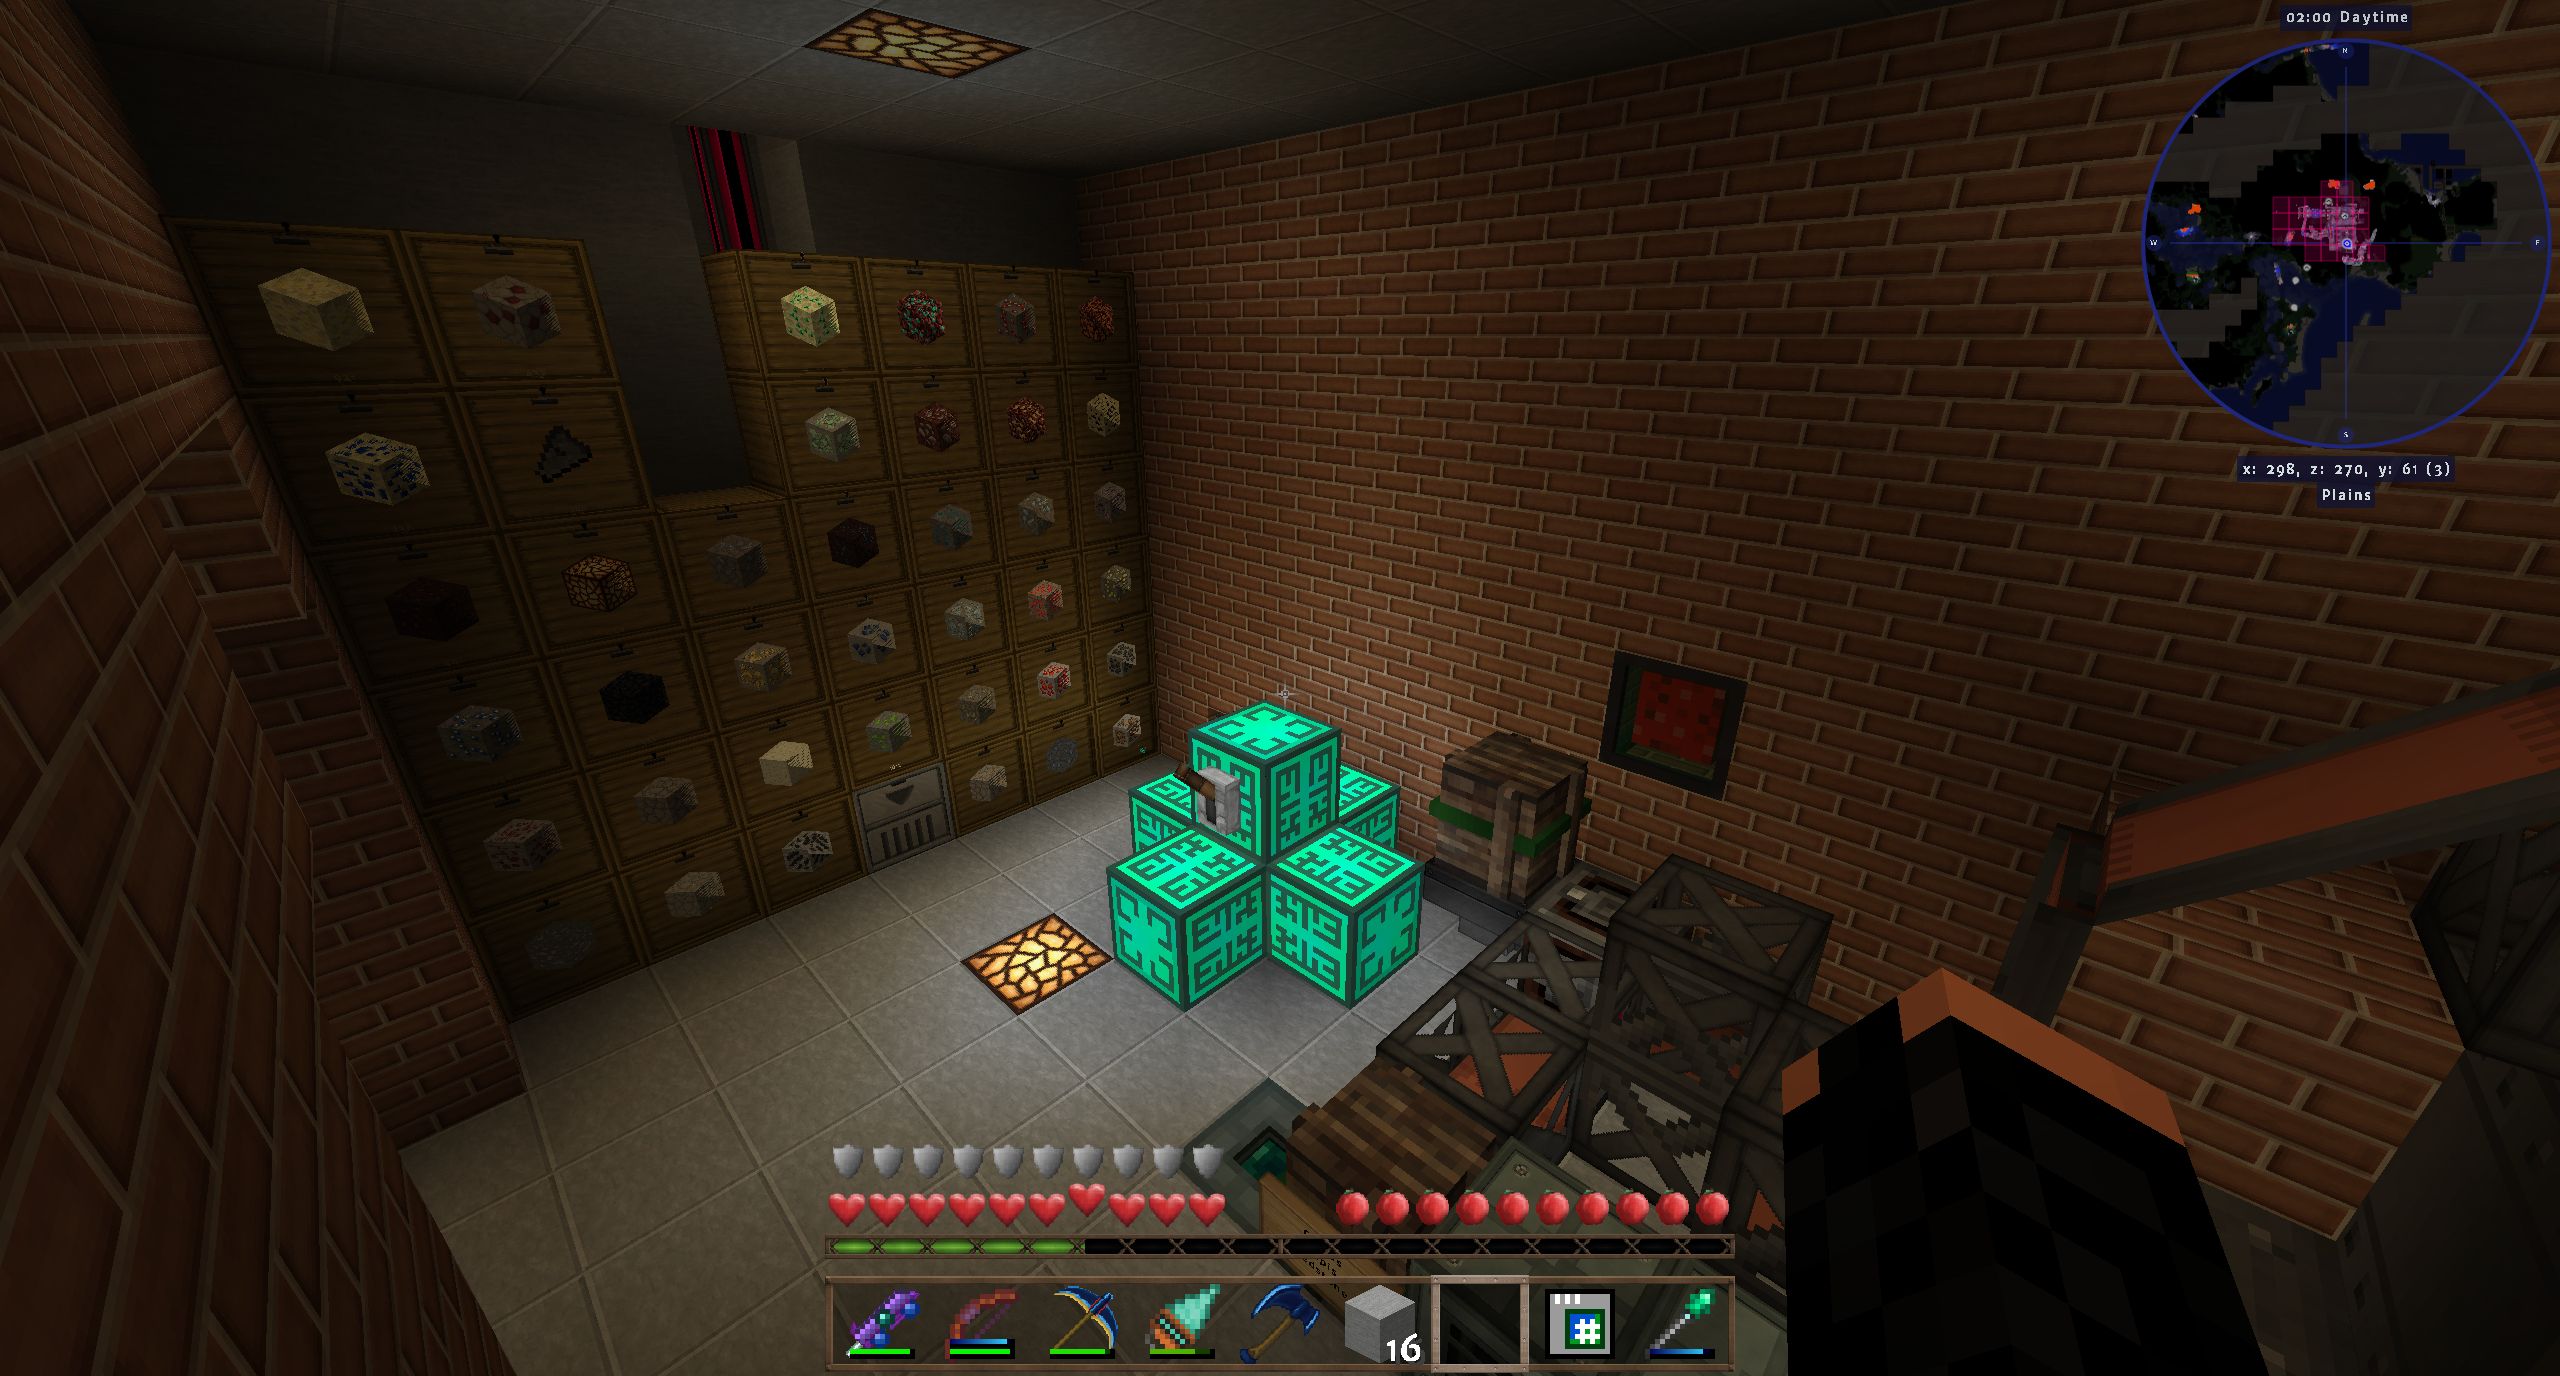
Here's my other "wall of drawers". I have three methods of mining - the RFtools builder set up in the mining world, the Void Ore miner outside, and this Quantum quarry (which cost the staggering amount of 96 pieces of iridium ore to make, among other things). You can also see the side of my ore processing facility, consisting of an Immersive Engineering Crusher, three SAG mills for ores the Crusher isn't optimal to process (SAG-milling Certus Ore will give you the crystals, Crushing them will only yield dust), three Alloy Smelters and a setup with an auto-placer and an XU mechanical user filled with a Fortune'd pick for ruby, sapphine and benitoite, all connected through IE conveyor belts and item routers. End products like ingots and dusts will be routed to the main storage system by Ender Chest. Having said that, I have too much stuff to process it all. Since I had to mine extensively for the insane amount of gold and diamonds that went into the Environmental Tech stuff, I have rather too much of the less rare metals.
Speaking of mining, the RFTools miner is about 15 times as fast as a tier 3 Void Ore Miner with 8 speed upgrades or the quantum quarry, and with the proper storage filter it doesn't use more power than the quantum quarry. It can't Silk Touch in this pack (or rather, not until it doesn't matter anymore), which is admittedly hugely annoying, less for the resources but for the added sorting complexity, but the Void Ore Miner does make up for it since you can mine more goal-oriented with it.
(8) IndustrialCraft
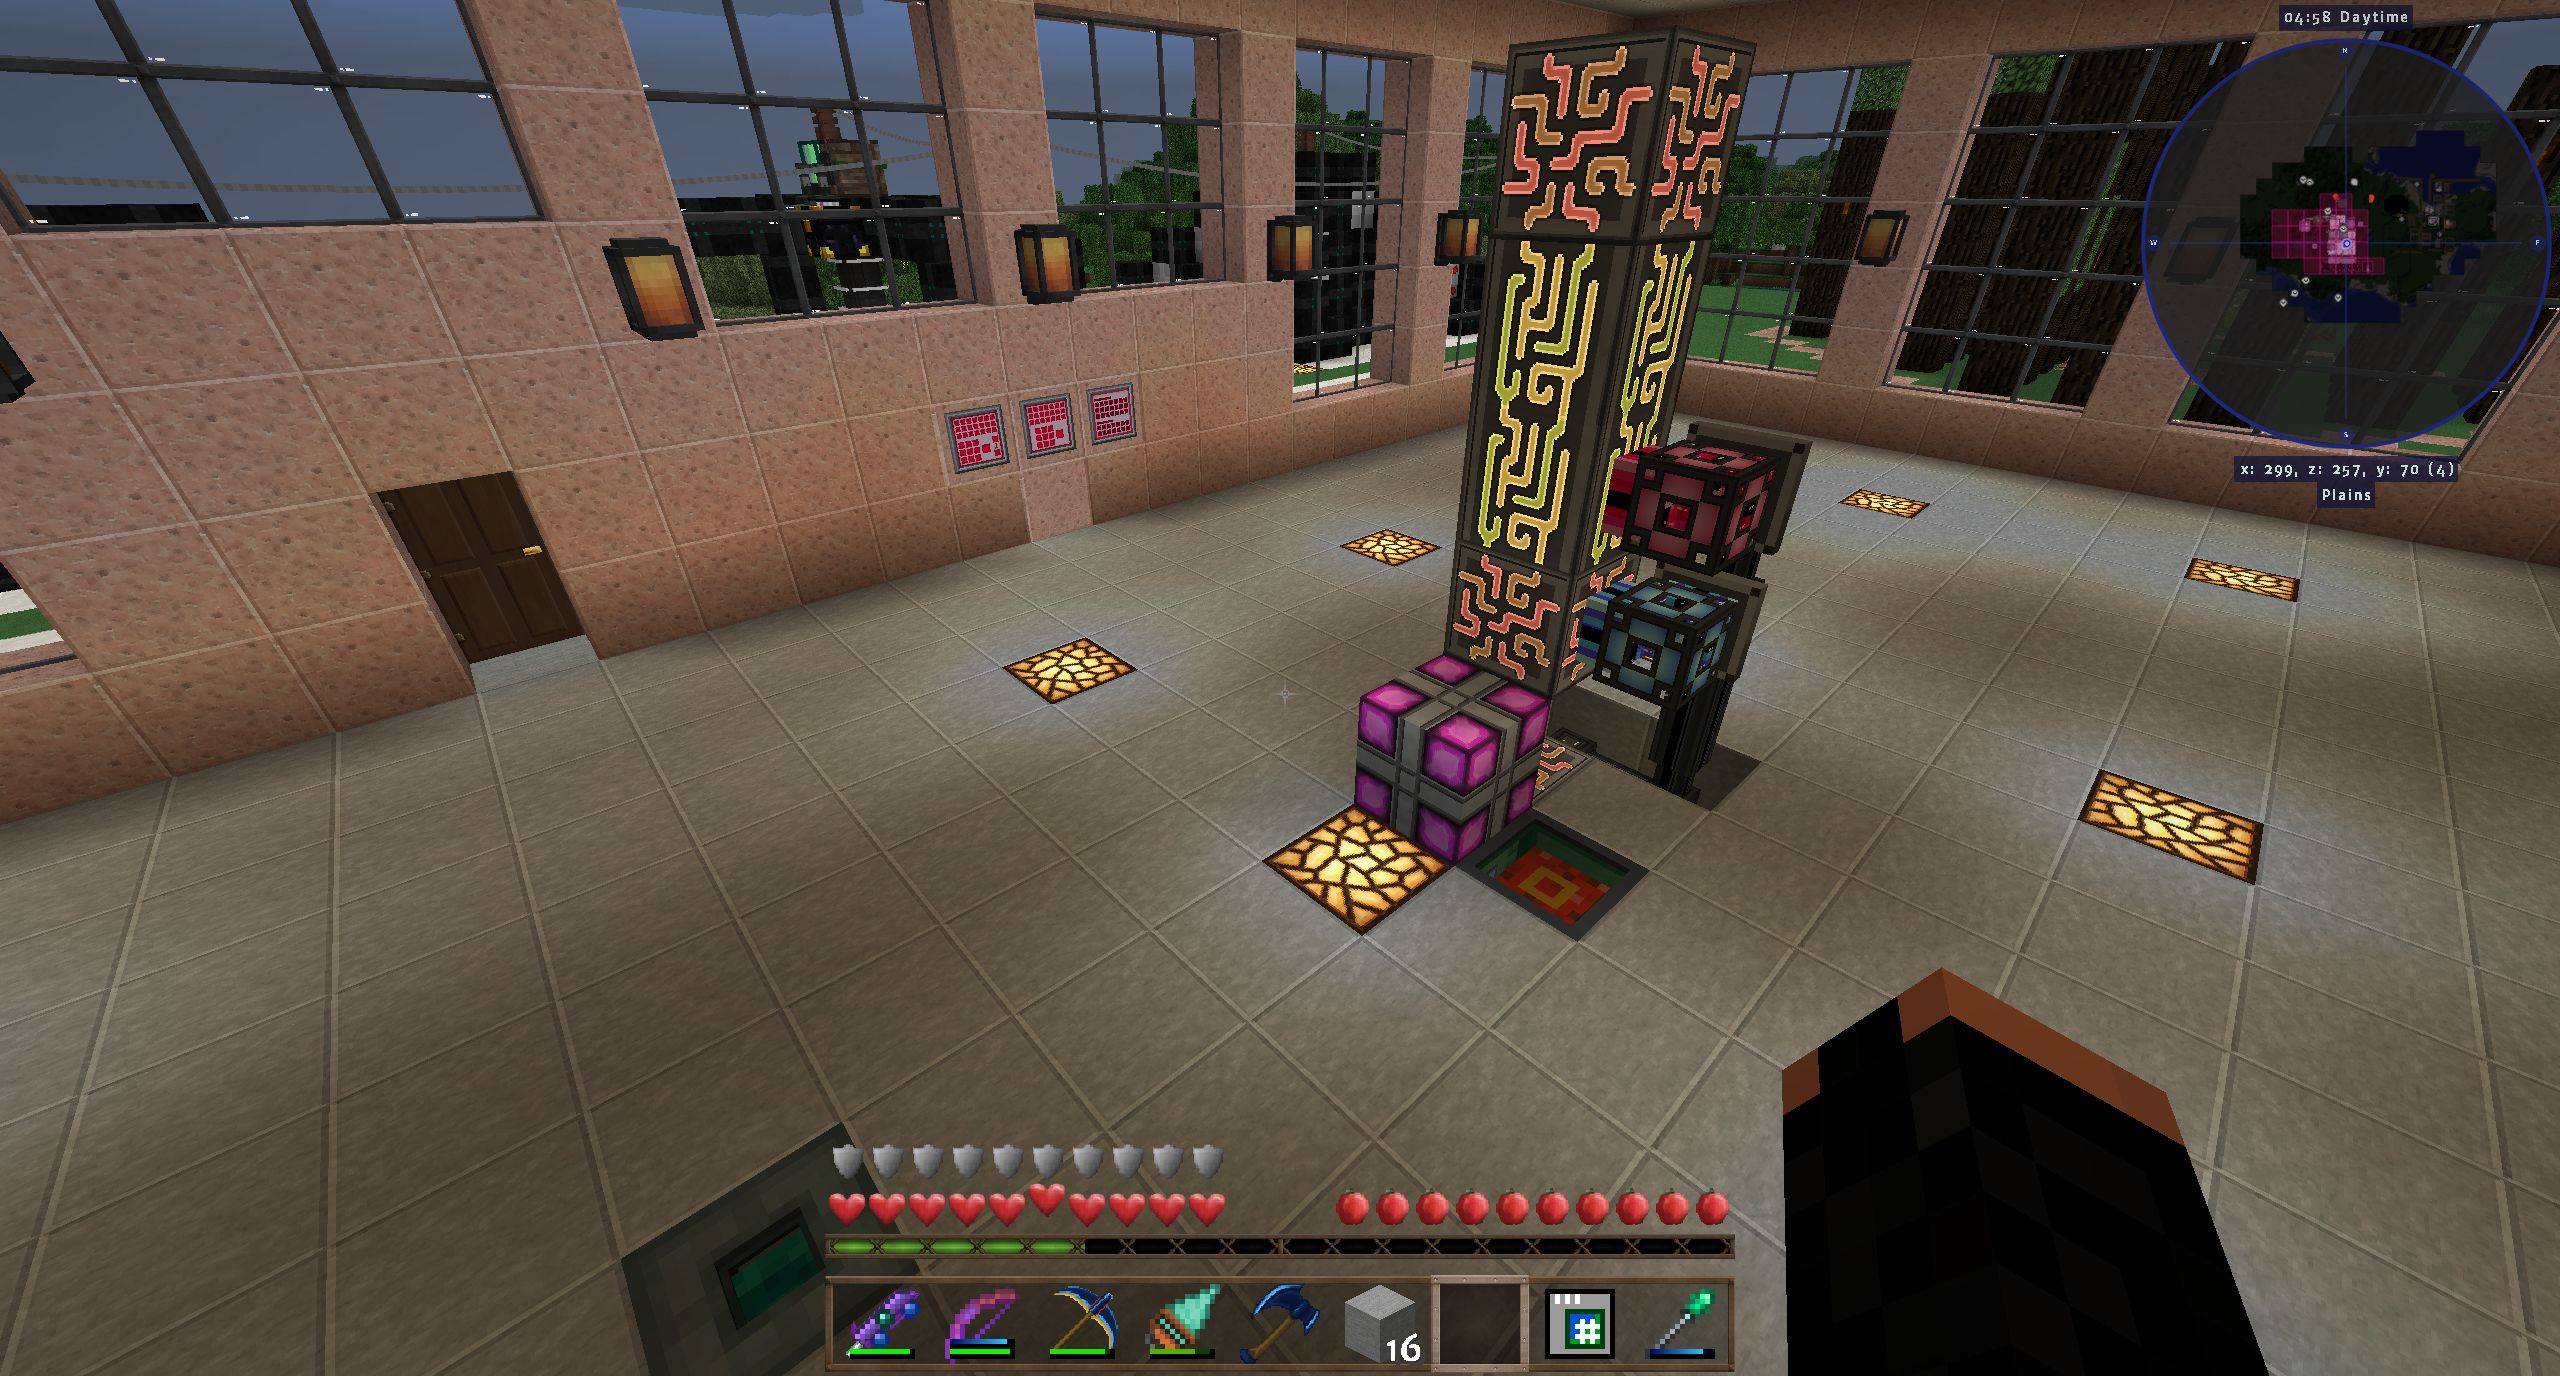
Now to get upstairs and into the light, here's my rather unassuming-looking main IC room. At the other side of the room, there are my tier 1 machines (though they all have transformer upgrades now in order to be able to put more overclockers in), on the right, the Thermal Centrifuge and the induction furnace as well as the line of electric heater, steam boiler and condenser to make distilled water for the overclocker upgrades. The condenser auto-outputs into a tank which you can then place at the canning machine on the far right. On the near right the line of liquid heat exchanger, steam boiler and condenser to make Pahoehoe lava. I ceased IC2 steel production as early as possible, so the blast furnace is sttin
The second picture shows my high-power IC room, directly above the reactor. On the left my UU-matter production facility. The block in the center is a facade, not a vacuum chest - I wanted this block to look futuristic. On the right scanner, pattern storage, replicator and molecular transformer. The EV transformer comes from a time when I believed you have to convert voltage up to 8192EU/t to use the glass fibre cable. I used to place the MT there, but it had some problems with drawing power. IC cabling is finicky anyway, and not for the reasons usually given. I recall DW20 had some problem with his induction furnace losing power from time to time for no apparent reason. Well, that happened to me, too, with several machines, basically every time I switched a power line off and on again some machine would refuse to resume taking in power. I broke and replaced the cable and things resumed working. Weird.
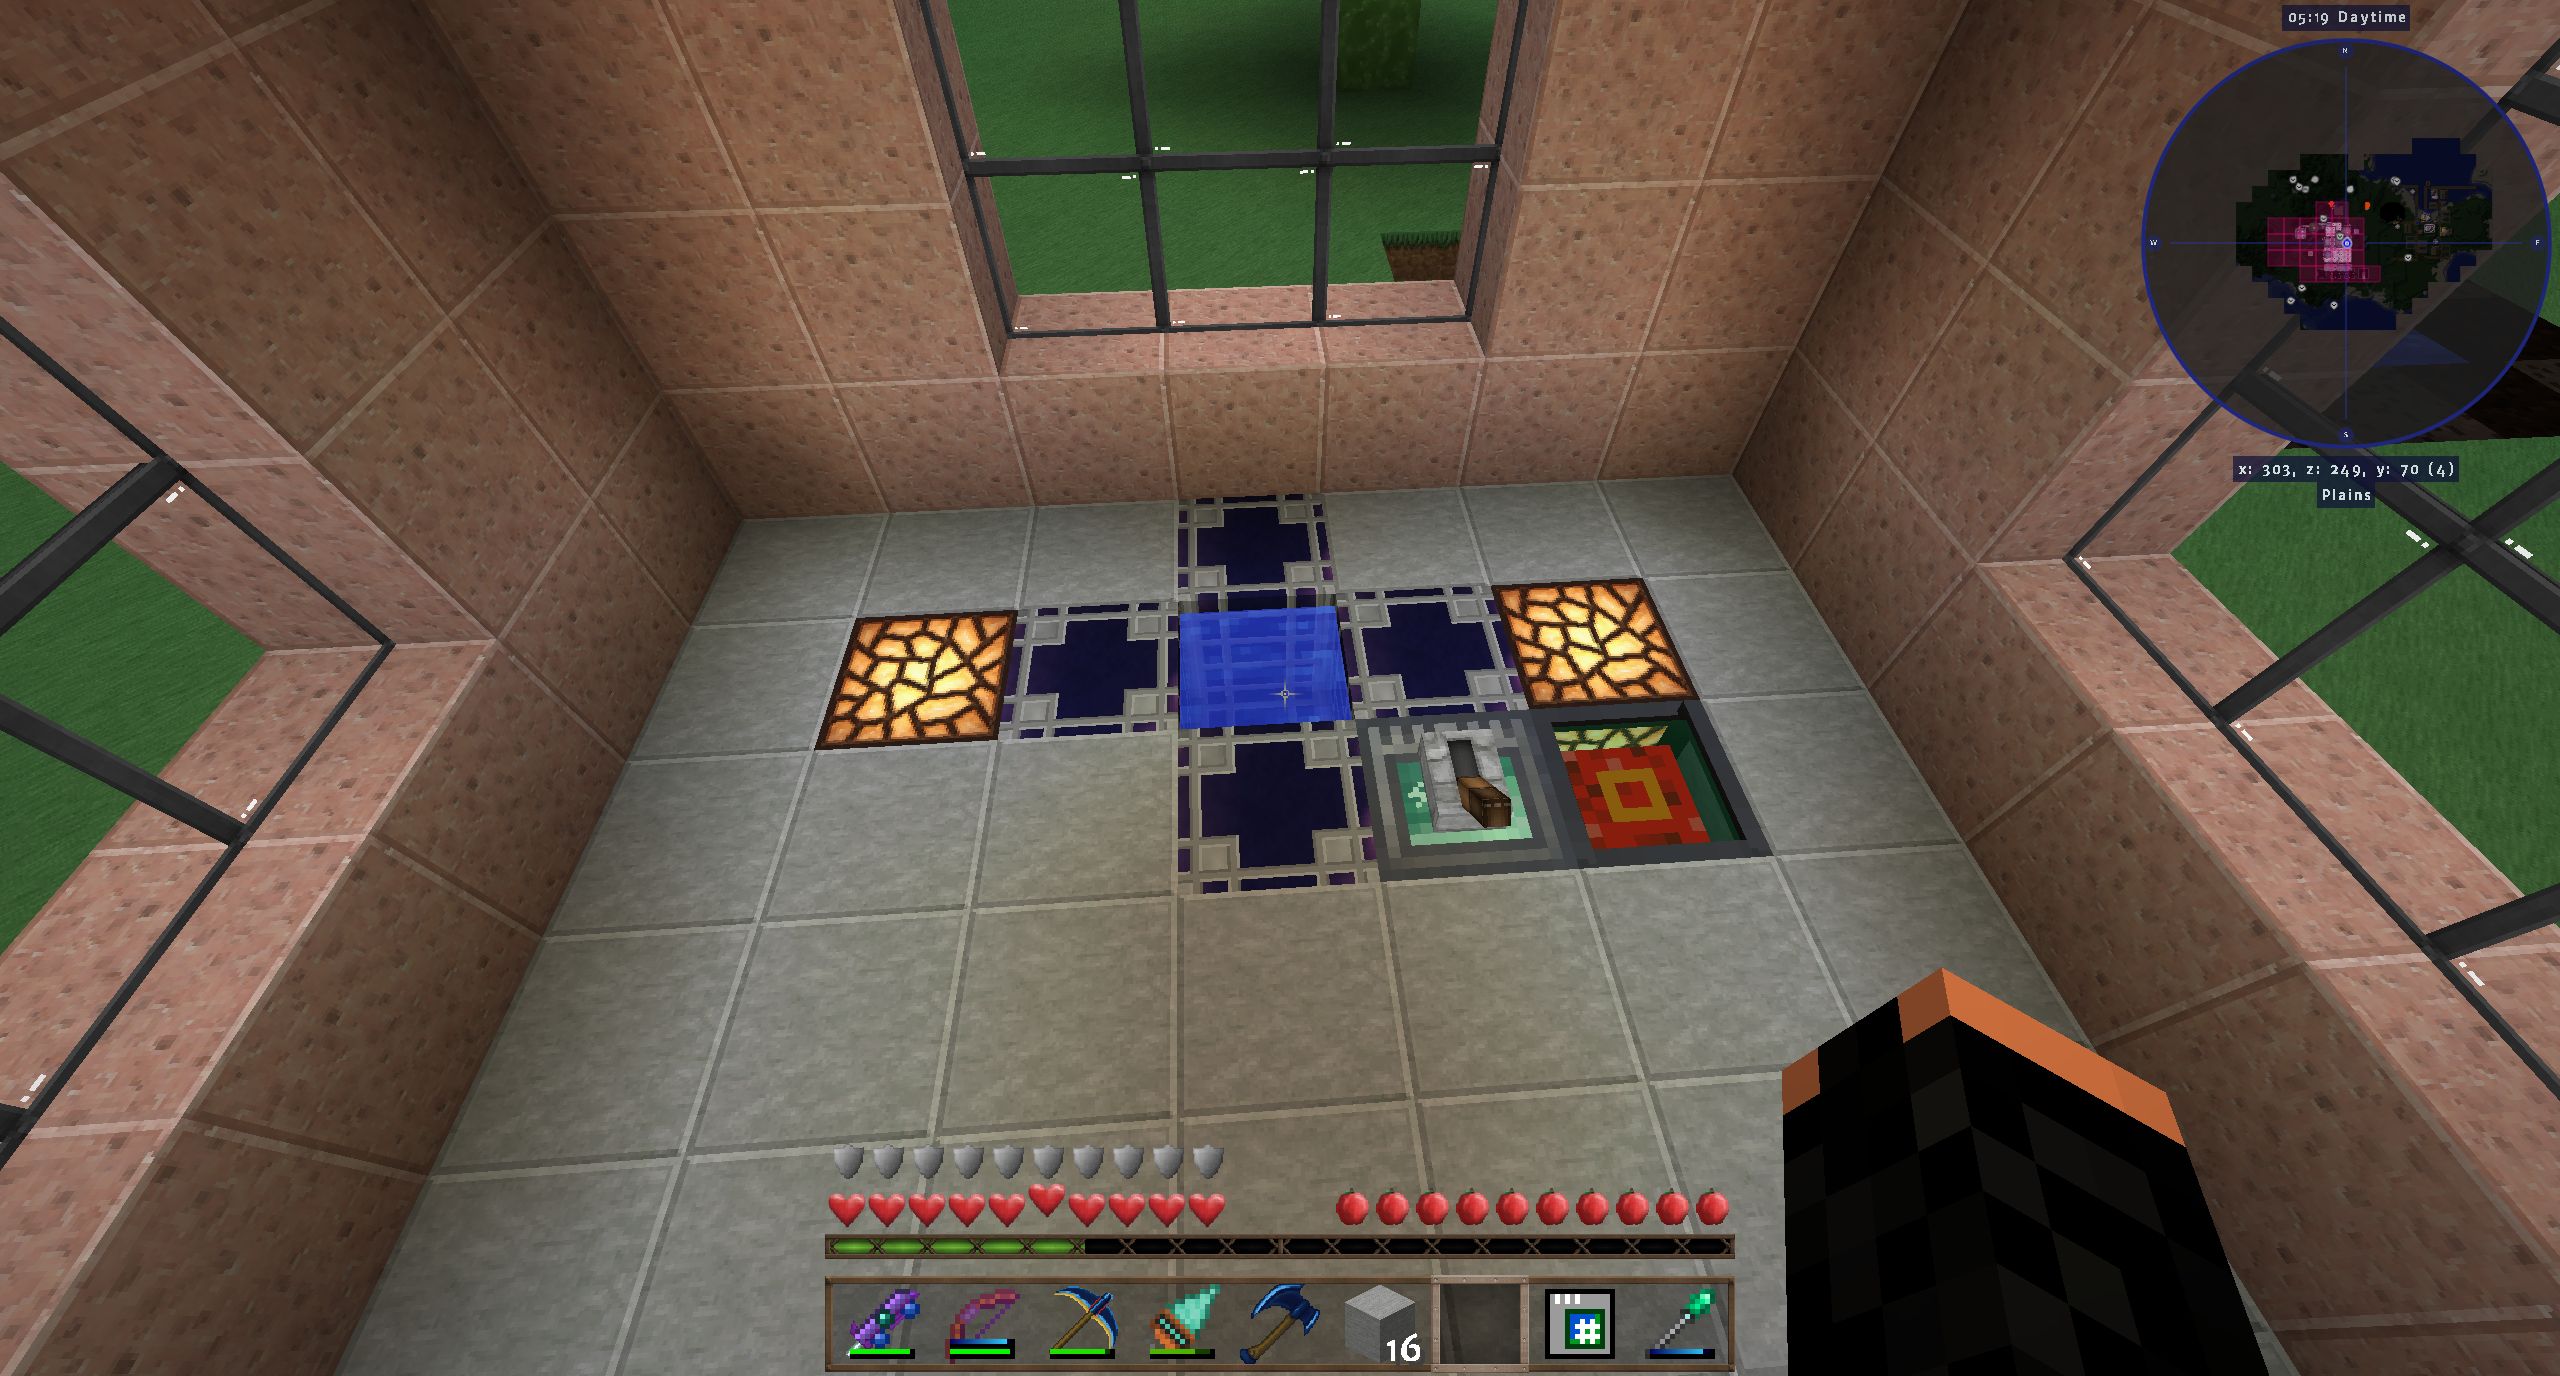
(9) AE2 Startup
This rooms looks a bit barebone atm, but it'll fill up quickly with AE-related stuff. I can already access everything I have from the terminal, and in the center there's the core of my 512-channel controller setup. I hope this will carry me through the game. It is easily extendable to 1024 channels, but the color coding would get confusing since colors would have to be re-used. The second picture shows my Crystal Accelerator. The block with the lever is an RFTools power relay, which I find easier to use than cable breakers (more expensive tough, but that ceased to be a problem).
(10) Environmental Tech
This is a full set of tier 3 machines - solar array, void ore miner, void resource miner and nanobot beacon. The effort and the resources to make these were considerable to say the least - I think about 3K gold ingots, 768 diamonds and 576 ender pearls went into the controllers and the structure blocks alone, among other things, and the 1k silicon wasn't exactly easy to come by either. I had the resource miner first in order to get the clay. Having said that, I made enough structure blocks and controllers to upgrade all this to tier 4, so all I'm missing are the the Nether Stars, and those I could get within a few hours. I have the Wither trap and the skulls, I just didn't get around to it so far.
The Nanobot beacon has three active modifiers: flight, saturation and regeneration. So I can fly, I don't need to eat and I regenerate health. I like this.
(11) Early stuff
This water wheel was the first RF producer I made after some survival generators I used very early. I still like it and it won't be dismantled. In fact, I plan to do some landscaping so that its source is a lake on on the hill and it empties into another one below. As with so many other things, I didn't get around to it yet. Also on the picture: the fishing net with chest I created from one of my then very valuable emeralds. Now....well, that I casually used up 160 emeralds and diamonds for storage upgrades (for the Calculator circuits, since I heard putting a storage bus on the storage chamber causes problems) should tell you enough about my resource situation.
The Ender pearl farm is actually surplus to requirements. I get more from the Enderman spawner, provided I use a fully upgrade Ender sword in my Killer Joe.
(12) I have enough rubber.... LOL
The Forestry rubber farm has an impressive output. I guess you can get equally successful with IC2 farming, but I never got into that. I hate everything that has to do with the random results of cross-breeding.
(13) Wither Trap
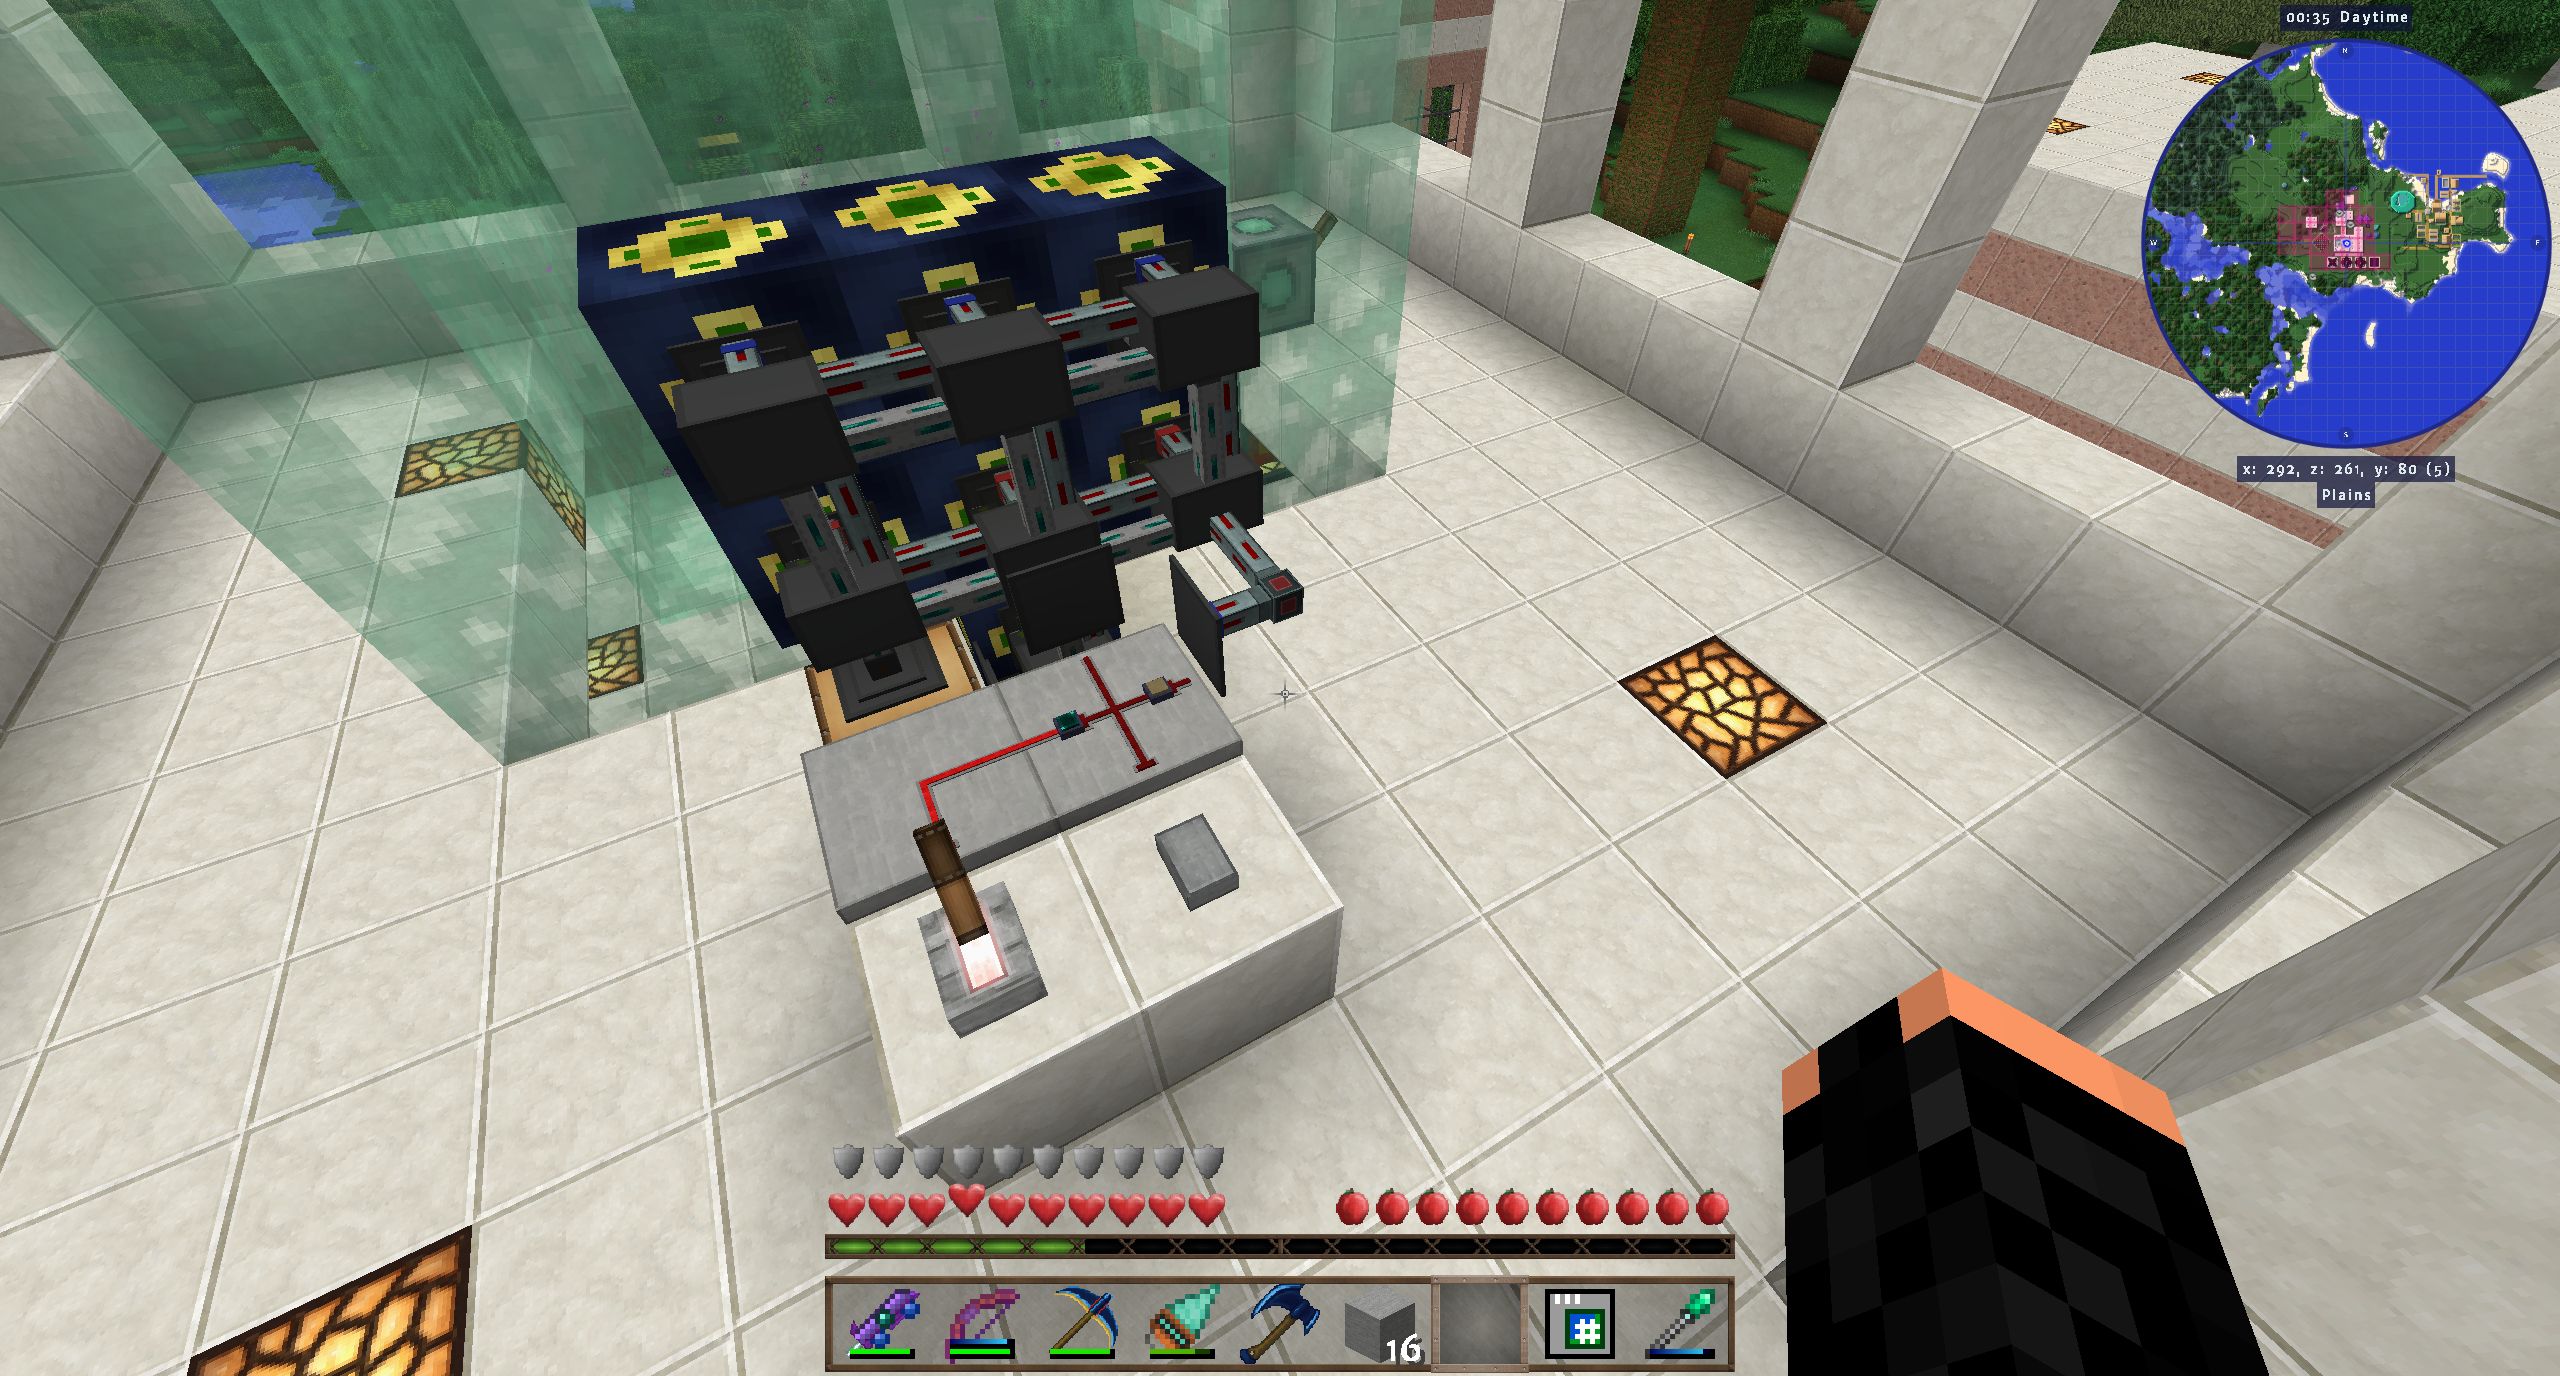
And lastly, my Wither Trap. It uses Phantom Placers and a damaging shield. The placers' set direction in the GUI should be the one they're facing, so set it to "north" if they face north etc.. With the shield, the trick is to make the room small enough that wherever the Wither goes, some part of it is adjacent to a shield block. Only then it will get damaged. Making the room four blocks high instead of five should be enough. The circuit implements several purposes: The quartz resonator delays the pulse for the skulls so that they get placed half a second after the soul sand. If you push the button, one Wither will get spawned and killed. If you switch the lever off, the Ender Pulsar will activate and spawn one Wither every minute until it runs out of skulls or soul sand. Loot will be collected by an Ender Hopper. This takes one minute for a Nether Star instead of 15 seconds with Draconic Evolution machines available, since the shield takes 40 seconds to kill a Wither instead of one second, but I still consider it worth it. If I haven't made all the Nether Stars for tier 4 Environmental Tech machines, it's because I still feel uncomfortable having Withers around while I do other stuff, even if captive.
