Hey all. If you'd like to get your Shaders working I have a simple zip that you can unpack to get everything working.
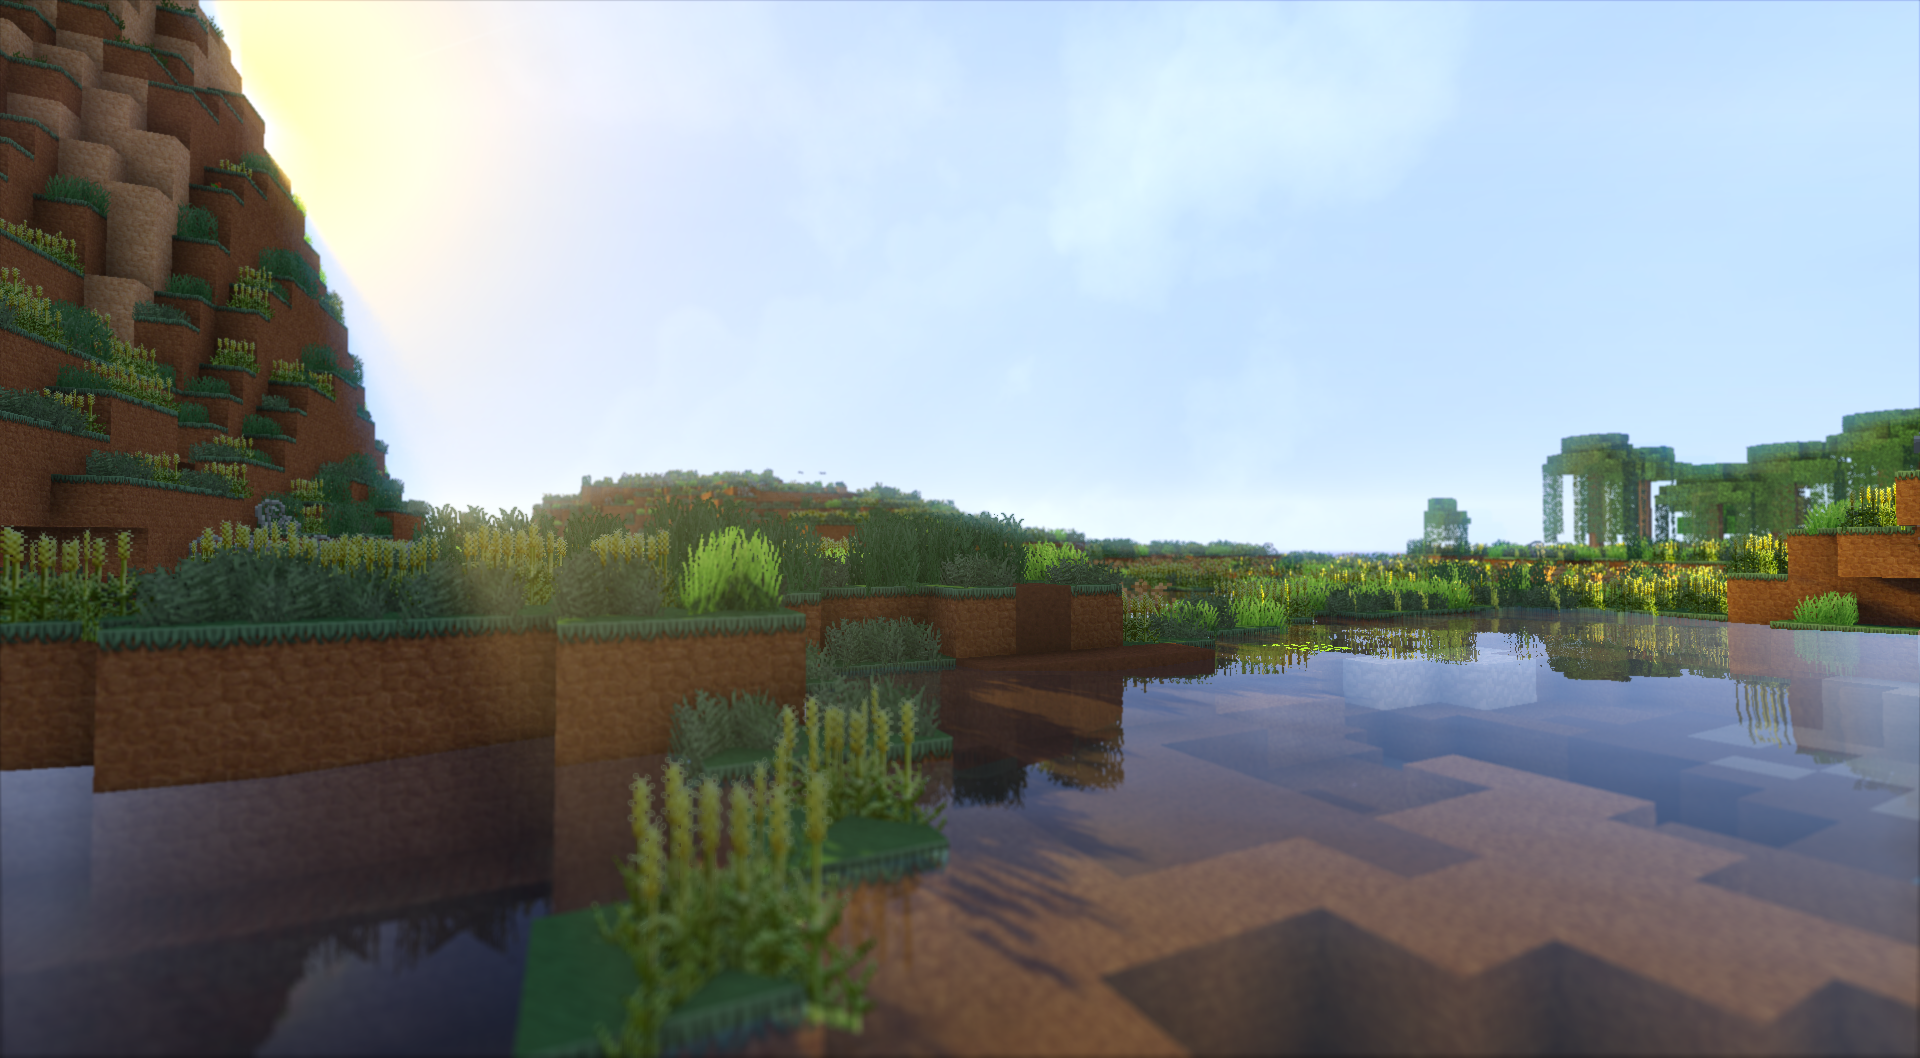
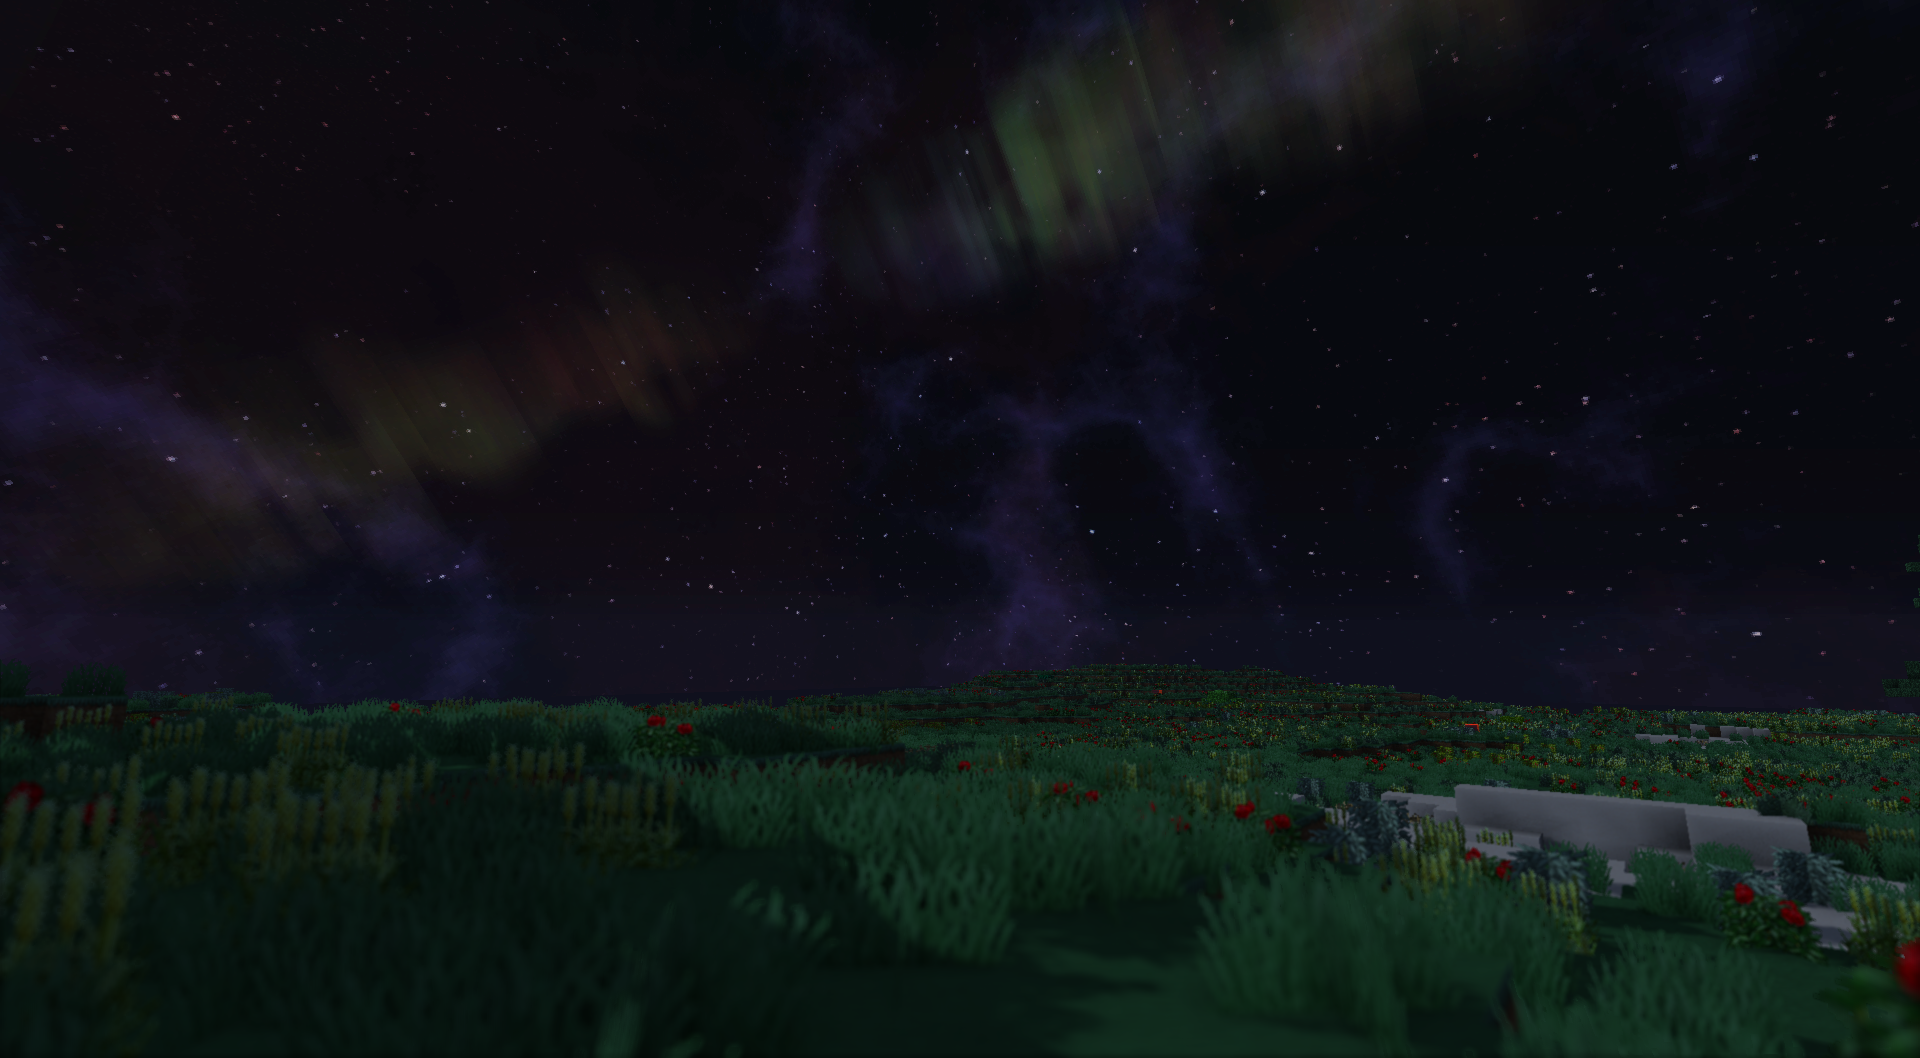
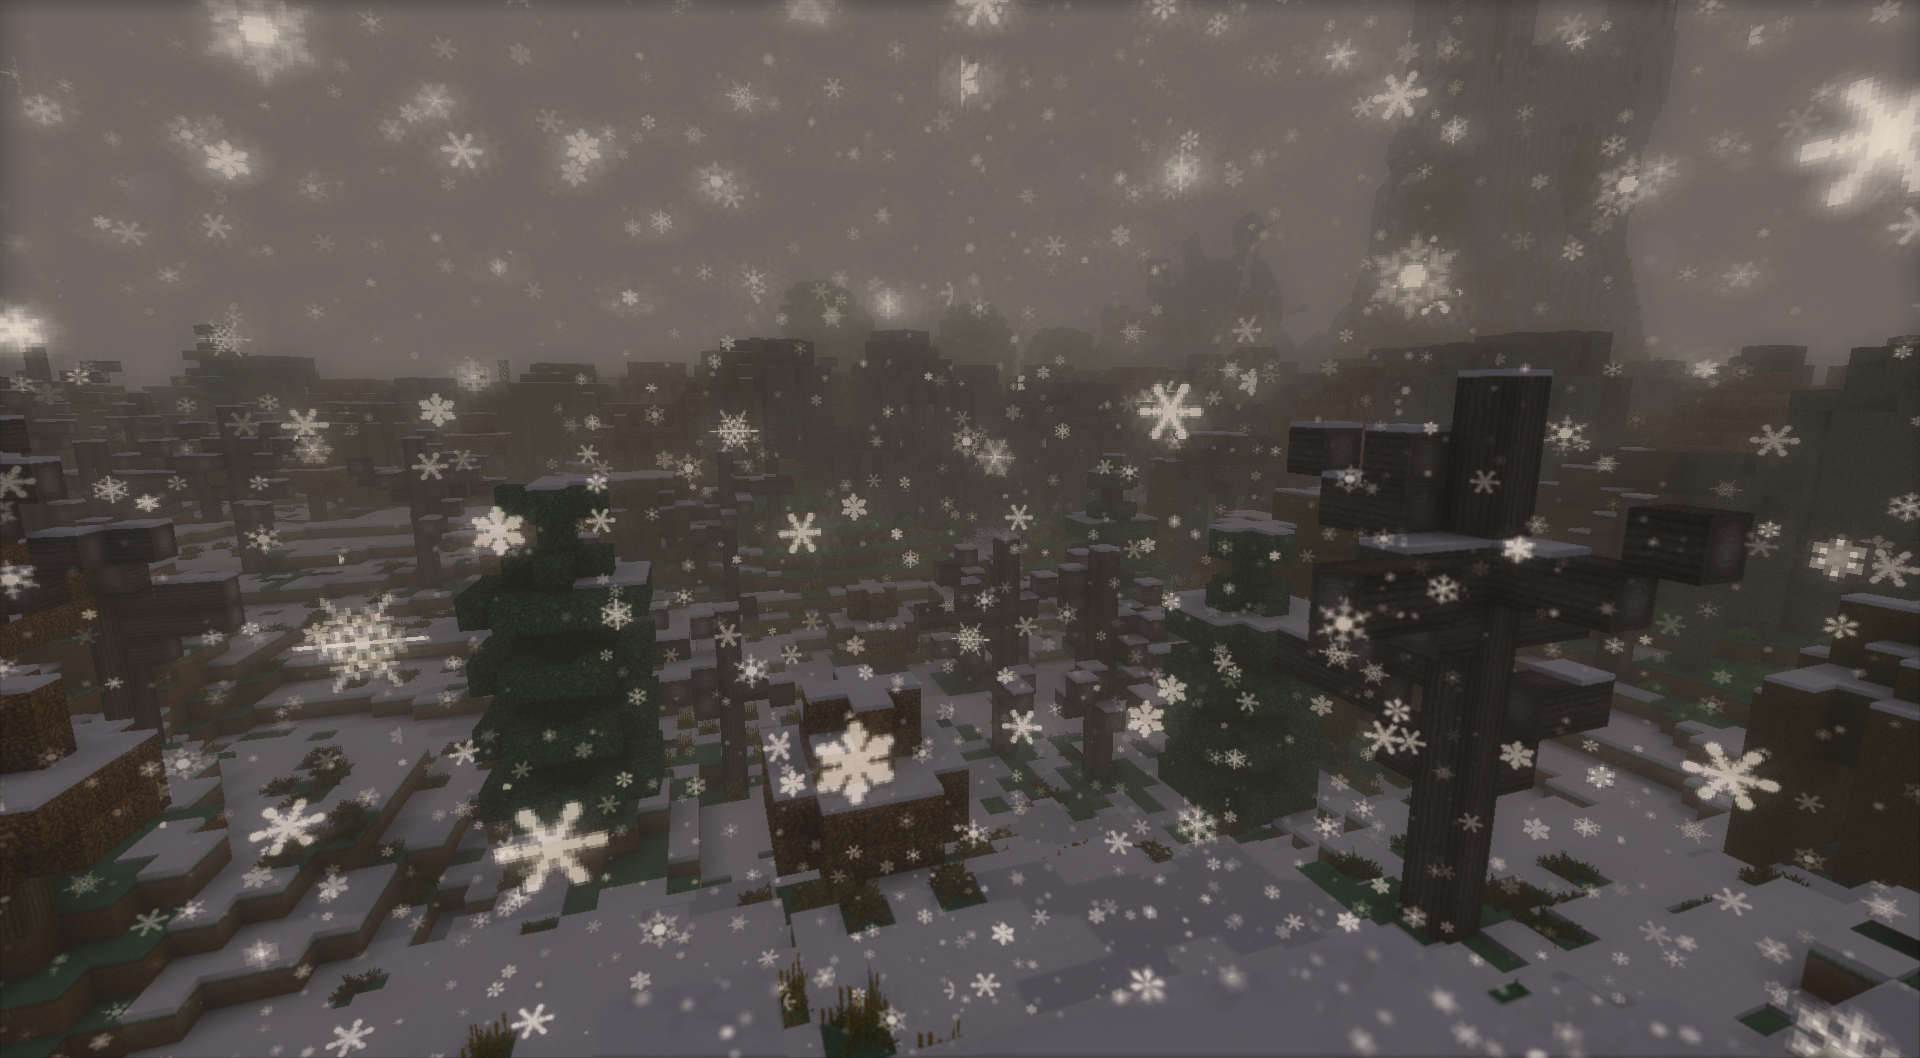
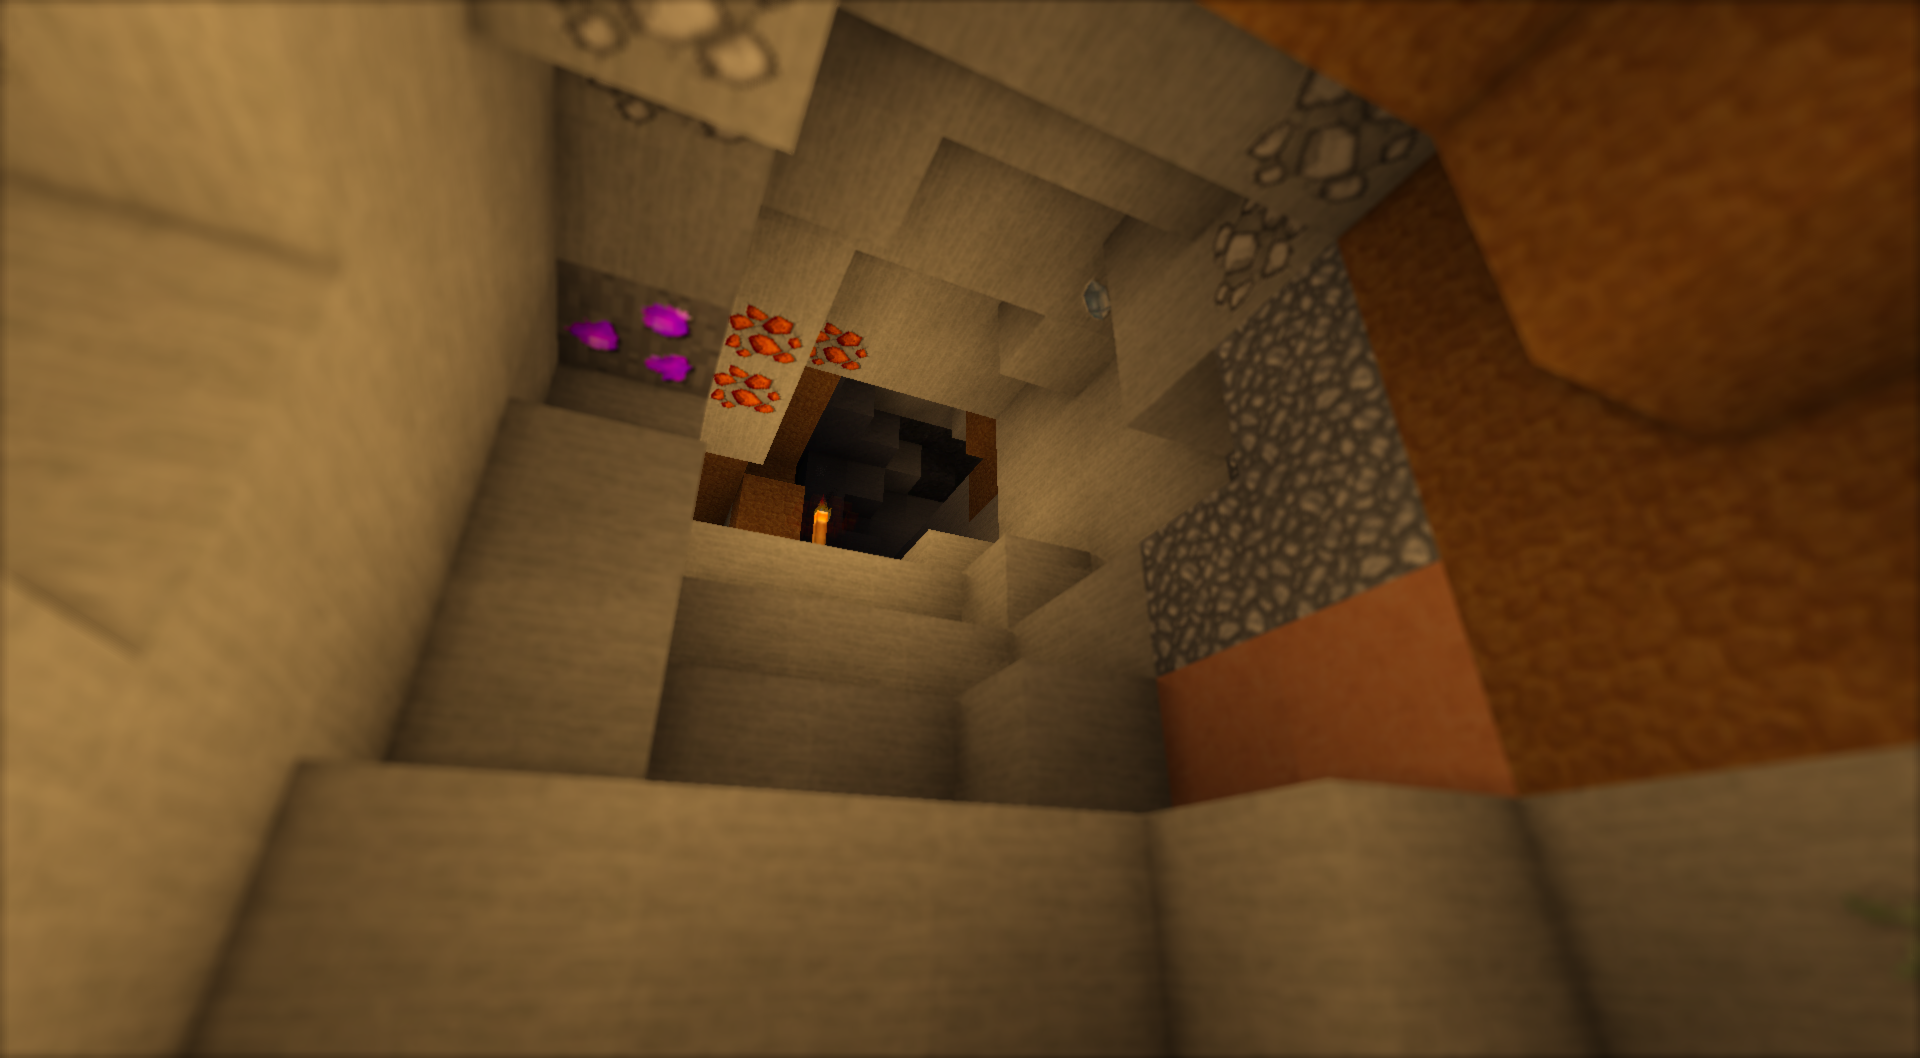
Shaders allow you to bring out some great visuals in your game by adding volumetric lighting effects, ambient occlusion, depth of field, realtime shadows, raytracing, living plants and more.
Have a look below to see what you can do!
Installation instructions:
Download this package: www.siigarikitawa.com/minecraft/shaders.zip
Navigate to your FTB install folder, then select the package you want to install it into (DW20, Monster, Magic World, etc.) Open the minecraft folder in that directory, then unzip the package to that folder. (It should create a folder structure leaving shaderpacks folder in minecraft/shaderpacks and mods in minecraft/mods.)
Once that's set, open your game. Go to your options - video settings. Under the top left option of Graphics, select "Fast." If you have Fancy graphics enabled your shaders will NOT load. After you've set your fancy graphics options you can tweak to your heart's content, keeping in mind that OptiFine is now installed. And because OptiFine is now installed, to to Quality settings and turn OFF Antialiasing and Anisotropic Filtering. Also turn Mipmap Level to OFF.
Now go back to your main options menu and go to Shaders... (under Esc>Options) and select the shader you'd like. I included a few popular shaders such as SEUS and Slidur's. Once you select one that you like there are some options on the right which you can configure.
Shader Options:
Cloud shadow: Causes clouds to cast shadows.
New block breaking: This option highlights the block you are currently breaking. (I suggest true.)
Hand depth: If you have depth of field enabled, this allows to you decide how in or out of focus your hand is. Smaller numbers means more in focus.
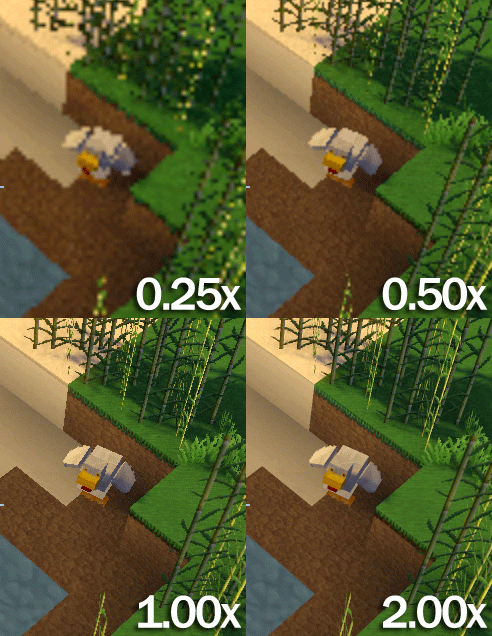
RenderResMul: This allows you to flex the most power. You can do render image scaling with this. 1.0 means you are drawing at 1.0x your native Minecraft display. Turn this up to increase and scale down (higher quality) or turn this down to decrease and scale up (lower quality.) Increasing this number can increase the details present on your screen because you're taking an image larger than your display res and scaling it down. Decreasing it will pixelate your image because you are taking an image smaller than your display res and blowing it up. Pic below. Note: Pushing this over 1.0 means more video memory to create images for your screen which can bring framerates to a halt. Be sparing in this! I suggest maxing it for attractive screenshots.
ShadowResMul: Allows you to increase or decrease the shadow resolution. The higher this number the smoother your shadows. The lower the number the more pixelated your shadows will be. Note: This consumes a *TON* of video memory. You can bring your computer to its knees pushing this over 2, so I don't suggest it unless you have a couple of high end cards in your system.
Shadow frustum: This tells your computer to display shadows in a manner that takes most real-time geometry in account. Turn this on if you notice shadows are doing things they shouldn't, but it will impact your framerate.
Tex Min, Tex_n Mag, Tex_S Mag: these three options control MIP maps (also known as Mipmapping.) Nearest provides mipmapping based on nearest mipmap image (simple quality.) Linear provides mipmapping based on a straight line from POV (Linear filtering, high quality.) Tweak these until you don't see artifacts especially with things in the distance.
Anyway everyone I hope very much you enjoy your new Minecraft experience! Keep in mind this is extremely memory intensive so if you start capping out on memory, restarting Minecraft can generally relieve the problem (for a while, at least.)
Enjoy!
Thanks go to daxnitro and karyonix for producing GLSL Shaders Mod.
Shaders allow you to bring out some great visuals in your game by adding volumetric lighting effects, ambient occlusion, depth of field, realtime shadows, raytracing, living plants and more.
Have a look below to see what you can do!


Installation instructions:
Download this package: www.siigarikitawa.com/minecraft/shaders.zip
Navigate to your FTB install folder, then select the package you want to install it into (DW20, Monster, Magic World, etc.) Open the minecraft folder in that directory, then unzip the package to that folder. (It should create a folder structure leaving shaderpacks folder in minecraft/shaderpacks and mods in minecraft/mods.)
Once that's set, open your game. Go to your options - video settings. Under the top left option of Graphics, select "Fast." If you have Fancy graphics enabled your shaders will NOT load. After you've set your fancy graphics options you can tweak to your heart's content, keeping in mind that OptiFine is now installed. And because OptiFine is now installed, to to Quality settings and turn OFF Antialiasing and Anisotropic Filtering. Also turn Mipmap Level to OFF.
Now go back to your main options menu and go to Shaders... (under Esc>Options) and select the shader you'd like. I included a few popular shaders such as SEUS and Slidur's. Once you select one that you like there are some options on the right which you can configure.
Shader Options:
Cloud shadow: Causes clouds to cast shadows.
New block breaking: This option highlights the block you are currently breaking. (I suggest true.)
Hand depth: If you have depth of field enabled, this allows to you decide how in or out of focus your hand is. Smaller numbers means more in focus.
RenderResMul: This allows you to flex the most power. You can do render image scaling with this. 1.0 means you are drawing at 1.0x your native Minecraft display. Turn this up to increase and scale down (higher quality) or turn this down to decrease and scale up (lower quality.) Increasing this number can increase the details present on your screen because you're taking an image larger than your display res and scaling it down. Decreasing it will pixelate your image because you are taking an image smaller than your display res and blowing it up. Pic below. Note: Pushing this over 1.0 means more video memory to create images for your screen which can bring framerates to a halt. Be sparing in this! I suggest maxing it for attractive screenshots.

ShadowResMul: Allows you to increase or decrease the shadow resolution. The higher this number the smoother your shadows. The lower the number the more pixelated your shadows will be. Note: This consumes a *TON* of video memory. You can bring your computer to its knees pushing this over 2, so I don't suggest it unless you have a couple of high end cards in your system.
Shadow frustum: This tells your computer to display shadows in a manner that takes most real-time geometry in account. Turn this on if you notice shadows are doing things they shouldn't, but it will impact your framerate.
Tex Min, Tex_n Mag, Tex_S Mag: these three options control MIP maps (also known as Mipmapping.) Nearest provides mipmapping based on nearest mipmap image (simple quality.) Linear provides mipmapping based on a straight line from POV (Linear filtering, high quality.) Tweak these until you don't see artifacts especially with things in the distance.
Anyway everyone I hope very much you enjoy your new Minecraft experience! Keep in mind this is extremely memory intensive so if you start capping out on memory, restarting Minecraft can generally relieve the problem (for a while, at least.)
Enjoy!
Thanks go to daxnitro and karyonix for producing GLSL Shaders Mod.
Last edited: